Happy New Year to everyone! And here we are, back at the start of a new year. I am kicking off this one with a post about writing, inspired by another post written by a fellow teacher from EOI Pontevedra, Paula Gómez. You can read her post here.
Have you ever entertained the idea of publishing students’ written work but were put off by the limitations imposed by free online publishing apps? Not any more.
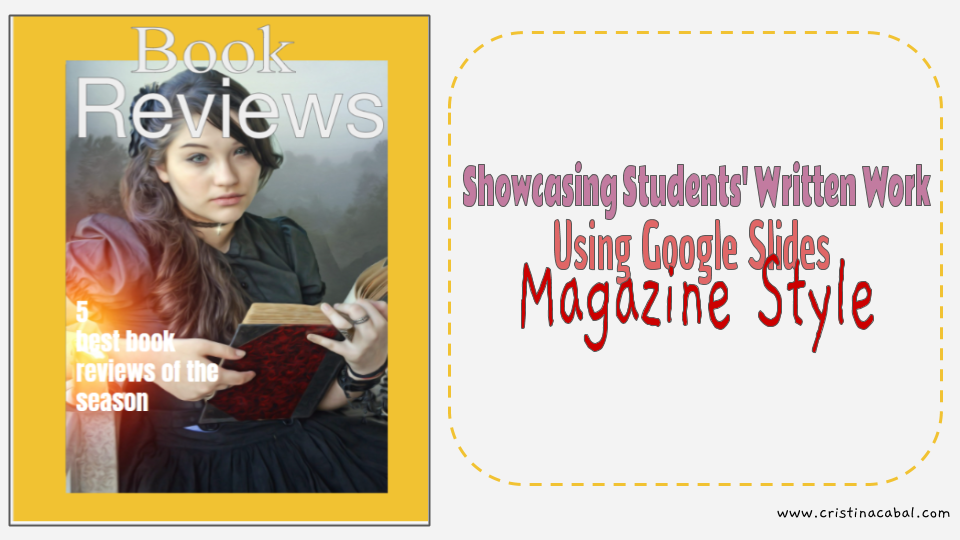
This post is about showcasing students’ written work using one of the greatest free collaborative apps: Google Slides.
How often, when you are marking essays think ” Gosh, this essay or this covering letter is soooo good! I only wish the rest of the class could have it as a model of good writing” And then, you find yourself contemplating the idea of photocopying it and sharing it with the rest of the class. But…what if I told you there is an easier way to do it? What if I told you you only need to have a free Google account to showcase your students’ written work in a beautiful way, for free and without any limitations? What if I told you that you can very easily change the dimensions in Google Slides to resemble a magazine?
You don’t believe me? Have a look at this Google slides-magazine style boasting some of my students’ book reviews here
Ready to make one? It is really very easy to set up. We are going to do it in 7 steps. If you have already grasped the idea, you can stop reading now. If you need further guidance, I have recorded a video tutorial to walk you through the steps.
- Step 1: setting up the slide
- Step 2: creating the cover of the magazine
- Step 3: creating the template
- Step 4. Duplicating the slide
- Step 5: sharing the magazine/editing permissions
- Step 6: Sharing the magazine/present mode
- Step7: downloading and printing the magazine
Before you watch the video, some highlights:
- Log in to your Google account and open a Google Slides presentation here https://docs.google.com/presentation/u/0/ and open a blank presentation
- The first step to making my magazine on Google Slides is changing the default dimensions. The slide needs to have the same dimensions as an ordinary page in case you want to print it. To do this go to File/ Page Set up/ Custom/ and choose: in cms 23×28; in inches 9×11
- Now we need to set up the two most important slides: the cover and the template the students will need to duplicate and fill in with their own content.
- The cover: Amazing the results one can get inserting shapes, pictures and playing with different fonts. It is all about creating a beautiful inspiring cover.
- The template: This is also an important part. Spend some time deciding what your magazine will look like and design the template students will duplicate and use to write their own content.
Eager for more? Watch this video tutorial and show the world what your students can do

Thanks, María. Love that you love it!
I love the idea, and so easy (you make it easy for us). Thanks!!!!