Tag Archives: onlinetools

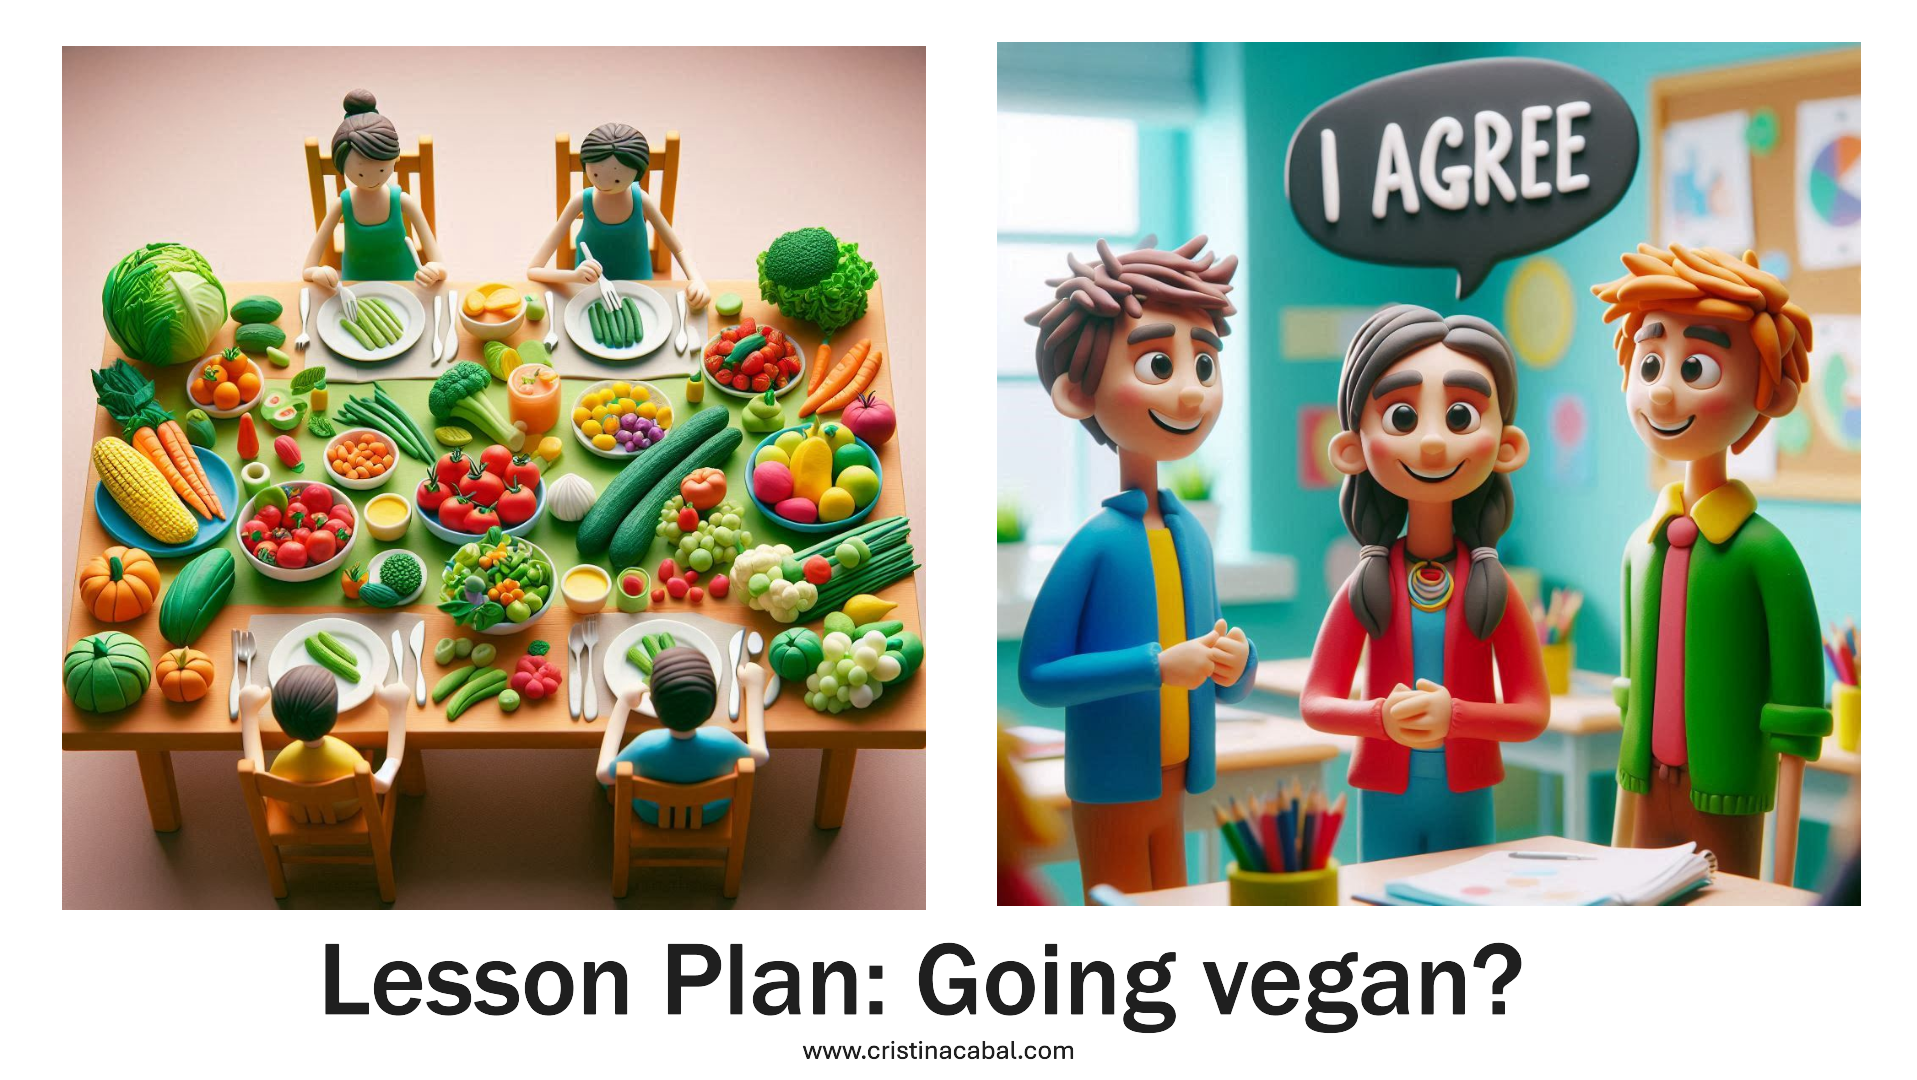
Lesson Plan: Going Vegan?

For over 30 years, I’ve been a proud pescatarian—a semi-vegetarian, if you will—happily skipping steak. Let me tell you, being “the one who doesn’t eat meat” in a region, Asturias,  famous for its chuletones and fabada can make for some hilarious and eyebrow-raising moments: from explaining my choices at barbecues to finding the right food for me in a menu full of meat choices, I’ve collected plenty of anecdotes along the way.

So, in this lesson aimed at B2 + students,  we’re going to explore the fascinating world of vegetarianism—a topic that sparks some seriously interesting conversations.

Ingredients of this lesson plan.

  • Warm-up: speaking and a fun video
  • Introducing Vocabulary with a home-made IAnized 🙄 video: Vegan vs Vegetarian
  • Vocabulary
  • Speaking: two corners
  • Scattergorix Game
WARM-UP: Speaking and one of my Favourite Videos

To kick things off, I’ve got a video I’ve been using for years to introduce this lesson. Now, I’ll admit that the quality is terrible. It’s grainy but it’s absolutely hilarious, and I just can’t bring myself to part with it. Before we jump into it, though, let’s set the scene with a couple of thought-provoking questions:

  • Have you ever gone on a date with someone who was vegan? How did it influence your choice of restaurant or food?
  • Do you think food choices (like being vegan) should be a factor when choosing a partner? Why or why not?

LISTENING:Note-taking: Vegan vs Vegetarian

Time to clear up the terms vegan vs. vegetarian, often confused! I’ve made a quick video using AI magic to explain the basics.

Students watch the video and jot down the key differences. In retelling the main differences, make a point of writing key vocabulary on the board.

 Differences between de cristina.cabal

Vocabulary

Do we need a vocabulary exercise? Absolutely! The more words we know, the more we can express ourselves—plain and simple.


Speaking Practice

Let’s get moving with an expressing opinions activity! It’s all about taking a stand—literally.

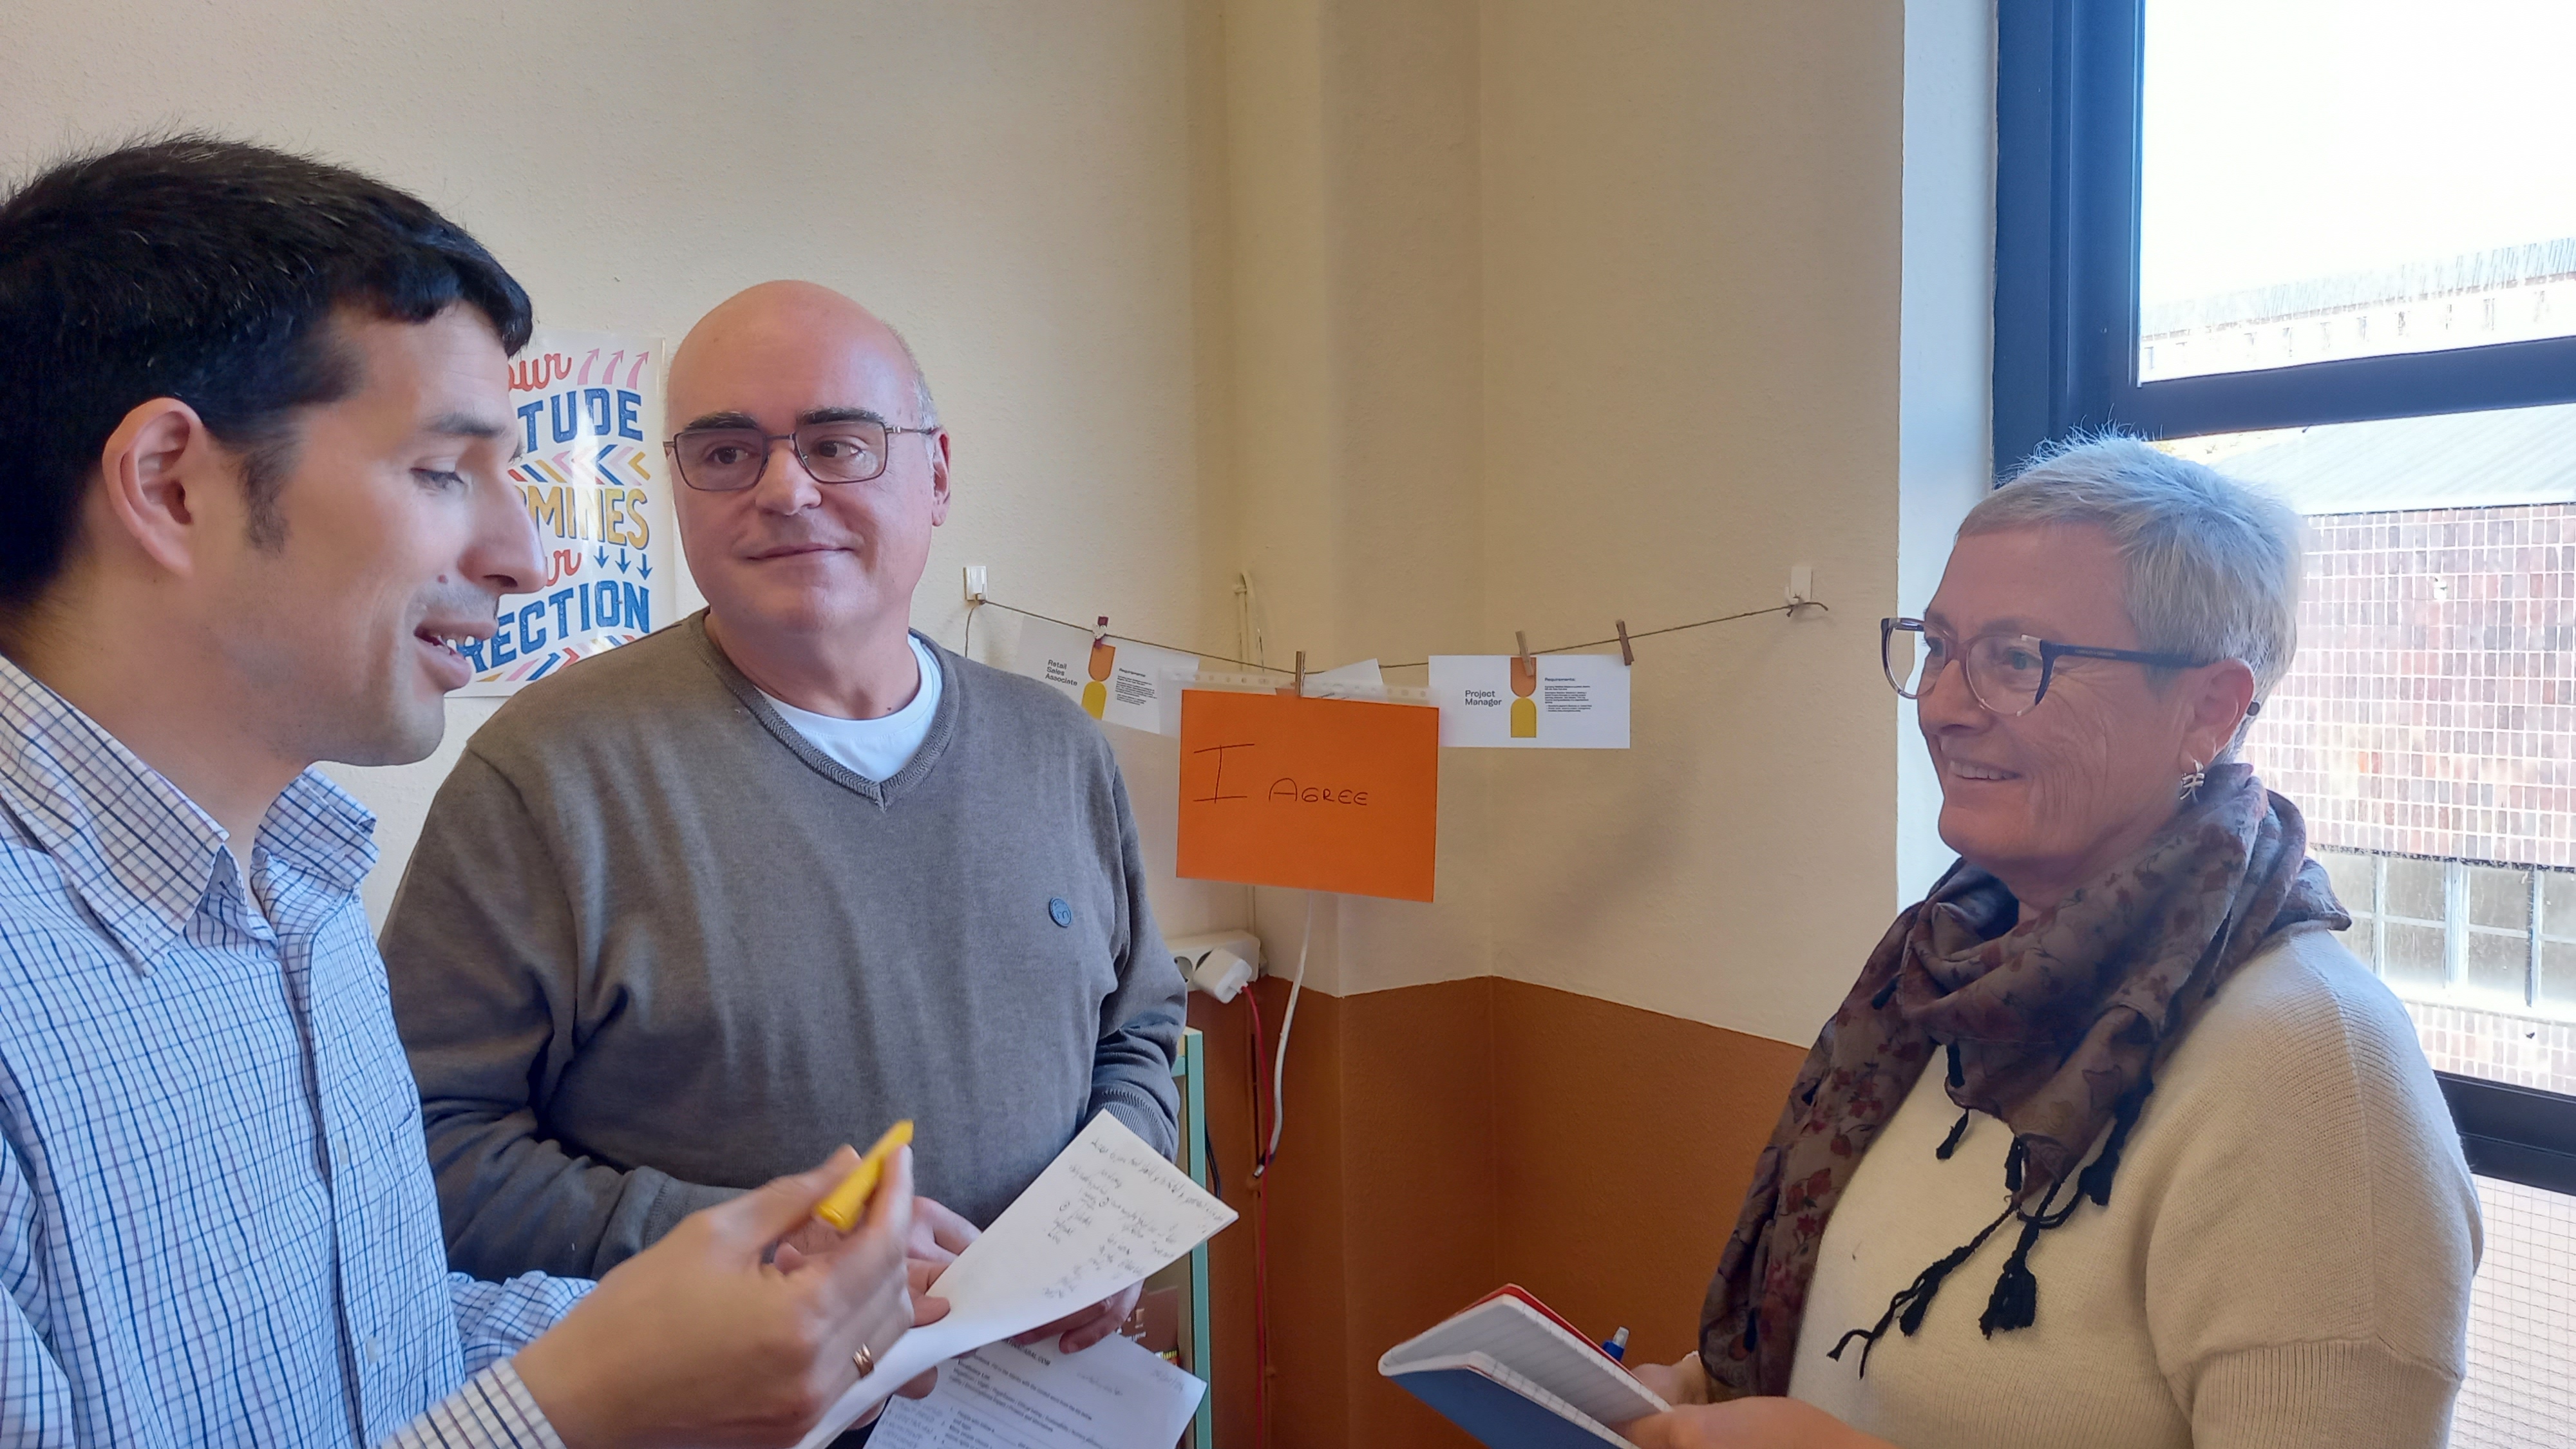
Step 1. I’ve kept it simple—just grabbed three plain sheets of paper, and wrote I agree, I disagree, and I can’t decide, and stuck them in the corners with blue tack.

  1. I agree
  2. I disagree
  3. I can’t decide (optional, if you have a larger group).

Step 2. I display the first statement, Being a vegetarian is the best choice for both personal health and the planet . Once students decide whether they agree or disagree with the statement, and before they stand up, I offer some guidance by suggesting ideas they can use to explain their position on the statement.

So, if they AGREE, they can use these reasons;

  • Reduces risk of chronic diseases (heart disease, diabetes)
  • High in nutrients like fibre, antioxidants, and vitamins
  • Avoids animal cruelty in factory farming
  • Lower carbon footprint and reduced resource use (water, land)
  • Helps combat deforestation and biodiversity loss

If they DISAGREE, they can use these

  • Risk of B12, iron, and protein deficiencies without careful planning
  • Limited food options in some cultures or regions
  • Costly and hard to access plant-based substitutes
  • Large-scale plant production can also lead to deforestation and water use

Step 3.  they are ready now.  Sudents move to their corner and discuss with like-minded peers for about 5 minutes.

Step 4. After about 5 minutes, they’ll pair up with someone from a different corner and try to change their mind—debate time!

For the next statements, they’ll have a moment to prepare their reasons before standing up and choosing their corner.

Going vegan? – Presentación de cristina.cabal

Game: Scattergorix

After hard work comes the reward—this time in the form of a game! Have you ever played Scattergorix? In this round, the list of categories is all about food. Hey!!! And yes, I got a little help from ChatGPT. Sometimes, it’s not so easy to come up with something for every category.

These are the rules of the game and below, the home-made game I created for my students.

scattergorix de cristina.cabal


Food Scattergorix de cristina.cabal


Follow us on

A Mind-Blowing Free Tool for Student Speech Recordings: Transcriptions, Audio, Summaries and Easy Sharing with the Teacher

Oh wow! This is quite a long title but I’ve stumbled upon an absolute gem of a website that I have to share with you all. If you’ve ever struggled with deciphering student recordings, trying to make sense of mumbled words, or spending precious time replaying audio to catch what they said—those days are officially over!

This incredible tool (it’s a website, no downloads needed!) lets students record themselves, whether it’s a presentation, a speech, or just a spoken reflection. The best part? it doesn’t just capture the audio. Nope, it goes way beyond that and also provides a full transcription of what the students said.

This amazig webiste is called Spacebar.fm .

Do students need to register?

They’ve got two options to choose from, depending on their needs:

  1. No registration needed: You can speak for up to 10 minutes per recording with a total of 5 interactions.
  2. Register for a free account: If you sign up, you get 200 minutes of recording time, with each individual recording lasting up to 90 minutes
How do you start the recording?

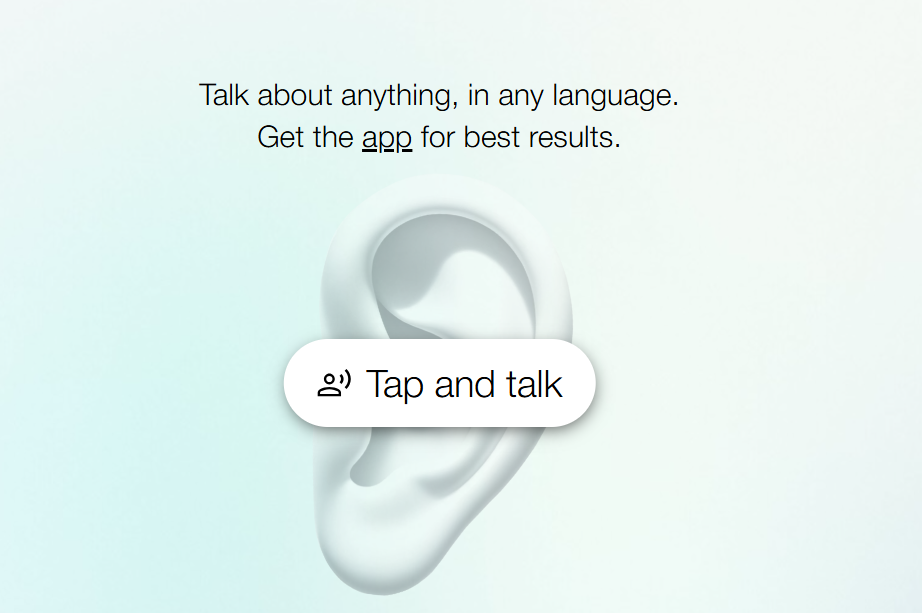
Easy, click on Tap and Talk and start recording.

What do you get after the recording?

Now, here’s what happens after a student records. You ‘ll get,

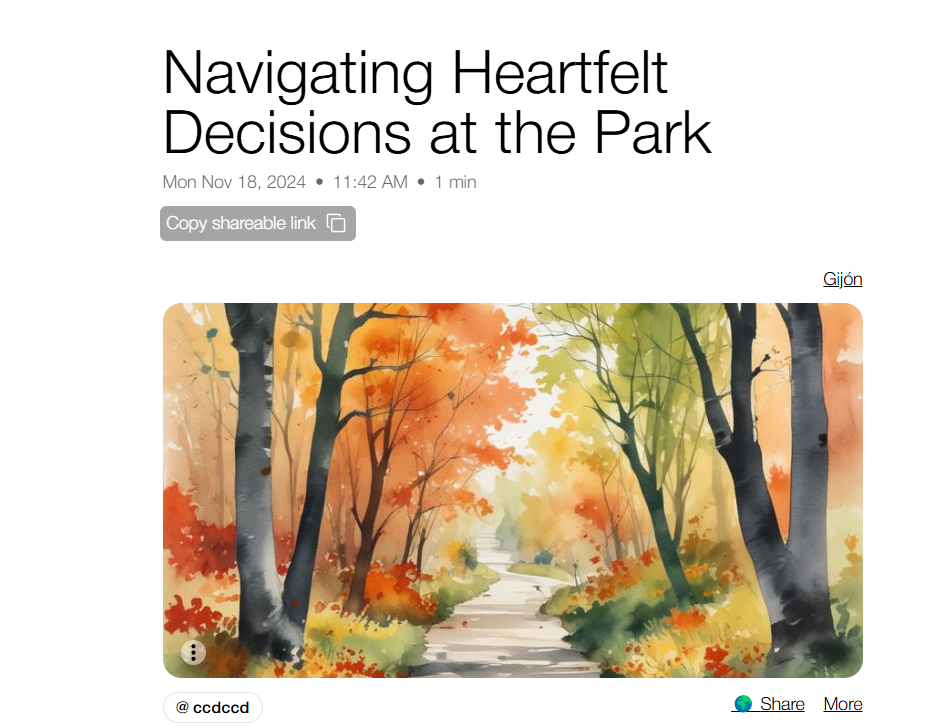
  • A beautiful image of the memory shared. (I know, not very useful but nice)
  • A summary of what the student shared, highlighting the main points and key ideas.
  • The full accurate transcription of what the student said, right there for you to read through or skim as needed.
  • The original recording, so you can listen if you want, but you’re no longer reliant on just the audio.
How Do Students Share Their Recordings? 

Very easy! After the recording is done, students just need to click on Copy Shareable Link. and send it straight to their teacher’s email. If you want to access your previous recordings, you’ll find them in the Memo tab.

Why I think this tool is a must-keep

Can you imagine? No more:

  • Playing back a recording ten times trying to catch every word.
  • Frantically jotting down notes as you listen.
  •  Worrying that you missed an important detail.

With this tool, you get a clear, written record of what each student said. This makes it so much easier to:

  • Provide detailed feedback.
  • Check for content understanding.
  • Highlight areas for improvement without struggling to hear what they meant.

I really think this could be a fantastic way to assess student speaking skills. It’s also a brilliant option for remote learning or when students are working on independent projects.

Follow us on


Engaging Students in Job Application Writing: from AI Tools to Traditional Clotheslines

If you’re anything like me, you probably feel the time crunch every time you try to squeeze in a longish writing task during a lesson. Let’s be honest, finding time for students to practice writing in class—beyond those quick sentences or short paragraphs—is tough!
I mean, there’s so much to cover!!! Besides, the second I announce a lengthy writing activity, I can see how the general mood changes, even mine.I know it is going to slow the pace, break the  flow of our lesson and a long etc , but… we know deep down that this activity is important.

The truth is I’d love to offload some of this writing practice as homework. I mean, wouldn’t it be easier to ask students to draft an essay at home and then review it in class? Sure… in an ideal world. But we’re not living in that world anymore, are we?  ChatGPT or any of its friends sure have something to do here.  I know that if I want to ensure my students are actually developing their writing skills, it has to be done in the classroom.

PREP

Before we get into the writing task itself, I dedicated several lessons to exploring the topic of work—covering vocabulary, discussing job roles, and what makes a strong job application. As you can probably guess, being a bit of an AI enthusiast, I have used different  AI tools to make this lesson happen. Here’s the step-by-step:

Step 1: Create a Presentation with AI Tools to Introduce the Task
  •  I relied on Perplexity for this because it not only generated a well-structured overview but also provided credible sources. This was key for a topic like job applications, where students need to trust the information.
  • I took the generated text from Perplexity and pasted it into Brisk Teaching, which automagically turned it into a Google Slides presentation, complete with relevant images. Now, it wasn’t perfect—just a draft—but it saved me a ton of time! I was able to quickly refine it by adding sections on indirect questions and formal connectors, tailoring it to fit my lesson objectives.

Ready-to-Use Materials: presentation

Step 2: Prepare Sample Sentences and Emails
  • I used Perplexity again to create sample sentences for the opening of the email, as well as two complete sample emails.
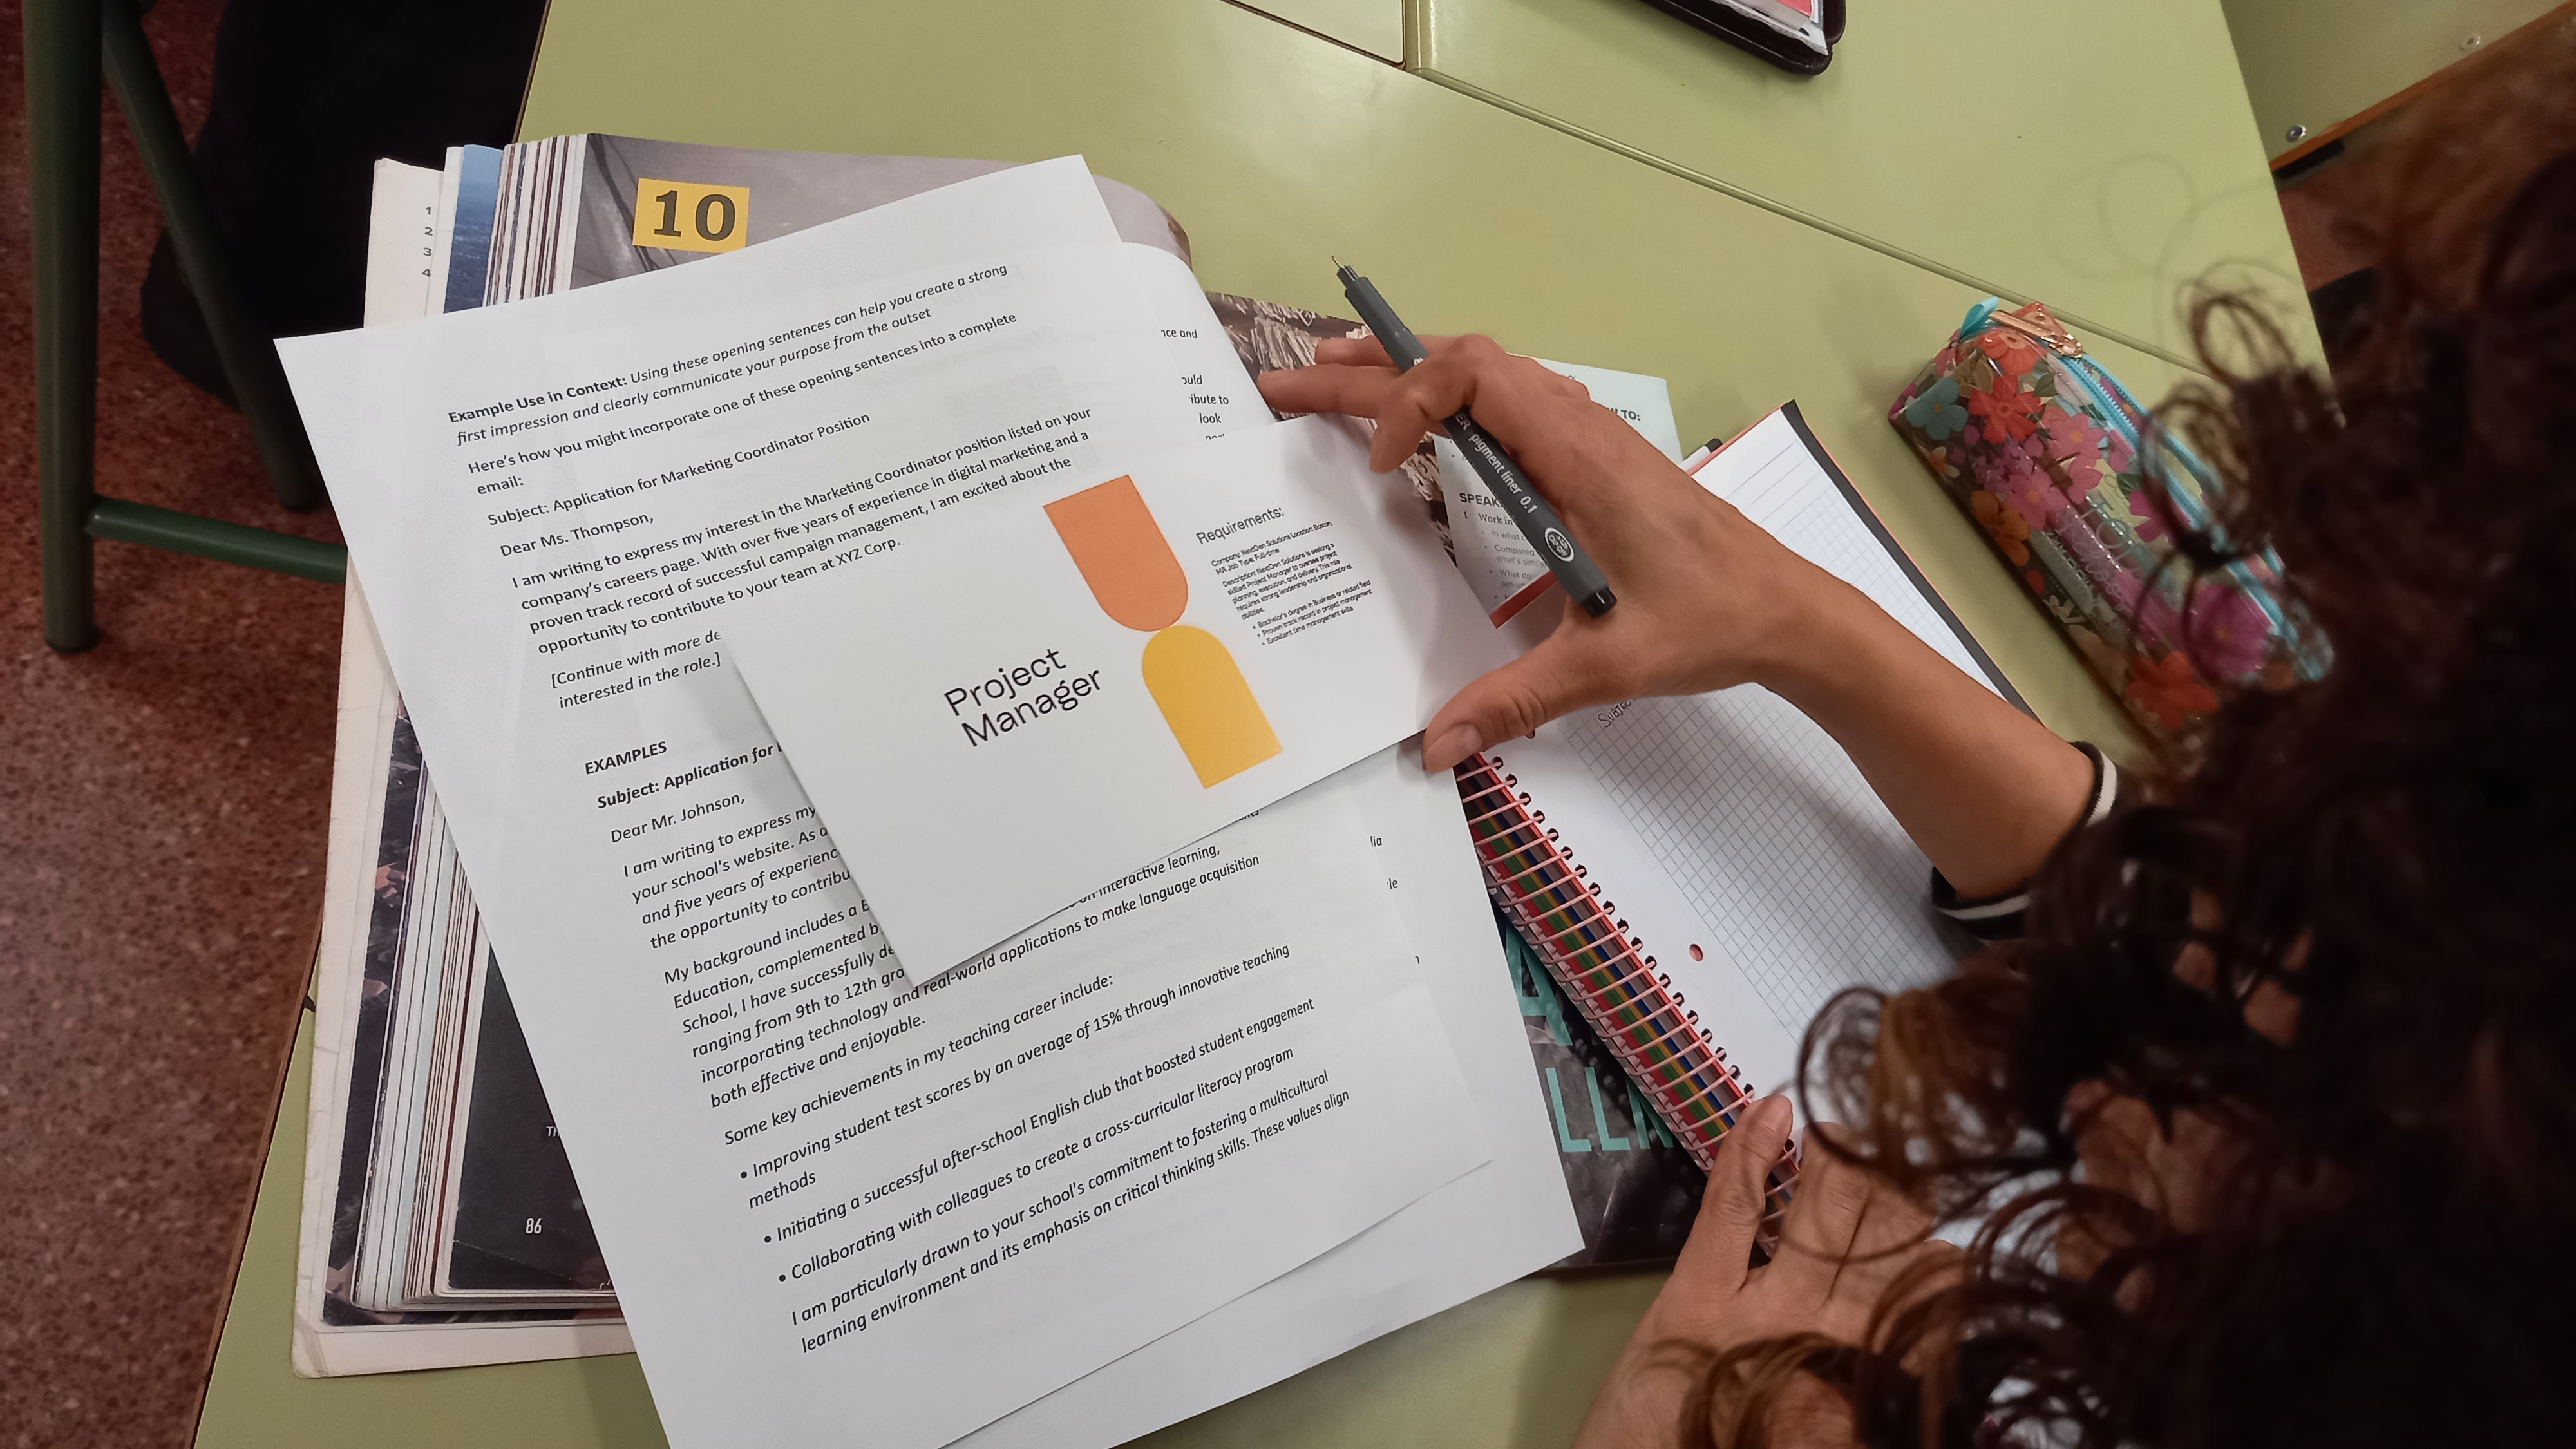
  • I printed these out as handouts and gave students 10 minutes to read through them. This step was crucial for modeling good examples and helping students see the structure of a formal email.

Ready-to-Use Materials: handout ,

Step 3: Generate Realistic Job Offers

Excited about writing? Let’s be honest: getting students excited about writing a job application can be really difficult. So, I decided to make it more engaging by giving them realistic job offers to choose from—just like they might find on LinkedIn. Did I create these from scratch? Nope! I used Canva’s AI tool to generate slides filled with job postings. It was fast and looked super professional.

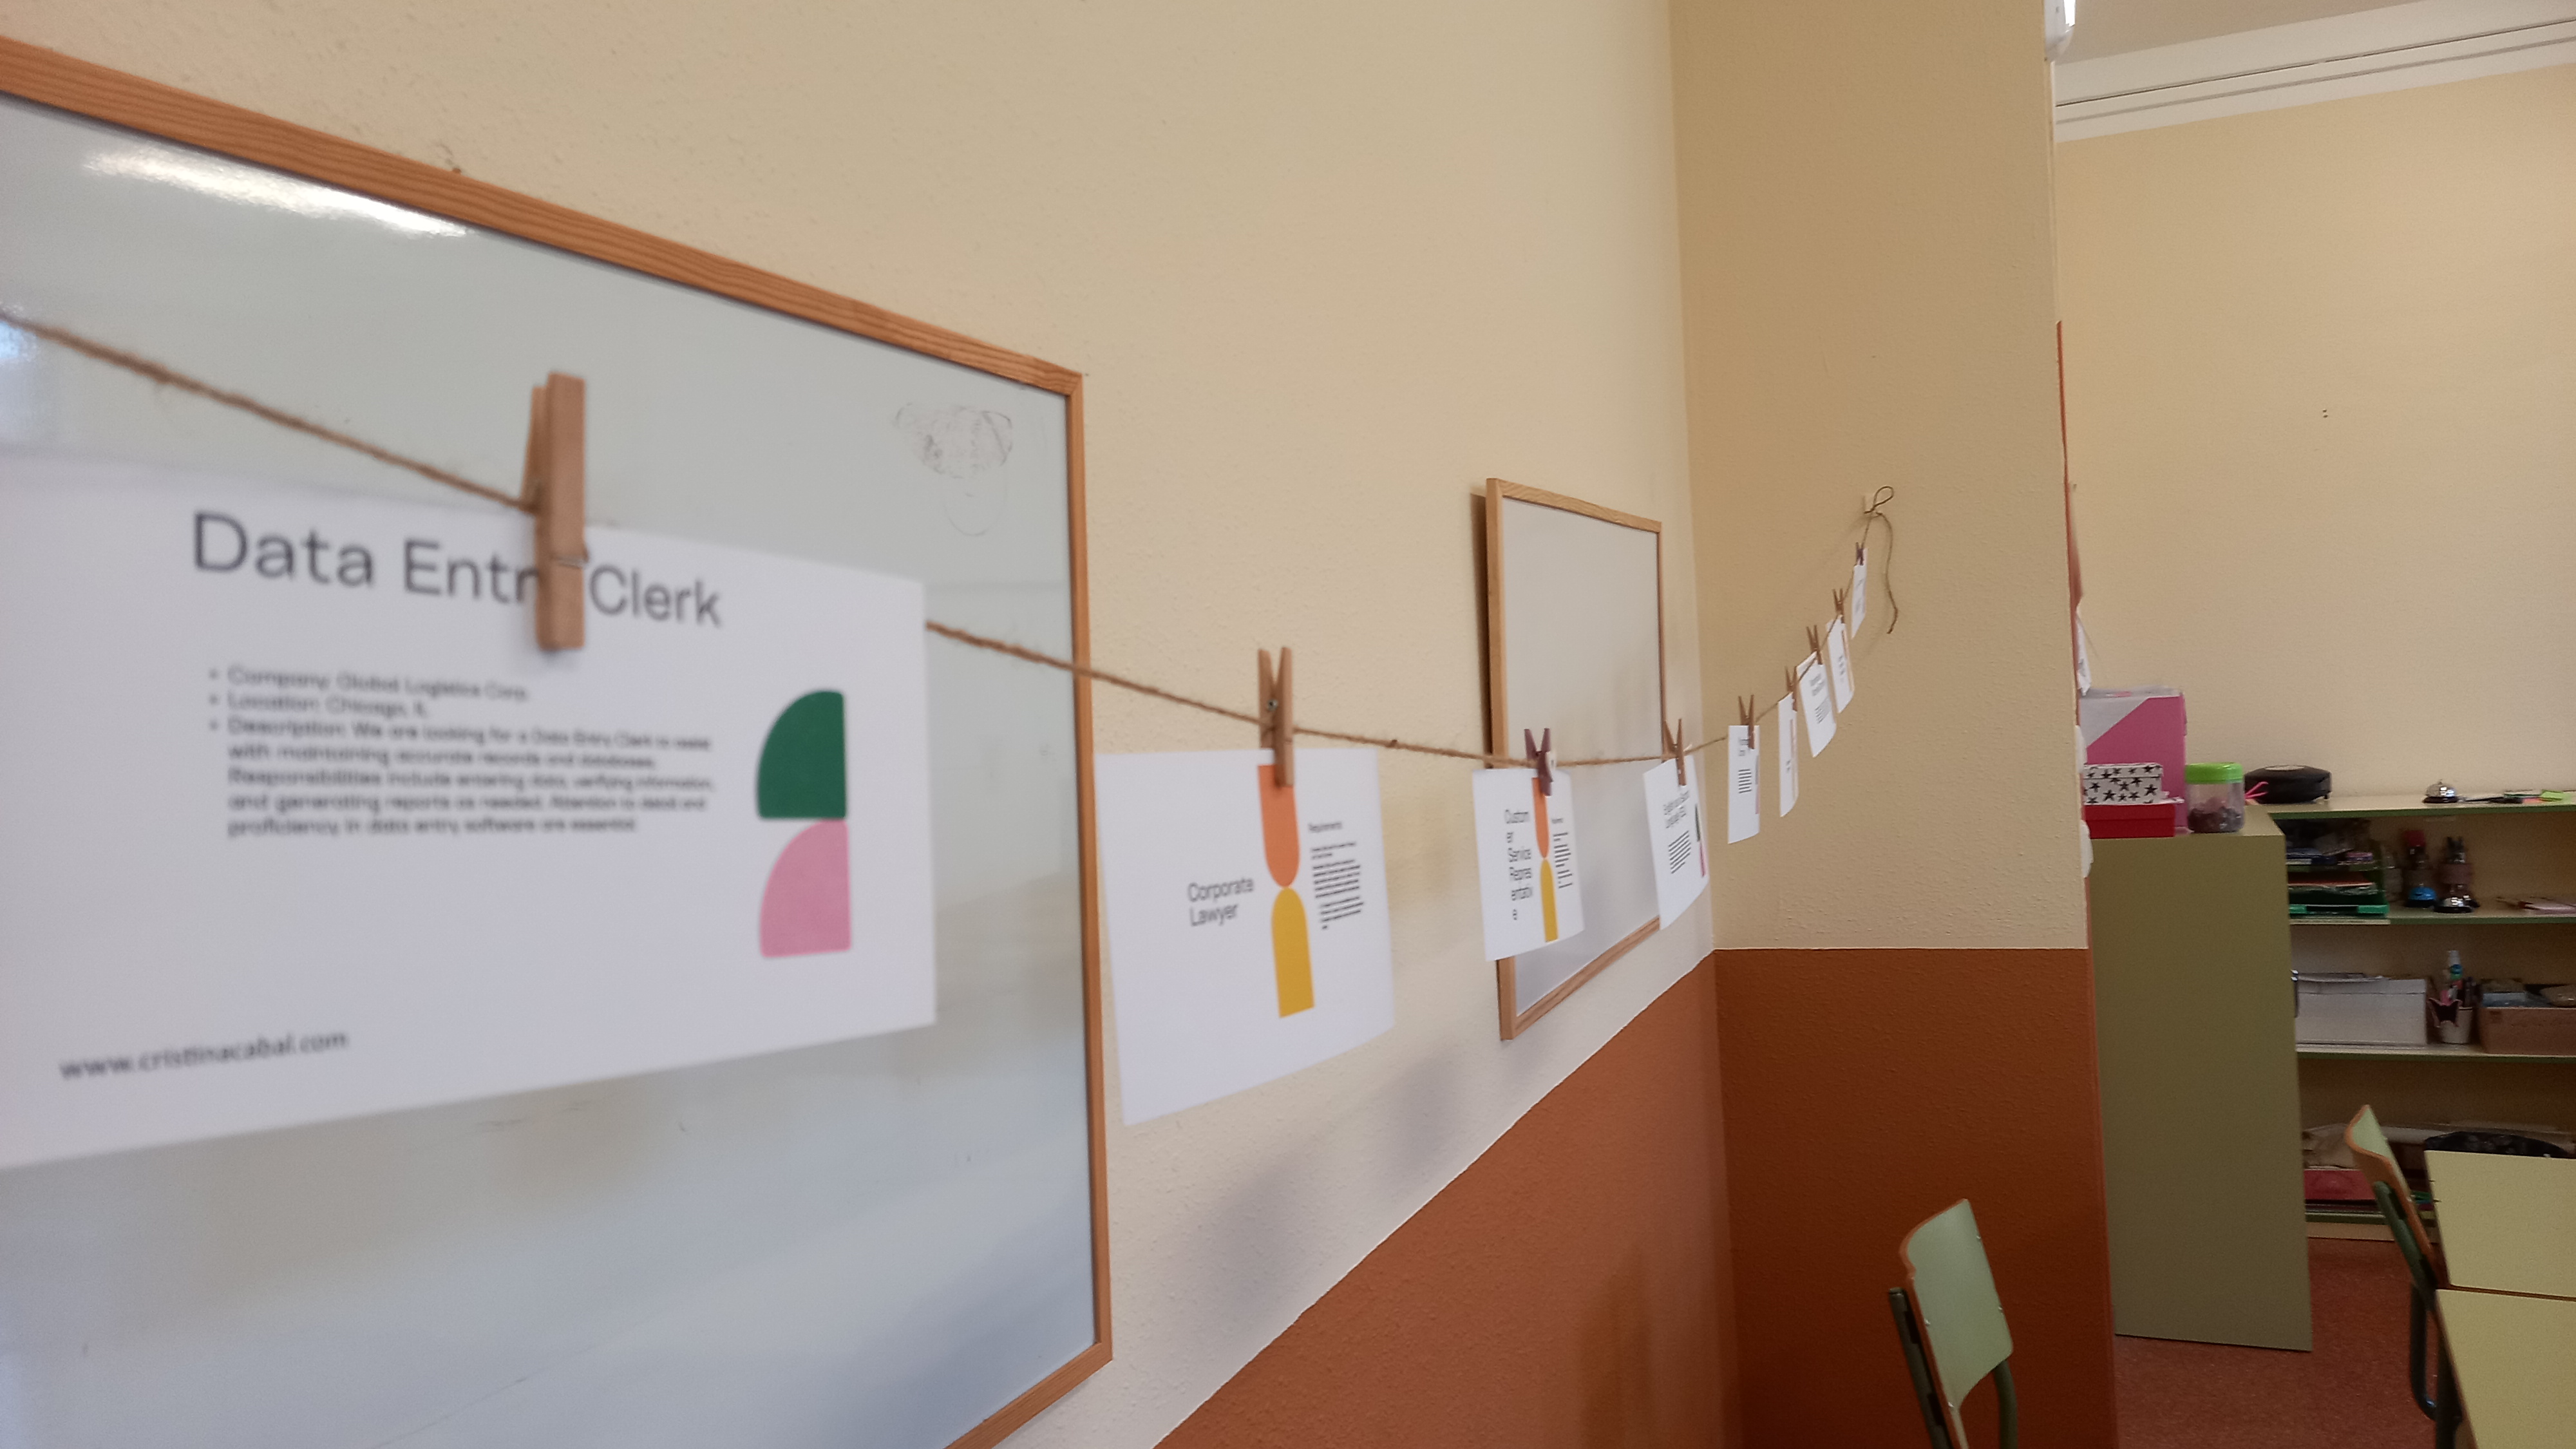
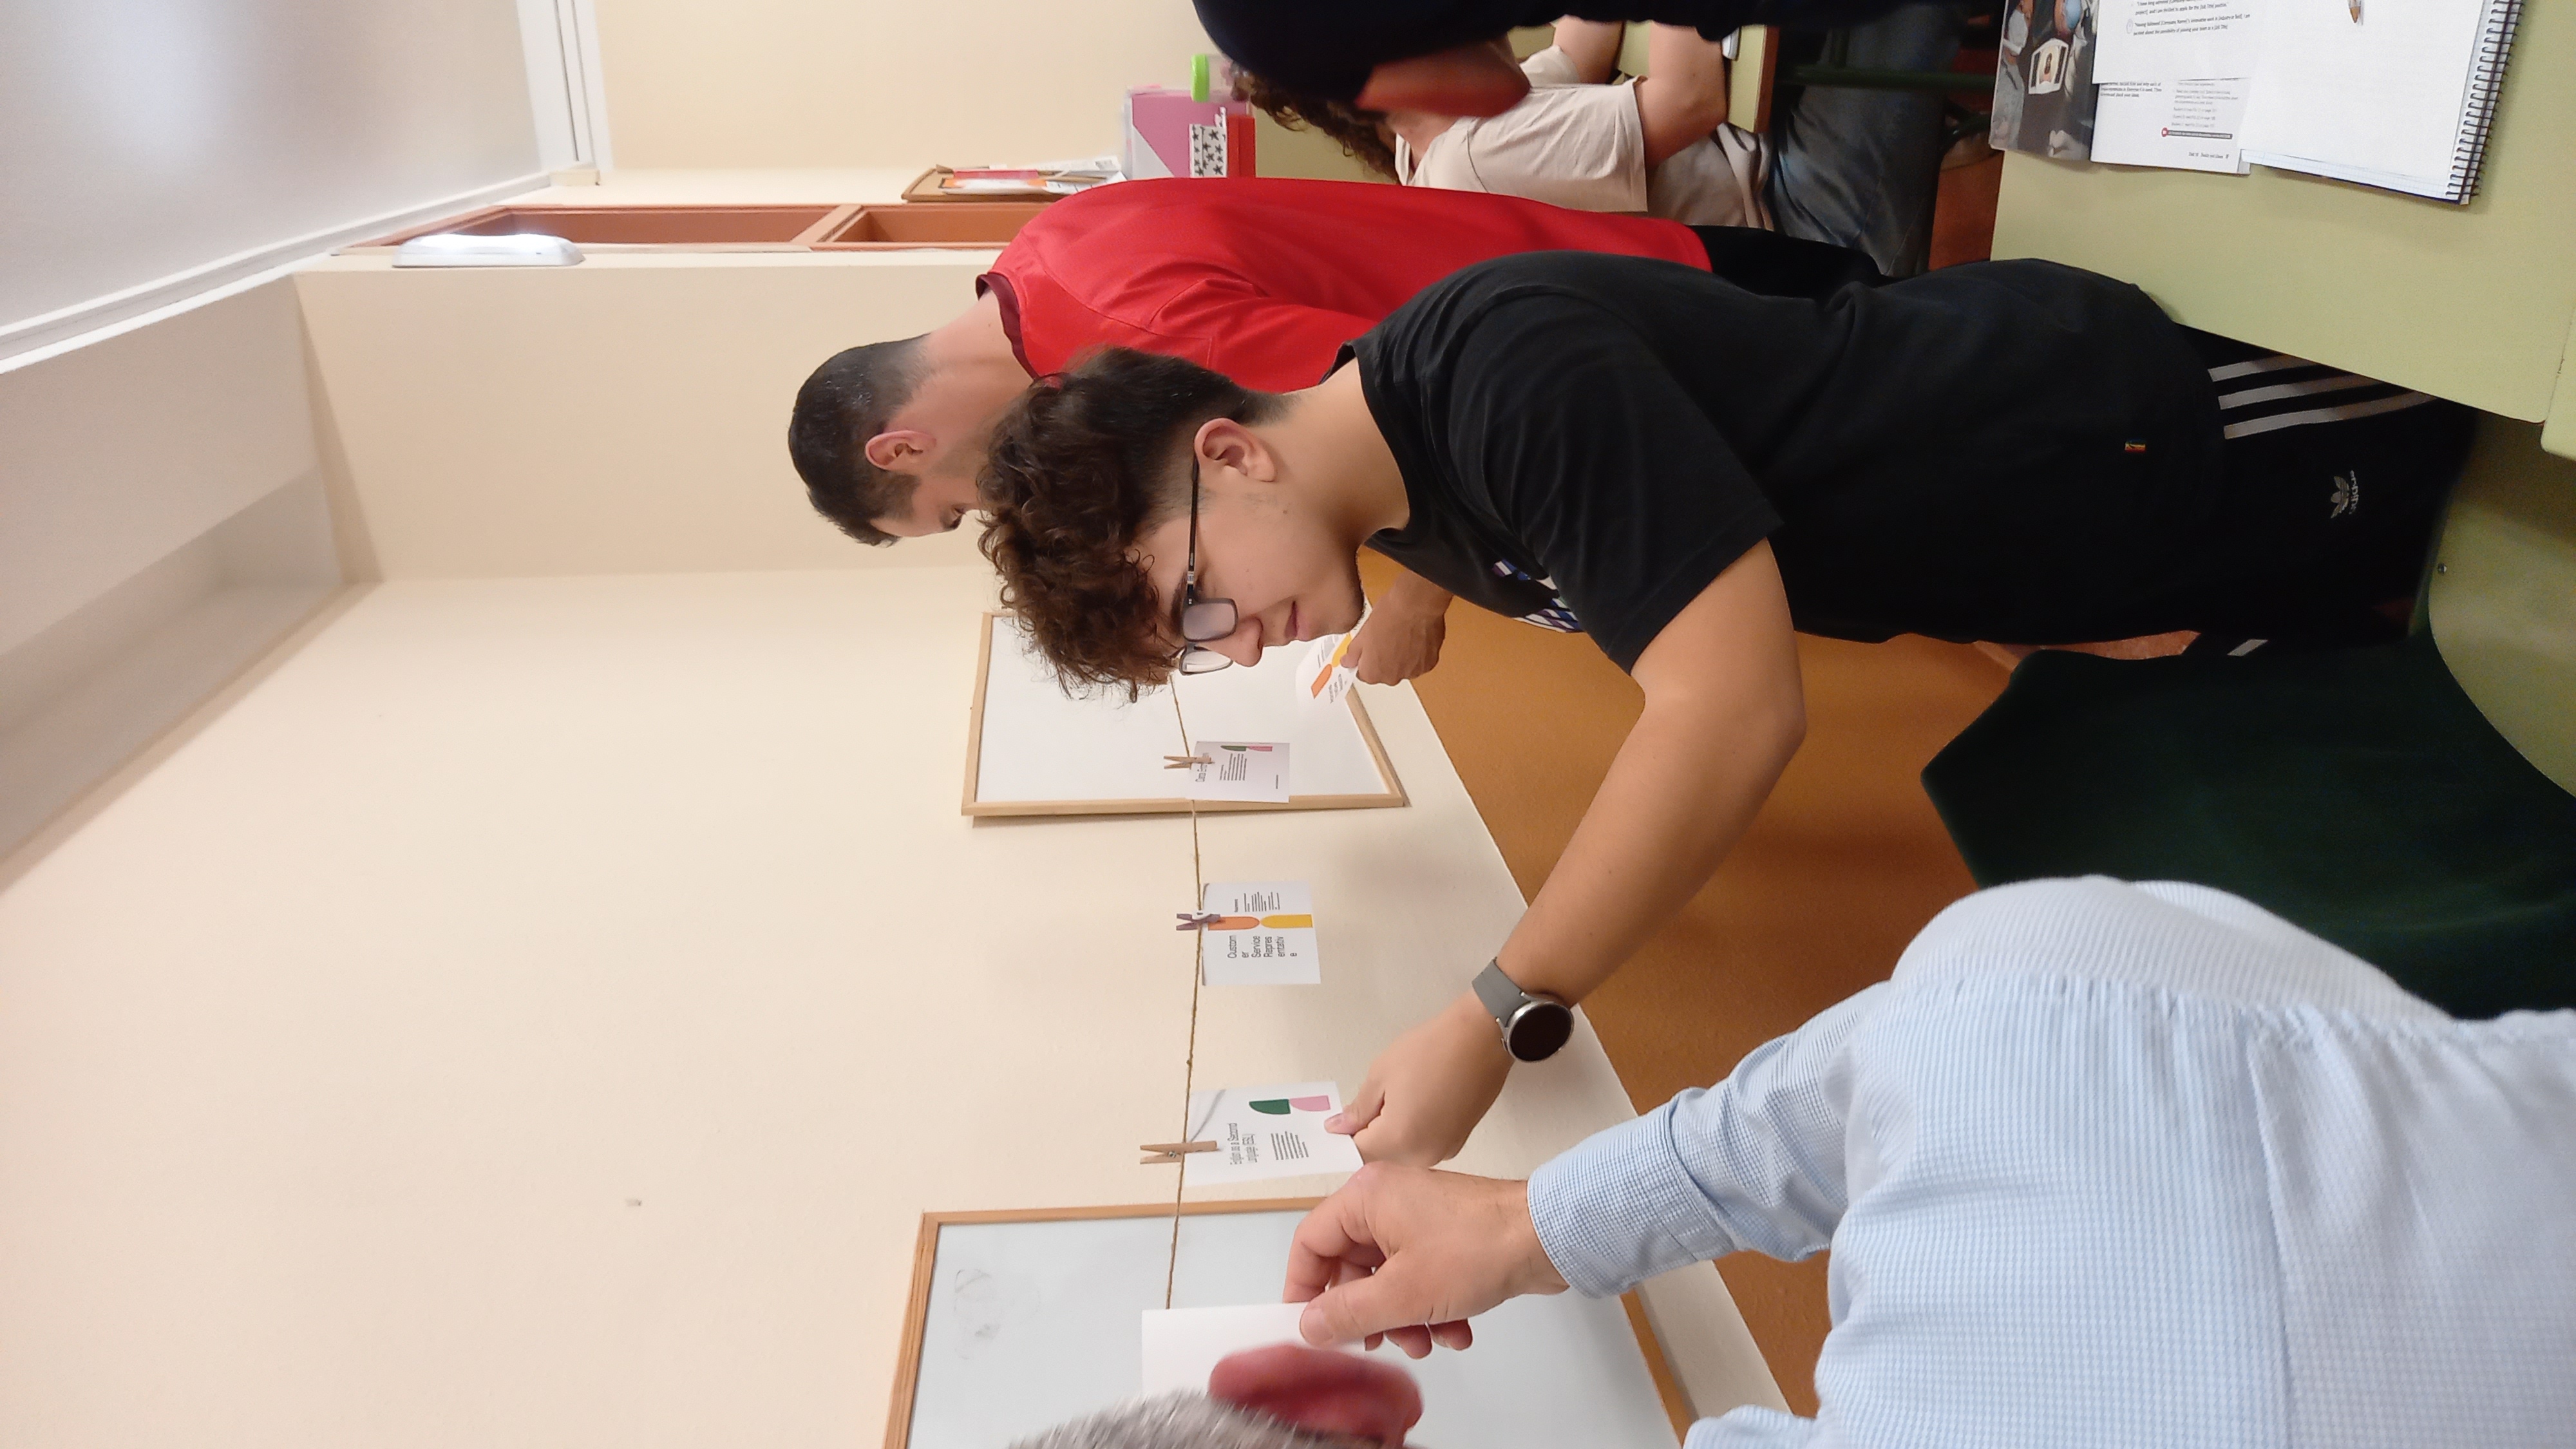
I printed the job offers and hung them up on clotheslines in the classroom, creating a job fair atmosphere. I asked students to head over to one of the clotheslines and pick out the job they’d like to apply for. You can print them here


LinkedIn Job Listings de cristina.cabal

Step 4: Time to Write!

With their chosen job offer in hand, it was time to write the email. I set a timer and gave students 20 minutes to complete their task. I encouraged them to use the sample sentences and email structure from the handout as a guide. This focused writing time was key—it kept everyone on task and ensured that the writing was happening in class, where I could support them.

Step 5: Showcase and Feedback

Once the emails were written, we moved into a gallery walk activity. Students pasted their job offer and application email on the walls. They then circulated around the room, reading each other’s work. This was a great way to share ideas and see different approaches.
While they were reading, I walked around and provided feedback, focusing on the most noticeable errors. It was an efficient way to address common mistakes and give students a chance to learn from each other.

That’s all! I hope your students enjoy this activity as much as mine did!  Give it a go, and let me know how it works for you!

Challenge 3. Magic! from a YouTube Video, Create a Quiz on Google Forms or a Presentation on Google Slides

Before I start, let me tell you that I’ve officially dubbed myself “The Free App Teacher” because every tool I share with you is either 100% free or comes with a super generous free version—perfect for teachers like us.

And you know how we’re always on the lookout for the next tool that can make our teaching lives easier and more dynamic, right? Well, this is Challenge 3, but hold on… it’s got a little twist. We’ve got two challenges using the SAME tool! Yes, that’s right. We’re about to take on two challenges with one amazing Chrome extension: Brisk Teaching.

Brisk Teaching is about to blow your mind with how easy it makes creating resources from just a YouTube video. In the quick and easy video (yes, it’s in Spanish, but trust me, you’ll follow along with no problem), I walk you through how in under 1 minute, you can generate either

1. A fully editable presentation in Google Slides
or
2. A fully editable quiz in Google Forms

And it’s all with just one click—seriously. It’s like magic!

How It Works

The first thing you need to do is install the Brisk Teaching Chrome extension. Don’t worry, I’ll show you how in the video. It’s super simple!

1.  Open the YouTube video of your choice (find something that’s relevant to your lesson).
2.  Open up the Brisk Teaching Chrome extension.
3. Now comes the fun part—choose what you want to create:
– If you need a presentation, click the “Presentation” button.
– If you’re in quiz-mode, hit Quiz instead.

And BOOM!  In seconds, you’ll have either an editable Google Slides presentation or a Google Forms quiz ready to give your students

Follow me on


Challenge 1: Create a Google Slides Presentation with just One Prompt

We all know how busy our days get. Between lesson planning, grading, and meetings, who has time to spend hours on presentations? Good news — I’ve got a solution that’ll save you time and energy!

I’ve started recording these super short video tutorials (in Spanish) to help busy teachers like us get our work done faster. I call them “Teacher Challenges” because I want to make the process fun, simple, and rewarding.

And don’t worry, these videos are quick, clear, and even if you don’t speak Spanish fluently, you’ll find them easy to follow.

Challenge 1: Create a Google Slides Presentation with ONE Prompt

Thanks to Magic School, you can create an entire Google Slides presentation just by typing a prompt. Yep, AI does the heavy lifting — you write a few sentences, and it generates the slides for you. It’s that simple and … free!

Watch the Video

In less than 3 minutes, you’ll see how to use AI to create a presentation with no hassle. Ready to take on the challenge?