Tag Archives: C1

Speaking and Writing: Let’s Get these Personality Adjectives Moving

Gallery walks must be one of my favourite dynamics. If we add speaking and writing, we have the whole package.

This activity takes something as simple as learning personality adjectives and turns it into an engaging speaking and writing task. The goal is for my students not just to memorize words like arrogant, generous, or shy—but to use them to express opinions and challenge ideas.

So in a nutshell, these are the steps to follow.

Materials: Posters (use mine if you wish), Functional language, Blue-tack or cello-tape, Optional post-it notes

  • REVISING: We start by revising personality adjectives. It’s the vocabulary we’re working on, so students already have a clear focus.

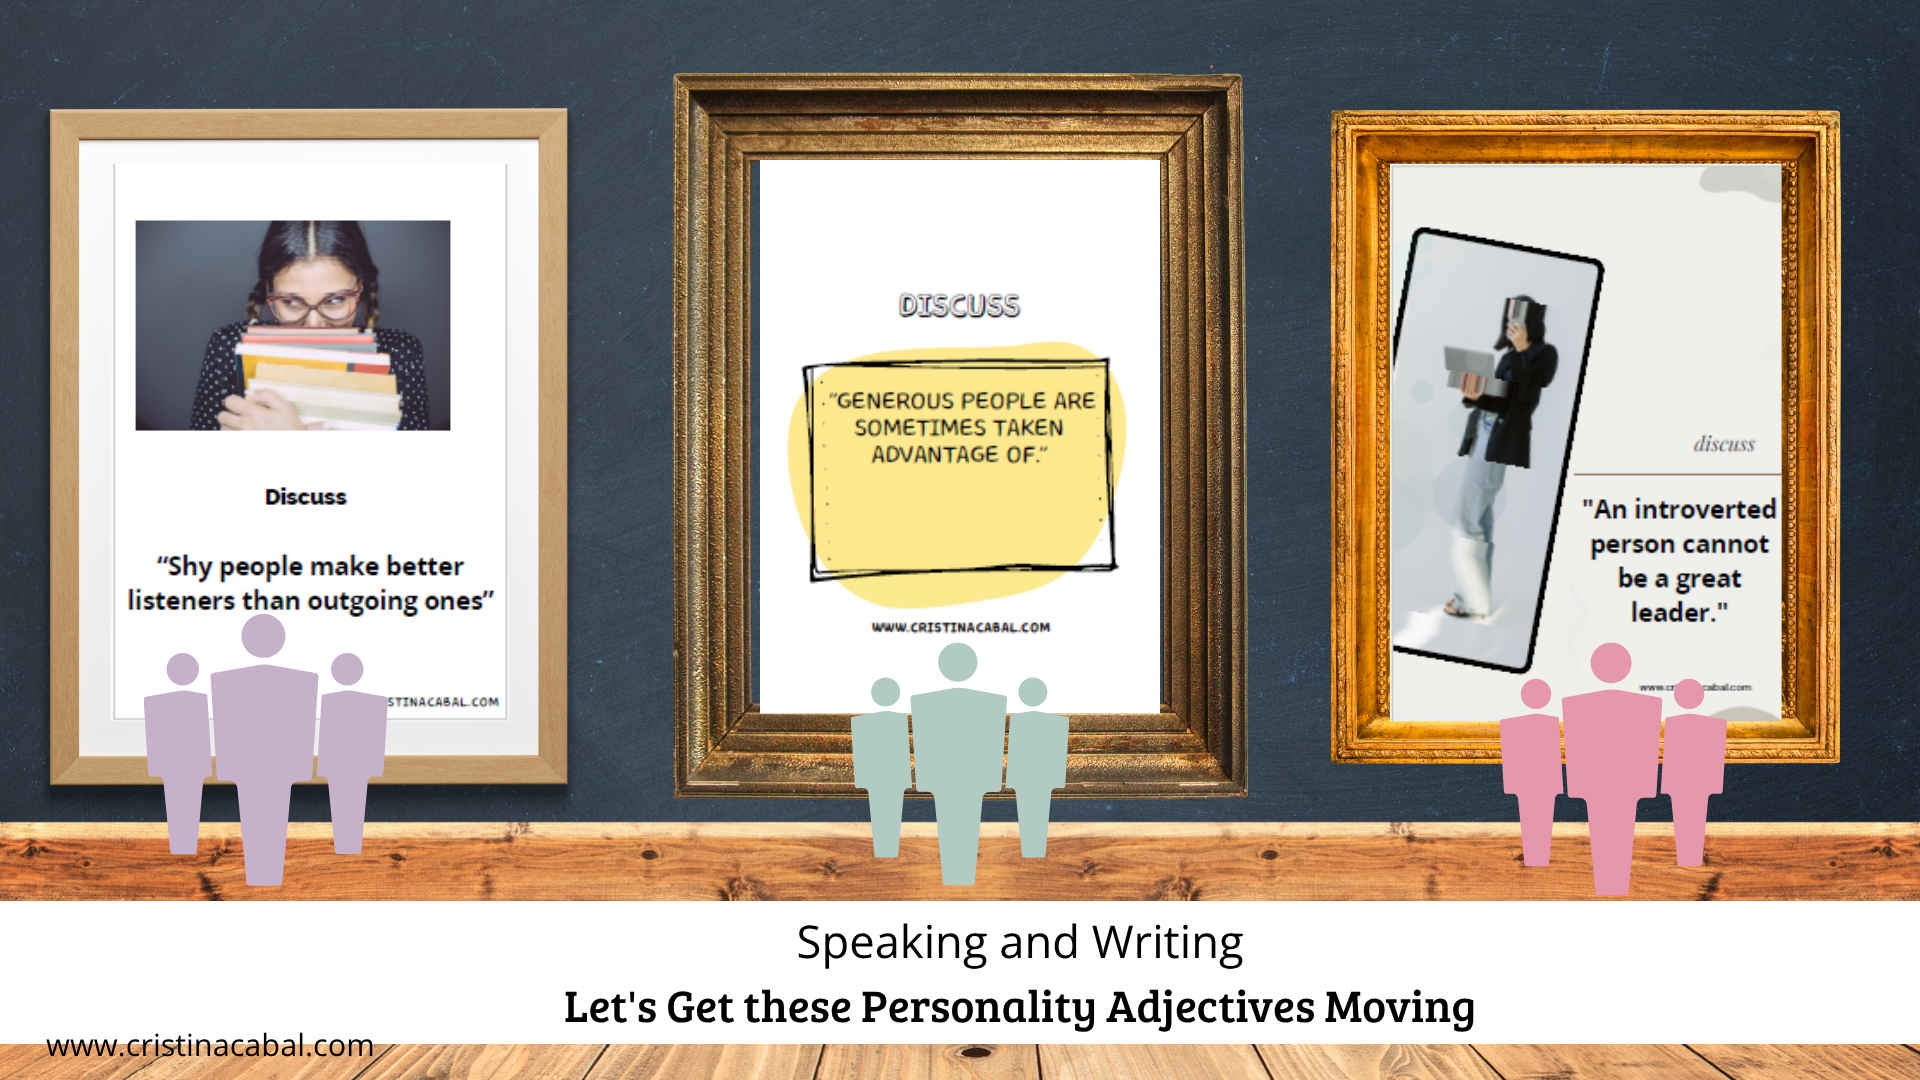
  • POSTERS. Posters with controversial statements, all using personality adjectives, are up on the walls. These are the ones I have used for this activity. You are welcome to use them.

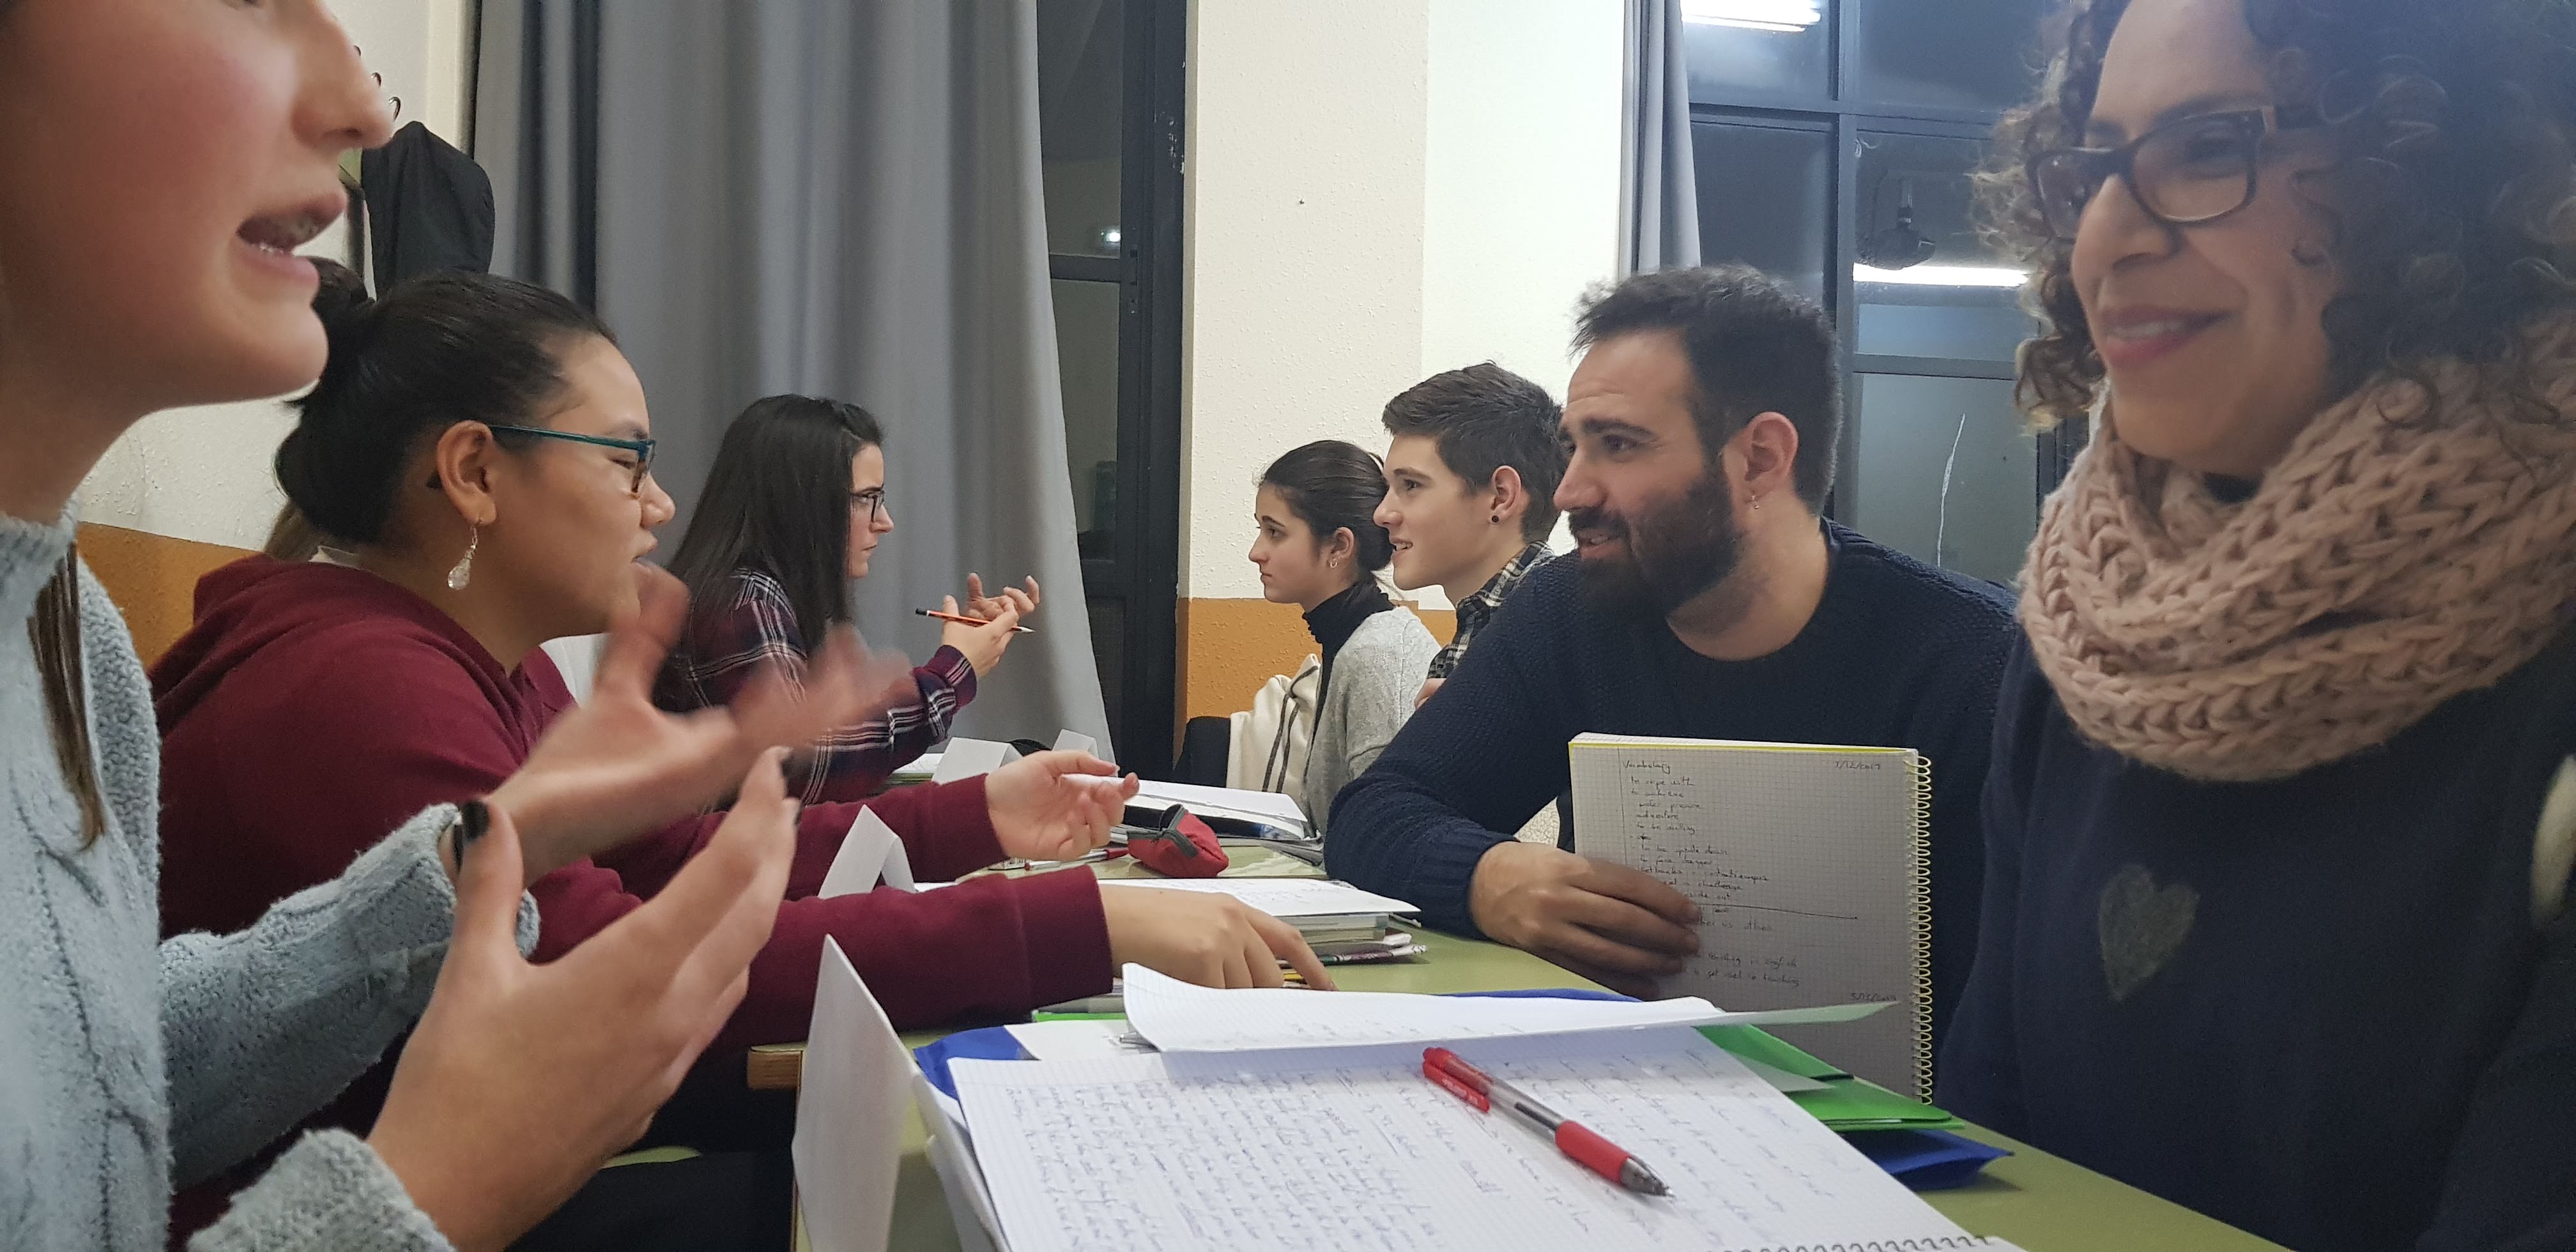
  • Round 1. Gallery Walking. Students walk around the room in pairs or threes, reading the controversial statements and discussing whether they agree or disagree with each statement. You might want to write on the board some functional language to express opinion.(link to photocopy above)

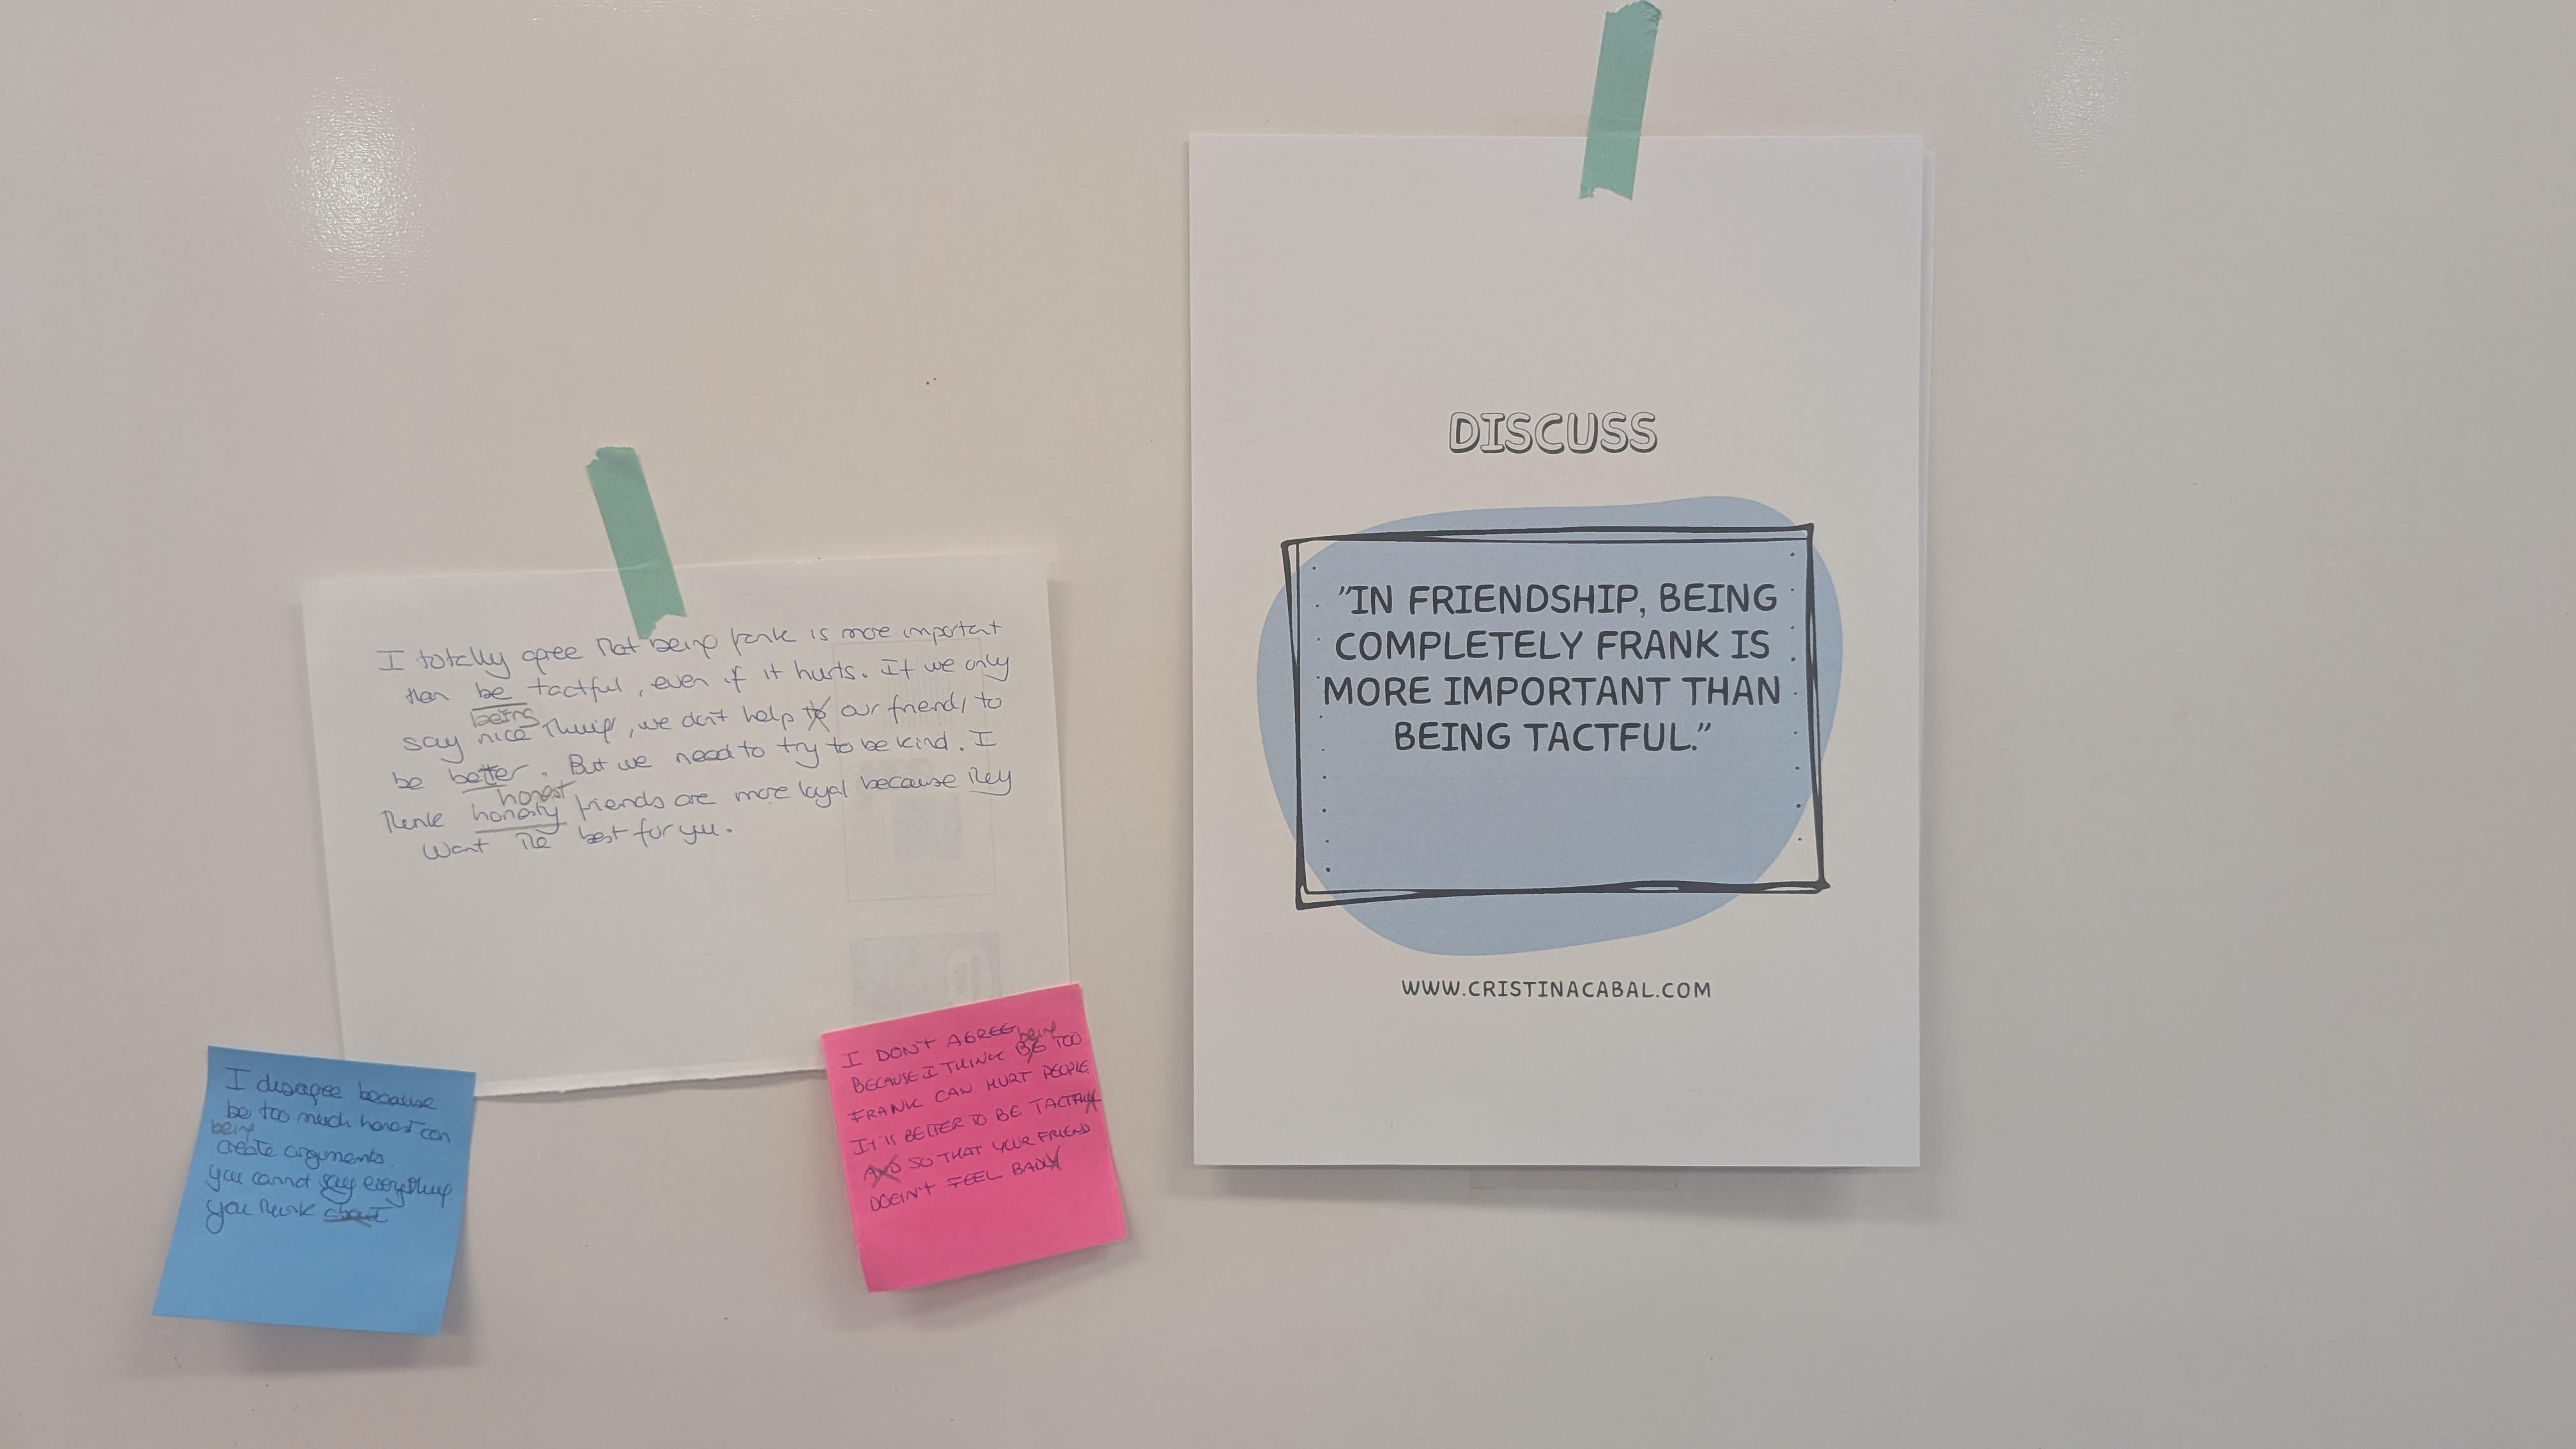
  • Round 2: Write it down. Back at their seats, each student, individually, chooses one statement they agree or disagree with and writes about 70–90 words explaining why they agree or disagree — encourage them to use personality adjectives in their writing. They then stick it next to the poster.

  • First side note: ask them to use their best handwriting. You know what I am talking about, don’t you? Sometimes reading students’ handwriting is like trying to decode ancient hieroglyphics!
  • Second side note: yes, after this first round, you should walk around reading what they have written   and correcting mistakes. I am afraid this is our job, too.

  • Round 3: Writing. React and respond. Students go around again, this time reading their classmates’ post-its. Then, they add a response—agreeing or disagreeing with their peer’s opinion, explaining why. Note: a couple of sentences would be enough this time.

Note: For Round 3, I give my students post-it notes in different colours. It never hurts to add a bit of colour to life.

When Your Students Make YOU the Star of Their Halloween Story… with a Little Help from AI!

Just imagine that you give your students a spooky Halloween writing task and you -their teacher – are the main star.  Have a look!

This is AI. Free and simple.  This little video is easy to make; Find a photo of yourself, choose a template , upload your photo and click Send. It only requires about 2 minutes, and the result is stunning. Just what we need to engage our students and make them think we are just geniuses at generating videos.

First, I will show you how to create the video clip and then, I will share how to use it in my class and with my students.

  1. Find a good photo of yourself to upload.
  2. The tool is PixVerse. It is Freemium and it gives 60 credits daily. With 60 credits, you can create two or maybe three video clips daily.
  3. Watch the video below to see how easy it is to create a video clip.Play around with other templates, it is a lot of fun.


Now, the writing task. 

Activity: What Happens Next?

This is a traditional narrative writing activity where a short, dramatic video serves as the story’s “inciting incident.” Students will watch the clip and then write the rest of the story, focusing on plot development, descriptive language, and a clear resolution.

Learning Objective. Students will practice using past tenses (Past Simple, Past Continuous), sequence connectors, and descriptive vocabulary related to action and suspense.

Lesson Procedure

Step 1: Introduction & The Prompt (5 mins)

  • Tell your students: “We are going to watch the beginning of a Halloween horror story. As you’ll see, the main character is me, your teacher. Your mission is to write the rest of the story: what happens immediately after the clip ends, and how it all concludes.”
  • Play the video for the class. Play it a second time so they can absorb the details of the scene.

Step 2: Guided Brainstorming (10 mins)

  • Before students begin writing, project or write the following prompt questions on the board. Give them a few minutes to think and jot down some ideas. This will help structure their stories.

Guiding Questions:

    1. The Immediate Action: What happens in the five seconds after the video ends? Does she fight back? Does she scream for help? Is she dragged into the dark room?
    2. The Attacker: Who is under the Ghostface mask? Is it a student playing a prank, or is it someone truly dangerous? What is their motive?
    3. The Rising Action: How does she try to escape? Does she find a weapon (a book, a heavy pen)? Does someone else enter the scene (another teacher, the school janitor)?
    4. The Resolution: How does the story end? Does she get away and call the police? Does she manage to unmask the attacker, revealing a huge surprise? Or is it a tragic ending?

Step 3: Individual Writing Task (20-25 mins)

  • Instruct students to write a short story (around 200-250 words) that continues directly from where the video clip ends.
  • Remind them to use their brainstorming ideas to build a complete narrative with a beginning (the video), a middle (their rising action), and a clear end (their resolution).

Step 4: The Horror Gallery Walk & Peer Voting

Time Allotment: 15 minutes

Once they have finished, post their stories on the classroom walls to create a “Horror Gallery.” Students will stand up and move around the room to read the different creative endings their classmates have imagined. After reading them, they will vote for the story they liked the best.

Yes, don’t ask, we will need to collect their stories and give them feedback of their mistakes.


C1 Speaking Interaction? Let’s Make It Click!

Lately, I’ve been on an absolute writing frenzy—you know that creative wave where ideas just won’t stop flowing? That’s me right now. Between lesson planning, AI experimenting, and a mild obsession with coding, I’ve been typing like there’s no tomorrow. And honestly? I’m loving every minute of it.

With exams creeping up on us (yes, already!), I know many of us are looking for ways to help our students feel ready—especially for that tricky interaction task in the speaking exam. You know the one: they’re given a role, a partner, a situation, and then… boom! Time to think fast and speak even faster.

Now, this little resource is designed specifically for C1 students. That’s the level I’m teaching this year, and honestly? Every idea I explore, every tool I create—it’s all with them in mind and thanks to Educastur, which kindly published last year’s real C1 interaction tasks, our students can now see exactly what the exam looks like.

And here’s where my latest obsession kicks in—yep, coding! I’ve totally fallen down the rabbit hole and I decided to use that new energy to create something useful. So, I built a simple, clean little app that puts all those tasks in one place. By the way, I have already mentioned that, but I now nothing about how to code. Nada.

So, scroll through, choose a topic, check out the roles, and let’s practice practice, reflect, and prepare like pros.
I built it with Google Gemini (amazing tool, by the way), and YES—it’s completely free. I’m the “free APP teacher,” remember?

Studying for Exams: How to Write a Letter to the Editor

Writing a Letter to the Editor isn’t exactly the most exciting task on the writing syllabus. It doesn’t come with flashy visuals or dramatic plot twists. But here’s the thing—it’s a classic exam question, and with exams just around the corner, we can’t afford to skip it.

The good news? Once you understand the structure and purpose, this writing task becomes a lot more manageable—and even a little empowering. After all, a letter to the editor is your chance to share your opinion, raise awareness, and suggest solutions to real-world problems.

PDF Table format with Structure, Useful Sentence Starters and High-Impact Vocabulary. I have put in bold the most advanced structures, in case you want to go the extra mile 🙂

How to Write a Letter to the Editor

Step 1: Understand the Purpose

A Letter to the Editor is your way of responding to a public issue, article, or event. You’re not just giving your opinion—you’re raising awareness, persuading others, and sometimes even suggesting action.

Typical prompts might ask you to:

  • Express your opinion about a recent news story
  • Respond to someone else’s opinion
  • Suggest improvements or solutions to a problem

Step 2: Structure Your Letter

Think of your letter as a mini-argument with a clear beginning, middle, and end:

1. Salutation

Use a formal greeting:  Dear Editor, To the Editor,

2. Opening Paragraph – Why You’re Writing

State the reason for your letter clearly and briefly. Mention the article or issue you’re responding to.
I am writing in response to your recent article on plastic pollution in local parks.

3. Main Body – Your Argument (1–2 Paragraphs)

Explain your opinion. Use clear points and examples. Stay polite, even if you strongly disagree.
Many people underestimate the damage plastic waste causes to wildlife. It’s time for local councils to take real action.

4. Conclusion – Wrap It Up

Restate your point and, if appropriate, suggest a solution or call to action.
I strongly encourage the community to support local clean-up efforts and reduce plastic use.

5. Sign-Off

Formal and polite, without using your full name in exams.
🖊 Yours faithfully,
Concerned Student

Step 3: Use the Right Language

  • Keep it formal but not stiff: no slang, contractions (like “I’m” or “don’t”), or emojis.

  • Use modals to sound polite and persuasive: should, must, could, would

  • Try linking words for clarity: Firstly, In addition, However, Therefore, In conclusion

Step 4: Common Mistakes to Avoid

🚫 Don’t be too emotional—stick to reasoned arguments
🚫 Don’t forget the format (especially the greeting and sign-off)
🚫 Don’t use informal expressions or abbreviations

EXAMPLE

I have put in bold,

  • connectors
  • high-impact vocabulary
  • grammar structures

Dear Editor,

I am writing in response to the article “Why We Must Ban Mobile Phones in Schools,” published on 8 May in your education supplement. While I acknowledge the concerns raised regarding distractions and misuse, I believe that a complete ban would be both counterproductive and short-sighted.

In today’s digital world, mobile phones are no longer merely tools for entertainment; they enhance students’ engagement and autonomy. Many educational apps, cloud-based platforms, and AI-powered tools can significantly improve students’ engagement and autonomy. For instance, language learners can access dictionaries and pronunciation tools in real time. Additionally, augmented reality apps can be used  by science students  to visualize complex processes. To deny students access to such resources is, therefore, to deny them the opportunity to become digitally literate—a skill that is not just useful but essential in the 21st-century workplace.

Of course, clear boundaries must be set. Mobile phones should only be permitted for academic purposes, under teacher supervision. Schools must establish robust guidelines that mitigate misuse; however, they should also integrate the positive potential of technology into the classroom. Banning mobile phones altogether conveys the wrong message: that we are unwilling to adapt, innovate, and trust students to use tools responsibly.

In conclusion, rather than banning mobile phones outright, educators should integrate them meaningfully into teaching practice. With proper regulation, these devices can support learning, not hinder it.

Yours sincerely,

Cristina Cabal, Avilés, Spain

But Wait! Classes are Over. Who Helps you Practise Speaking Now?

Oral exams are coming fast, and while nothing replaces good old-fashioned studying, AI can seriously level up the way you (or your students!) prepare. We’re talking instant feedback, personalized practice, and support that’s available 24/7.

It’s like having a private tutor in your pocket—but way cooler. And no, it won’t do the talking for you (sorry!). But it will help you speak more confidently, sound more natural, and feel way more prepared.

DESIGNING AN APP THAT HELPS THEM PREPARE THE MONOLOGUE

And just like that!

Who would’ve imagined that I, someone with zero experience in coding, could actually design my own app? Honestly, it still surprises me! Artificial Intelligence has completely transformed the way I teach, and the support I can now offer my students is truly next-level.

So, my students are currently preparing for an oral exam that includes two key parts: a monologue and an interactive task. In this case, I decided to focus on helping them tackle the monologue—and I created an interactive app designed specifically for that. Yes!! Me! And if I can do it, believe me, anybody can!

Link to the app and instructions.

APP de cristina.cabalWhat Does the App Do? It’s simple but super effective:

  1. Practice Simulations: The student starts by choosing a topic from a list (think: work, crime … you name it!). And as soon as they select one, the app automatically displays 3 prompts related to that topic. Just like the real exam!
  2. Vocabulary & Grammar Boost: Before jumping into the speaking task, students do some brainstorming—in the space provided, they write C1-level topic-related vocabulary and advanced grammar structures that can really impress the examiner. This gives them a chance to reflect and retrieve useful language before speaking.
  3. Time Management: There’s a built-in 3-minute timer, so they get used to managing their time, just like in the real exam.
  4. Continuous Practice: Once they finish one topic, they simply move on to the next. It’s all about practice, practice, practice.

And because I’m all about using free tools (yes, still flying the Free App Teacher flag!), I used Google’s Gemini  (the free version) to build the app (you just need to start  with the prompt” I want to create an interactive app that… (purpose)” and then, iterate until you get what you want. I then embedded the code on Google Sites, another totally free and user-friendly platform.

I’ve been experimenting with app design for quite a while now, but this particular app was inspired by one shared by the brilliant Eli Gozalo, who used a similar structure for a speaking task. Her work sparked the idea, and I adapted it to suit my students’ exam prep.


BUT WAIT—WHO’S CORRECTING THEIR SPEAKING? USING CHATGPT ADVANCED MODE.

Okay, so if you’re thinking, “Wait, ChatGPT can actually listen to my students speak and give feedback?!”—The answer is YES. It totally can. But only if you’re using the mobile app (yep, the magic happens on your phone!). This is where ChatGPT’s advanced voice function comes in! It’s like having a private tutor available 24/7. I ask my students to practise their monologues out loud and then use ChatGPT to give them corrections and suggestions.

Here’s a simple set of instructions I give ChatGPT:

  1. ChatGPT acting as a tutor , correcting mistakes and giving feedback

 “Hi ChatGPT, I need your help! I’m going to practise a monologue for my speaking exam. Please listen carefully and, when I finish, give me:

  1. Corrections for any grammar, vocabulary, or pronunciation mistakes

  2. Suggestions for using more advanced vocabulary or grammar

Let me know when you’re ready, and I’ll begin!”

2. ChatGPT modelling asnwers to inspire you.

Hi ChatGPT, please respond to the following prompt as if you were a C1-level English learner (adult, non-native). Your answer should  be about 45 seconds long and demonstrate advanced vocabulary, accurate grammar, and complex sentence structures. This is the prompt … ”   “

And just like that, students get instant feedback. It’s targeted, it’s specific, and it helps them grow fast. Perfect??? Of course, not!  Only teachers are perfect!! hahahah!