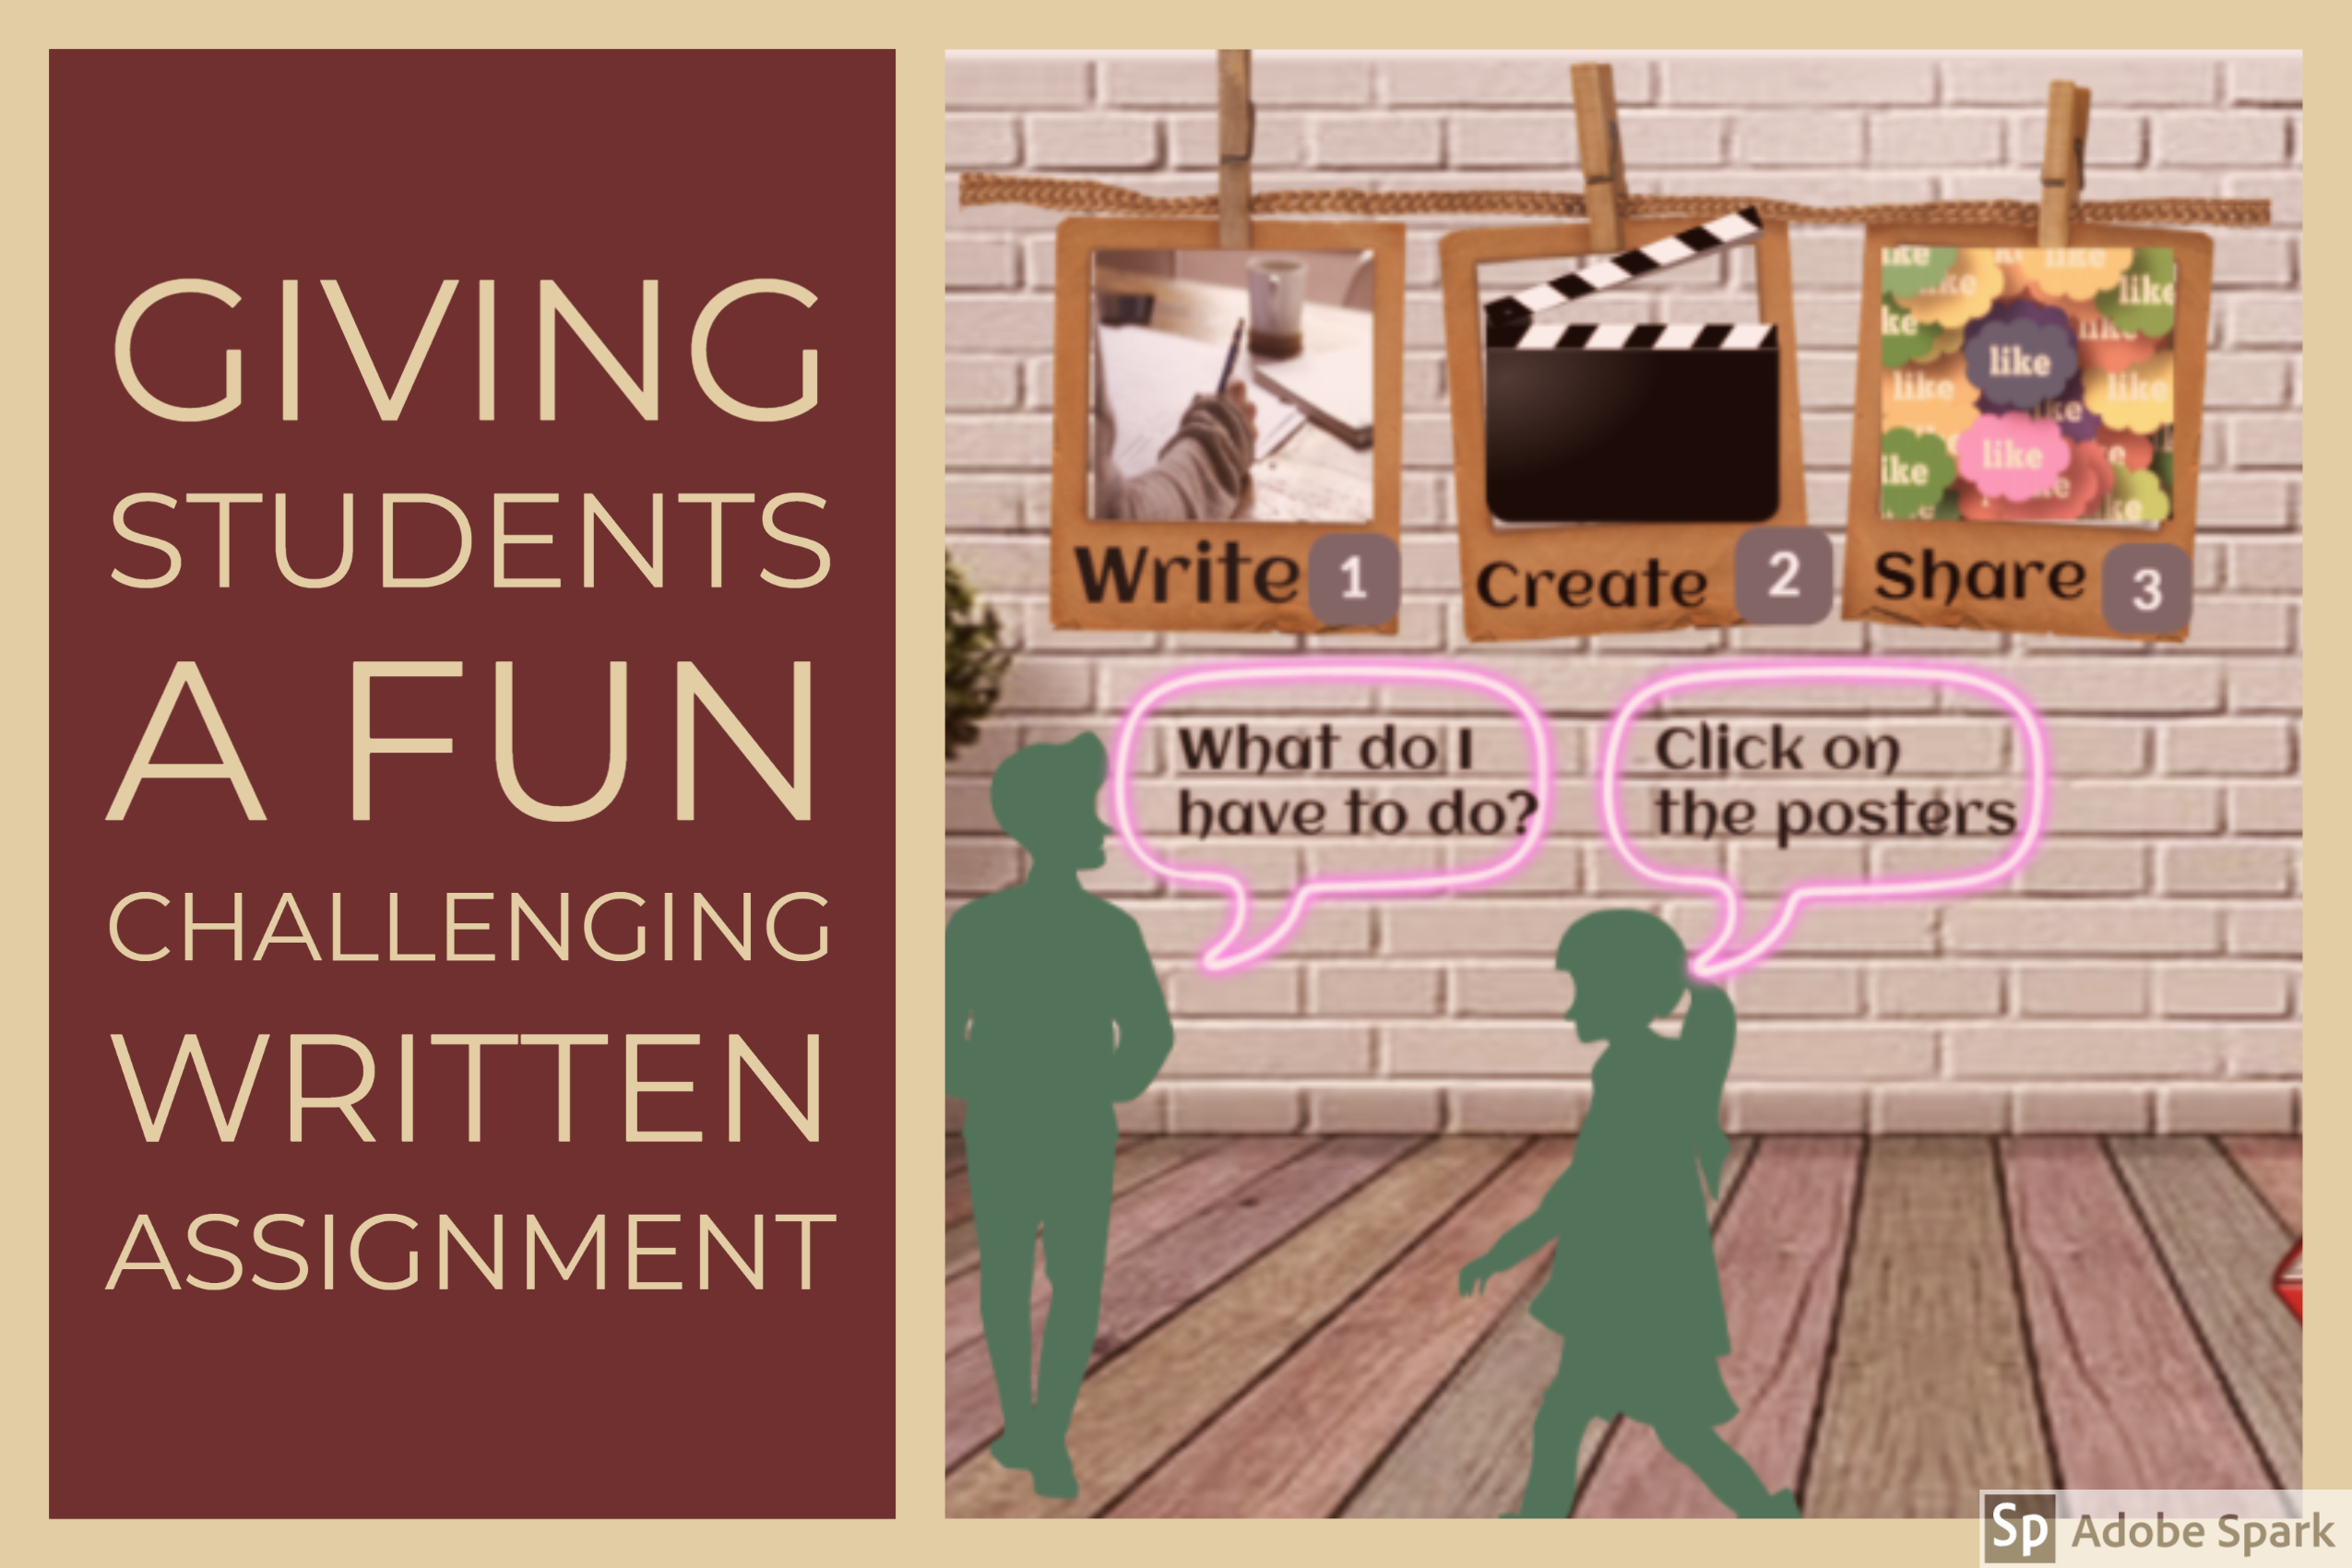
So there’s mediation written assignments, then there’s creative mediation written assignments and then, there’s ANIMATED mediation written assignments.
Naturally I am a huge supporter of anything that involves using digital tools, and this activity is packed with digital tools; not only on my end, to create and present the assignment to my students but also on their end, to animate and share their creative animated task.
Here’s what we’re working with:
I have used: Google slides, Genial.ly, the Google chrome extension Bitmoji
Students will have to use: Render Forest and then share their animate videos on a Padlet.
The activity is explained in the Genial.ly below.
Note: click on the arrows, on the bottom right corner of the Genial.ly, for a better experience. 🙂
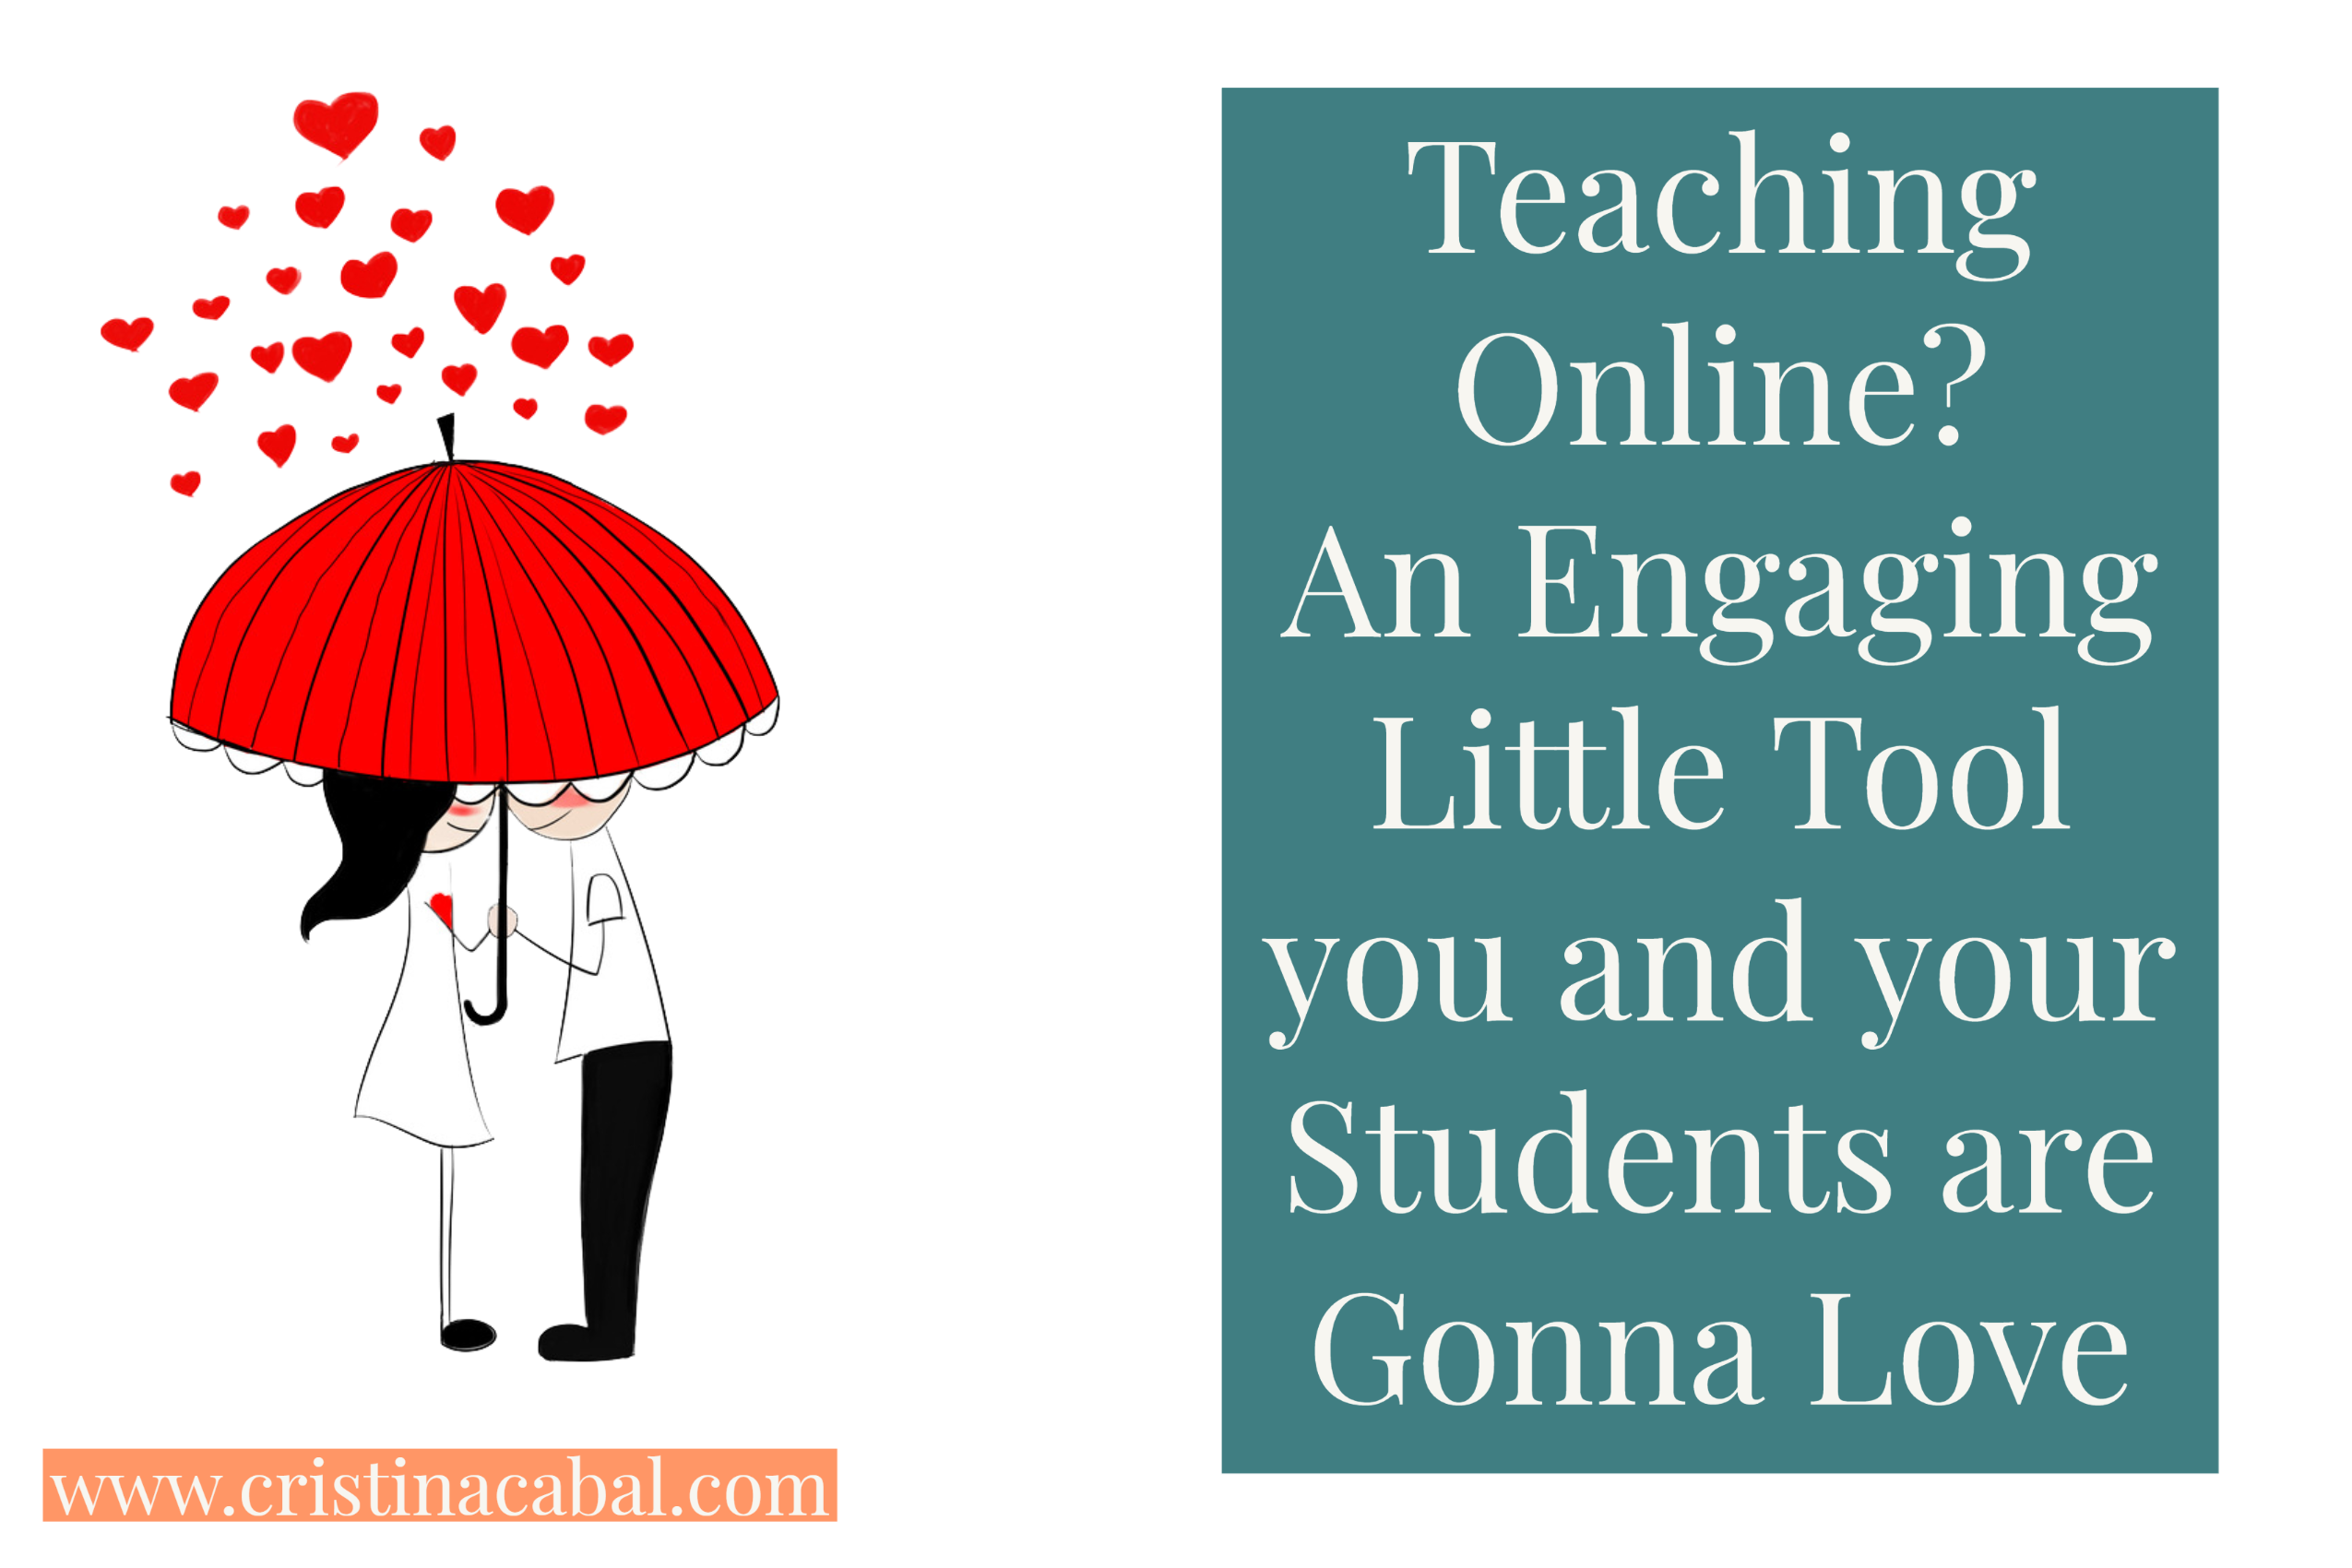
Are you teaching remotely? You are gonna love this tool!!!!
Guess what. I have the most incredible job in the world. I love teaching. It might seem boring from the outside. Even some people might say it is repetitive; you know, always teaching the same things … but believe me when I tell you that if you are willing and committed to teaching, you can explore ways to make teaching always new for you. And this is what has kept me hooked to this job all my life. Having fun trying new things. Some work, some don’t. What I am going to share with you today, definitely works.
So, this morning I woke up well-rested and thinking about my next online lesson and racking my brains about how to make my next class memorable and effective for my students. And then, I had an aha moment and pictured a tool I had on my virtual ever-growing shelf named “Things to Try”.
The tool is called Classroom Q and below, you will get a sneak peek of what the tool can do. This is a recording of one of my classes doing different tasks. (00:10)
Why do I like it?
This tool has some ingredients that are my absolute favourites:
Simple
Free
Engaging
Interactive
and to top it all, students don’t have to register
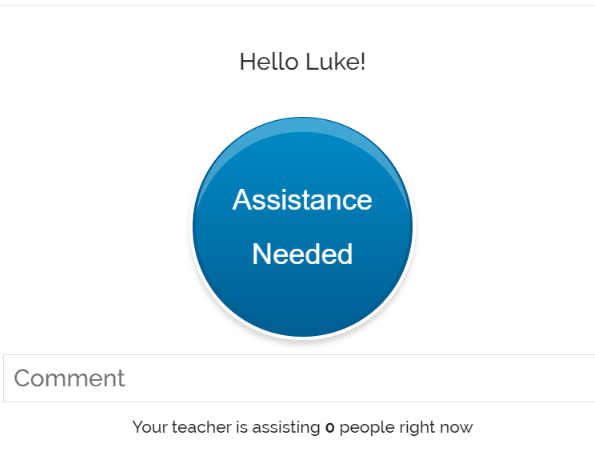
What is ClassroomQ?
ClassroomQ was designed as a virtual hand-raising tool that lets students ask questions and wait in a queue for their teacher’s assistance. But, I have not used it for this.
ClassroomQ has an online buzzer which can be used to play games or to turn a boring exercise into a game. However, the great thing about this tool is not its buzzer, it is its Box for Comments. This is where students can write whatever assignment you have given them. It allows a maximum of 200 characters/ about 35 words)
Imagine the possibilities: from very quick answers, like “what is the past of “take?” to more complex written assignments, like writing a small paragraph containing XXX
What gets students really engaged and motivated is the possibility to interact in real-time and the added challenge of being the first to answer correctly.
You will be given a class code you will need to share with your students.
For more detailed instructions, watch these short video tutorials below
How have I used Classroom Q with my students?
Before the class:
As we are revising Sports, I created a hangman hiding vocabulary related to, obviously, sports. To get the chance to say a letter and guess the hidden word, I posed a question they needed to answer using ClassroomQ. I asked a mix of very short answers and some sentences to translate using the vocabulary in context. Classroom Q displays the answers of the first 5 fastest students. You can make room for another student to move up the queue by clicking on the name of one student and deleting them from the queue. They can also remove themselves from the queue by clicking their Cancel Button.
For more details, I have recorded these short video tutorials where I explain in detail how the tool works.
Hello!!!Hiya!!! Still in confinement in Spain. What about you, guys?
I have to say that I am pretty busy (thank God for this) with all the projects I am involved in. One of the things that has kept me very busy is looking into ways of making my online classes more interactive, more like they used to be when I was teaching face to face and having fun with my students.
To be honest. My classes are not the same. They cannot be. I miss that.
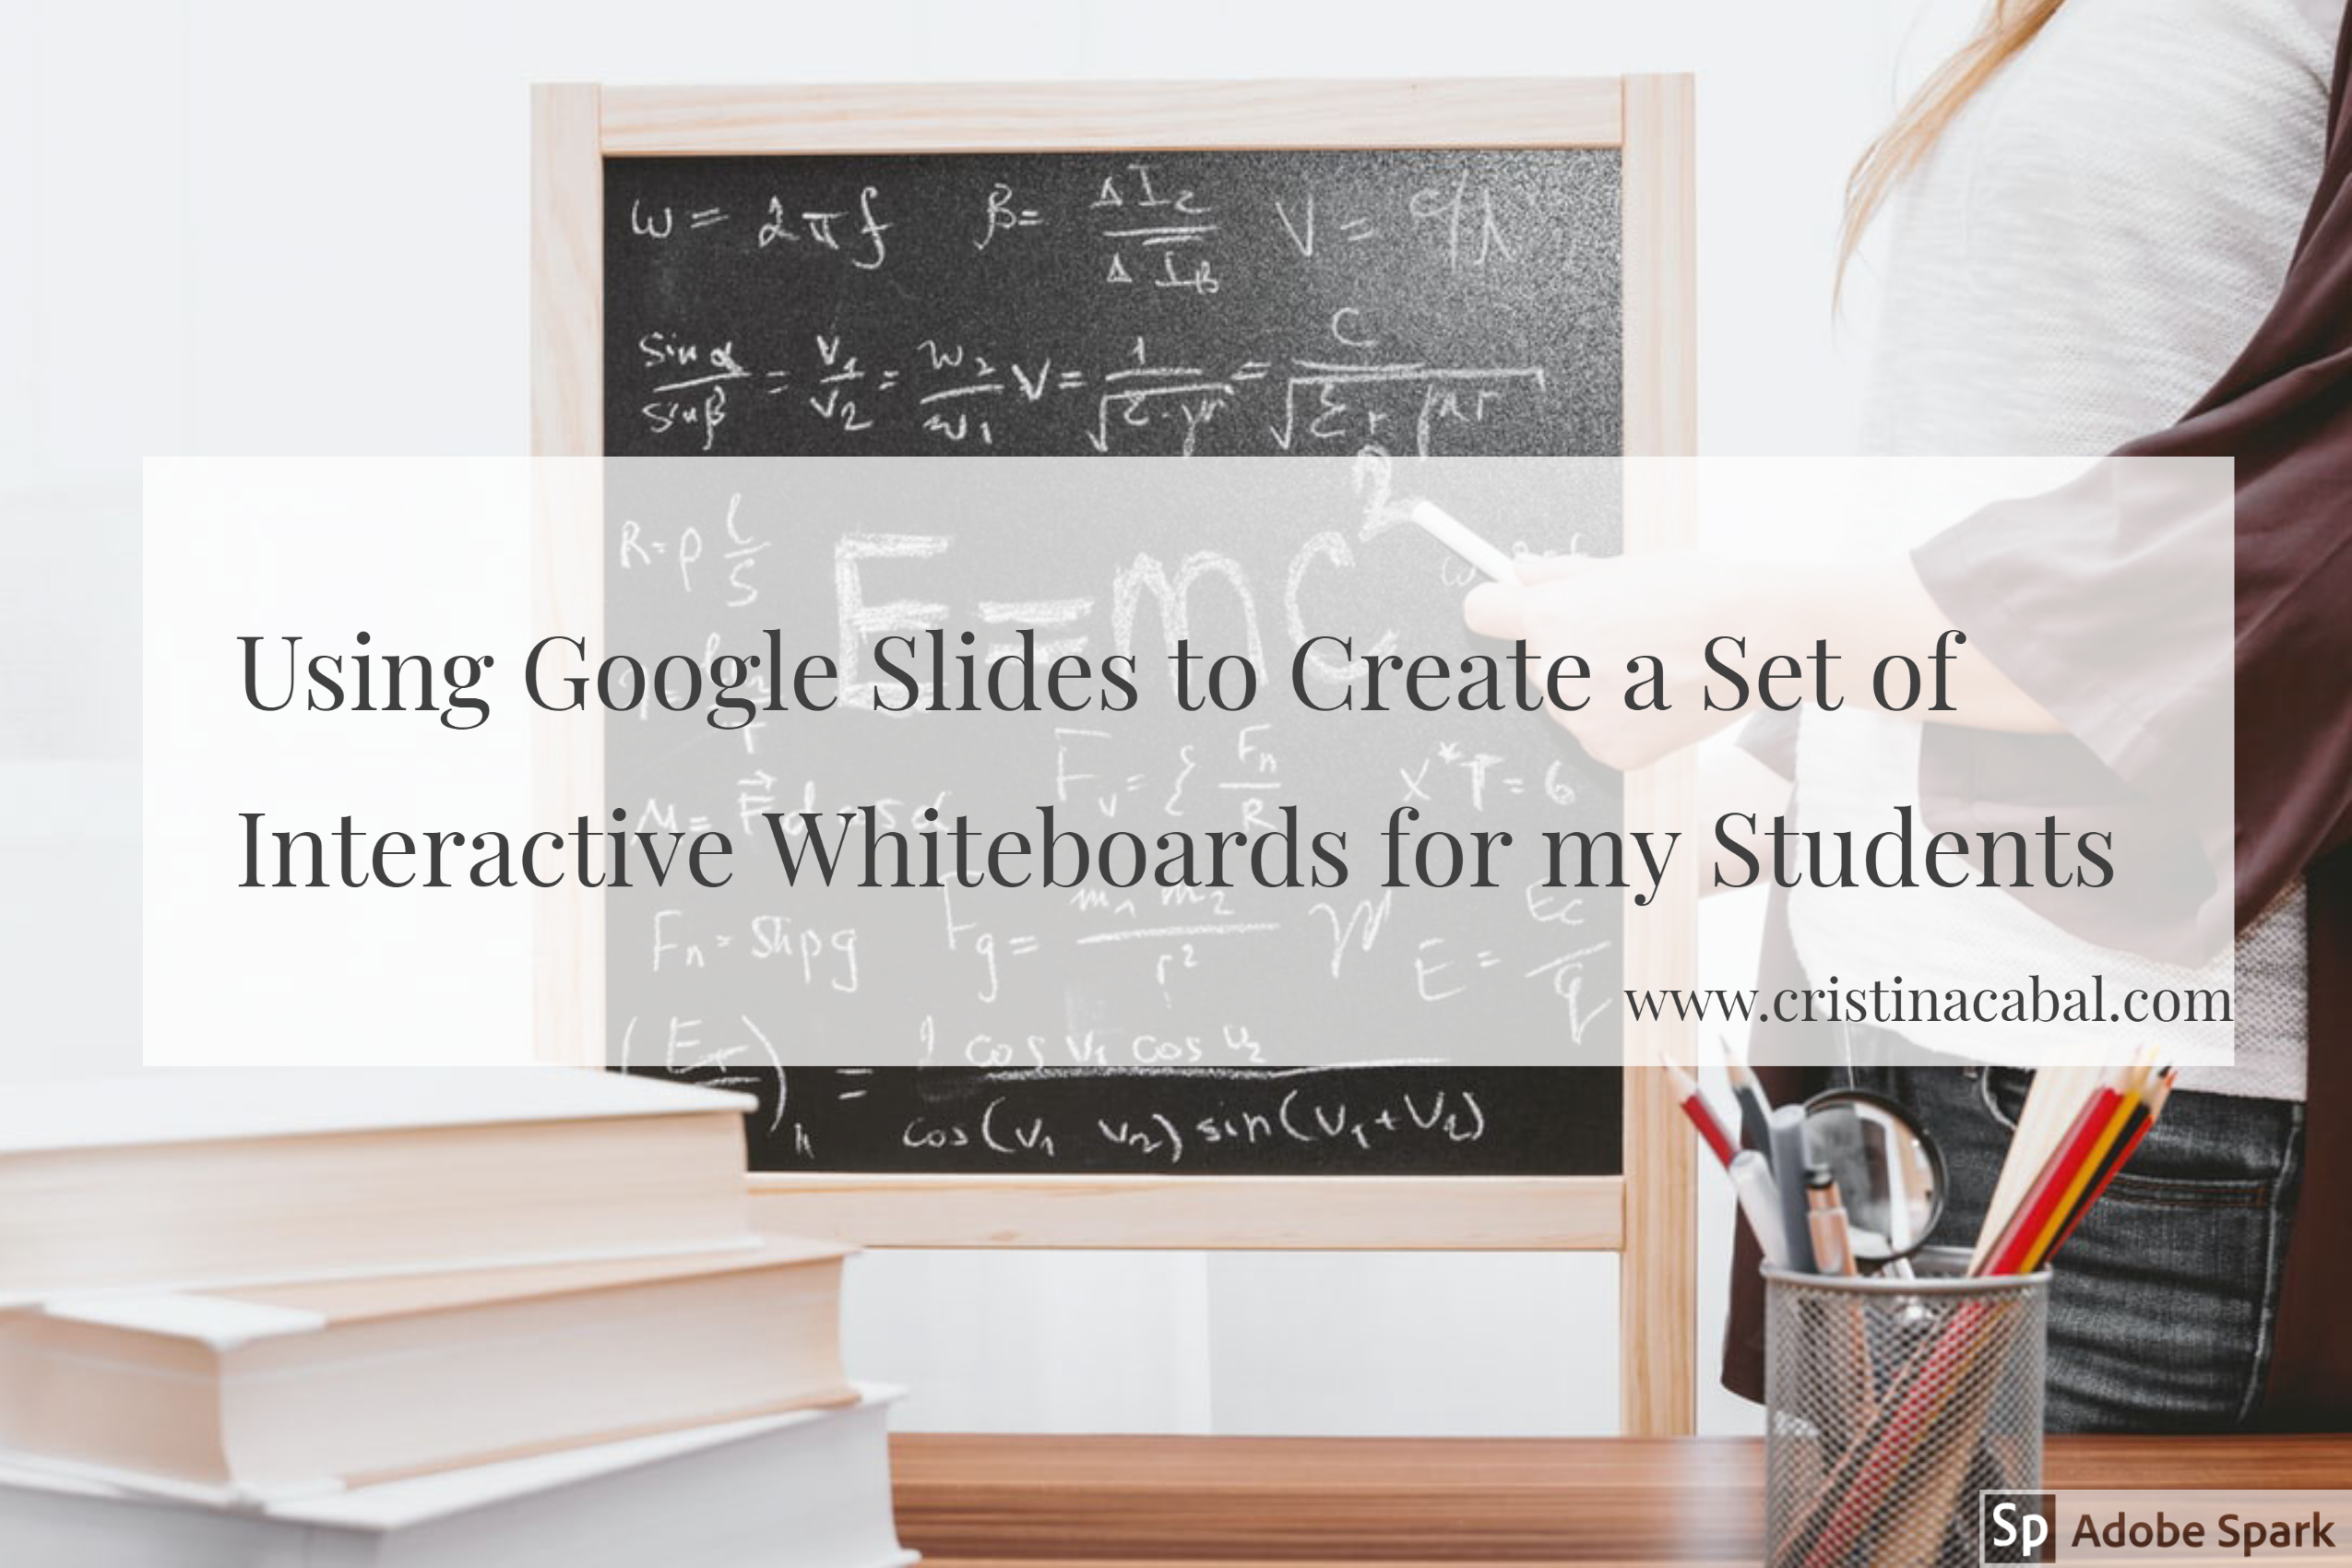
Just a couple of posts ago, I wrote about a very nice little tool you could use to create a set of interactive whiteboards with just a click. Here. It was useful but …. when I used it, it realized I needed much more. I wanted to have the possibility of:
Assigning a slide to each student in case I needed to give them different assignments.
Choosing the layout of the interactive board.
Inserting images
Changing the size of the board in case they needed to write more than a sentence or more than a paragraph.
Correcting their assignment synchronously or asynchronously.
Being 100% in control of the interactive boards
And then, I had like an epiphany moment and realized that I had been working for a long time with a tool that did that and … much more: Google Slides.
Just below, you will see a 10-second video of my students working on Google slides on a translation activity I designed for my online class this week. Prior to the class I had, of course, decided what kind of assignment I was going to give them and done a number of things: I had chosen the layout for the first slide (size, font, font size) and inserted an image. Then, I had duplicated it and assigned a slide to each student. So, this is basically the idea.
Note: notice how Student 4 is writing. The highlighted words in yellow indicate where students have made a mistake that needs to be corrected.
If you get the gist of how this works, you can stop reading right now. But, if you need some guidance, I have prepared some video tutorials. I will give you a heads up of the content in each one so that you can skip the ones that do not interest you. The videos are in Spanish but there are some guidelines in English and they are easy to follow. I also help Spanish teachers introduce technology in their classes so I don’t feel like recording tutorials in two languages and, to be honest, Spanish is easier for me.
Before you jump right into the tutorials, let me share with you some ideas of written work using Google Slides for small written assignments.
translating sentences
revising vocabulary and asking students to come up with a sentence.
Assigning three words and some connectors to each student and asking them to write a small paragraph
Chain stories
Minisagas: 50 words
Picture description
Assigning each student a word and ask them to write a small quiz with three options for the definition of the word: two incorrect and one correct
For bigger written assignments like book reports, you will need to change the size of the slide.
Part 1: Introduction. 1:45 (only in Spanish, so skip this part if you don't know my mother tongue)
Part 2: How to create our first slide, how to delete a slide and how to duplicate it. (1:26)
Part 3: Our first slide and how to assign each student a different slide (4:05)
Part 4: How to change the size of our slide (0:41)
Part 5: How to share the presentation with our students (o:44)
Part 6: How to see all the slides at the same time and how I correct students' written work (0:48)
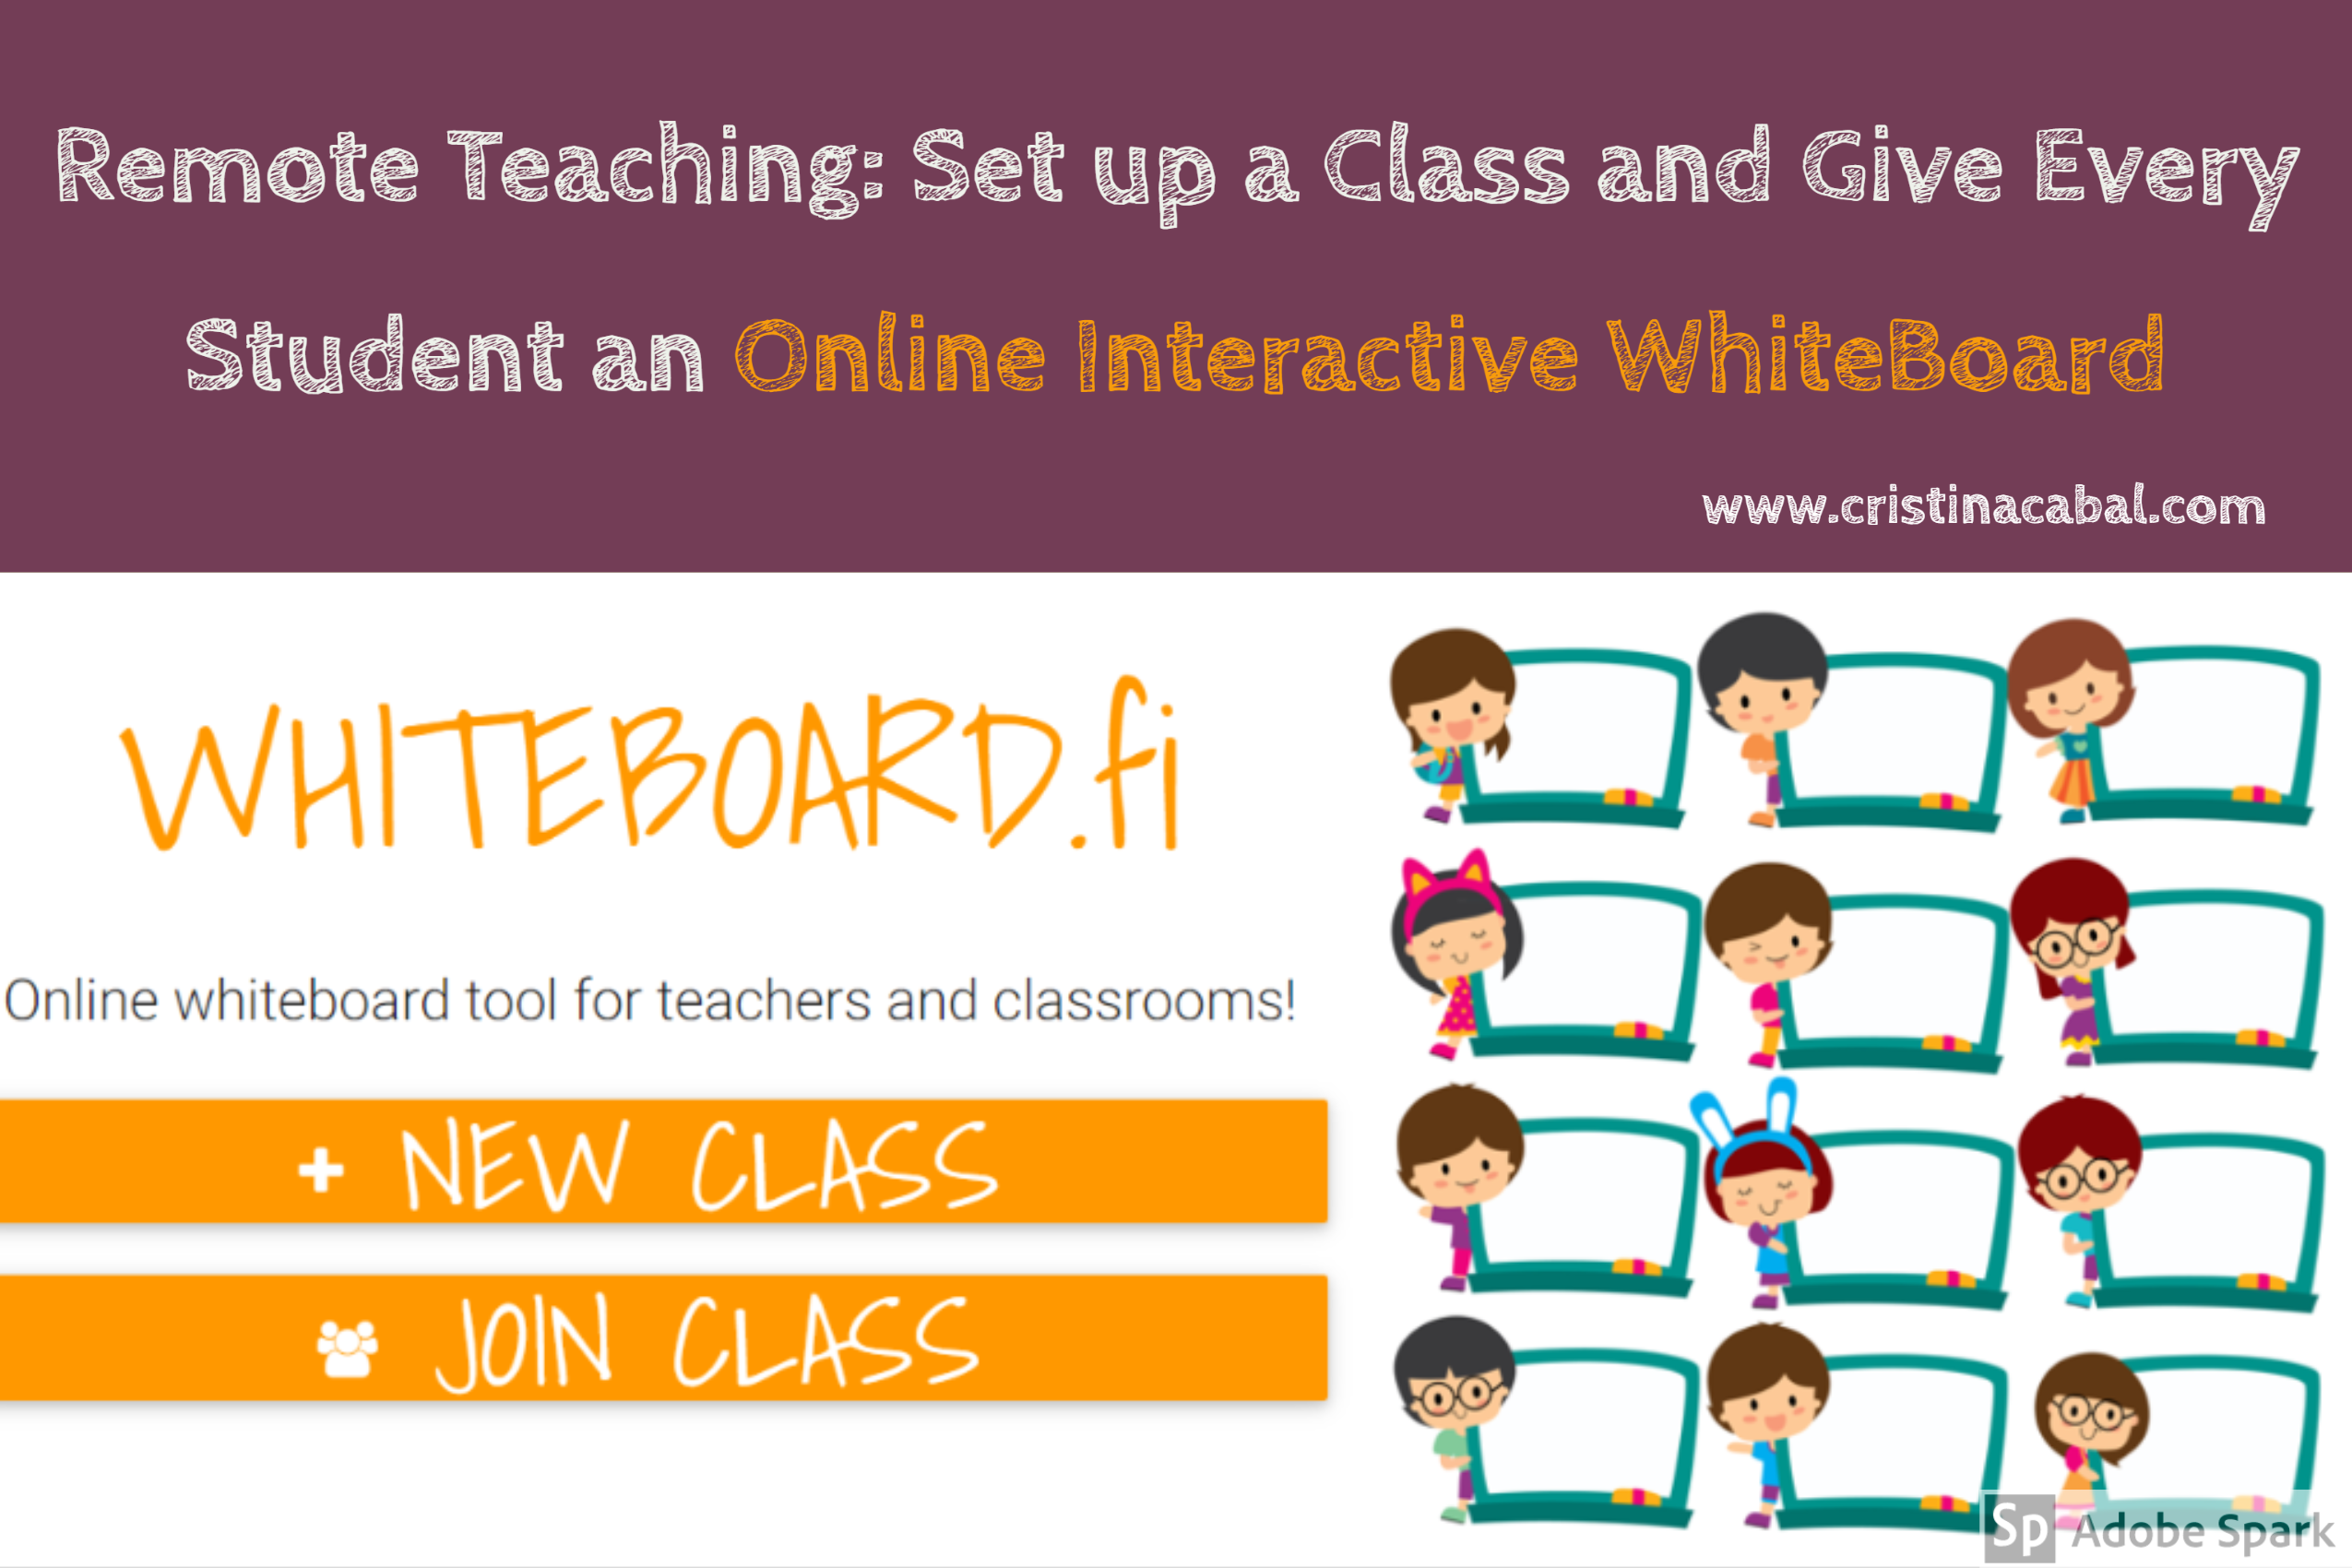
Looking for a way to spice up your online lessons? What if you could give every one of your students a whiteboard and have them interact with you from their homes? What if you could create a class, have them join the class, ask a question and have them answer at the same time, each on their own whiteboard?
What if I told you that neither you nor your students need to sign up, give an email or any other information and that it is super simple to set up?
Have I managed to persuade you? Then, keep on reading!
I always tell my students English is easy. When they hear me say that, those who have been with me for two or three years just roll their eyes and say: “Teacher, you always say that! For you, everything is easy!” But hey! What’s the point of saying ” Careful here!! This is very difficult!”
I am sure you see my point.
Anyway, the thing is that when learning a foreign language not everything is a breeze. Unfortunately. There are hundreds of words that can be easily confused because they have a similar spelling or a related, but different, meaning.
Today, I want to share with you a website Writing Explained that is really helpful in clarifying differences or similarities in the meaning of hundreds of confusing words. For example, do you know when or how to use Altogether and All together? Some day versus Someday? Elder and older?
Why do I like this site?
Though the list of confusing words is not exhaustive and new sets of words are added every day, it is just perfect for the average students.
The words are in alphabetical order so it is very easy to find what you are looking for
It is explained in clear everyday English
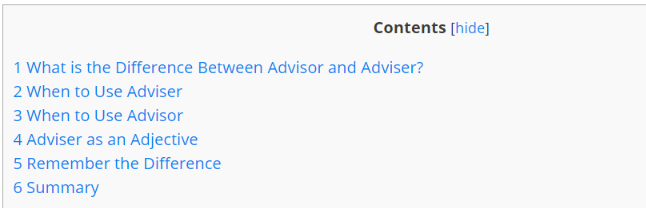
Differences are always explained in 5 steps and I love the Summary. This is the one I would read if I knew the difference and just wanted to double-check.
I also like the idioms dictionary on this website. Why? Because it not only explains the meaning of the featured idiom but also gives its origin and uses the idiom in a clear context.
Check it out! You’ll love the site!
Note: Fromm my enthusiasm describing this website, you might think that this is a sponsored post. It is not. 😉