Are you gearing up for the first classes of the new year? I am. And I want to give my students a back-to-the-grind activity which would get them into the right mood, namely, engaged, learning and having fun.
Have you ever heard about “agony aunts” or“agony uncles”? I am sure you have! In case you have no clue about what I am talking about, this is the definition the Cambridge dictionary gives.
an agony aunt is a person, usually a woman, who gives advice to people with personal problems, especially in a regular magazine or newspaper article
I bet you all have a famous Agony Aunt in your country.
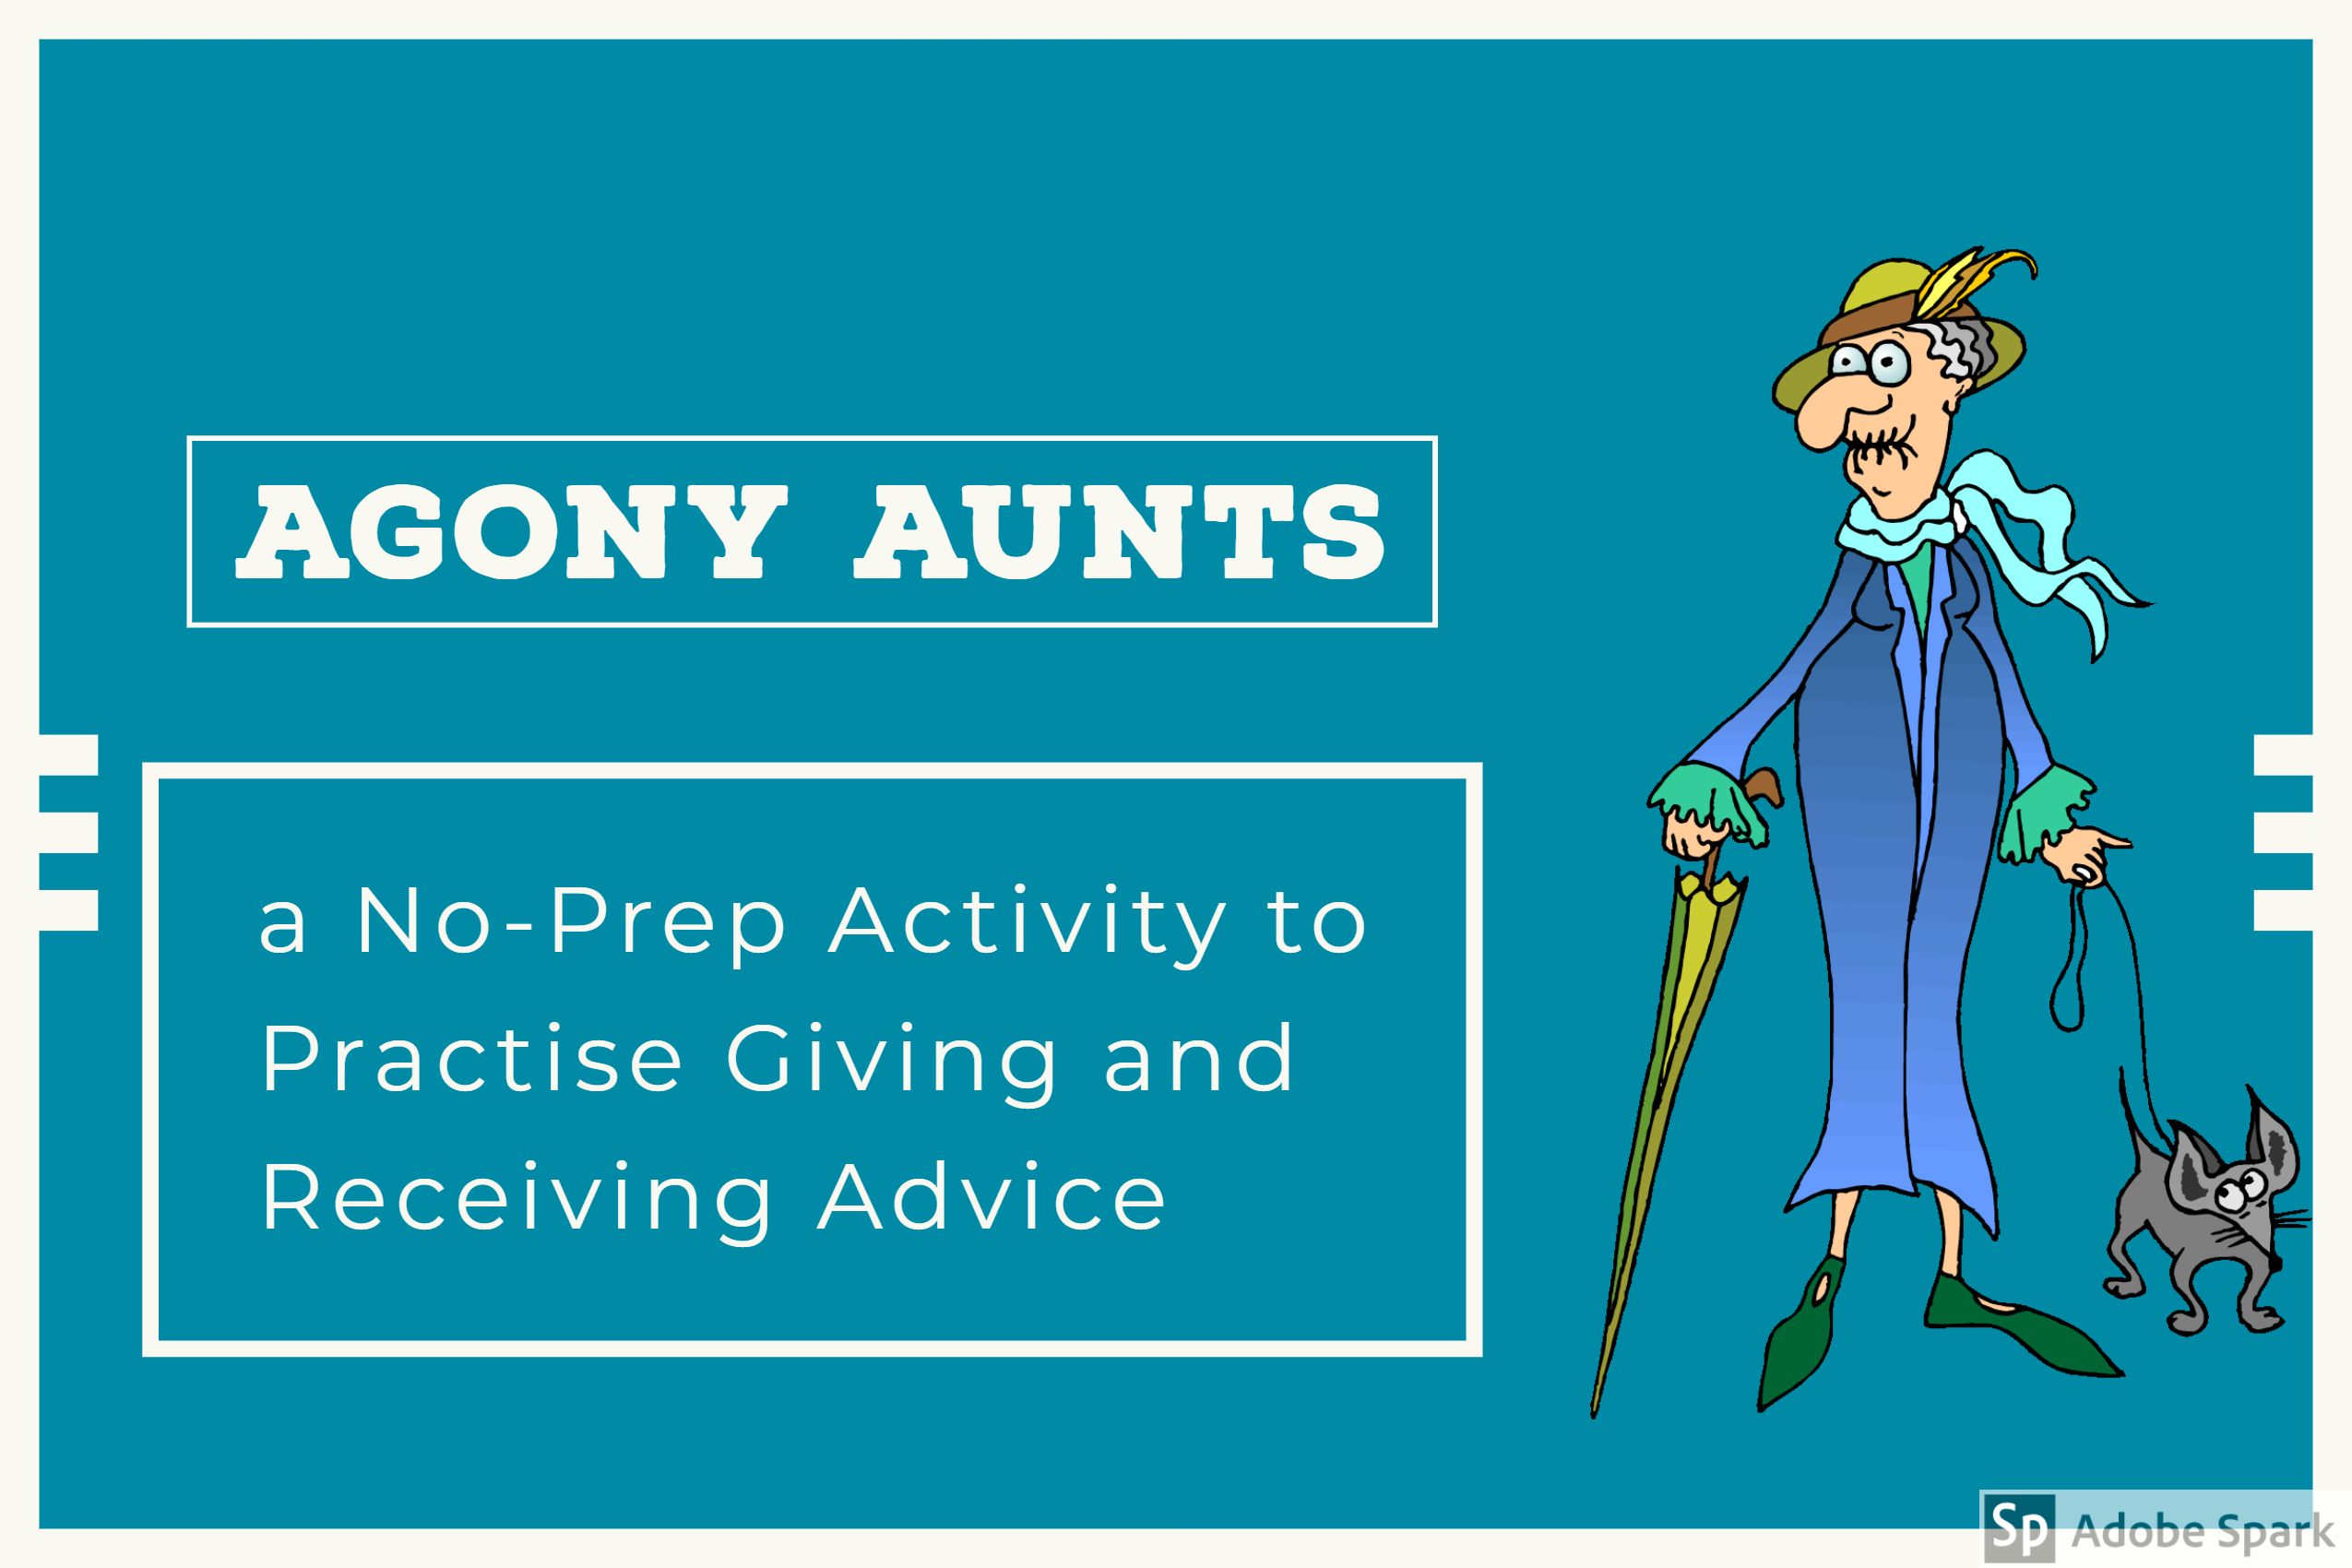
Inspired by this well-known figure, I have designed this effective activity with two aims
- To practice writing skills
- To give students the opportunity to practise the language used to ask and give advice
- To provide speaking practice interacting with different students
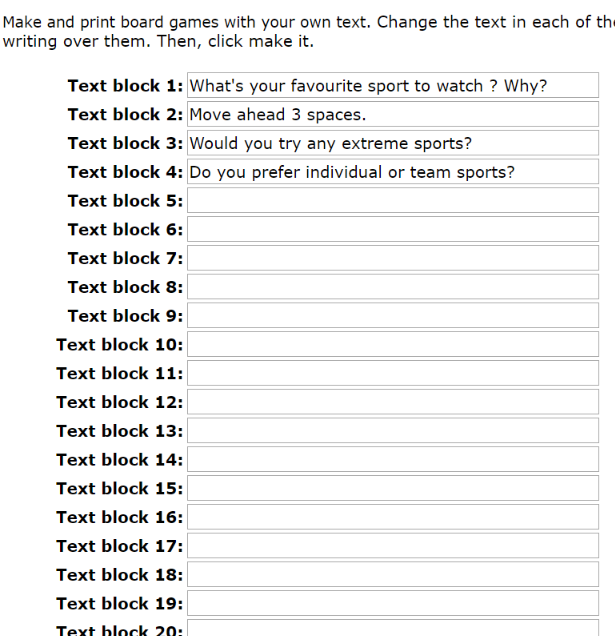
Materials: a piece of paper with “Thank you” written on it for every student in the class. You can easily ask them to do it before the activity begins.
Step 1: Writing
1. Reading a model.
- Ask students to discuss, in pairs, who is better at giving advice, men or women. Ask for feedback.
- Using the OHP, display the picture below and read it with your students.I hope nobody takes offence, it is just meant for fun!

2. Writing. Individually, ask students to write about a problem they might have. They can also invent it. Walk around the class helping them with grammar and vocabulary.
Step 2 Revising vocabulary to give and ask for advice
Write two columns on the board; one with the heading Giving Advice and the other one with the heading Asking for Advice and ask students to contribute to both. It could look like this
Giving Advice
- if I were you, I’d…
- I think you should…
- In my opinion, you shouldn’t
- Why don’t you…?
- I would advise you to
- You might try….
Asking for Advice
- What should I do ( about)…?
- What do you think I should…?
- Can/ could you give me some advice about…?
- Do you have any advice on—?
- Could you recommend…?
- What do you suggest I do?
- What ought I to do?
STEP 3. Speaking
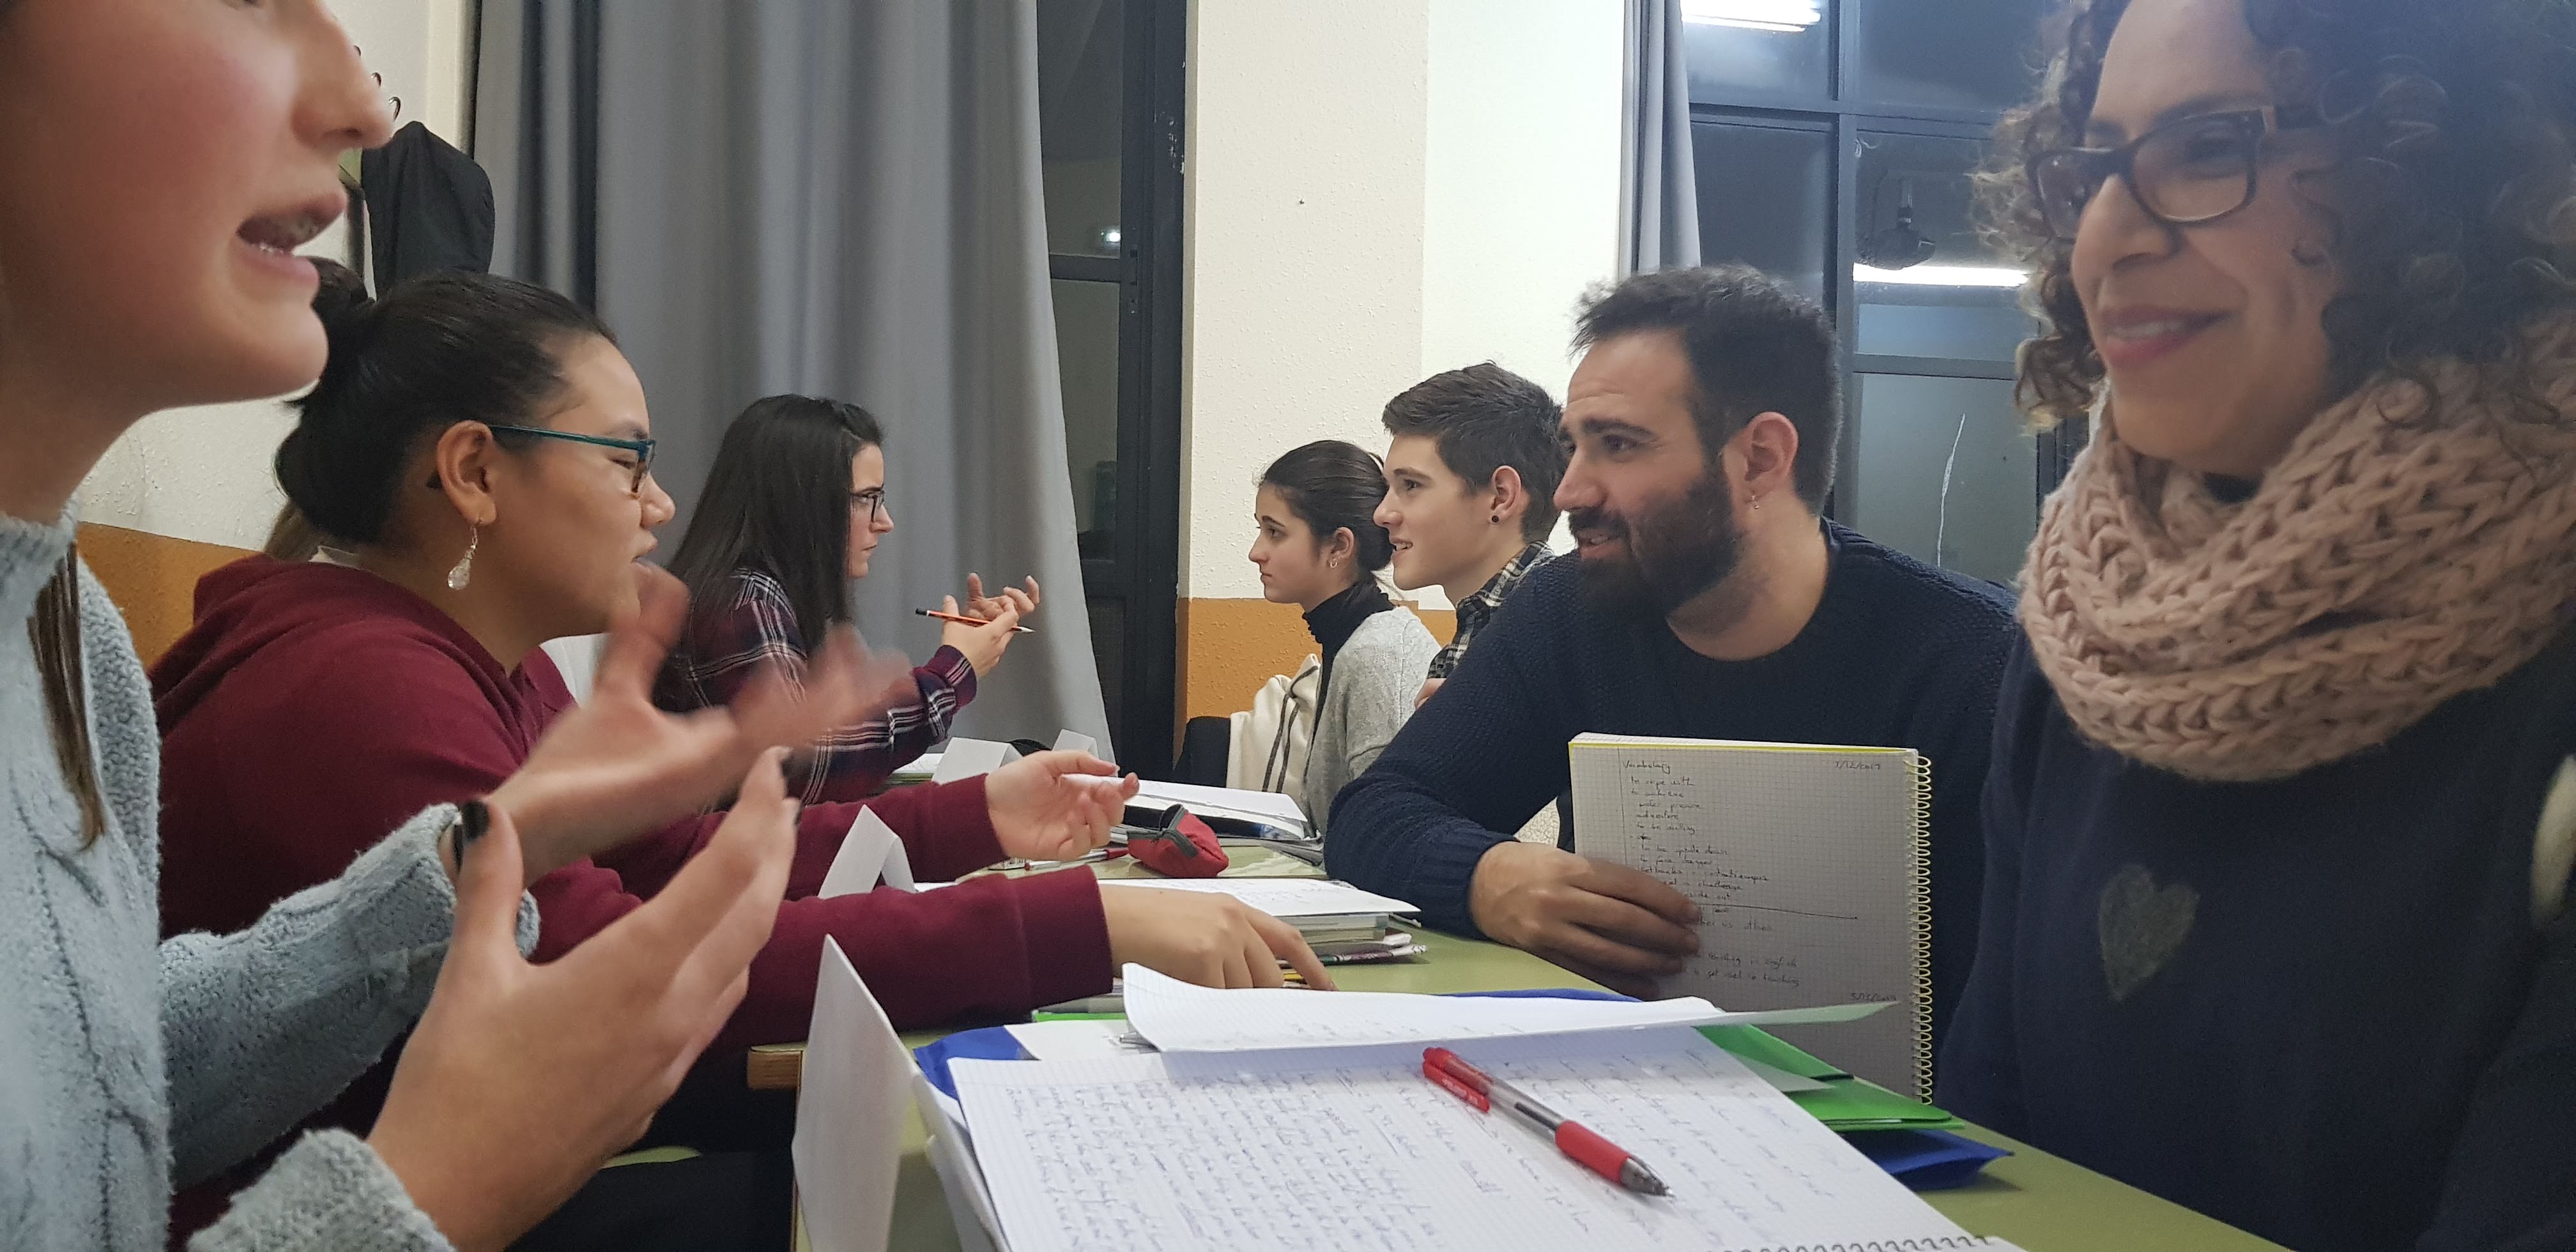
Divide the class into two groups: Agony aunts and Advice seekers. Using the speed chatting technique, the two groups sit facing each other; there should be an agony aunt for each advice seeker. If you have an odd number of students, consider participating yourself.
The idea is that each problem seeker will tell the agony aunt their problem and the agony aunt after considering the problem, should offer a piece of advice. After two minutes, a bell rings and the advice seekers should move one position to talk to the next aunt agony.
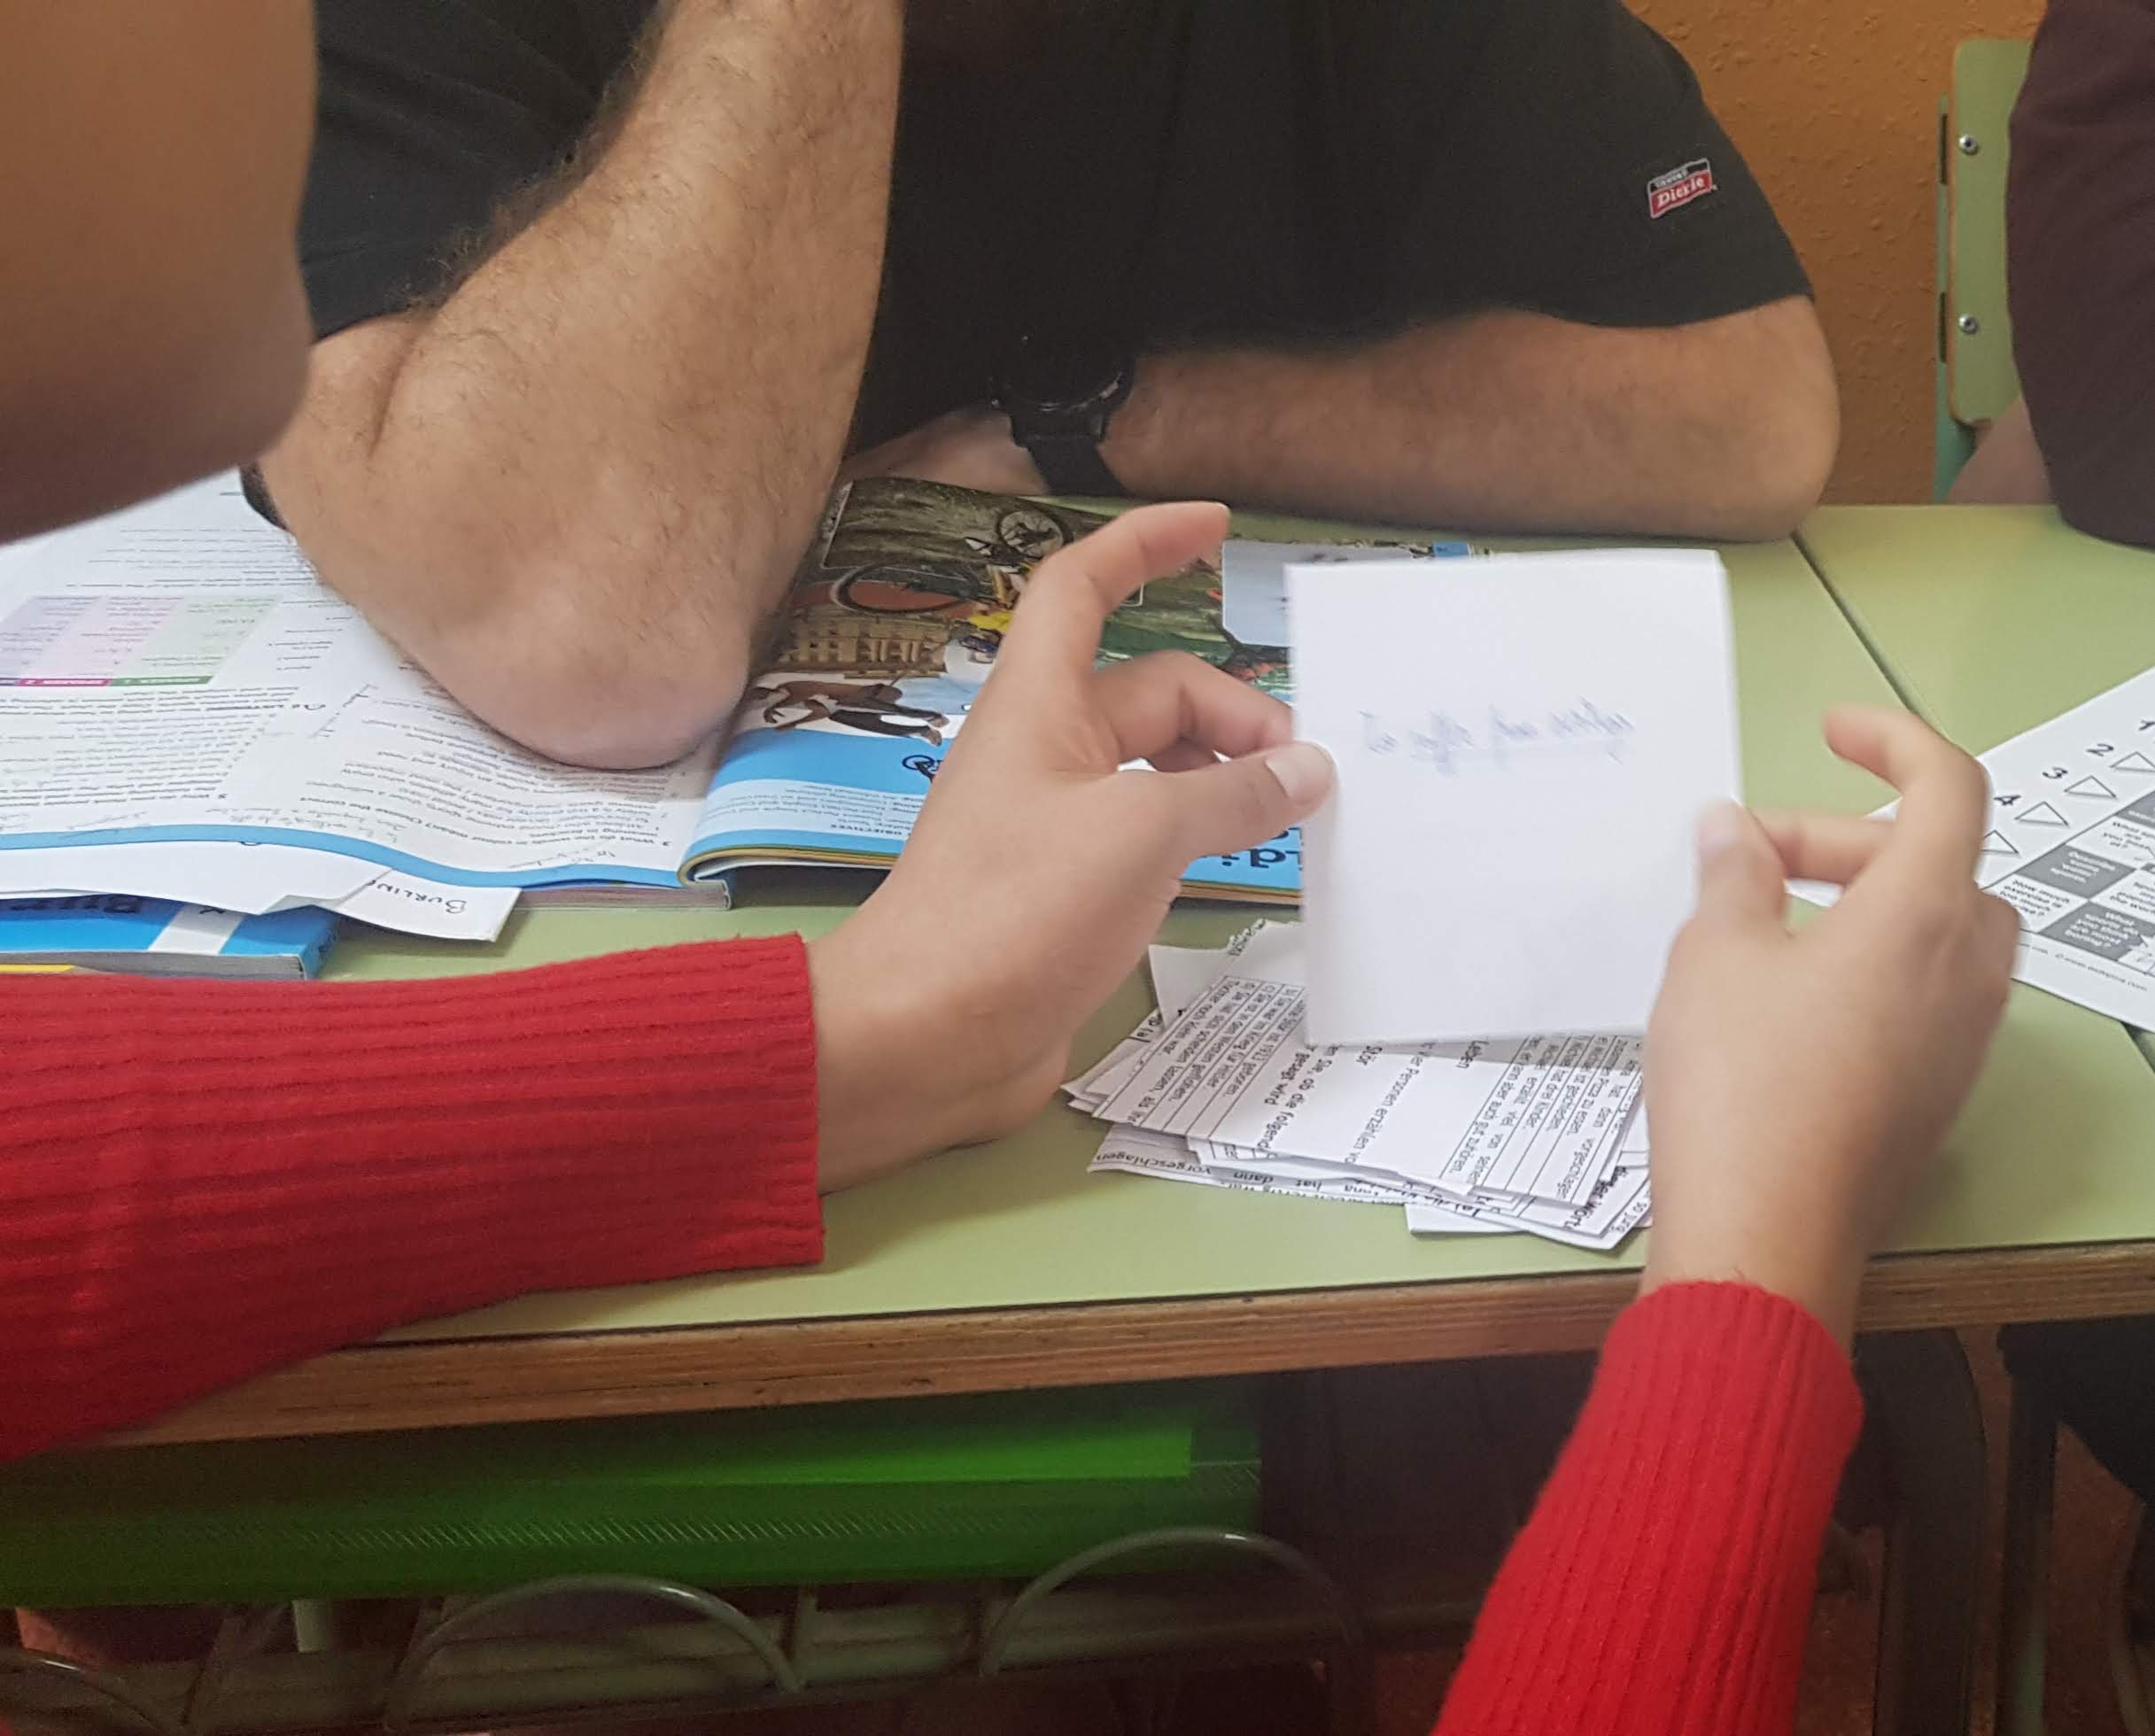
Once they have talked to all the agony aunts, they will need to choose the best piece of advice given for their problem. They will thank the Agony Aunt by giving him/her a card with the words Thank you. The student who gets more Thank you cards is named Agony Aunt of the Day year and gets a big applause from the class
Now, they change roles and the Agony Aunts become advice seekers and vice-versa.