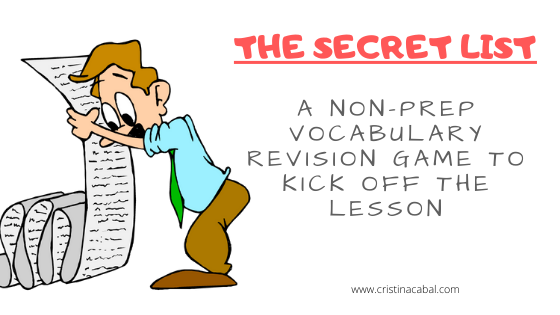
Engaging ideas and activities revolving about the topic of travelling coming right up!
These are some of the activities I have been doing with my upper-intermediate students. I thought I might share them with you, in case it saves you some time.


I have split the activities into two days as some of the activities in Day 2 require studying the vocabulary introduced in Day 1.
DAY 1
Activity 1: Tapping into students' previous knowledge with Half a Crossword
As my students are upper-intermediate, it is not the first time they study this popular topic. Therefore, to revise some of the words I thought they knew, I used the website Half a crossword.
Activity 2: Introducing new vocabulary
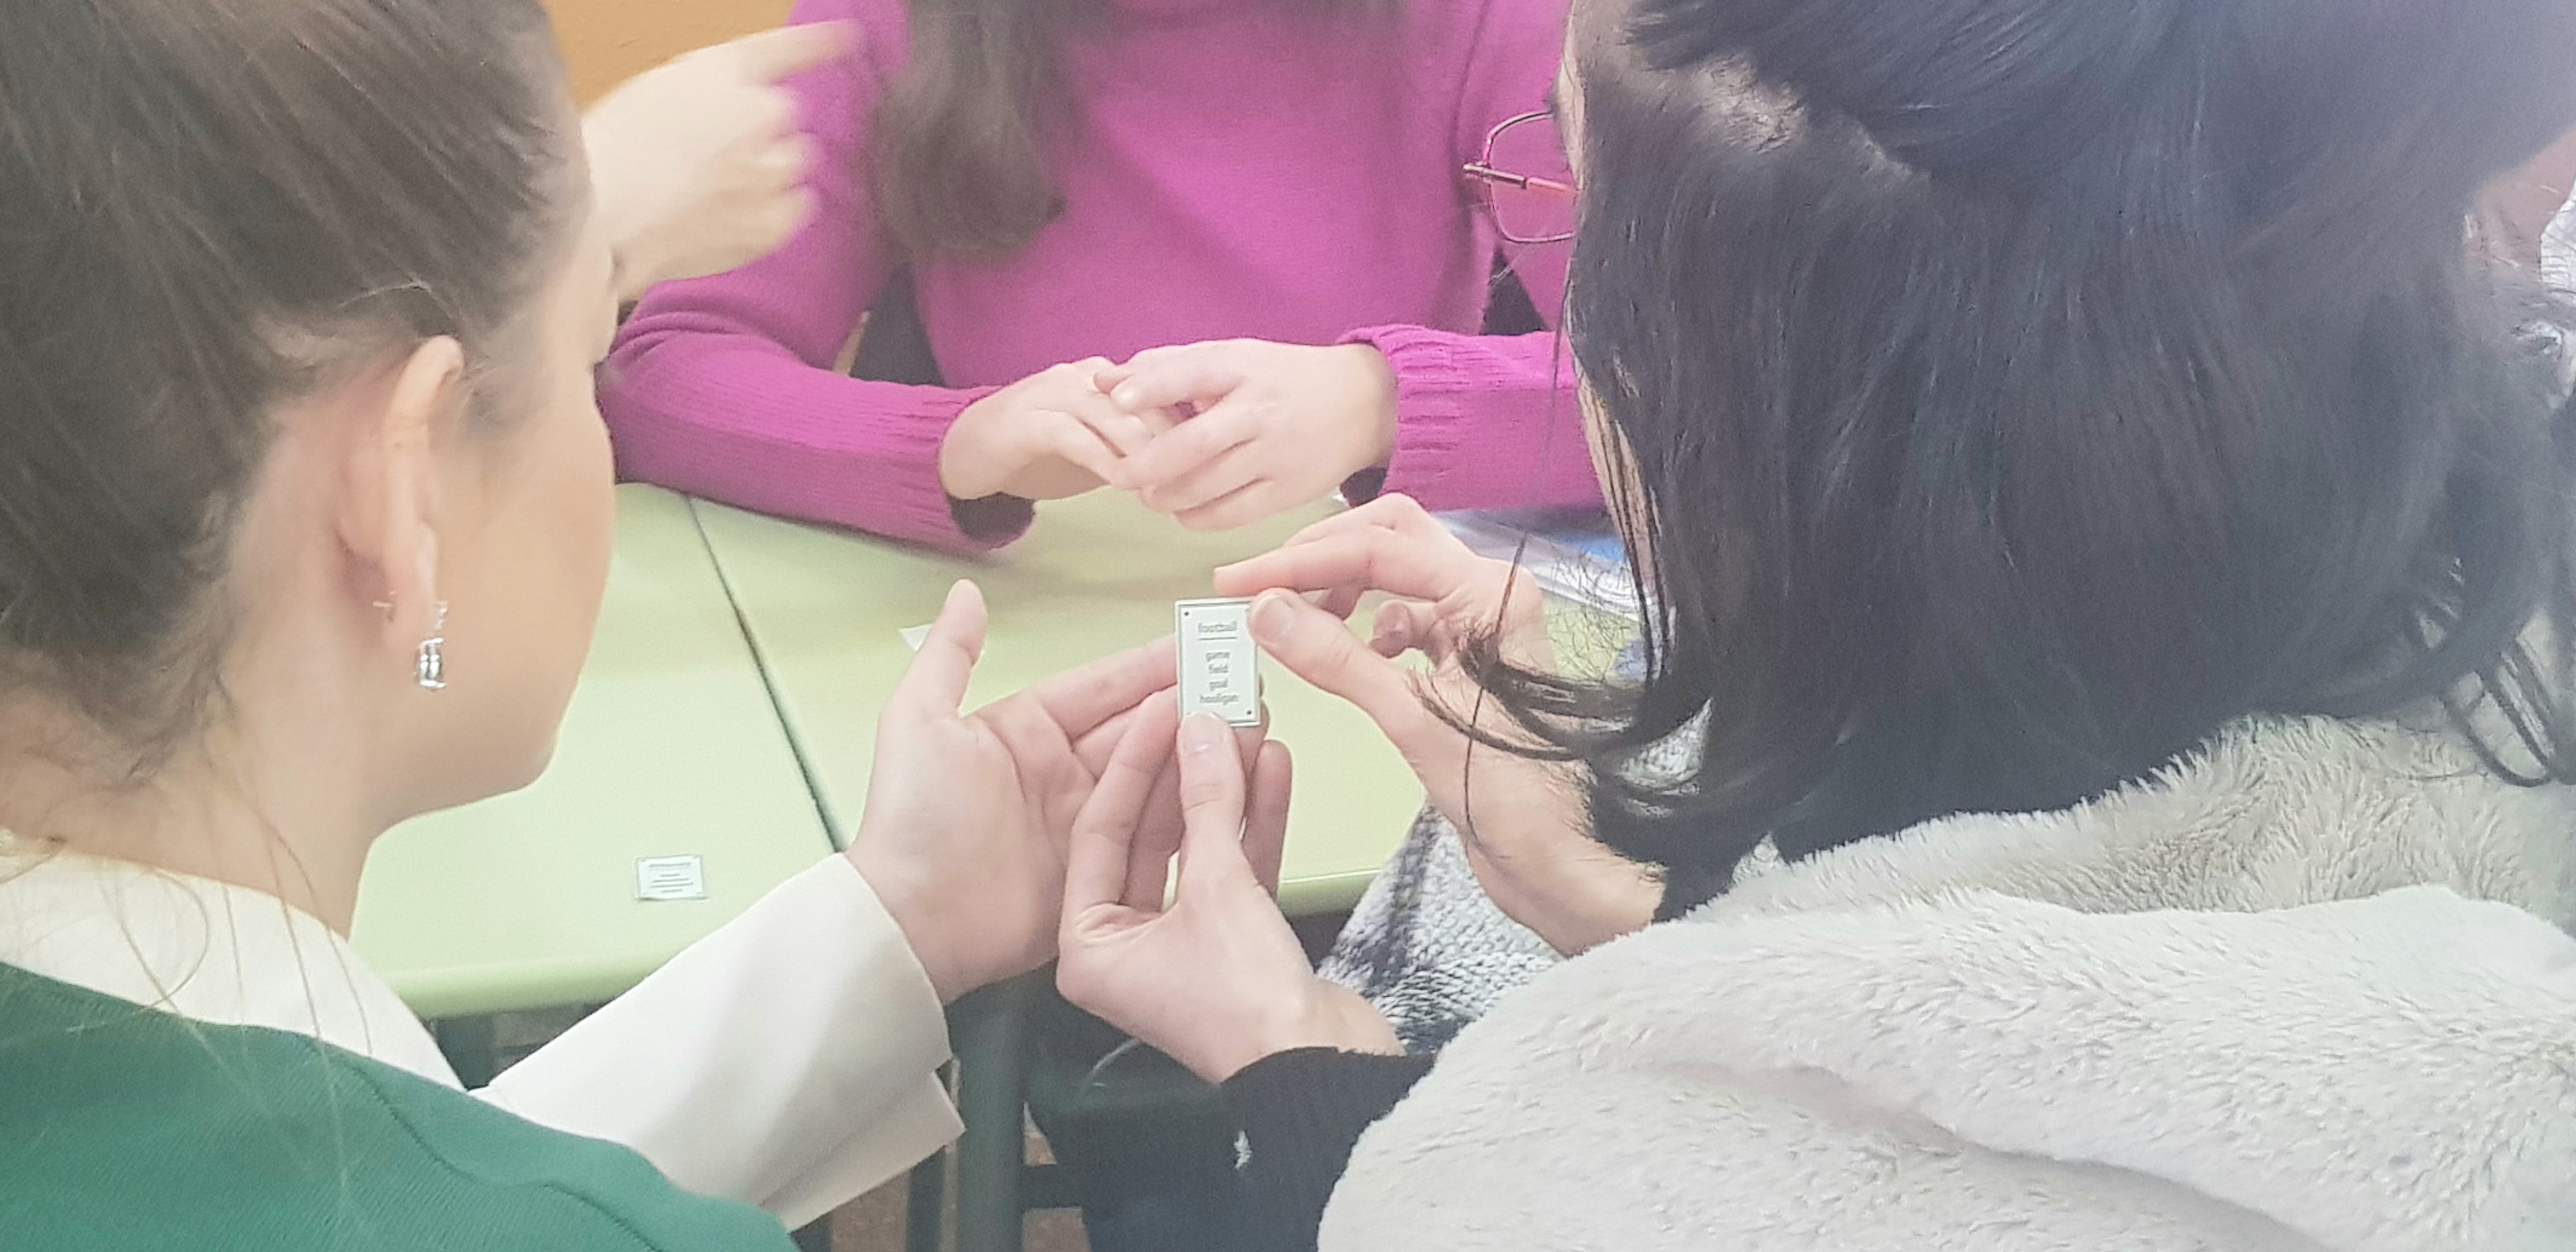
Addicted to using technology in my class, as I have confessed time and again, I have used Genial.ly to create some flashcards. The flashcards were initially used in class and then shared with them to encourage revision outside the walls of the classroom.
The flashcards contain common collocations related to travelling, but some words are missing. Before flipping the card, students try to guess the hidden word(s). The initial letters are provided to make guessing easier for them.
Note: click on the 3 dots to enlarge the presentation.
Activity 3: Using their own pictures.
Think about it: how many pictures are stored on our mobile phones? What could engage students more than talking about what is real for them, about their own experiences, about their own trips?
Ask students to take out their mobile phones and ask them to choose their favourite picture from their last holiday. Allow some minutes for this part. Ask students to work in pairs or threes. Ask them to show the picture to their partners, talking about it and sharing the story behind the picture. Encourage the use of the collocations in the exercise above.
DAY 2
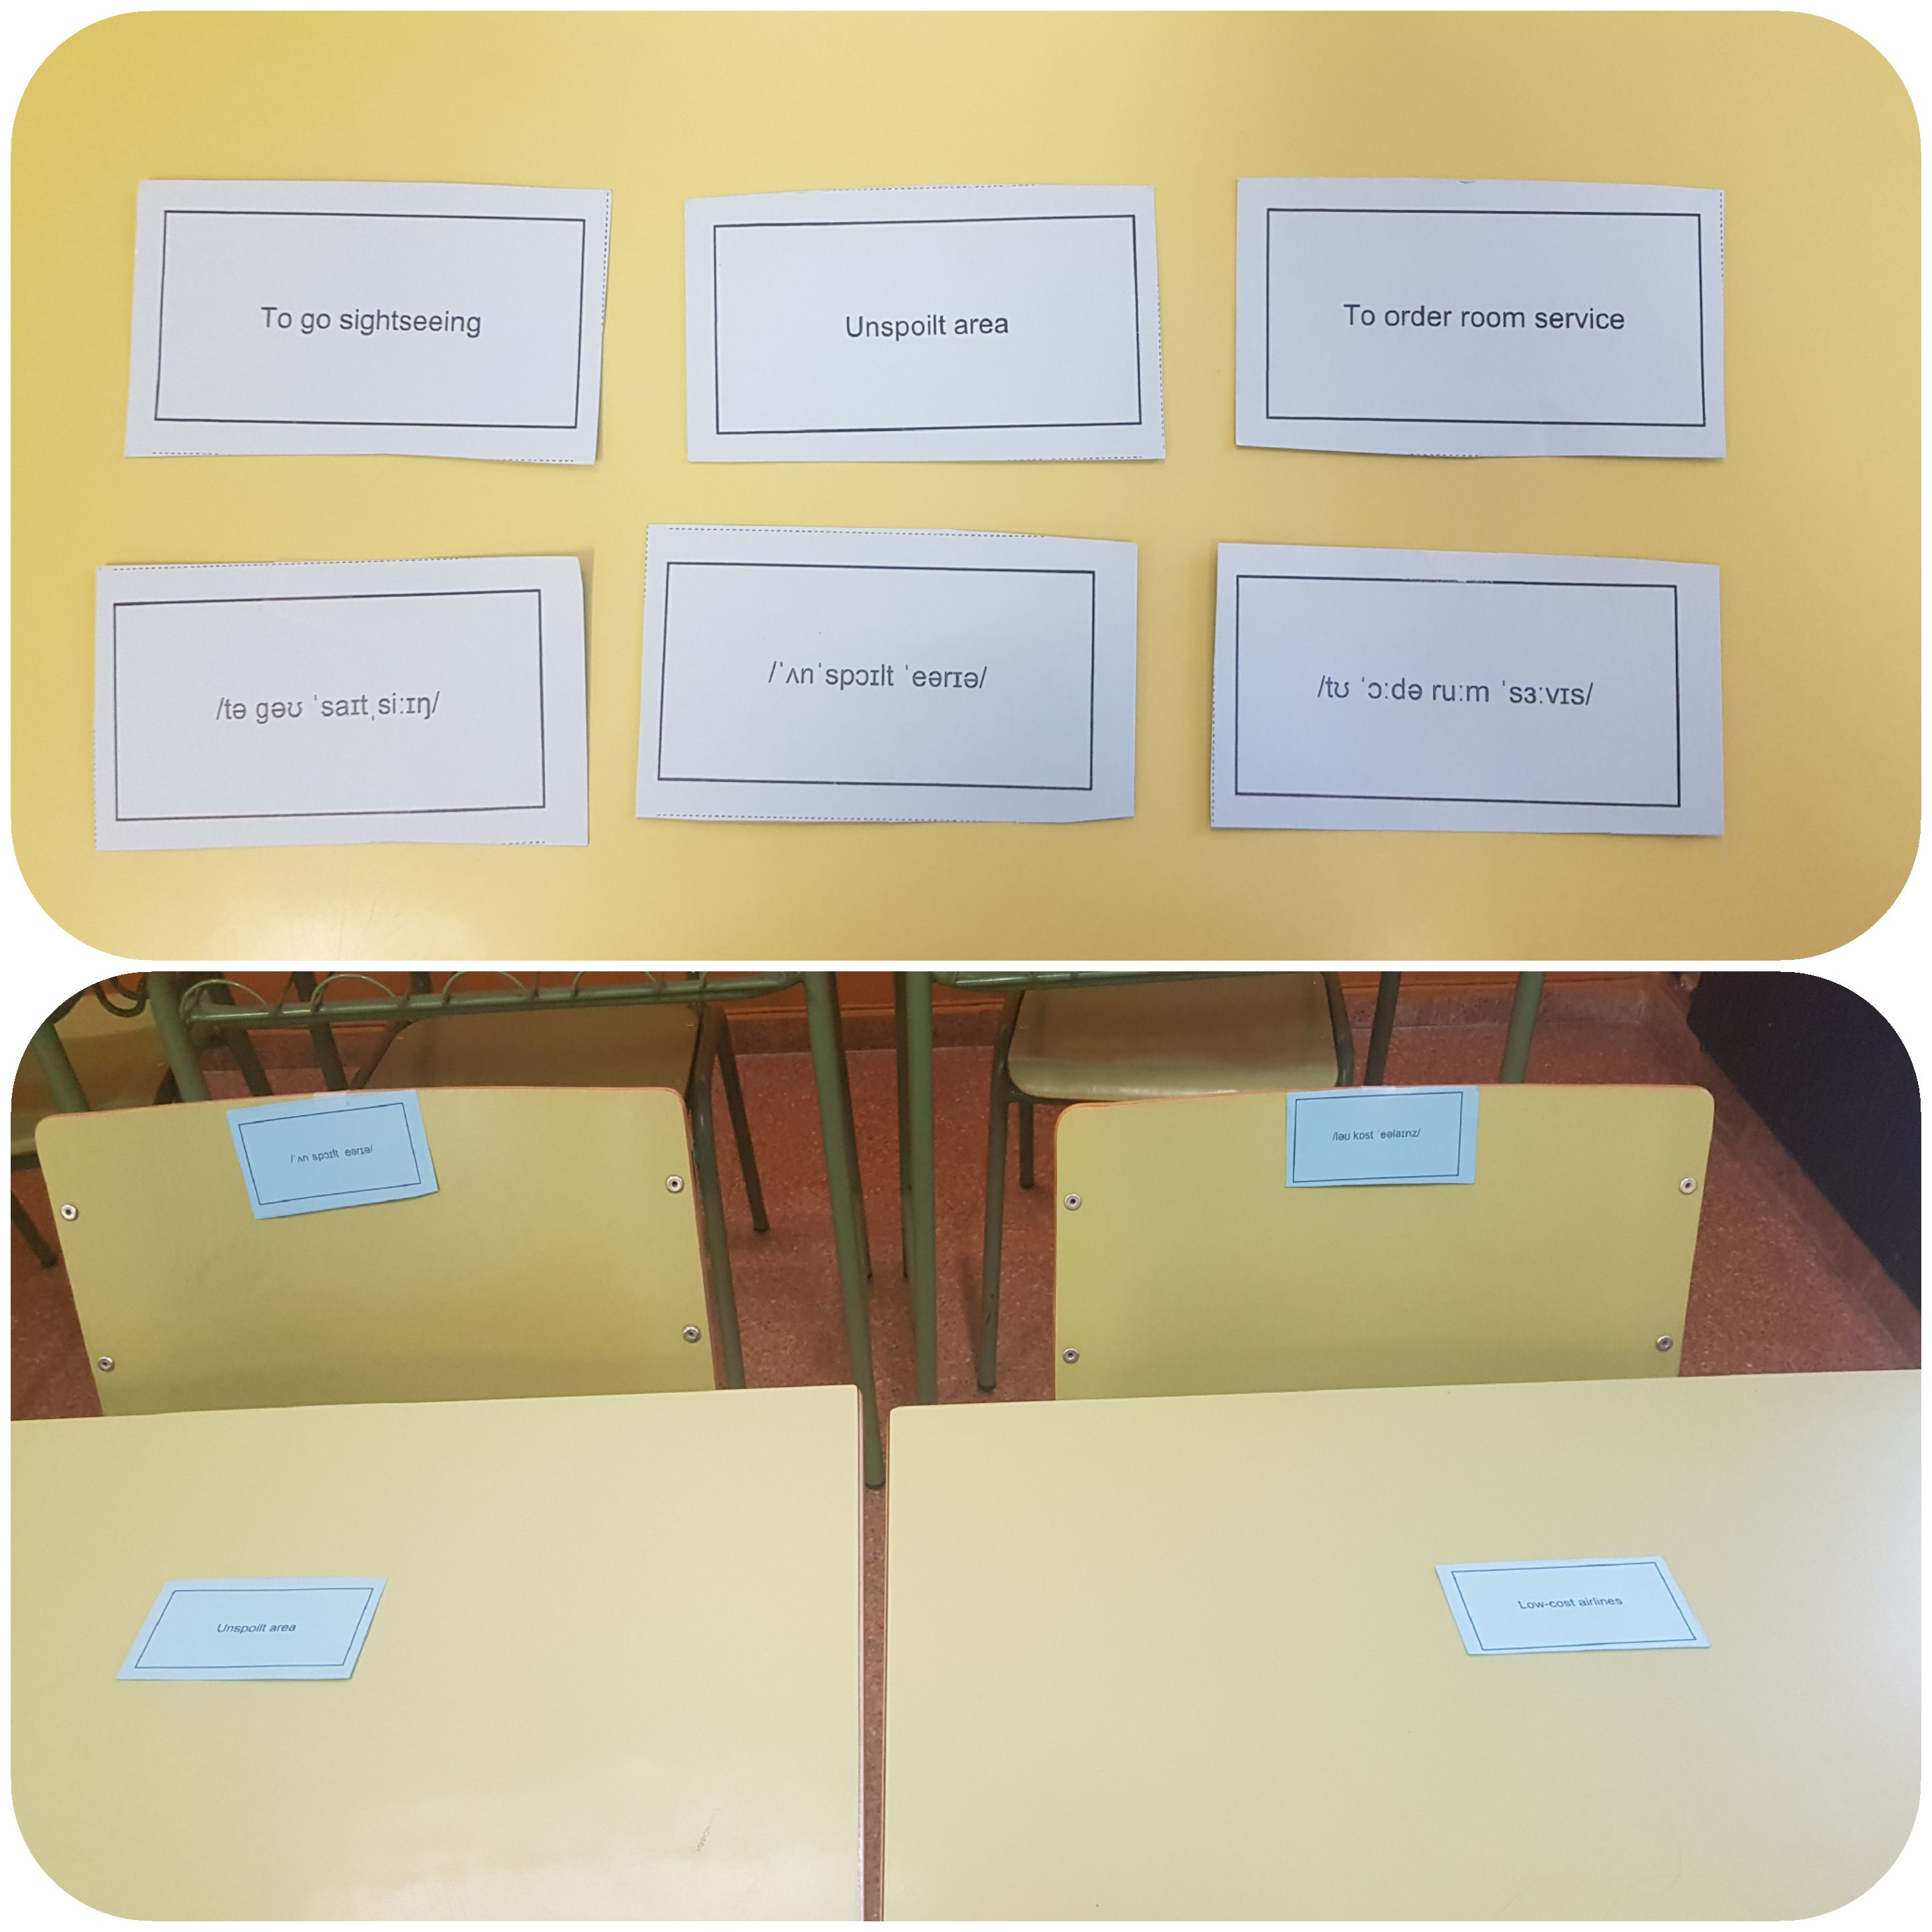
Activity 4: Flexible seating using cards with common collocations and their pronunciation
This “flexible seating” strategy is quickly becoming one of my favourites to pair students with different partners. I explained the strategy here
For this exercise, I sellotaped to the back of the chairs of the classroom the phonetic transcription of the collocations studied in the flashcard activity. This way, I killed two birds with one stone, as the exercise helped me to revise the collocations and ensure they pronounced the words in the correct way. To transcribe the collocations, I used a website I have been using for years. Check it out here.
Cards here
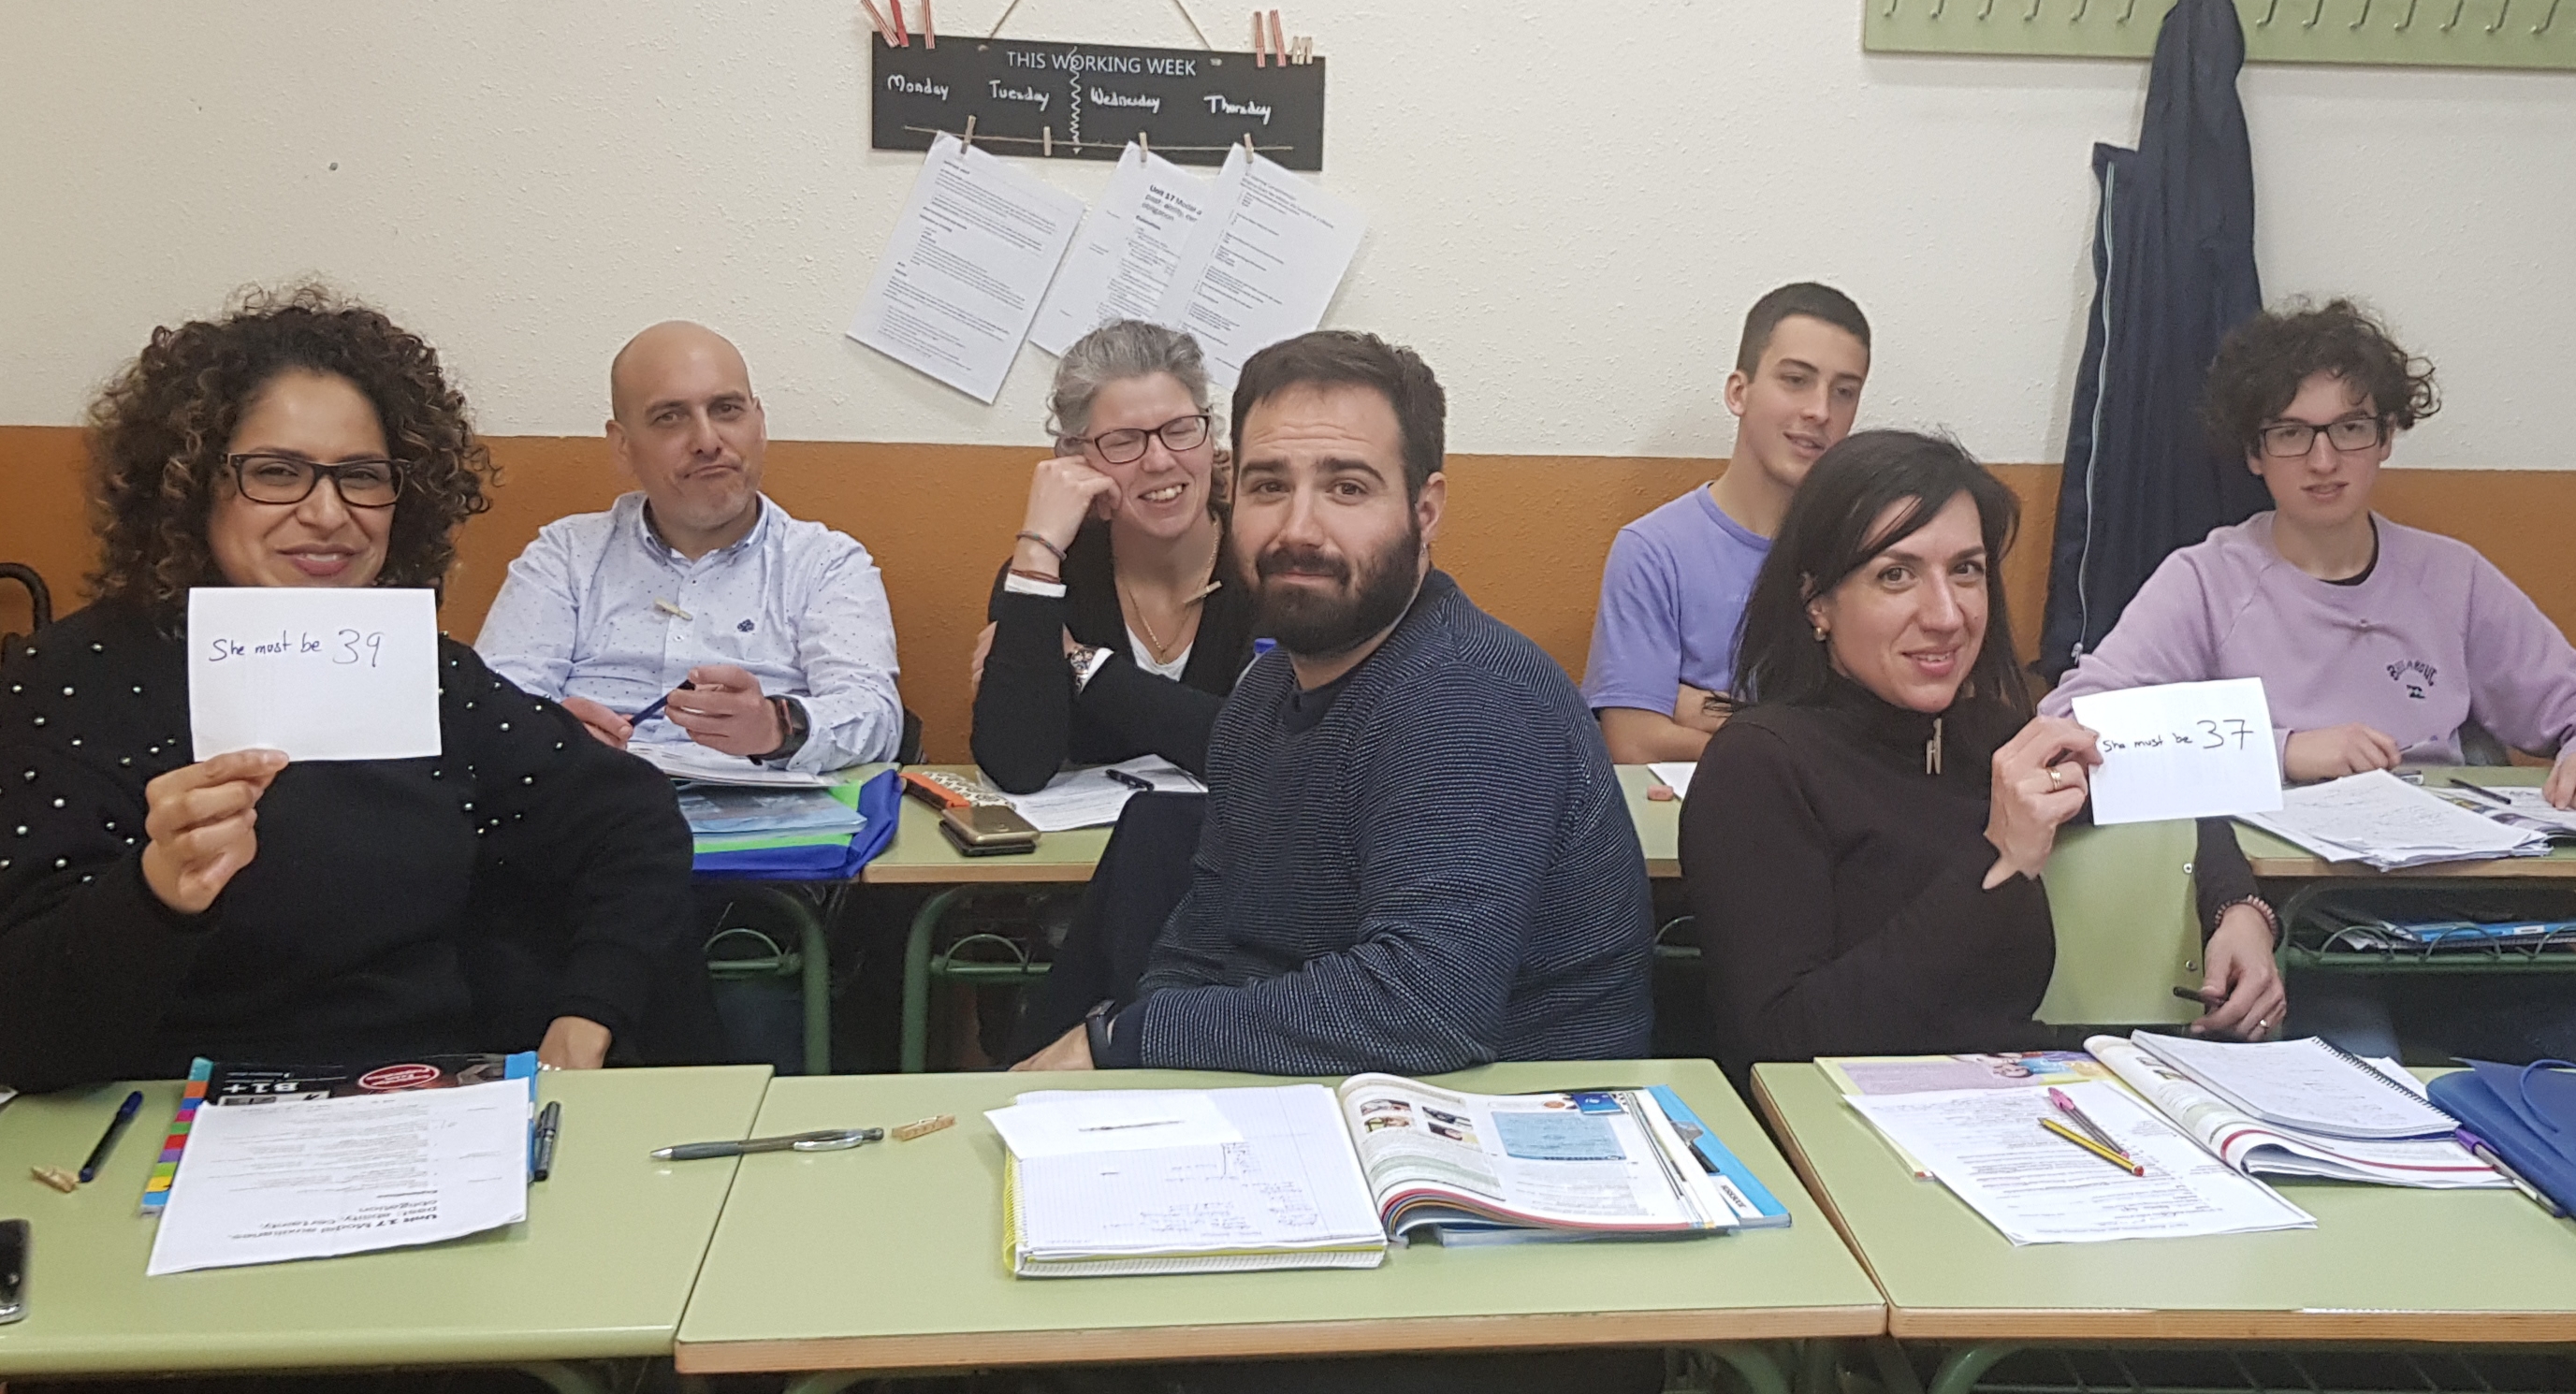
Activity 5: Speaking: conversation questions
Using a presentation with some conversation questions I created on Spark Adobe some years ago, I asked my students to discuss the questions trying to use the collocations studied in Activity 4.
Every two questions, I gathered all the cards containing the collocations, shuffled them and redistributed them. This meant, standing up and finding the matching card with the corresponding pronunciation and then, sitting on that chair and talking to a different student.

Activity 6: Speaking: Ethical Dilemmas
Groups of 4 students. I displayed the first dilemma and asked students to pair up within the group and discuss for some minutes what they would do. Then, I asked them to share their ideas in their groups and finally, we had a whole-class discussion.
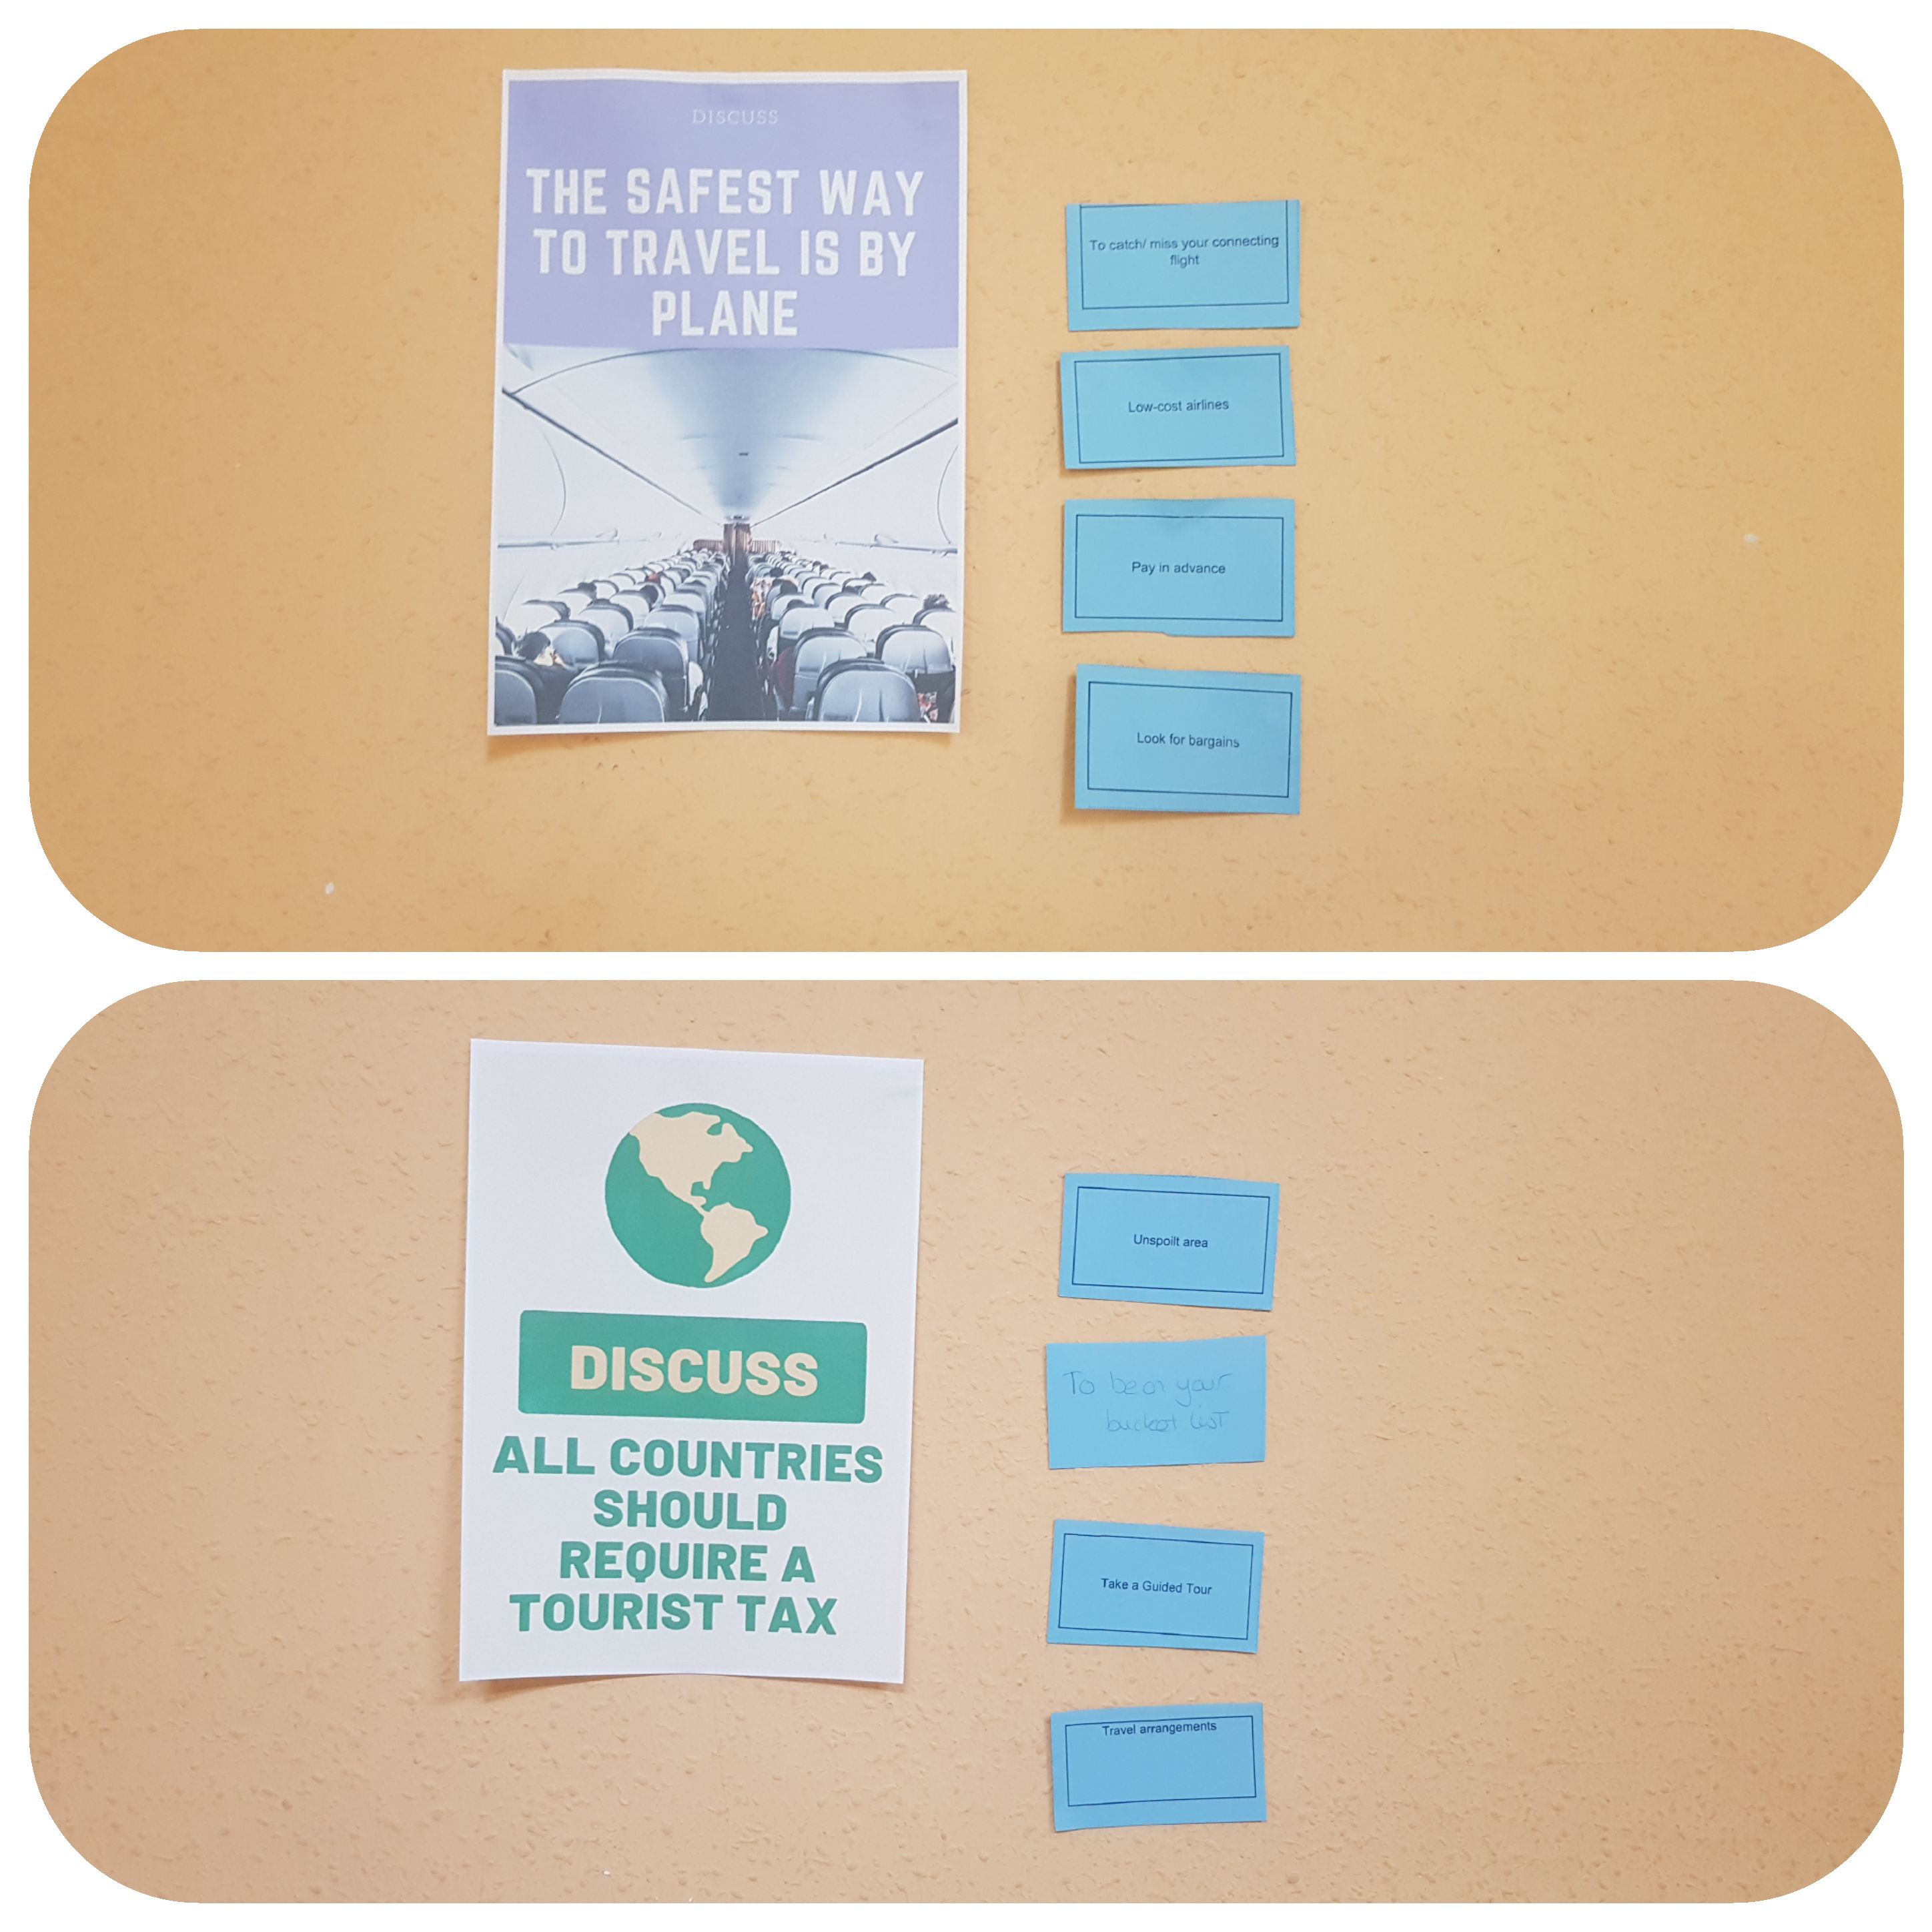
Activity 7: Gallery Walk with Posters and Vocabulary on Cards
I created some posters using Canva.com and put them on the walls of the classroom. To form groups, I numbered them off and asked all number 1s to form a group, all number 2s to form a group, …etc. This way, I made sure they worked with different students.
Before the class, I put the 5 posters up on the walls of the class. Next to the posters, I also put 3 or 4 cards containing common collocations from Activity 4.
I instructed the groups to choose a poster and discuss the question in the poster, trying to use the vocabulary in the cards.
I did not set a time for each poster, I gave them the freedom to discuss as much as they wanted, but encouraged them to do at least three posters. I dedicated 25 minutes to this activity.
Posters here
Activity 8: Using Google Maps Street View for Virtual Travelling
Giving your class a touch of modernity can’t get any easier. Ask your students to pick a city—any city in the world is at your fingertips-, and ask them to give a short speech about that city. Just open Google Maps, write the keywords in the search box, drag the Pegman and enjoy the virtual trip. For more details, click here