Welcome back, everyone! I’ve missed connecting with you and sharing ideas. Another year of sharing my classroom experiences with you all—20 years publishing and still going strong! I’m just as pumped about it, even though I barely have time to write. Al least, not as much as I’d like. Over the summer, I’ve been busy testing new ways to make the most of AI in our classrooms. I can’t wait to dive in and explore these exciting possibilities together!
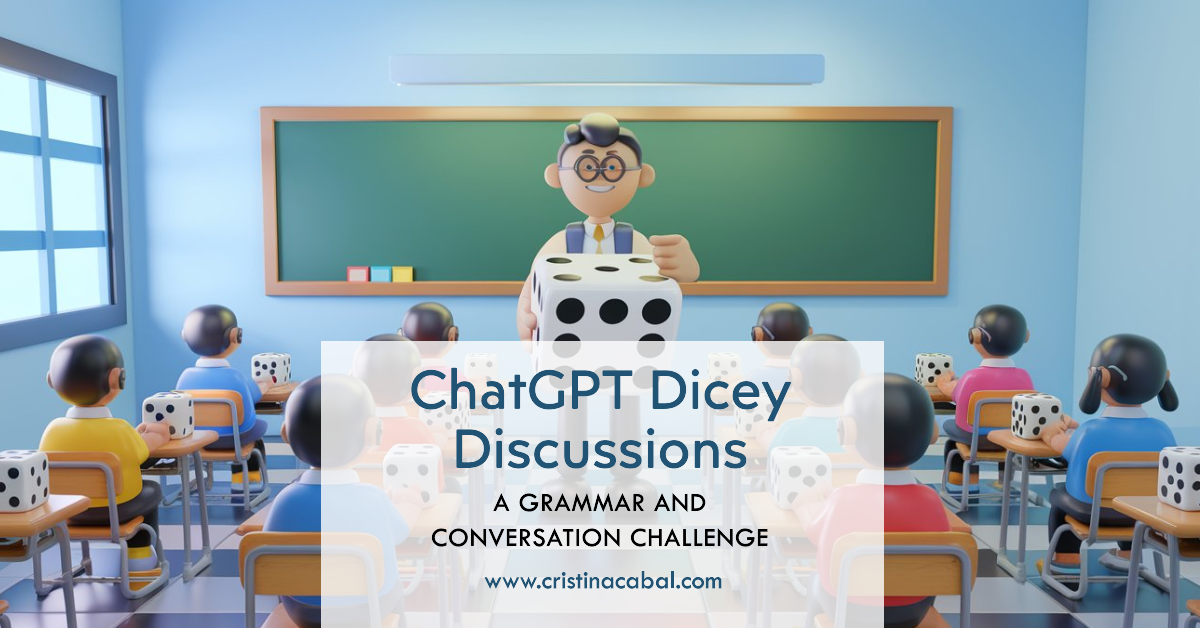
Remember when we used to spend hours crafting conversation games? Well, those days are over! This prompt will save you tons of time while sparking lively discussions in your classroom. Plus, it’s a breeze—just roll a die! The best part? It also sneaks in some essential grammar practice during conversations.
OPTION 1. THE TRADITIONAL TOUCH I AM SO FOND OF.
Now, this is the prompt I’ve written on ChatGPT. I have used ChatGPT, but you can use any of his friends-Gemini, Bard, Claude, Llama…etc.
Create a conversation game using a die, where each number corresponds to [six] questions. The questions should cover [advanced] grammar points such as [conditionals, relative clauses, modal verbs, passive voice, reported speech], and other [complex] structures. Some other questions should explore a variety of semantic fields such as [emotions, travel, relationships, work, and technology]. Group the questions under each dice number according to the grammar points or to the semantic fields.
Now, let me walk you through how to use this in your classroom:
- Go to ChatGPT and paste in the prompt. (Easy peasy, right?)
- Watch in awe as it generates a full set of questions grouped by die numbers.
- Copy the results and print them out. (Or go paperless and display them on your smart board)
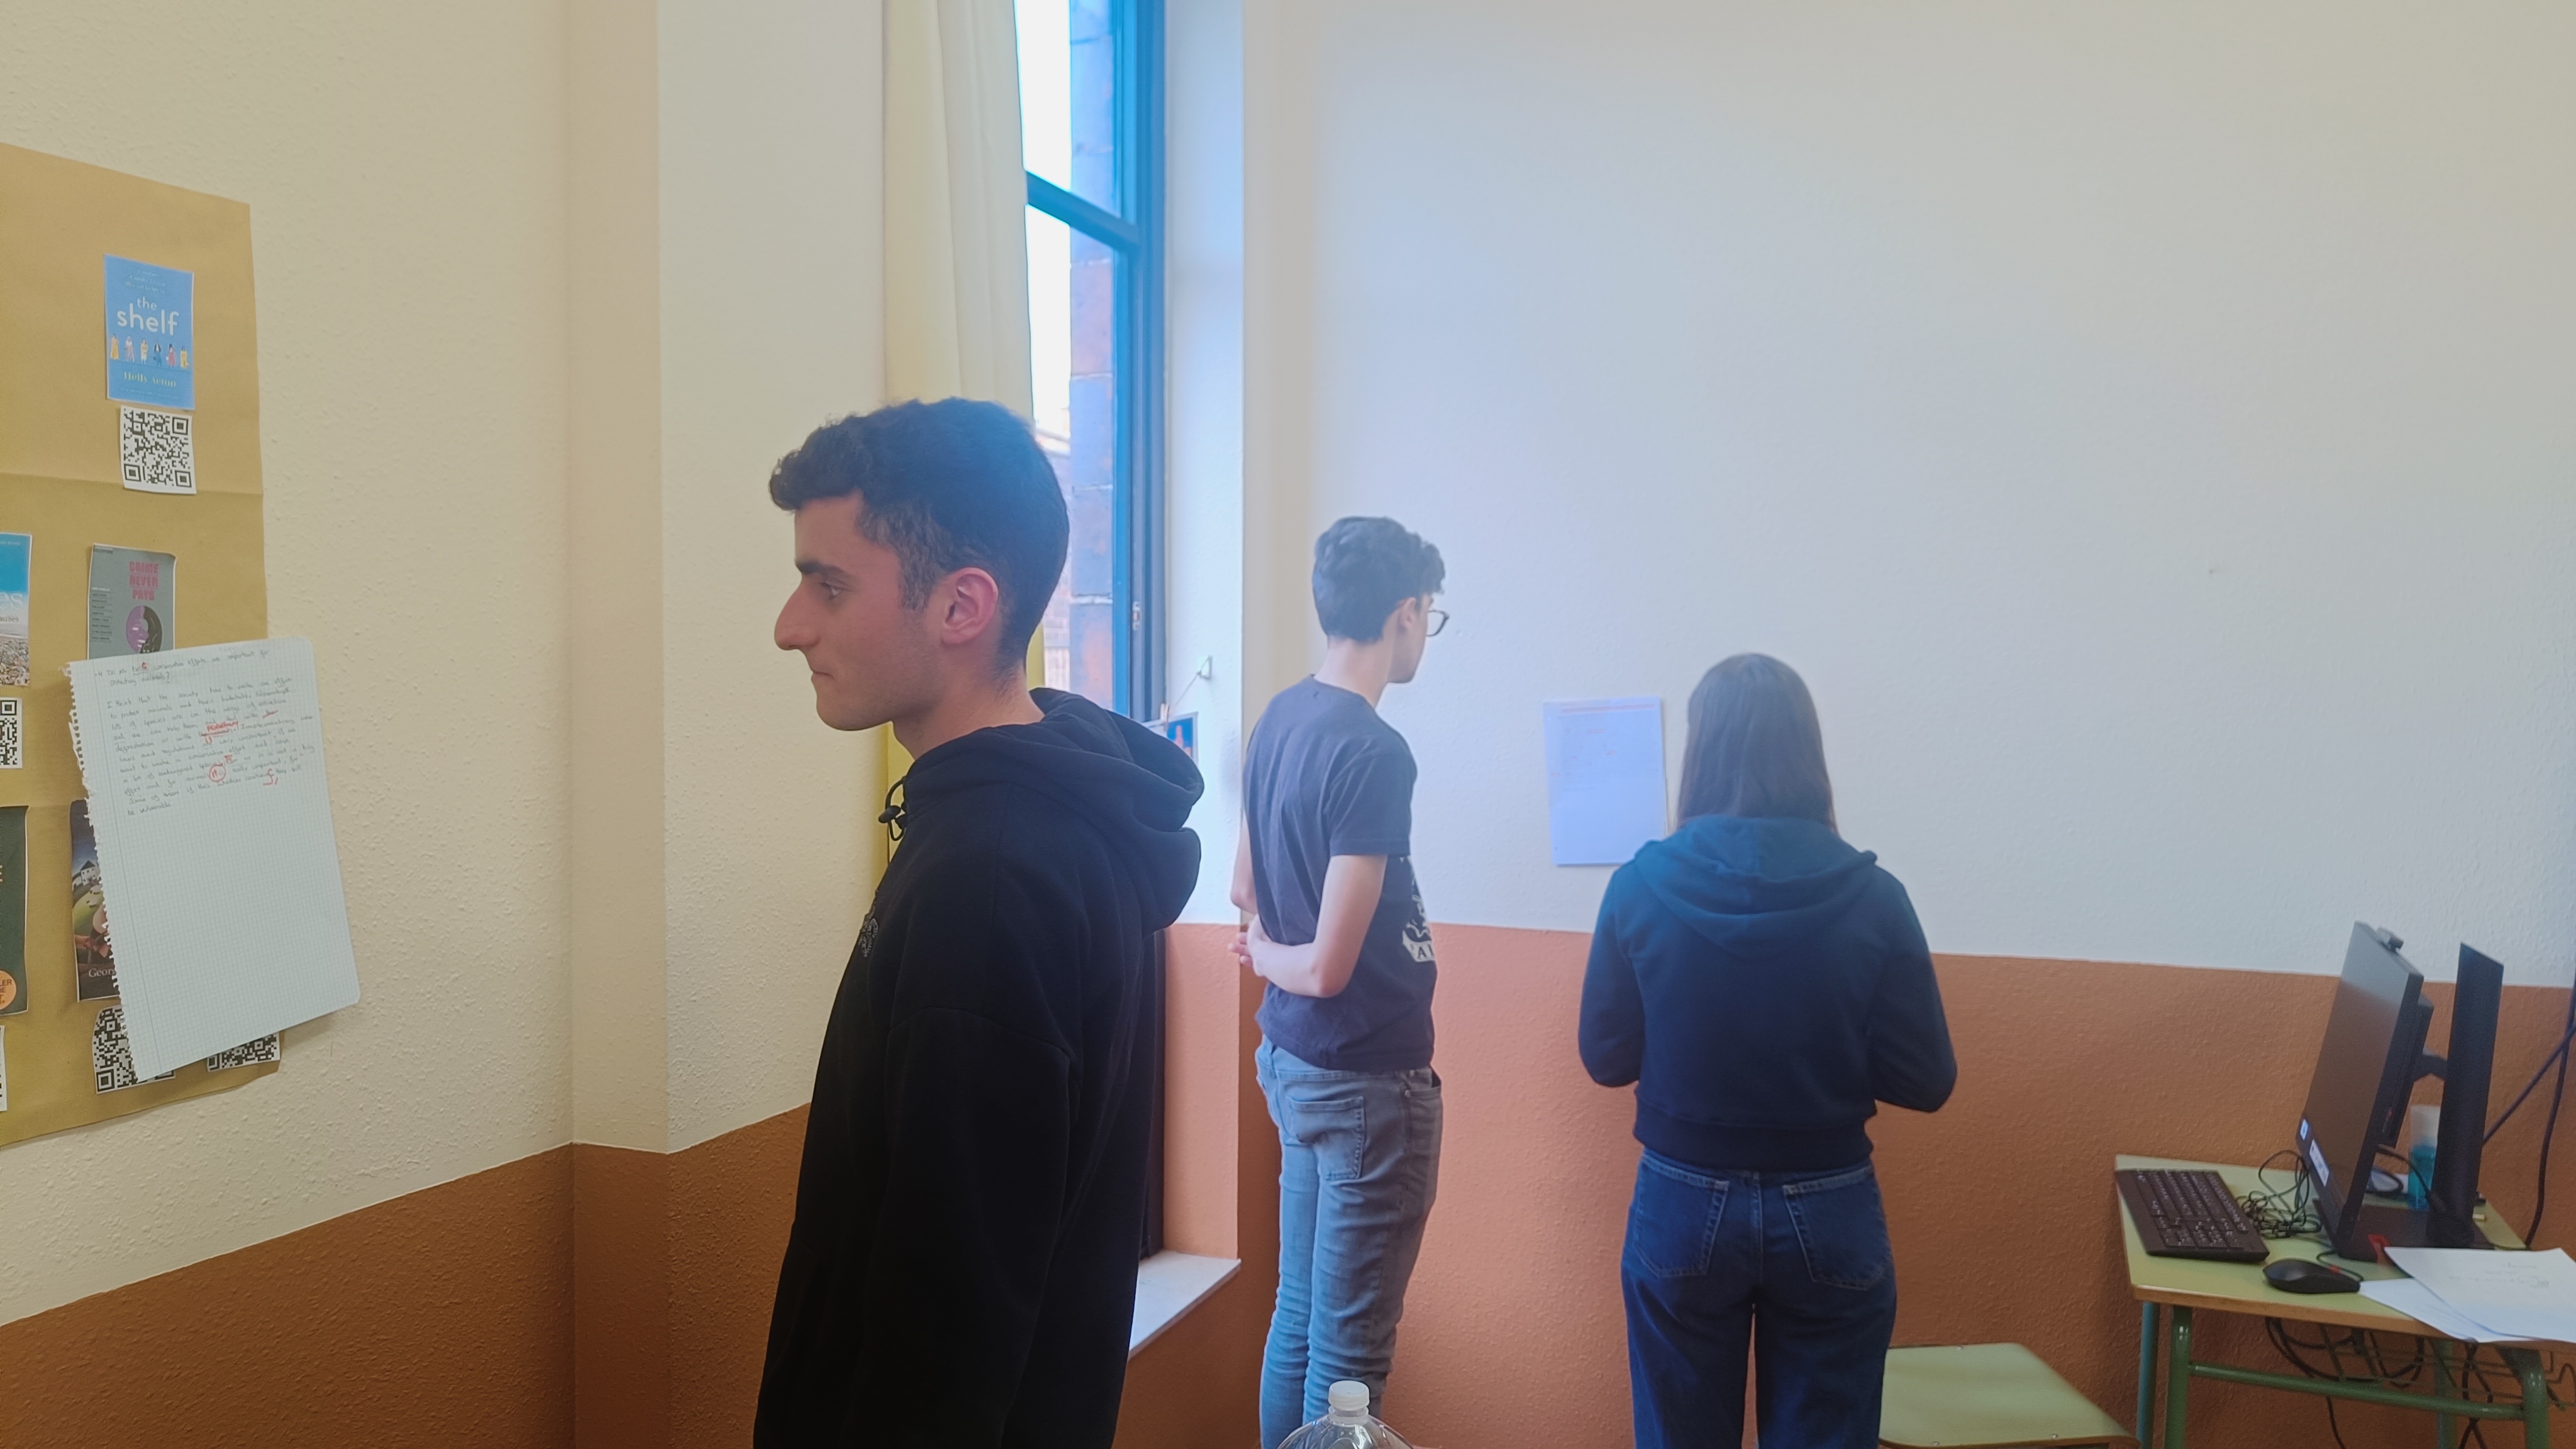
- Grab a die and roll it twice for each conversation. The first roll picks the category, and the second roll selects the question students will answer.
- Put your students in pairs and let conversations flow.
- Add movement: after about 5 minutes, have students stand up and switch partners, roll the dice again to get a new question and keep the discussions lively and engaging. It’s a simple and effective way to spark interaction while reinforcing key grammar points!
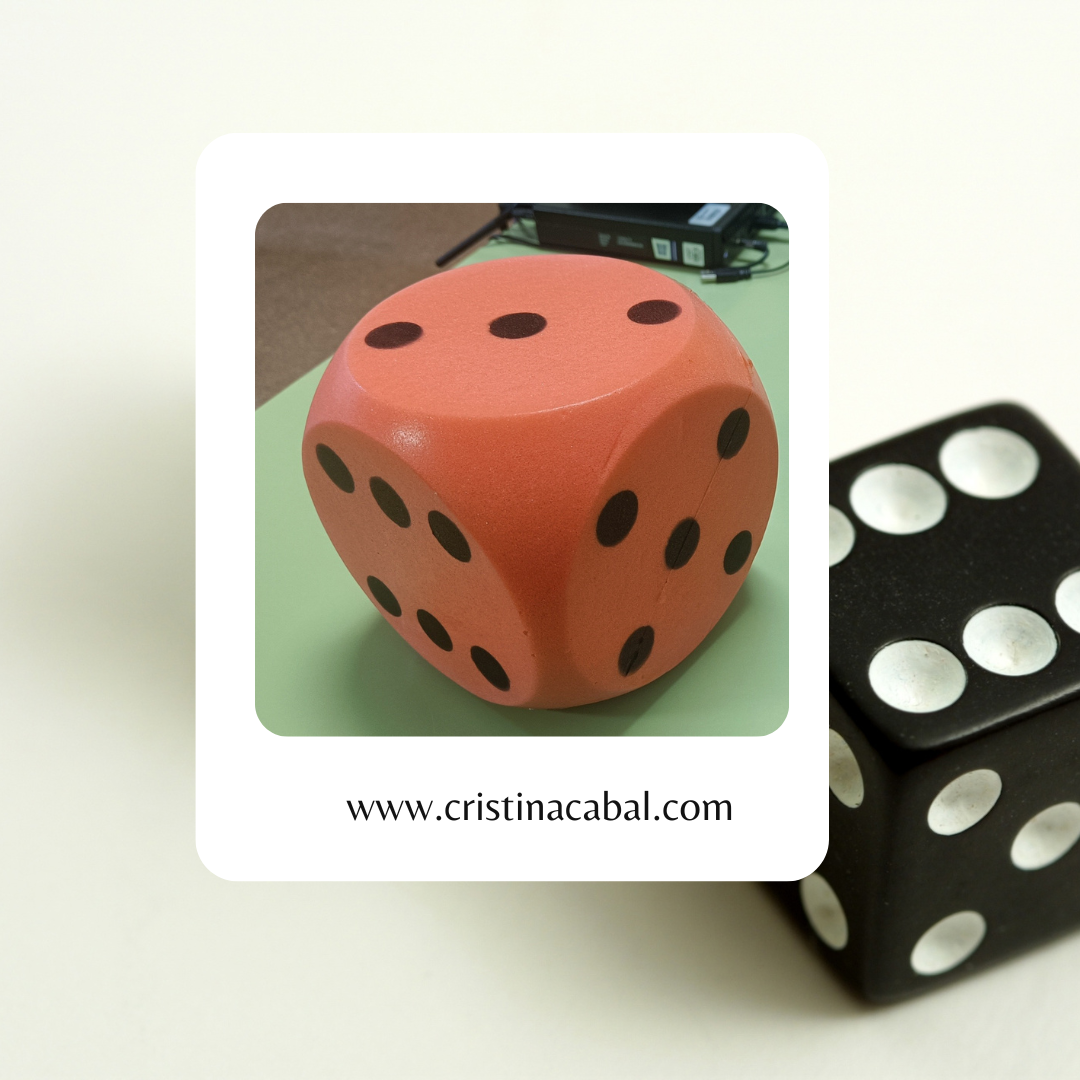
- Wanna add to the fun? Then, use a giant foam dice and let students roll it!!! Have a look at mine!
Note: These questions have been created by ChatGPT with the input of the prompt above. You can modify the prompt to fit your students’ needs.
Click here to go full screen. Roll the die and answer the question by cristina.cabal
OPTION 2. INTERACTIVE AND TECH-POWERED
If you can think it, you can probably make it happen! Tech has never been more accessible. Everything’s at your fingertips—you just need to know where to look.
So guess what? I’ve taken the game above and given it a fresh, interactive twist! We’re talking paperless, more engaging, and way more fun. Imagine the same game, but now it’s fully interactive and tech-powered.
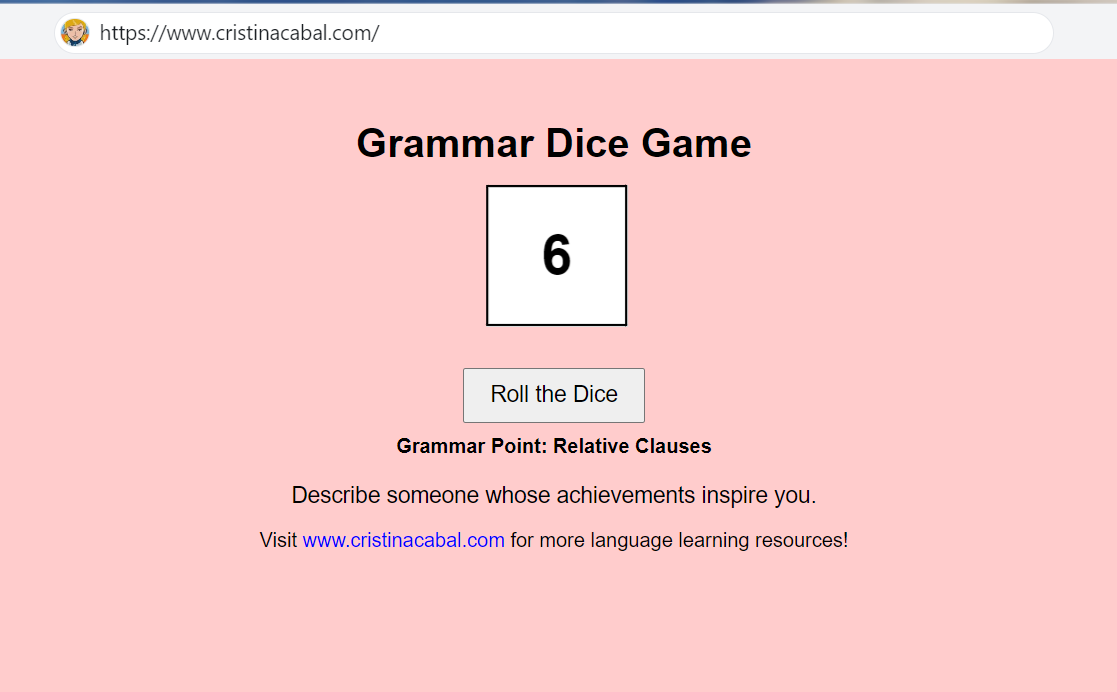
This is the prompt I have used to feed the amazing website Websim. https://websim.ai/c/nXmnW5OcZ7UNFCbWN
Create an interactive page with this prompt. Create a conversation game using a die, where each number corresponds to [six] questions. The questions should cover [advanced] grammar points such as [conditionals, relative clauses, modal verbs, passive voice, reported speech], and other [complex] structures. Some other questions should explore a variety of semantic fields such as [emotions, travel, relationships, work, and technology]. The questions should be grouped by grammar category or semantic field. State which grammar point or semantic field each number corresponds to and include a text “www.cristinacabal.com” which will link to this website. The background should be light red.
And this is what I got. Well, what do you think?
Now, I know what you’re thinking. Isn’t AI taking over our jobs?” Fear not! This is where our expertise comes in. We can use the AI-generated questions as a starting point, then tweak and personalize them to fit our students’ needs and interests. This is really the perfect blend of efficiency and personalization!
We are not replacing our teaching skills; we’re enhancing them. We’re eliminating the tedious prep work so we can focus on what really matters – connecting with our students and creating those “aha!” moments we live for.
Follow me on