Tag Archives: onlinetools

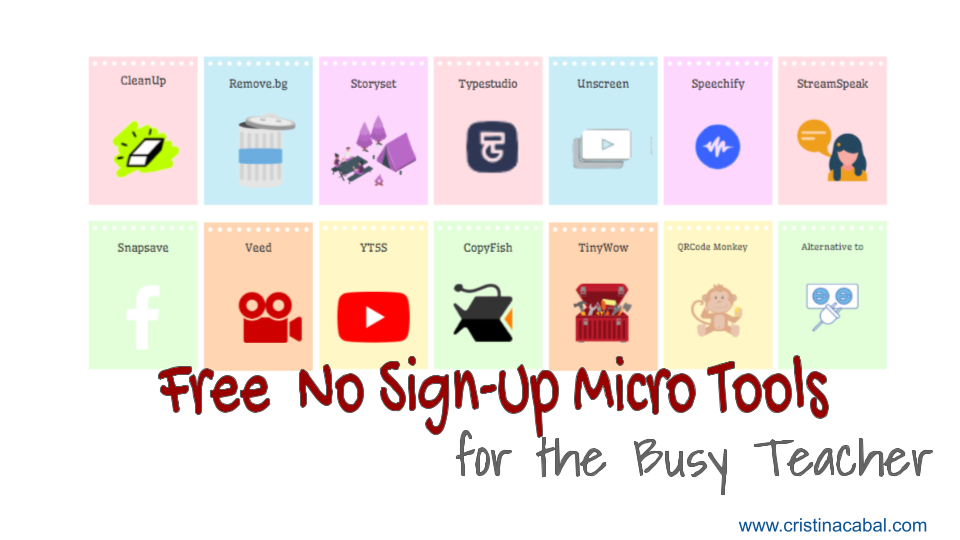
Free No Sign-Up Micro Tools for the Busy Teacher

This is a post I’ve been wanting to write for a long time. Some people collect coins or postcards and I… I collect digital tools. 🙄  Well, I also like watching tutorials. OMG! Come to think of it, do I qualify as a freak? The irony is that though I use tools to curate and organize my findings: Pinterest, Sites, Wakelet, Pearltress… you name it, the shoemaker’s son always goes barefoot.

And, much to my chagrin, it appears that I have been adding tools to this list in a fairly haphazard manner with the result that I have so many of them that I’ve opted to include just a few and may create a Part 2 if you find this post useful.

What is mind-blowing  about them is that:

  • They are free
  • They are online
  • You don’t need to register

I have tried to organize them into categories and add a bit of everything. For better or for worse, some of them are multifunctional and don’t fall into just one category.

                                     IMAGES
  • Removing a person/object from a picture. You need Cleanup Pictures: Upload the photo, choose the brush size, paint the area you want to remove and download your new photo. In some cases, you might need to paint the area twice. The 0:20 video below shows how to do it.


  • Removing the background of an image. Go to Remove.bg. As easy as choosing the photo and uploading it. You don’t even have to click any buttons.
  • You can find Cool 3D icons  for your projects On Free3DIcon, and images on CloudDevs
  • To create a Breaking News Image, go to Classtools.net
  • StorySet is an amazing site for your projects.  Choose an illustration and now…
  • delete elements
  • change the colour of the illustration
  • animate one or all the elements in the illustration
  • download it as a GIF or MP4
                                    VIDEO 🎥
  • TypeStudio is just awesome. It is a new approach to editing a video, text-based. That means you edit your video by just editing the transcribed text. You can also add subtitles automatically, turn the video into a blog article and everything runs online in your browser. How to go about it:
  • upload the video
  • the screen will be split into two parts. On the left, you will see the transcript for the video and on the right, your video.
  • Now, you will be able to edit the transcript by deleting a word or words from the video. It is like magic! Imagine the possibilities for language learning.
  • Removing or changing the background from a video clip. Go to Unscreen.com. The 0:40 video below shows how to do it.

  • Facebook is blocked in your school? Then, you need Snapsave. Just copy the link of a video that you wish to download, then paste the link in SnapSave and select the video quality that you want to download.
  • Automatically or manually adding subtitles to a video, go to Veed. Veed is a free editing video tool with lots of possibilities.
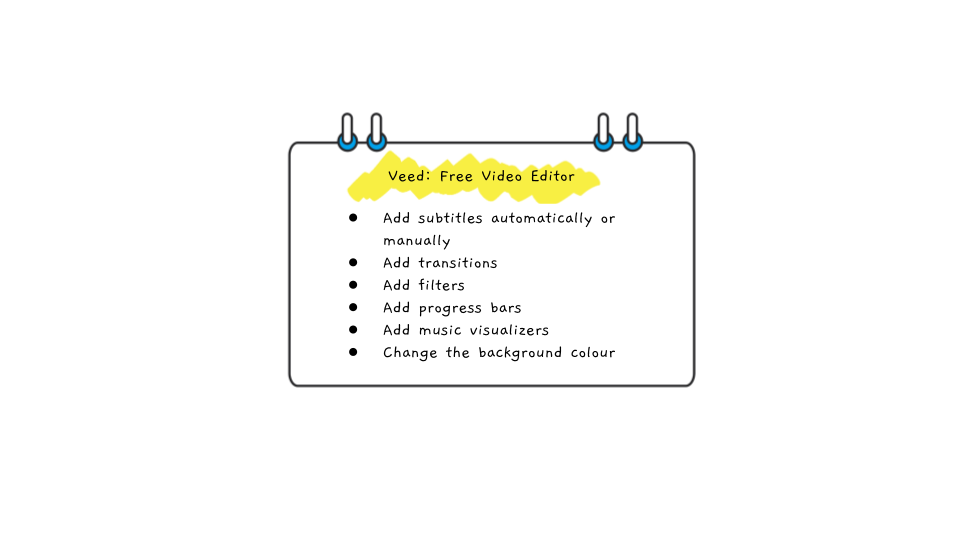
  • Downloading a Youtube Video, go to YT5s 
  • Downloading the audio from a Youtube Video, go to YT5s and paste the link. Downside: it has some annoying ads and you will probably need to close some pop-ups and probably a window. Other than that 😉  it works fine
  • Free downloadable video clips, sound effects and images for your projects on MixKit
                               DOCUMENTS

  • Extracting text from online images, PDFs or Websites, you need CopyFish, a Chrome extension. The 0:52  video below shows how to do it.

                              MULTI-PURPOSE
  • Tiny Wow is a wow of a tool.  It works with PDFs, videos, images and URls. Remember you don’t have to register. Files are deleted after 15 minutes.
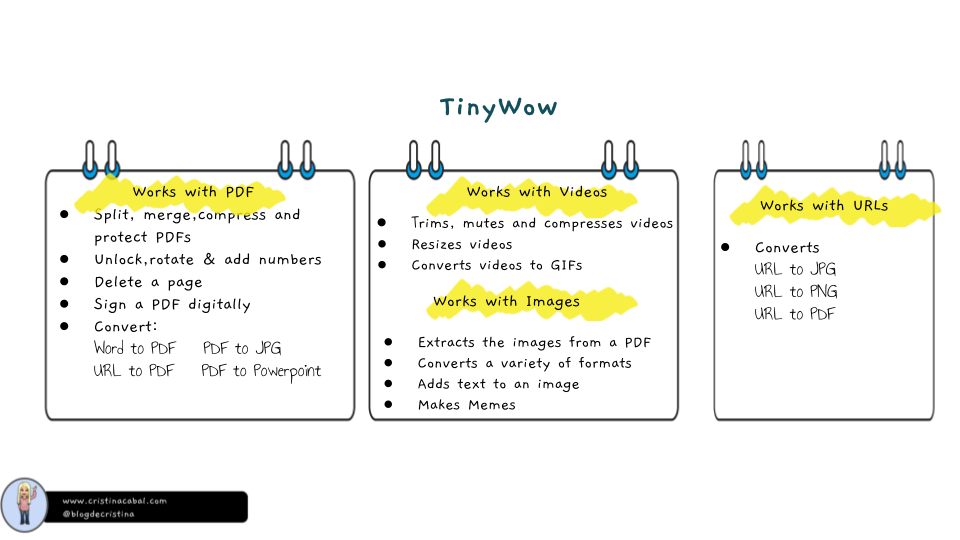
  • Converting a myriad of media files from one format to another, go to Onlineconverter is just what you need to convert
  • audio
  • ebooks
  • images
  • files
  • etc…
                                     READING
  • Speechify This is a Chrome extension that when installed reads any text. Great to practise pronunciation and boost reading fluency.
  • Text to downloadable speech? Yes! Go to Speak. Voice clips are up to 300 characters but if you register (free), you get clips of up to 1,000.
  • Don’t know what to read next? Go to Whichbook and choose your next book based, for example, on your mood.
                               MISCELLANEOUS
  • If you have forgotten your password on a specific site, you might find it here https://passwords.google.com/
  • If you want to know if a file or a  website is free of viruses, go to VirusTotal 
  • Alternative to: this site finds the best free alternatives for paid or free apps or programs. As easy as typing the app you need to find an alternative to.
  • Changing the cursor. I know. Just for fun! To change your cursor, you need to add the free Chrome extension, Custom Cursor
  • QR Codes. My favourite is QRCode Monkey because it allows you to customize your QR by adding a logo or changing the colour or the design.


If you have found some of these tools useful, share this post it with someone who might need it!

Happy and Healthy New Year!

Blog de Cristina is on Facebook and on Twitter. Don’t miss any of my posts or other resources that I share on social media.
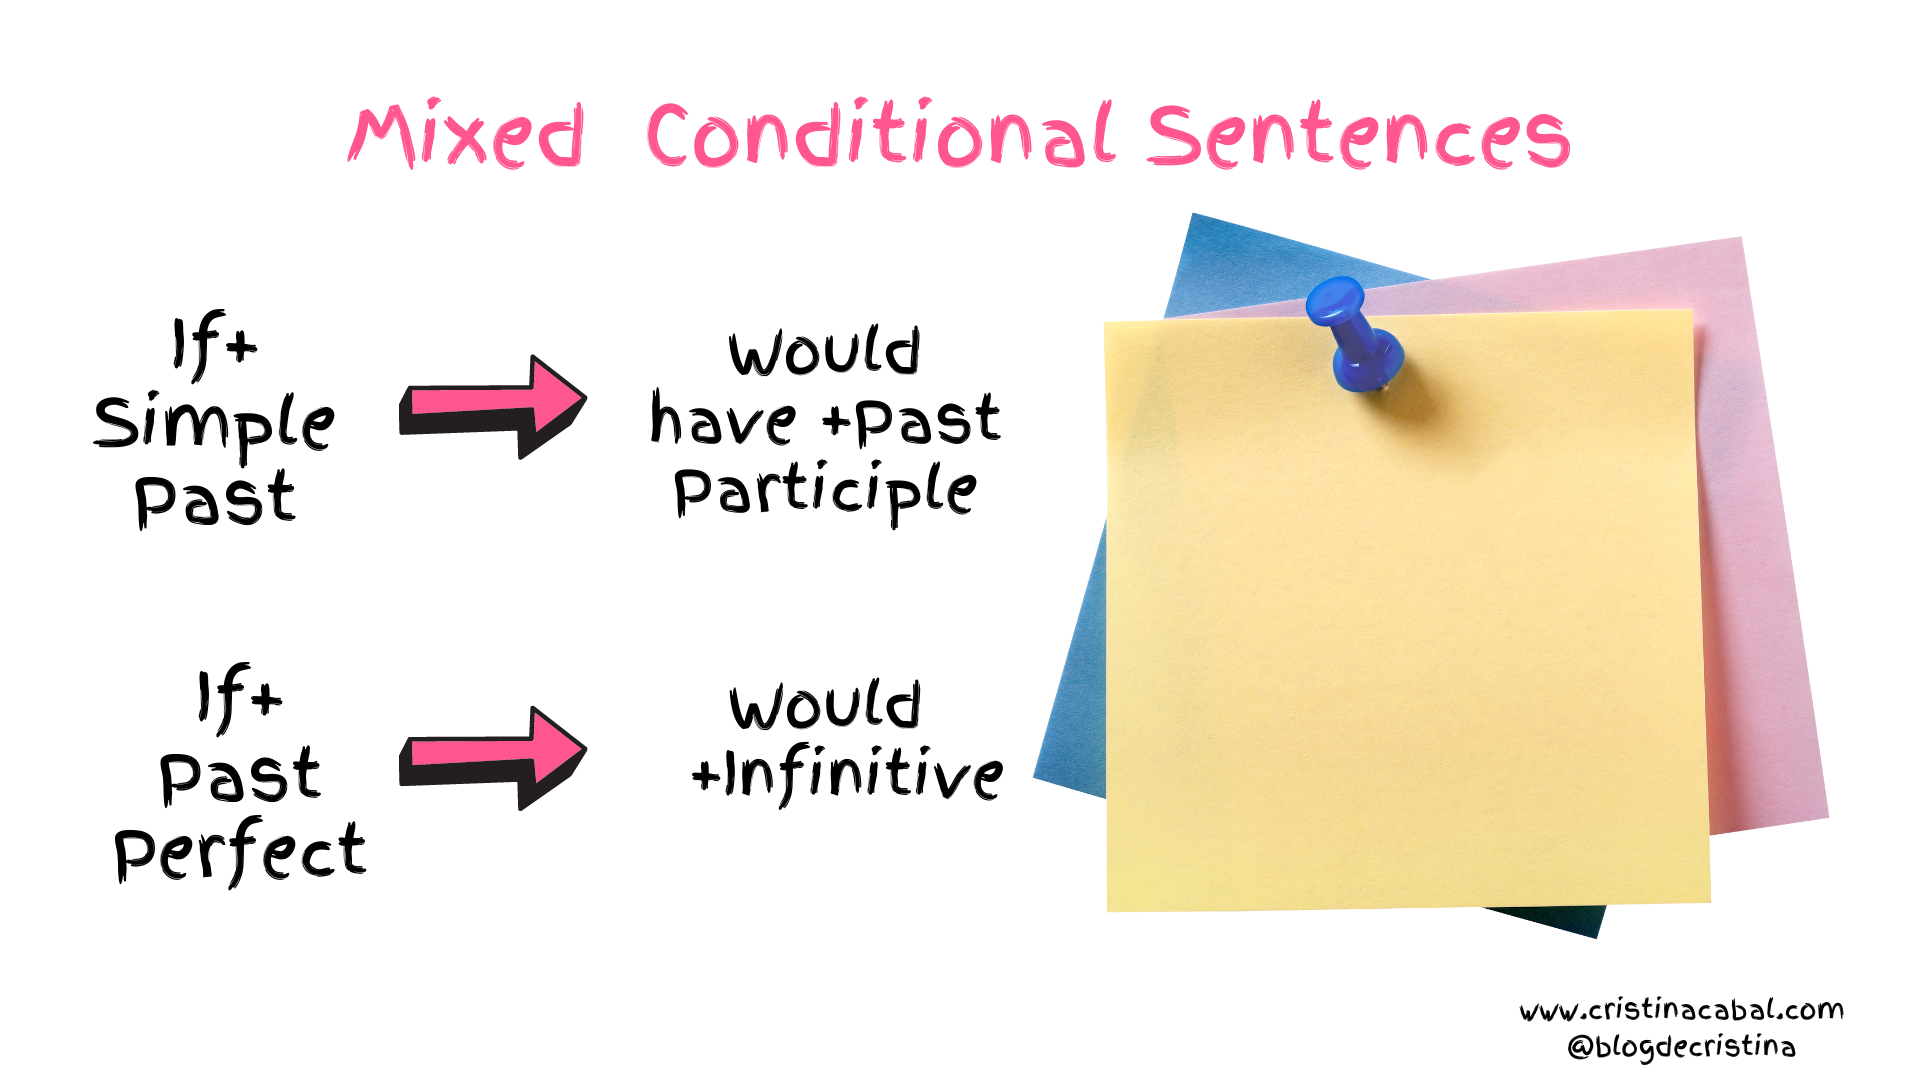
Mixed Conditional Sentences

Learning about  Mixed Conditional Sentences is the perfect way to finish this weird year, don’t you think so?

I am sure you have been speaking English way too long without adorning your speech with  Mixed Conditional Sentences. Well, I am here to remedy this.

First, you need to open your mind to the fact that when you first start learning about Conditional Sentences, we only teach you the basic types like, for example, when you learn Conditional Type I and we teach you If+present simple⇒Future “Will” . Of course, this is correct  but as you get more proficient, you soon realize that there are so many variations to the basic type that you begin to wonder if any combination is possible. I am tempted to say “yes”.

Anyway, I am here to teach you about Mixed Conditional Sentences. Are you ready?

So, we are going to study two cases:

  1. If + Past Perfect ⇒ Would

                                  If I hadn’t studied, I wouldn’t be in the advanced course.

As you can see,  we have a combination of Conditional Type III  (if+Past Perfect) and Conditional Type II  (would+infinitive)

When do we use it? When we refer to a past event that could have had a direct result on a present situation if it had been different.

I know … difficult to grasp. Some help in Spanish?

(Nos referimos a un hecho pasado que de haber sido de otro modo habría cambiado el presente.)

Now, let’s have a look at some pictures with some hints in bubbles. Try to finish the sentences using this Mixed Conditional Structure.


Now, write your own sentences.

2. If + Simple Past --- Would have+ Past Participle

              If I were tall, I would have enrolled in the army

As you can see,  we have a combination of Conditional Type II (if+Past Simple) and Conditional Type III  (would have+ past participle)

When do we use it? When we refer to a present event that could have changed a past situation.

In Spanish? Un hecho presente que podría haber cambiado un hecho pasado, es decir, el pasado habría sido diferente ,si el presente fuera diferente. I know, you have to read it several times.

Now, let’s have a look at some pictures with some hints in bubbles. Try to finish the sentences using this Mixed Conditional Structure.

Now, write your own sentences.

 Writing: Ready for a Guessing Game?

Aim: guessing the exact sentence on the back of the tile

Time: 1 minute/sentence

Put students into pairs and choose one of the flip tiles. Instruct students to complete the conditional sentence on the tile. They will need to write it down. Tell them the picture is a hint. Listen to their sentences and flip the tile. Award 1 point for each exact sentence. Similar but not quite? Half a point 🙂


PDF with more exercises here. Use a QR Code Reader to scan de key

A Guessing Game Using Tenses

Clear a spot in your lesson plan for this engaging activity because you are going to love it. This is a small writing guessing activity using Present Perfect Simple and Present Perfect Continuous- you can also throw in Past Simple if you are feeling adventurous-  with an added touch of technology.

  • Skills and subskills: writing, vocabulary, speaking  and grammar
  • Strategy: whole class, individual work, whole class
  • Level: B1,B2
  • Magic Touch: Wordwall
Step 1: Learning Vocabulary: Jobs

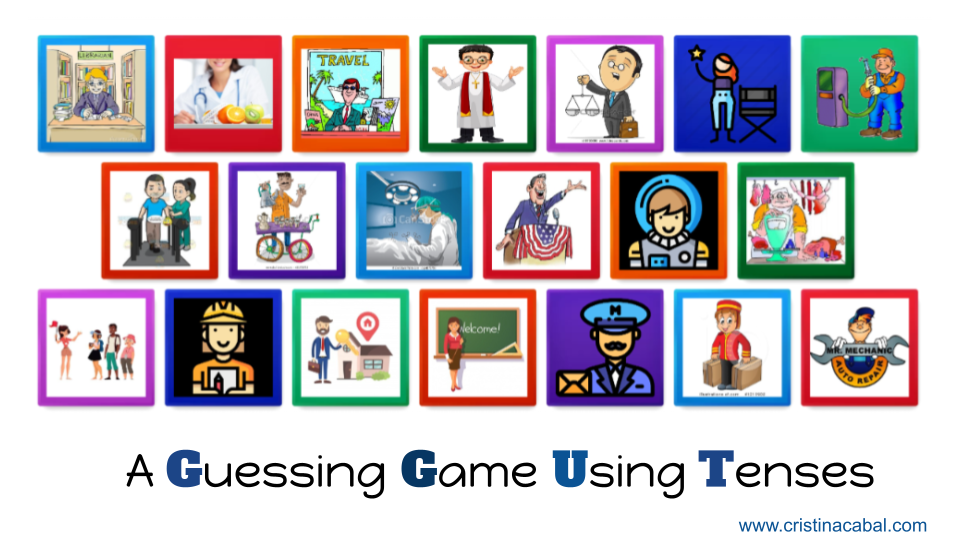
Revise vocabulary related to jobs using the FlipTiles template on Wordwall- see the game below. If you don’t want to create your own, you can always use mine. I’d be honoured.

In the Flip Tiles, you will see vocabulary for professions or jobs they already know like  teacher, architect… and some more challenging ones like priest, street vendor or surgeon. That was the idea, to revise old content and introduce new.

And so, we spent some time guessing the words and flipping the tiles.

Bonus. Fun revising activity:  after revising all the vocabulary on the tiles, I pointed at one job and instructed students to repeat after me but only if the word matches the tile and remain silent if I was making a mistake. Fun! I told you.

More? Yes! You can do the same with pronunciation. Instruct students to repeat after you only when you have pronounced the word correctly. 😊(most of the times  I give myself away when doing this exercise)

Step 2: Writing. Using Grammar.

Individually, students choose a job from the ones displayed.

Ask students to write clues for this job without mentioning the job. Tell them they will then read their sentences aloud one by one and the class will have to guess their job.

They will need to write three sentences:

  1. Using the present perfect continuous
  2. Using the present perfect
  3. Optional: using the past simple

Example.

  • I have been training all morning  ( 3 points)
  • I have scored two goals today (2 points)
  • Yesterday, I played a match (1 point)
Step 3: Here comes the fun

Ready to play? Divide the class into 2 teams. Instruct a student from Team A to read his/her first sentence, ie, his/her first clue to the job. If members of the other team guess the job only by listening to the first sentence, they score 3 points; if the second sentence needs to be read, they score 2 points and well, you know what the score is if the student needs to read sentence number 3 or if they can’t guess the job.

I hope you have enjoyed this little game. If you use it, let me know how it goes.


Learning Chocolate: a Free Website to Learn Vocabulary and How to Pronounce it.

It is not the first time I have written something about this great site to learn vocabulary but, it was such a long time ago, that I think it deserves to be brought to your attention again.

Learning Chocolate that’s the name of the website. Hey!! I even like the name. I wonder why they’ve chosen this name for a website that helps students improve vocabulary but it certainly does so and in a very efficient way.

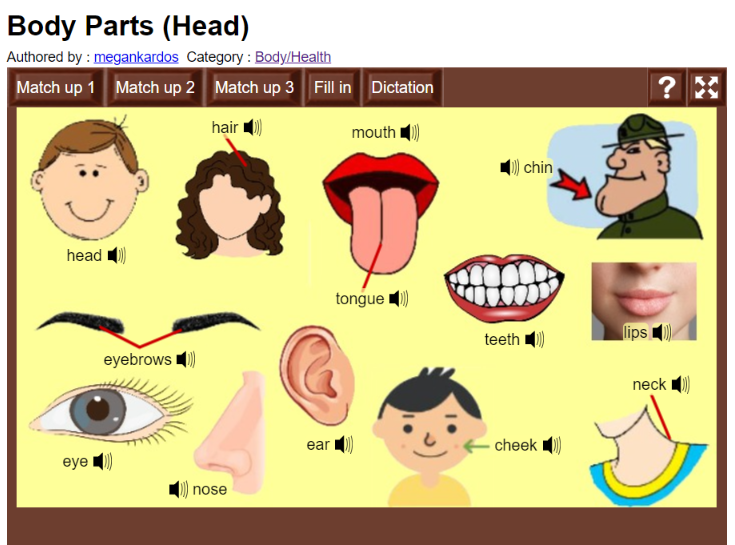
What do I like best about this site? It teaches vocabulary in a visual way but also, and this of the utmost importance to me, is that it teaches students how to pronounce the words they are learning.

How does it work?

The vocabulary is organized into categories, ranging from the easy  Numbers or the Seasons to the more sophisticated Insect Life Cycle.

How do you learn with this page?

First, on top of the page, you will need to choose your language and also, the language you want to learn.

Now, you are ready to start.

  1. Choose a category. The main categories are: beginning, around you, daily life, your society, your world and special series.

2. You will see words related to this category with the corresponding image and pronunciation.

3. The website also offers exercises to consolidate the vocabulary. For each category, you will find 3 match-up exercises, a fill-in the gaps and a dictation.

There are three different kinds of match up exercises:

  • Match up 1: you will find a list of words and below the words, a list of sound icons. Click on a sound icon and drag it and drop it to the corresponding word. When you finish, click Complete.
  • Match up 2: you will see the pictures and below the words to drag and drop.
  • Match up 3: same as match up 1, but in this exercise, you will see the pictures and not the words.

Also

  • Fill in: you will see several gaps and you will have to type the words that correspond to each image.
  • Dictation: you will find a list of sound icons. Click each of them and write the word you hear.

What I especially like about this site is that it uses visual aid to help students learn better and faster and, at the same time, teaches them how to pronounce the words.

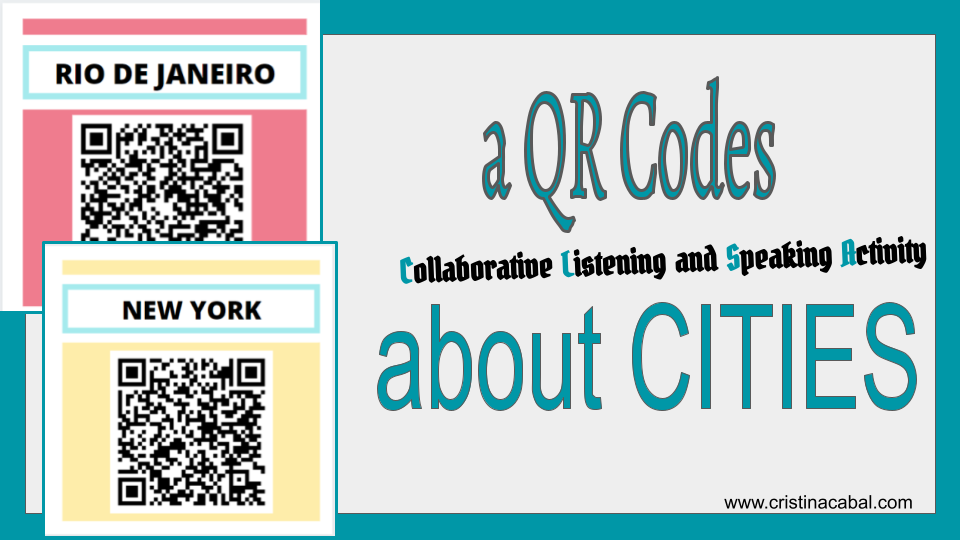
An Outdoors QR-Codes Listening and Speaking lesson about Cities

I need to share this activity. It really has all the ingredients for a perfect lesson.

Things I want you to know about this lesson.

  • It is super engaging and gives your class a touch of modernity
  • It is collaborative
  • It deals with two basic skills, listening and speaking, but a lot of subskills are also at work.
  • It gives students and teachers a good excuse to stand up from their seats and even take the lesson outside, as I did.
  • It helps build rapport in the class, which is sooo important at the beginning of the course

I am not going to lie to you. It needs some initial preparation, but it pays off. Believe me! Besides, I find the whole process of preparing the activity very entertaining. Ok. I know. You don’t have time. The good news is that you can always use mine if you like my choice of cities.

  • Topic: Cities
  • Level: C1
  • Main skills: listening and speaking
  • Time: 50-60 minutes
  • Materials: here
Before the session
  1. Before the session, look for a video that can easily be divided into parts. In my case, we were learning about cities and their problems so I decided on this one 10 of the most overrated cities from one of my favourite channels on Youtube. I chose only 4 cities to form groups of 4 students.
  2. I used Camtasia to make 4 new videos, one for each city: Rome. London, New York and Río de Janeiro. If you don’t have Camtasia, don’t let this put you off, you can easily use the free online https://online-video-cutter.com/es/.
  3. Once you have the videos, you need to upload them to, for example, Google Drive.
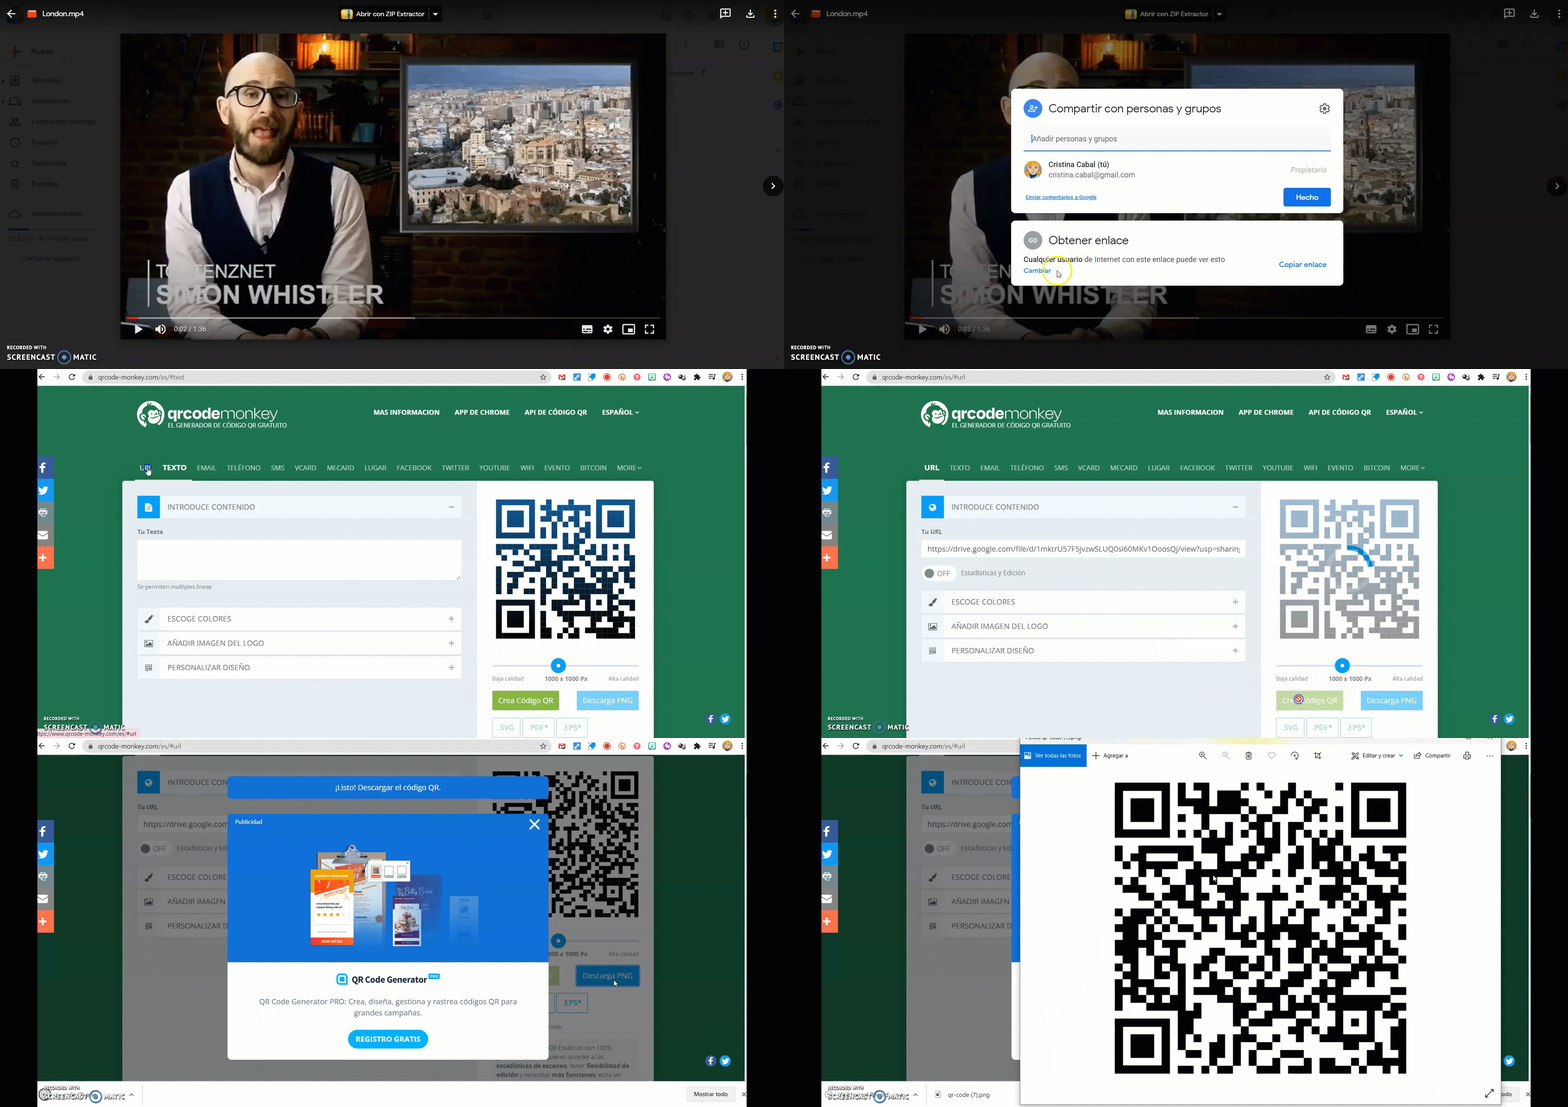
  4. Once online, you need to copy the URL and create a QR Code. I create mine here. The Gif below shows how to do it once the video is uploaded to Google drive.

5. Now, you need to print the  4 QR Codes on separate pieces of paper.

6. Before the class, you will also need to tell students to download- I bet they already have it- a QR Code reader (I use QR Scanner) to their mobile phones and bring some earbuds for the next class.

Done!!! See? No big deal!! Now, everything is ready. Ready for the fun part!! 🙄

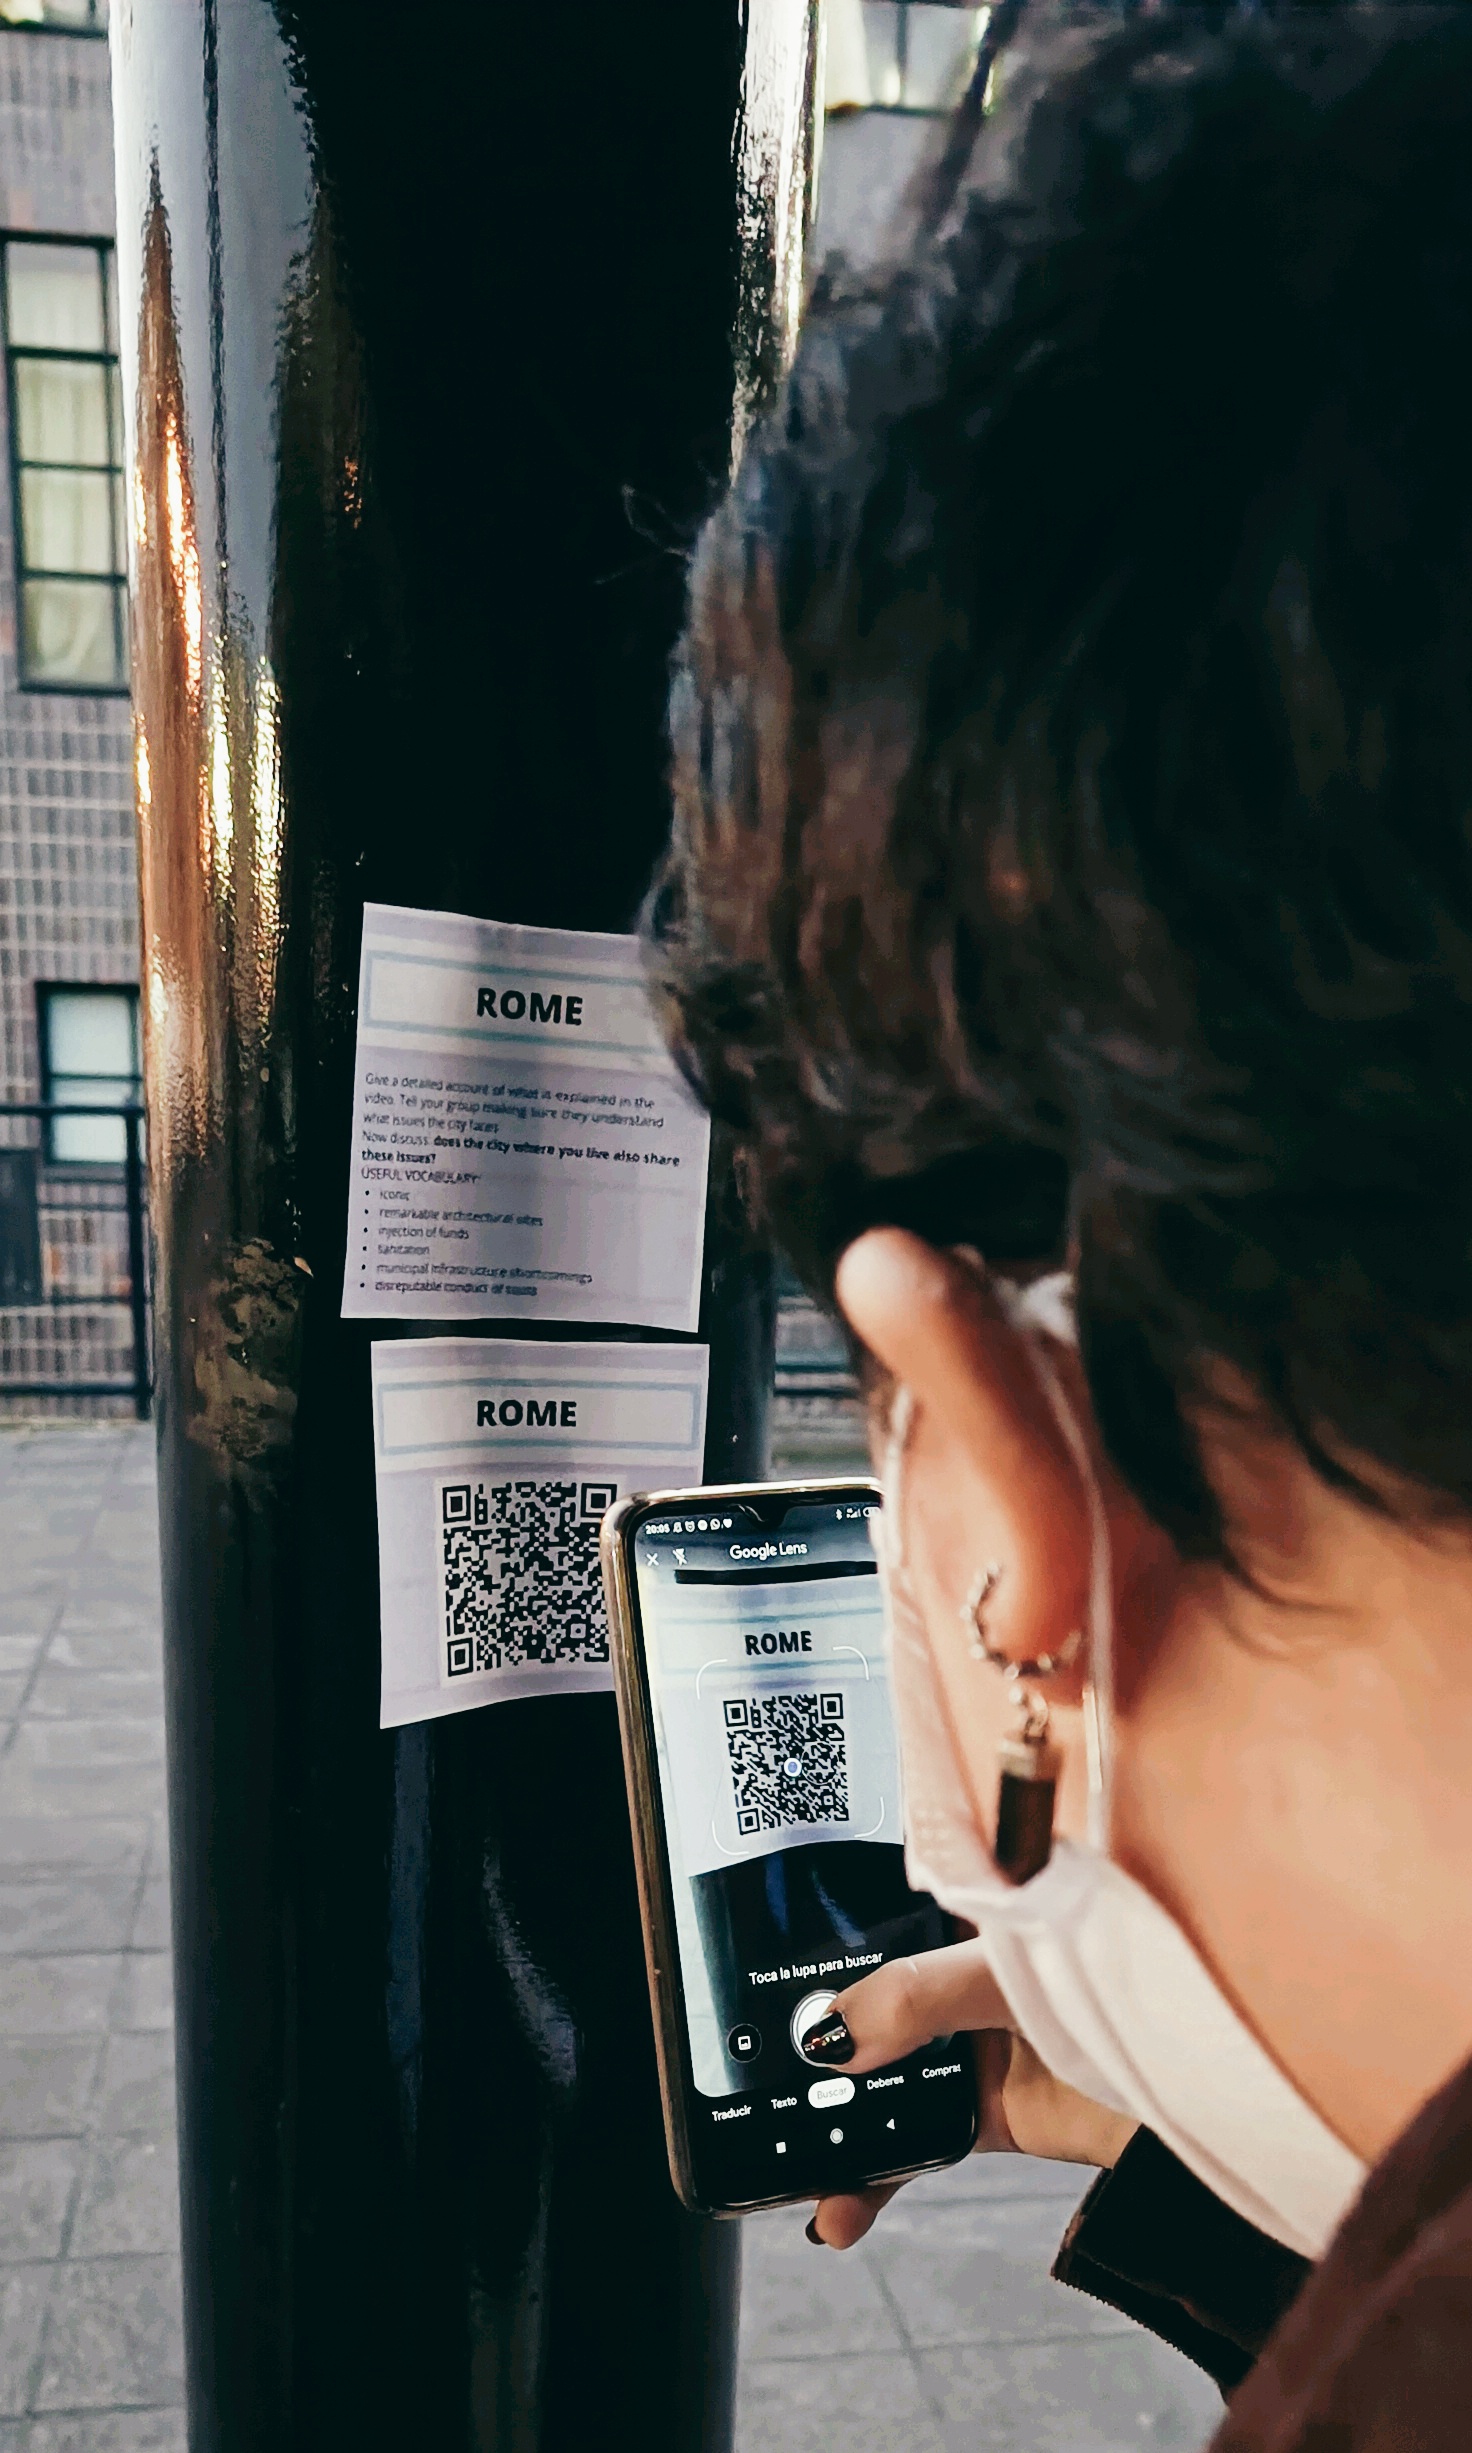
Tell the students this class will be done outside. Yay!! It could be the aisle or any other place on the premises that has enough room for the students to move. In my case, I used the schoolyard and pasted the QR Codes on the walls, well, not exactly walls as you can see from the picture.

Part 1.Listening and  Retelling
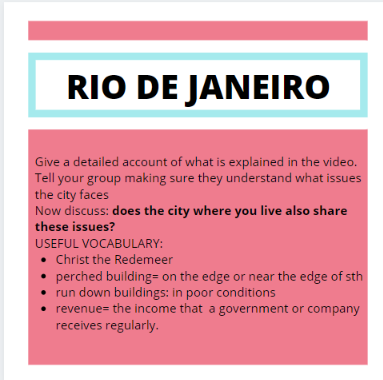
  • Ask students to form groups of 4. Each of them should choose a different city
  • Ask students to scan the code for their city and take notes.
  • Explain they will need to share as many details as they can about the city of their choice with their group. Apart from the main specifics of the city, they will need to explain why the city is overrated.
  • Allow 15 minutes for this part as students will need to watch their video several times to write down as many details as possible.
  • Next, students get back to their groups and start sharing the information gathered about their cities.
Part 2:  Speaking. Critical Thinking


In their groups, students talk about the issues the city in their videos has and together they debate whether the city where they live faces these same problems. Ask them to elaborate on their answers and offer possible solutions to tackle the problem.

Hope you have enjoyed my lesson and decide to give it a try!!