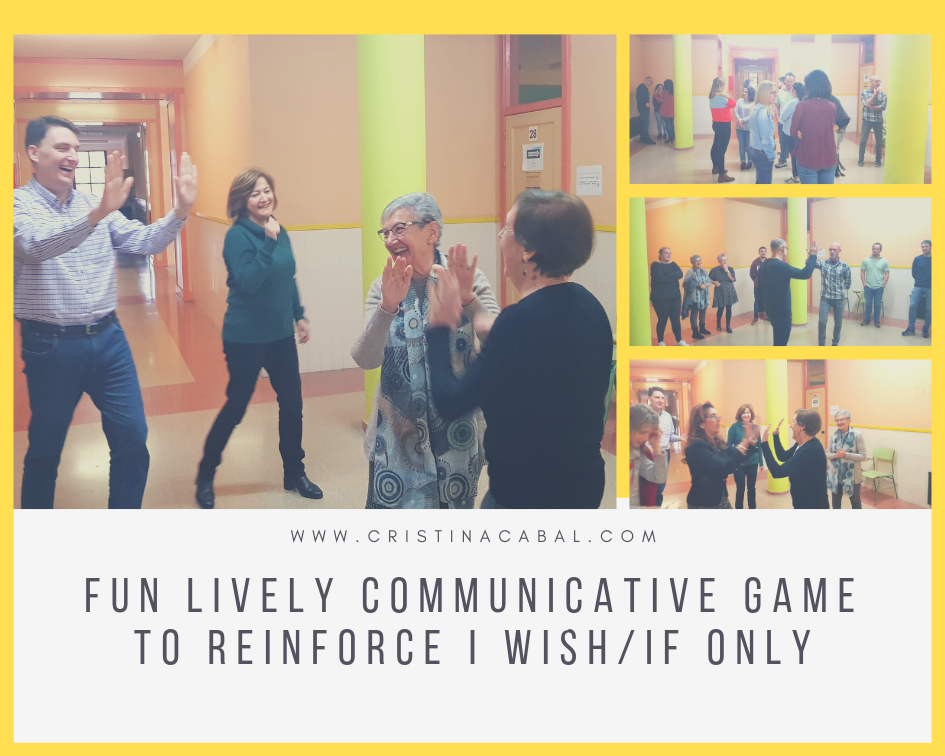
Fun Lively Communicative Game to Reinforce I Wish/If Only

Who doesn’t welcome a bit of fun in the classroom, a light getting-out-of-your-seat activity? I can see no raised hands?  Right, we are all in for this game!!!

Before you continue reading. For this activity, you will need to have space in your classroom, which I don’t. Even though my class is U-shaped, it is still a small class. But, no problem.  Right outside my class, there is a big aisle where we can do this little activity and perhaps, who knows,  some students from other classes might want to join us. The more, the merrier.

We can do this game in two different ways or in both ways. Actually,  I did first Part 1 and then Part 2. Both equally effective.
 

Before the game: on the board revise the grammar for I Wish/ If Only.

The Game:

Ask students to form a big circle leaving the most space in the middle. They don’t have to hold hands or be excessively close to each other as long as they form a big circle and everybody can see everybody else.

This is how it works:

Part 1. The teacher asks a question containing I wish/ if only.

Shout the first question; for example, Who wishes they were rich? and instruct all the students whose answer is Yes to come into the middle of the circle and there, in pairs or threes, briefly explain their answers. Allow one or two minutes’ conversation and then, ask them to go back to their positions. Encourage them to use the target grammar in their answers.
What do students whose answer is No do? Easy answer: the same. The will need to pair up with the student who is closest to them explaining their answer.

These are the questions I have used. You are welcome to use them.

  • Who wishes they were abroad right now?
  • Who wishes they had a bigger car?
  • Who wishes they had studied harder when they were at school?
  • Who wishes they were thinner or fatter, taller or shorter?
  • Who wishes their neighbours were nicer people?
  • Who wishes they had a different English teacher? 😊
  • Who wishes they had chosen a different profession?
  • Who wishes they had a more positive attitude towards life?
  • Who wishes they could live to be a hundred?
  • Who wishes they could be president of their countries for just one day?
  • Who wishes they had more time to socialize?
  • Who wishes they had had more siblings?
  • Who wishes they had been born in another century?
  • Who wishes they had been born a member of the opposite sex?
Part 2. The students produce the sentences. The High-Five.

I have called this part The High Five. Still standing and forming a circle, ask students to think of a sentence about themselves they think people will easily relate to using I wish/ if only.

Students take it in turns to say their sentence aloud and at the same time move into the centre of the circle.  Anybody who feels the same way moves to the centre of the circle and gives a High-five to the person in the centre of the circle who has said the sentence.

Same procedure as above. In pairs or in 3’s ask them to briefly discuss their answer.

You can start by moving to the centre of the circle and saying:
I wish I could pass my English test ( Note: your hands will hurt from all the high fives you’ll get with this sentence)

Discourage sentences that might be too personal or too specific like
I wish my mother had come with me on that trip.

Remember that it is important to model first and give clear instructions so that students know what they have to do. You want everybody participating and nobody slowing the game down or feeling uncomfortable because they haven’t understood what they need to do. If necessary, use concept check questions( CCQ) to make sure everybody knows what to do.

Interested in spicing up your lessons? I ran face-to-face workshops helping teachers integrate technology in their classes in an easy way, using free online digital tools. Practical tested ideas that combine traditional teaching with modern techniques. Fun and learning, a win-win!

From teacher to teacher. In English and in Spanish.

Revising and Consolidating Vocabulary: No-Prep Fun Strategies

Before we dive into the content of the post today, I’d like for you to know a surprising fact about me. I love traditional teaching. Yes, chalk and board. I say “surprising” because if you have been reading this blog for a while, you will have probably noticed how often I incorporate technology in my lessons. True. I love surprising my students with a new idea to revise, learn or consolidate learning using a digital tool, but I absolutely also adore surprising them with an exercise where the only help is their mind, their classmates and occasionally their teacher.

If I combine both traditional and digital learning, then it’s just my dream lesson. And this is what you’ll find on this post, the traditional Cristina and an updated version of myself. Which one do I love best? That, I still need to decide.

B2 students revising vocabulary

  • Aim: revise and consolidate vocabulary in a communicative way.
  • Levels. B1 upwards

Although the ideas below work better for a topic-based lesson- in my case it was used to revise food-related terms-, I think it might also work to revise random vocabulary as long as you specify which vocabulary you want to revise.

Step 1: Standing Up 

That’s probably one of my favourite ways to revise the vocabulary learnt the previous days.  My students already know me, so when I say: “please, stand up”, they already know what is coming and automatically, it brings a smile to their faces.

Instructions: students need to come up with a food-related term from the ones studied in the unit. They take it turns to say their word and I repeat it loud enough for all the class to hear it. This also gives me a good chance to repeat the word that might have been occasionally mispronounced.

A student sits down, ie. is eliminated,  if…

  • he cannot come up with a word
  • if another student has already said the word
  • if he cannot come up with a word in 10 seconds.

Big applause for the last person to remain standing and one of the sweets I keep in my candy box.

Step 2: Using Slips of Paper. Moving around the class.

Once terms and pronunciation have been revised, it’s time to work on meaning.

  1. Give students a slip of paper. I use old photocopies printed only on one side and cut them lengthwise. You should get two slips of paper per copy.
  2. Ask them to write two terms they would like to revise. Encourage them to write big enough to see the words from a distance (Note: this is unnecessary but I find the bigger their letters are, the easier it is to understand their handwriting). Once they have done so, ask them to make sure they know how to define them. Also, help with pronunciation.
  3. Ask students to stand up. The desks in my class form a U so I tell them to move to the centre of the class. Students choose a partner and they take it turns to define their words for the other student to guess/revise. Before they move on to find a new partner, they swap cards. This is a very important step as once they swap, they will need to define/revise other words.

After 10 or 15 minutes, depending on the number of students, students sit down, Ask them to keep the last slip of paper they have defined.

Step 3:  Asking Open-Ended questions. 

Now, this is the part where I use technology and one of my favourite tools to get feedback. But, let’s go step by step.

a. Writing the questions

Students sit down. Ask them to write down an open-ended question using one of the words on their slip of paper. Tell them some of the questions will be chosen to do a speaking activity. Encourage them to write questions related to the topic, in my case food.

Questions are difficult in English so walk around the room helping students.

b. Using  Mentimeter.com to get feedback

As I mentioned above, this tool is one of my favourites to get feedback.

It takes less than 30 seconds to set up the task.

  • Go to mentimeter.com
  • Choose the open-ended slide
  • Click on Present and  display the slide with the OHP
  • Ask students to take out their mobiles and go to menti.com
  • Give them the code
  • Ask them to write their questions and submit them

Once their questions are displayed, correct possible grammar mistakes and choose 6 or 8  to be discussed in pairs or in groups of 3.

I hope you have enjoyed the lesson.

Teach and have fun!

Food for Thought Issues. A lesson about Food for B2/C1 students

February is a short month. First round of exams is over and I need to concentrate on preparing my students to take standardized exams. I am beginning to feel the pressure. OMG! It’s only February and I  am already a bit stressed out. Will I make it to the end of the course with all my wits about me? Highly unlikely!

So, next topic on my list is Food and Nutrition and all the subtopics around it, which are …like a lot.

What you will see in this post is an example of how I prepare my students to take oral exams.

  • Revision and introduction of vocabulary-related terms
  • Listening Comprehension Activity: Food waste
  • Pronunciation Activity: Organic Food No More Nutritious
  • Speaking Activity through Reading passages with Follow-up Questions
  • Mediation Activities

Continue reading Food for Thought Issues. A lesson about Food for B2/C1 students

A new Presentation Tool+ Speaking Exams for B2

It’s been raining for one week straight here in Asturias and it doesn’t seem to get any better next week. And while I don’t especially hate the rain, it’s beginning to get inconvenient. Lots of rain means floods and floods mean flooded roads and … well, I could go on and on but I don’t want you to picture me as an old fuddy-duddy.

But, I’m going to be frank and tell you that the more it rains, the less I go out. No worries. This just suits me fine right now, as I have had piles of written exams to mark and a bunch of workshops to prepare. I haven’t finished. It’s Sunday and I’m still working.

Anyway, work is never work when you are having fun and trying and testing new tools is fun for me.

Today, I want to show a fantastic presentation tool  Beautiful. Al with amazing templates which I have been using for some time now.

Things I like about this presentation tool:

  • It is very visual and user-friendly
  • It is free
  • It has a large variety of ready-made very original templates to please everybody
  • It has an image library, so it’s very easy to find the photos you need
  • It is a collaborative tool. You can add collaborators to your presentation and give them permissions to edit the presentation or just view it.
  • You can export it to PDF, PowerPoint or JPEG

The presentation you will find below is not a good example of all the possibilities this presentation tool offers, but this is the one I needed to do today. Two more  presentations follow where you will be able to see more examples of the  templates available,


Top 3 Amazing Video Lesson Websites with Downloadable Worksheets

I don’t know about you, but I don’t always feel up to creating material from scratch for my classes. The reasons vary from feeling too tired to even open my laptop to an absolute lack of inspiration.
Thank goodness, there are always people out there making our lives as teachers so much easier and generously giving away their work for free. Just for the taking.
In this post, I want to share with you three of my favourite sites for working with video clips and I also want, and need, to thank the people behind these three awesome sites that not only handpick the best video clips and sort them out according to level and topic, but also offer free worksheets that make my life as a teacher so much simpler.

These three are keepers. Don’t forget to bookmark them.


ESL Brains

Owned by a couple of teachers from Poland, this amazing website offers video-based lessons for level B1, B2 and C1 for free. Right now, they are looking for financial help and offer extra material if you support them by becoming a “patron”.
For my next lesson on Housing with B2 students, I am going to use this video lesson, which comes complete with the downloadable student’s version, teacher’s version and even an extra warm-up exercise.

TedEd

It’s not the first time I have written about TedEd, owned by the popular platform TED.

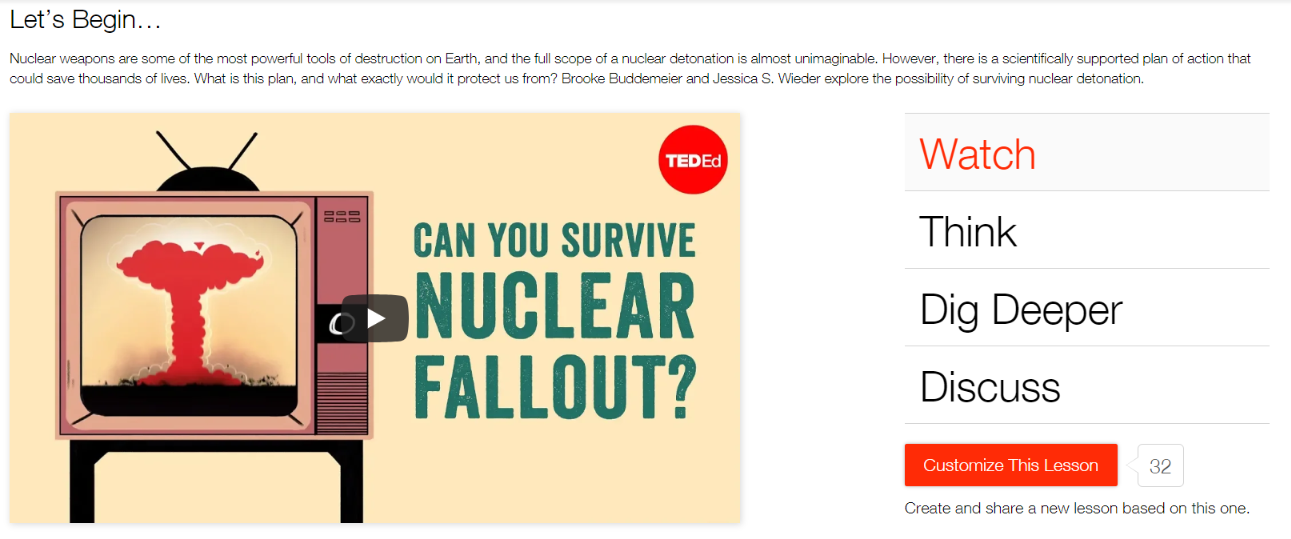
TedEd is a collection of original animated videos lessons. You can choose by subject and view the video in class or assign it as homework. Every video is accompanied by a lesson with multiple choice questions that check your general comprehension. If your answers are wrong, you can always check with the video hint. There is also a Think section with questions that further explore the topic.

For teachers, one of the most powerful features is the Customize your Lesson area, where you can customize the lesson by editing the title, giving your own instructions, selecting or deselecting multiple choice questions…etc.

This is a lesson I have customized for my students. I have used the video clip Questions No One Knows the Answer To to give my students some practice using Reported Speech Questions. You can see my lesson here

Lessonstream

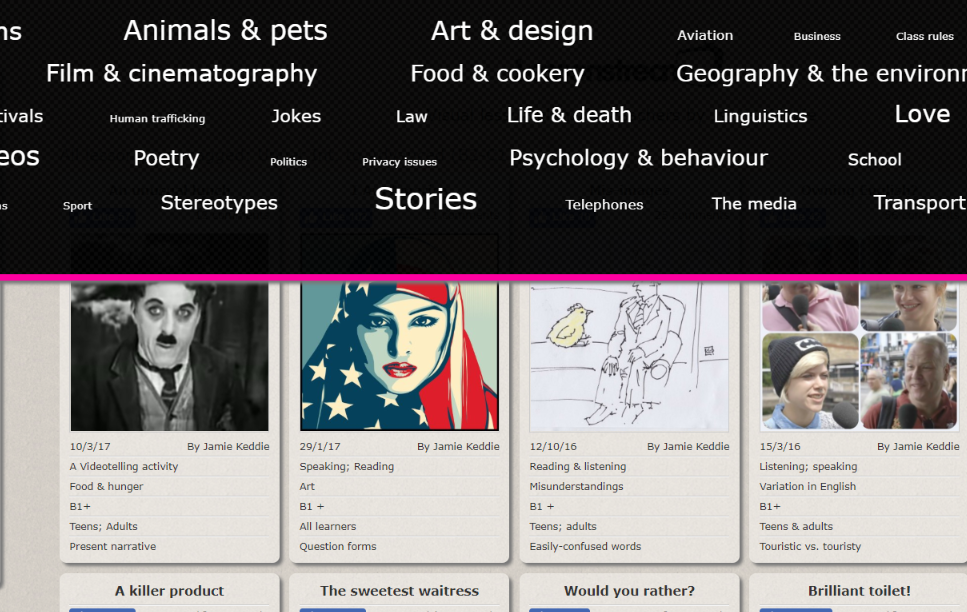
Last, but not least, is the fabulous site Jamie Keddie owns and runs with an amazing collection of video activities. On this website, you can choose by level, topic, time and many other options which help the teacher or the student find the perfect lesson in two shakes.

A downloadable worksheet is offered with every lesson. Again, for free.