Before this pandemic started, way back in January 2020, I created lots of activities where students had to stand up and move around the class. These activities were SO engaging, perhaps even more than playing a game with bells or any other prop I am so keen on using in my classes.
The majority of the questions I get asked via email or on the blog are from teachers asking me to share ideas that can somehow substitute this “moving around” the class. It is not easy. So far, I have found nothing that can substitute movement in class; we can only try out different activities and alternatives and hope for the best.

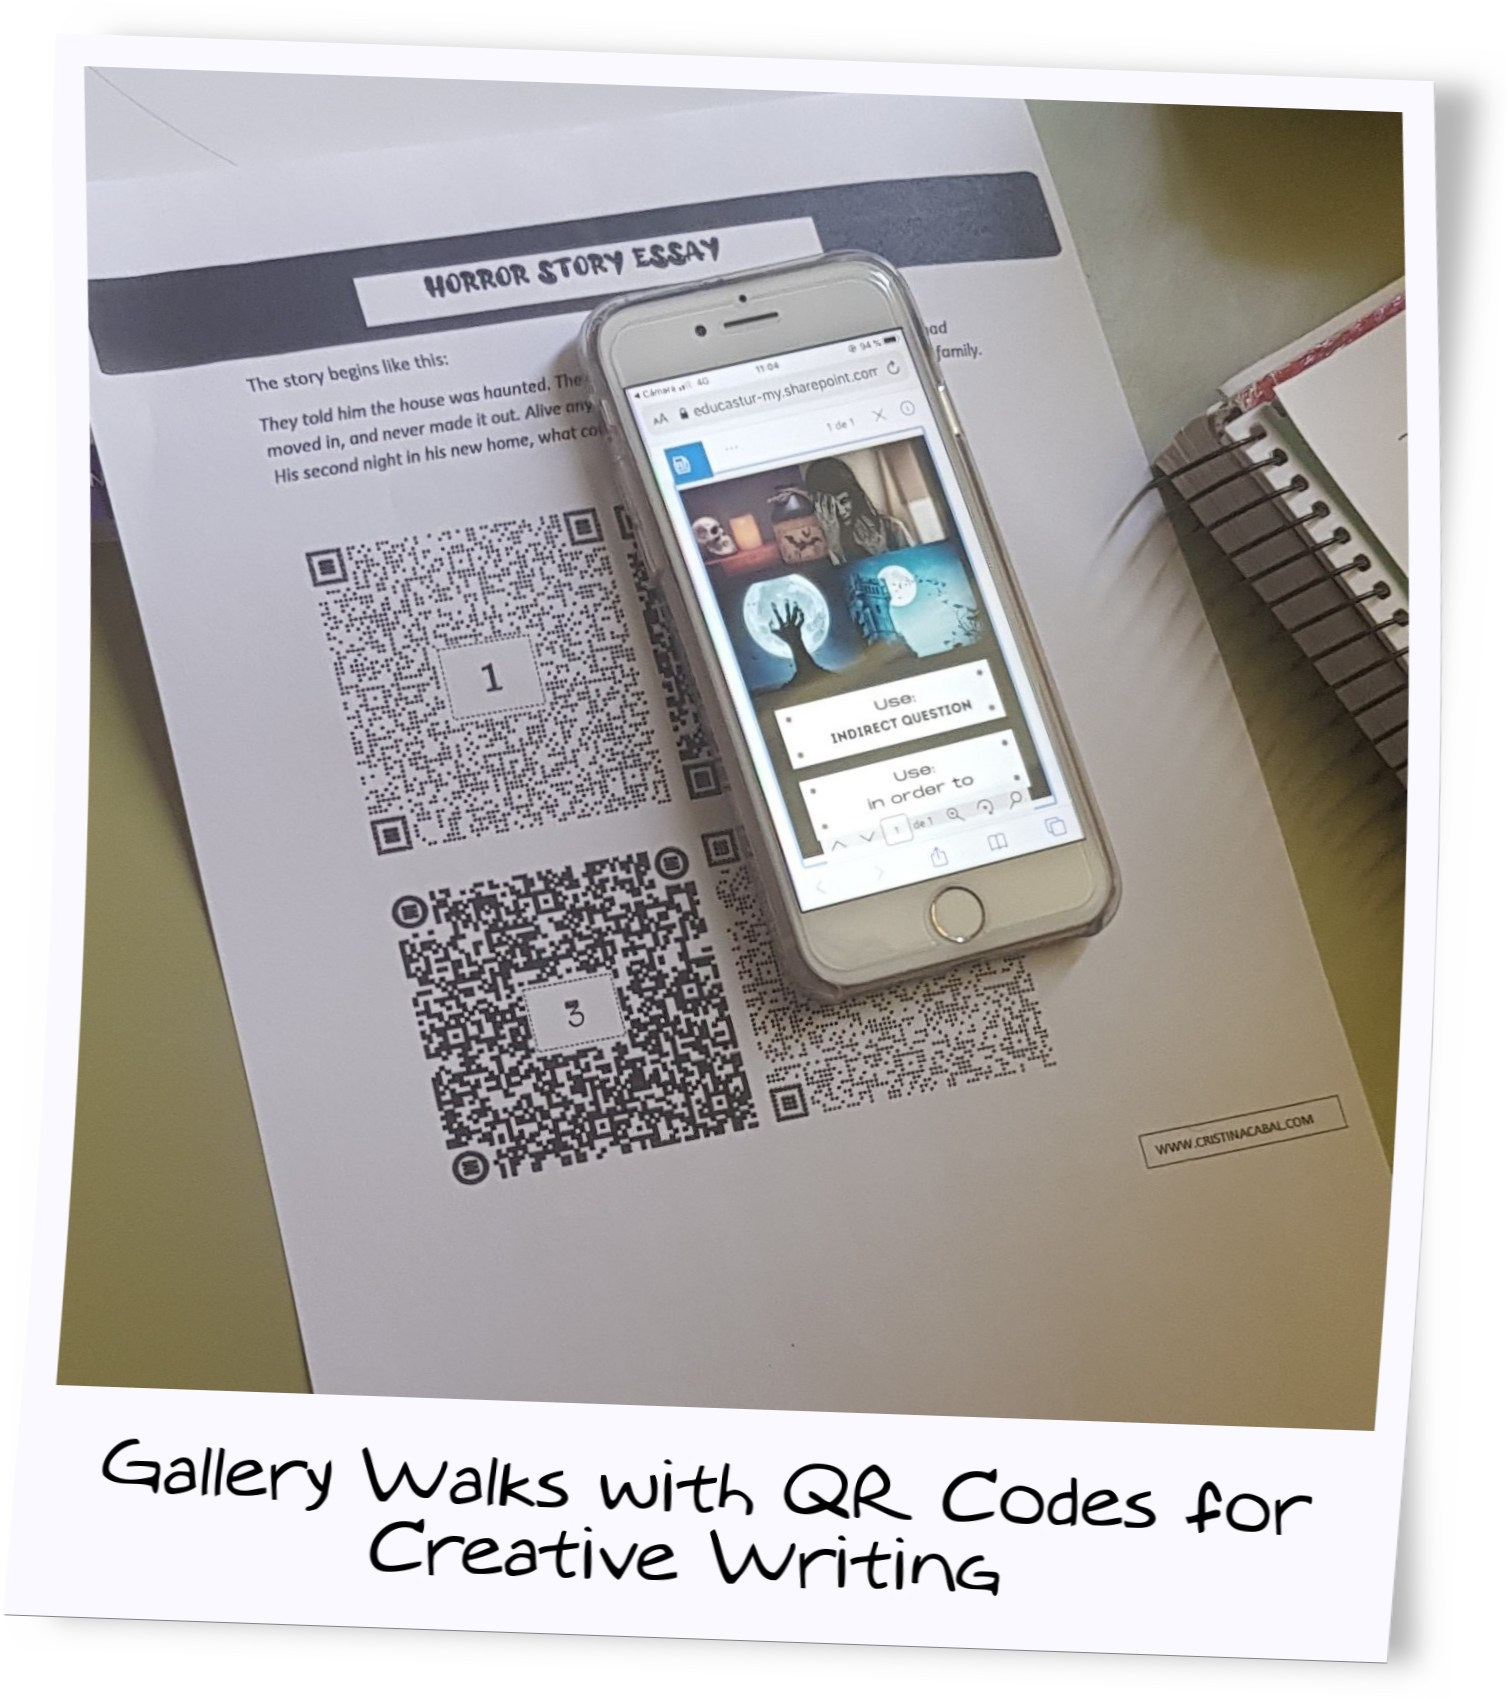
One of my favourite activities is Gallery Walks. Sadly, we will have to do without traditional gallery walks for a while but, if you have read my previous post, you will have read about a nice alternative. Yes. Virtual. So, hi and hello and welcome to a new era: Digital Gallery Walks. And this time, with a task that I have pompously titled Gallery Walks with QR Codes for Creative Writing.
QR Codes? Why not? We’re all pretty familiar with QR Codes nowadays, aren’t we? Even my 80-year-old mum has a QR Reader on her mobile phone. So, nobody is going to be telling you they cannot do the task because they don’t have a QR Reader installed in their mobiles.
So, ready? Let’s dive into the task! What’s the idea and what’s the final product?
The idea is that students, with the same story starter and in a semi-guided activity, write different stories using only 4 posters. How? by doing a virtual gallery walk using QR codes while, at the time, prompting them to use picture-prompted vocabulary, grammar, connectors and linkers. That is, the whole package!
Aims:
- to write a mystery story (or any other genre)
- to boost students’ writing skills
- to stimulate students’ creativity
- to encourage the use of connectors
- to “force” them to use a variety of newly-acquired grammar structures
A step-by-step guide to designing the activity
Step 1: Creating the posters
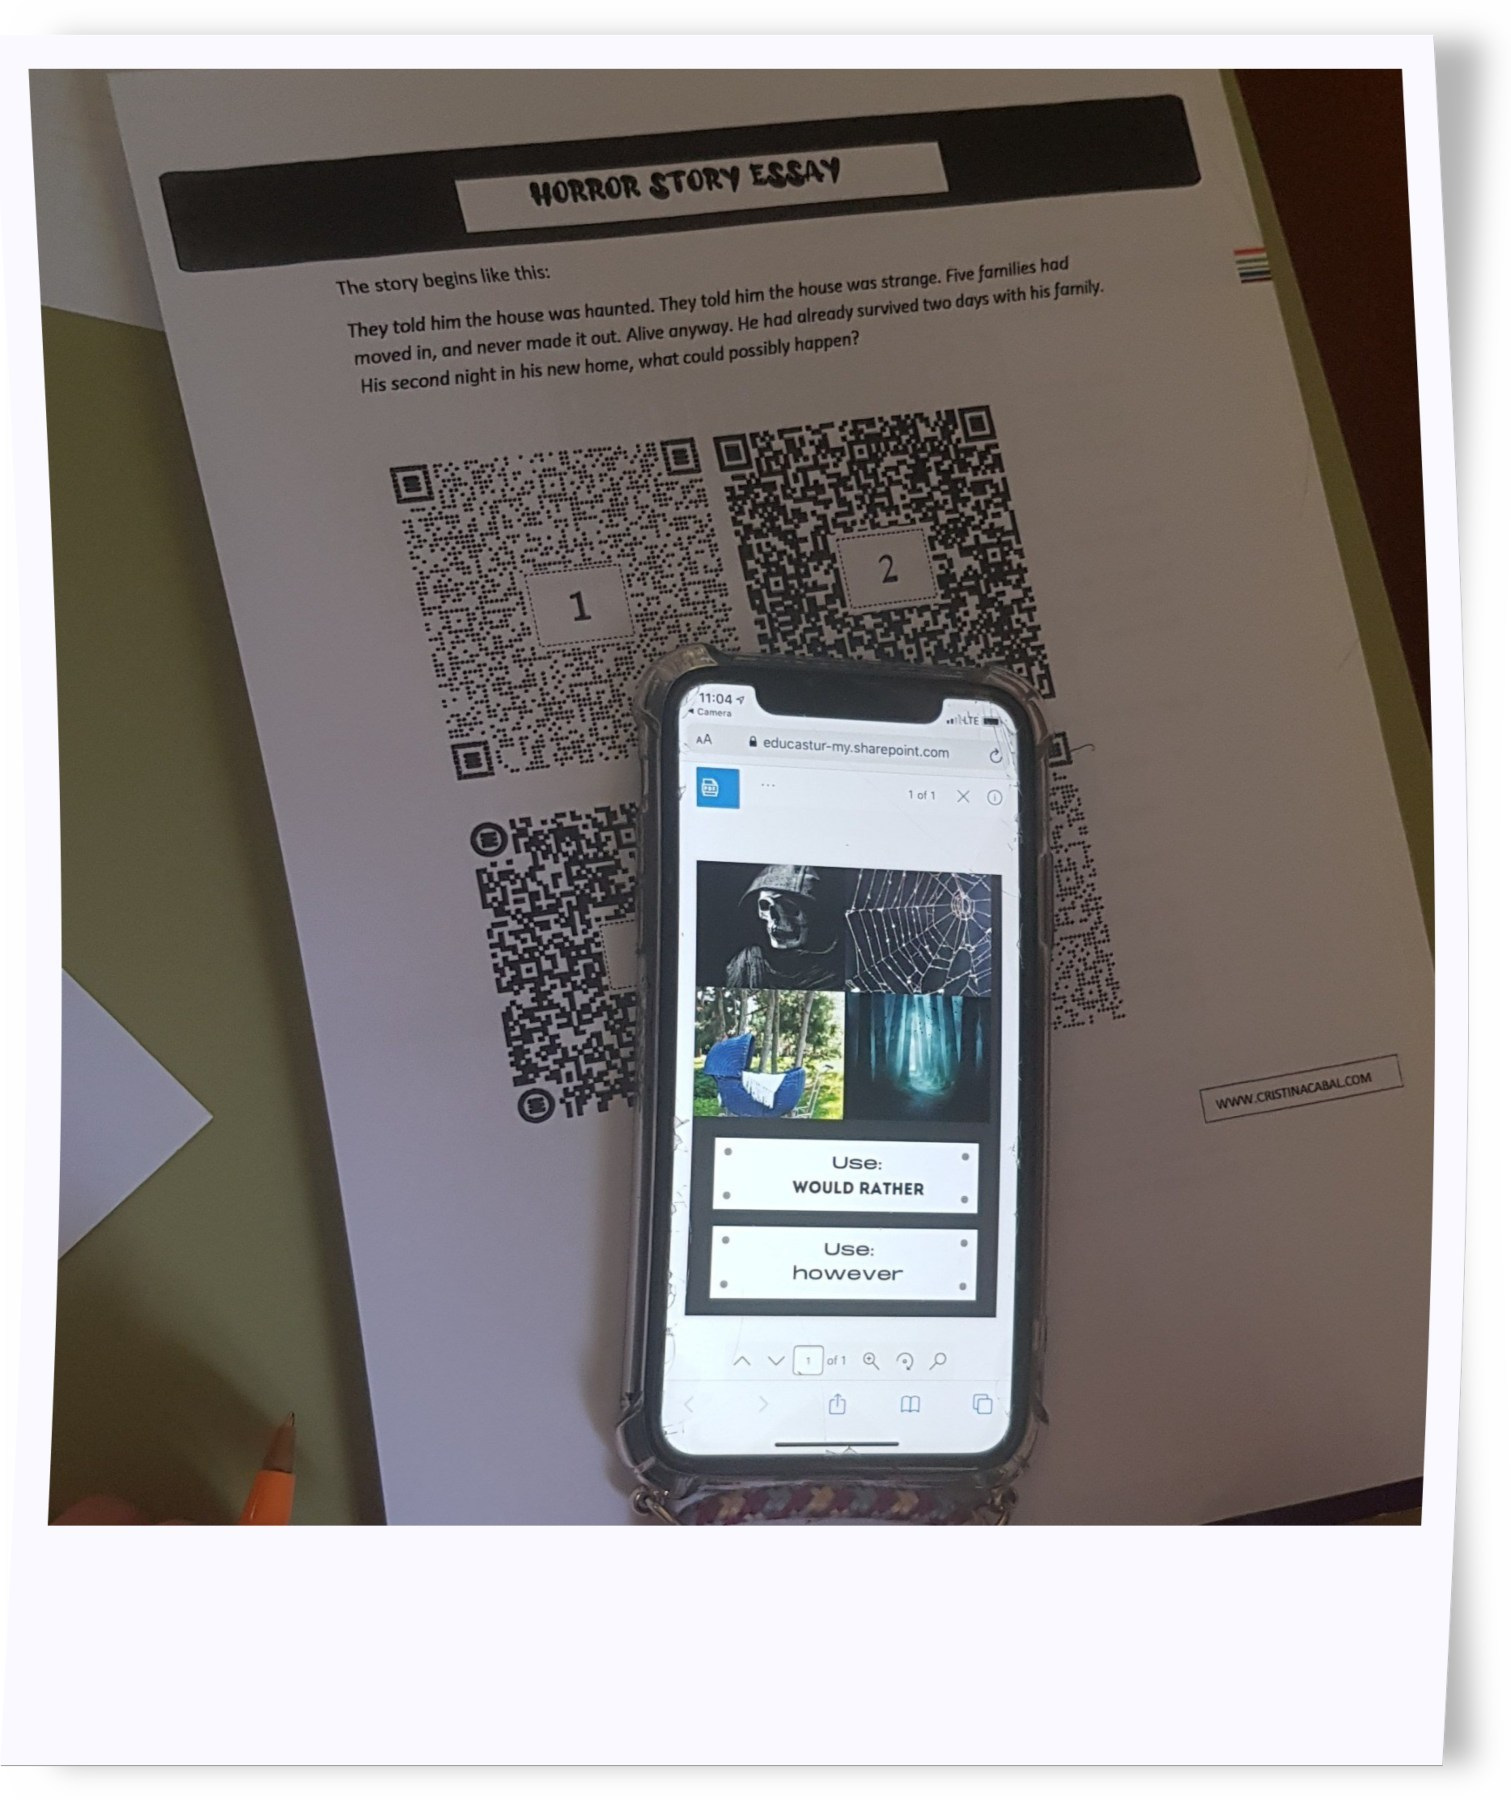
The first step is to design the posters. For my activity, I designed 4 different posters containing, each of them, a collage with 4 pictures, a couple of connectors or linkers and some grammar. I used Canva to create my posters.
Step 2. Creating the QR Codes
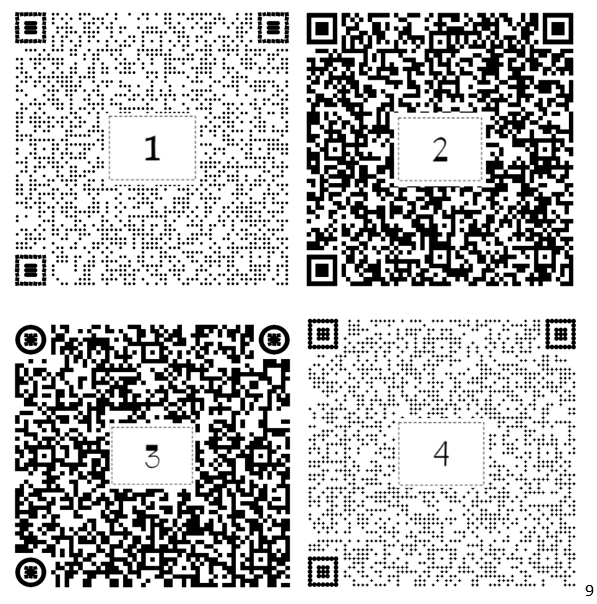
The next step is creating the QR Codes for each of the posters. I have used QR Code Monkey for this activity because it allows you to insert a number inside the QR Code and for this activity, I needed to number the Codes. To create a code, you just need to paste the URL of your posters and get the QR Code. You can see the QRCodes for my posters below. Wanna try if they work? Open your QR Reader and scan them!
Next, photocopy the QR Codes and stick the 4 QR Codes to the deks with sellotape or, alternatively, give students a photocopy with the task.
Step 3: Explaining the activity
Desks in my class are now arranged in rows. There are 4 rows. I called the first row: student A; the second row, student B …etc
I gave all students the same story starter and instructed Student As to scan QR Code 1; Student Bs QR Code 2; Student Cs, QR Code 3, and Students Ds, QR Code 4. I explained that they needed to continue the story using one or more pictures from the poster; at least a connector or linker and the grammar point.
I gave students about 5 minutes to continue the story and then we “gallery walked” to the next poster. This means that I told As to scan QR code number 2; Bs QR code number 3; Cs QR code number 4 and Ds QR code number 1.
Repeat procedure every 5 minutes until students have used all 4 posters.
Step 4: Giving feedback
I collected all the stories and corrected the most important mistakes. While students were busy doing another activity, I put their stories on the walls outside the class so that they could read some of the stories on their way out of the building.
Download my activity here