It’ s April and temperatures should have risen but I am writing this post while outside it is freezing cold and raining. I guess this is the downside of living in the north of Spain!
I know this not the perfect time to share this activity as we are all heading for final exams, and I certainly don’t expect any teachers to email me right away suggesting a collaboration for the next month, but I do hope you do not forget this post and that the next school year we can find a way to collaborate and join our classes.

Some ideas that prompted this activity:
- To encourage autonomous learning: to find new ways of learning and offer more opportunities for students to do more oral practice in a safe environment outside the walls of the classroom.
- To encourage the use of effective technology. For this project, we used Flipgrid.
- To demonstrate how anybody can use technology as long as you explain and model how to do it. Some of the students in this project are older than 70.
- To collaborate: To spice up the activity by having students from other regions and countries collaborate with my class.
Tool used: Flipgrid.
Flipgrid is a powerful reliable website owned by Microsoft. It is 100% free. It is a fantastic platform for collecting video responses to prompts that you pose to your students.
Why do I like it?
- Students can improve their speaking ability from their homes, repeating their performances as often as they like. Stress-free.
- Teachers can listen and send written or video feedback via email if they wish.
- Students don’t need an email address, which is perfect for younger students.
- Students record or upload a video and they can pause while recording, trim their videos and add more time or just delete it and start all over again.
- Recording time goes from 15 seconds to 5 minutes.
- They can reply to each other’s videos.
- Educators are 100% in control with video moderation, access controls, etc
- You can easily connect your class with other classes, not only in your country but also all around the world using the GridPal feature. There are thousands of educators willing to connect.
- Flipgrid works on computers, laptops or any mobile device. If you use a mobile device to make your video, as my students did, you’ll need to download the free app.
The Project: Steps followed
1.Finding teachers from other schools willing to collaborate
That was the first step. I needed 3 teachers from 3 different regions who had some knowledge of how Flipgrid worked. To be honest, I didn’t feel like sending tons of emails to the different schools asking for collaboration. I thought it would be time-consuming and probably ineffective. Besides, I am very active on Facebook and Twitter and I thought it was the fastest way to find potential collaborators. And Bingo! In just one week I had my 3 teachers: Purva Bachani from EOI Guía (Sta María de Guía- Las Palmas(Gran Canaria), Marisa Rodríguez from EOI San Roque (San Roque-Cadiz) and Silvia Oslé from EOI Torrelavega (Torrelavega-Cantabria). We have never seen each other, but we share the same passion: teaching. We created a Whatsapp group to speed up the process of setting up the project.
2. Setting up the Grid and the Topic
I created the common grid (class) and using the Grid Actions Button selected Add Copilots. Then, I added Marisa’s, Purva’s and Silvia’s emails and sent them an invitation. From that moment, they had all the permissions to edit and add topics, but they could not delete the Grid (class)or the Topic I had previously created.
3. Setting up the activity
As it was the beginning of the course, we decided to do two activities (explained below), trying to maximize as much as possible the interactive part. Once the topic has been created, Flipgrid generates a code that you share with your students. This code and a Google or Microsoft email account is all they need.
(What you see below is the Topic with the 2 tasks. The Grid (class) is called Flipping EOI Students)

Task 1. A get-to-know-you activity. We didn’t want the questions to be the usual where-do-you-live or what-is-your-favourite-food. A bit of research on the Internet and again Bingo! We found the perfect inspiration in the videos “73 Questions with…” where Vogue interviews popular celebrities and asks them some rapid-fire questions to get to know them. The questions are good and we thought our students could either write their own questions or practise listening comprehension and choose the ones they liked best. These were the 2 links we provided: Selena Gómez and Emma Stone
We gave students about a week to record their first video introducing themselves, saying which school they were studying in and their chosen get-to-know-you question.
Task 2. They had to choose 3 students from different EEO0II and answer their questions. We asked them to talk for about 1 minute elaborating on their answers as one of the aims of the activity was to practise listening and speaking. To help students and show them how to respond to each other, I recorded a short video tutorial.
This second task took longer than the first as they had to record three videos answering to three students. Lots of speaking here, preceded by lots of rehearsing= lots of learning.
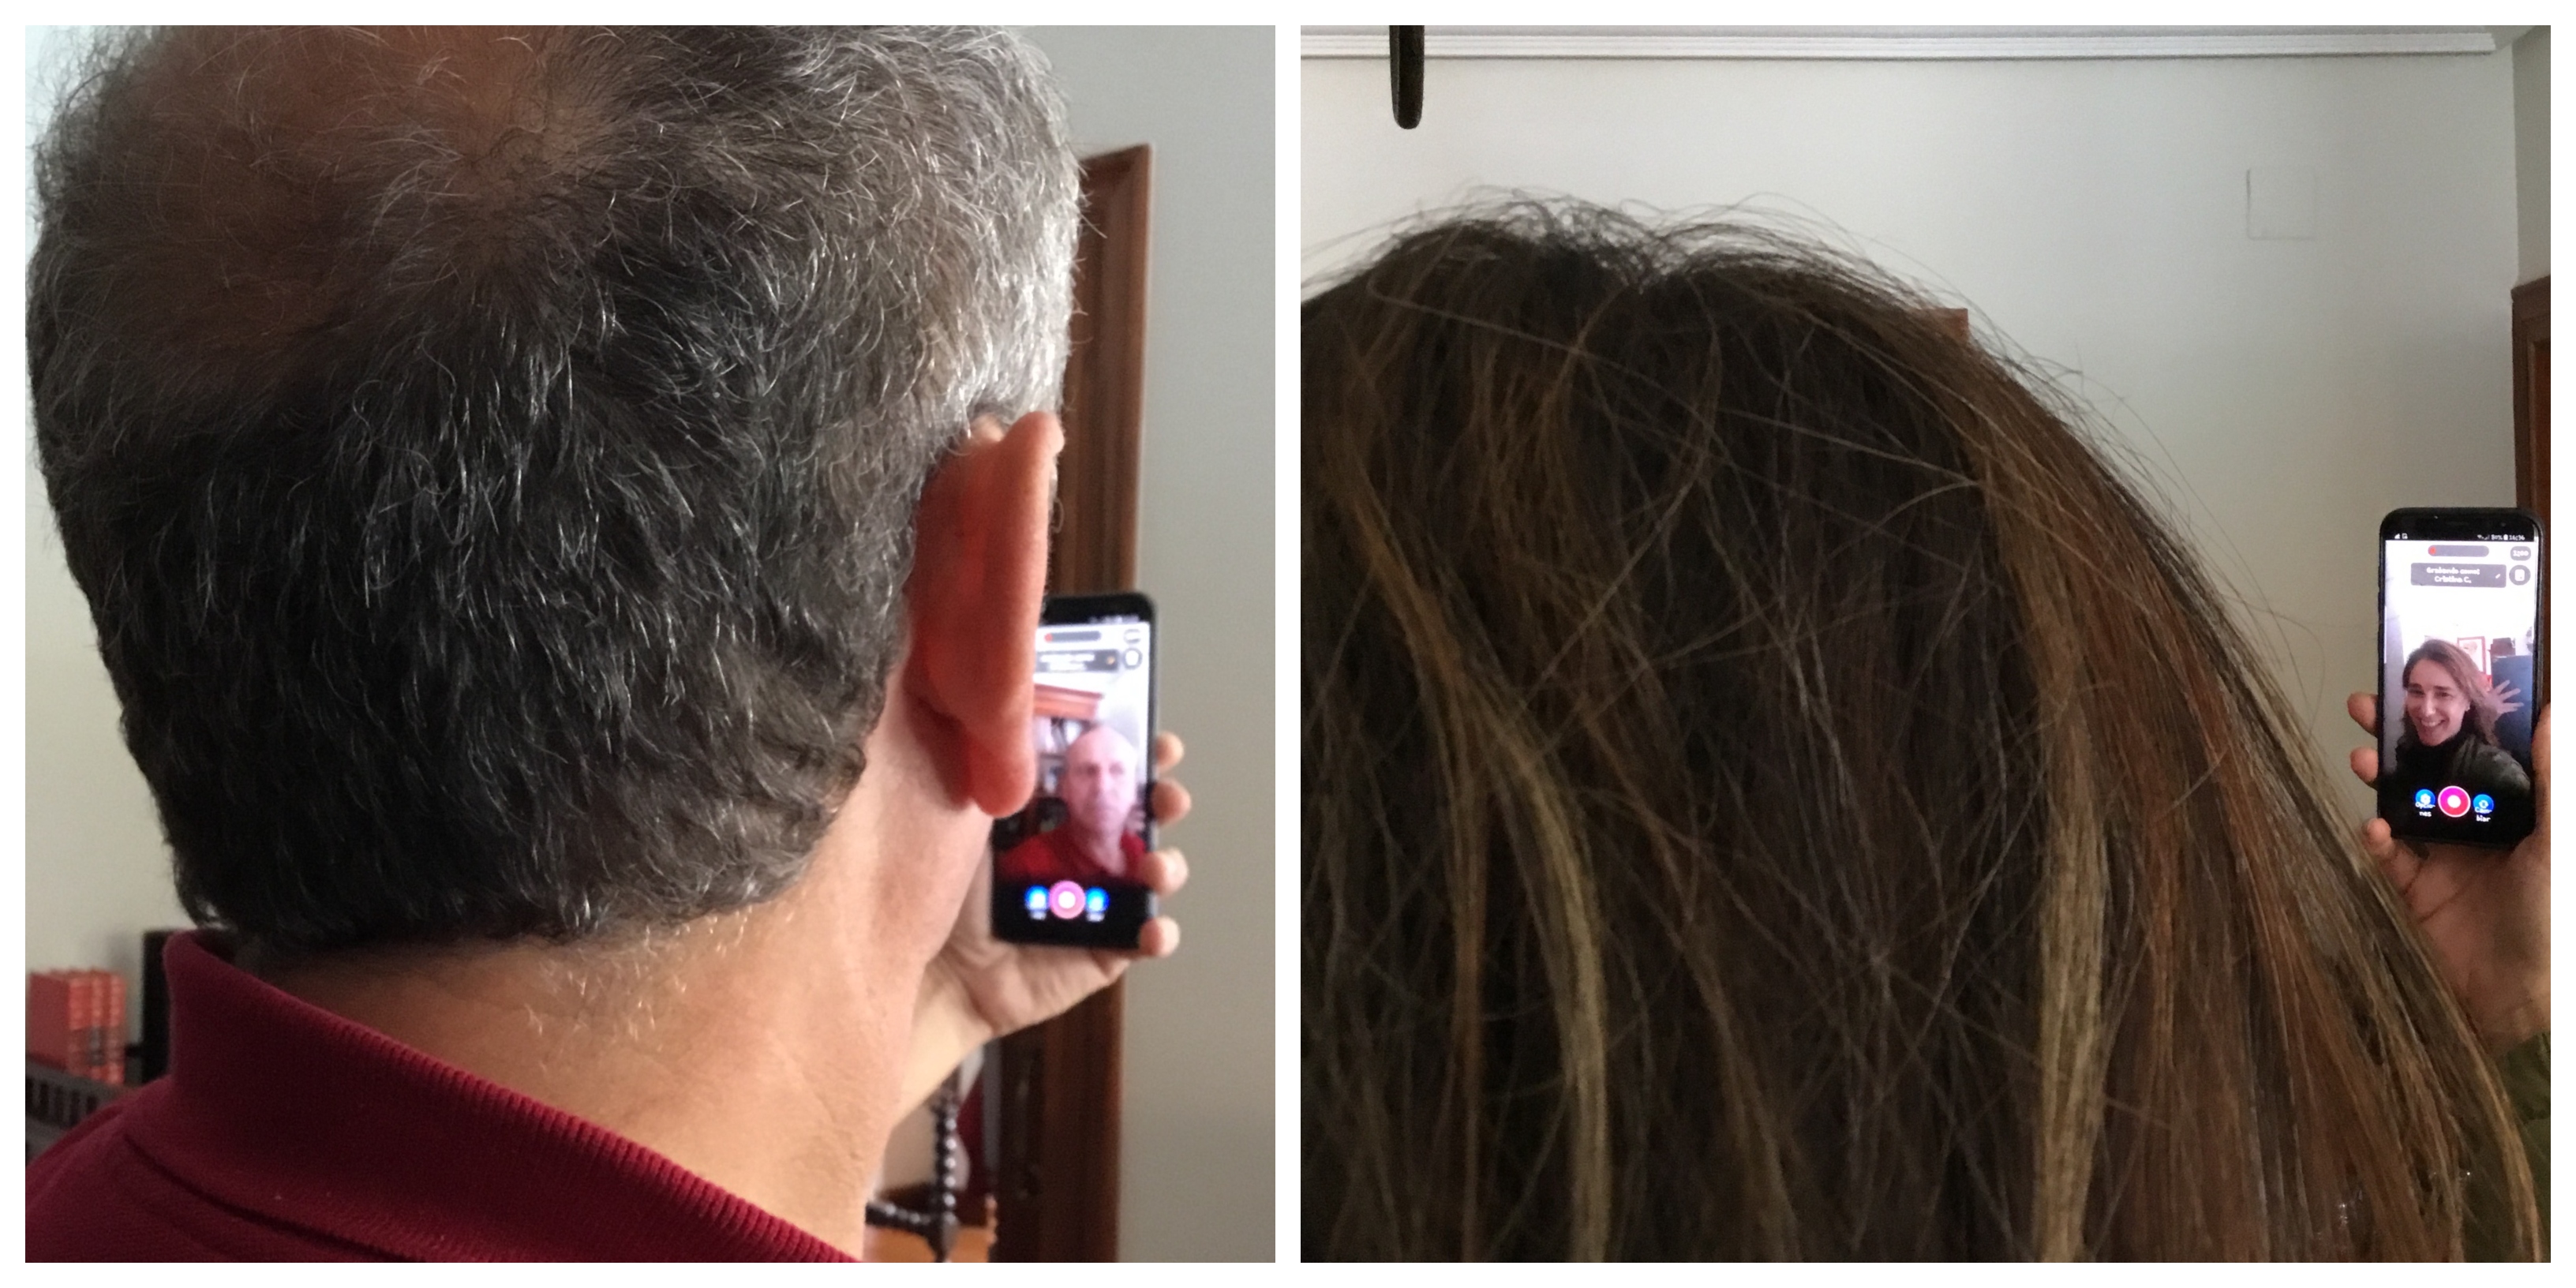
Note: although at first, it took a bit of convincing, very soon they were really into the project and some students went as far as to record themselves showing some landmarks of their cities and some even dressed up using hats and fake moustaches or wigs.
The surprise. As a surprise for the students, and again using social media sites, we asked for collaboration from native speakers and managed to convince a bunch of them to do task 2 as if they were students, too. It was a nice gift for them and a way to say thank you for being such nice sports. Here I want to thank people at Flipgrid headquarters for being so supportive and agreeing to collaborate straightaway. ( thanks George, Rayna, Ann, Karen, Joseph, Kathrina and so many others). I am proud to be a Flipgrid Ambassador.
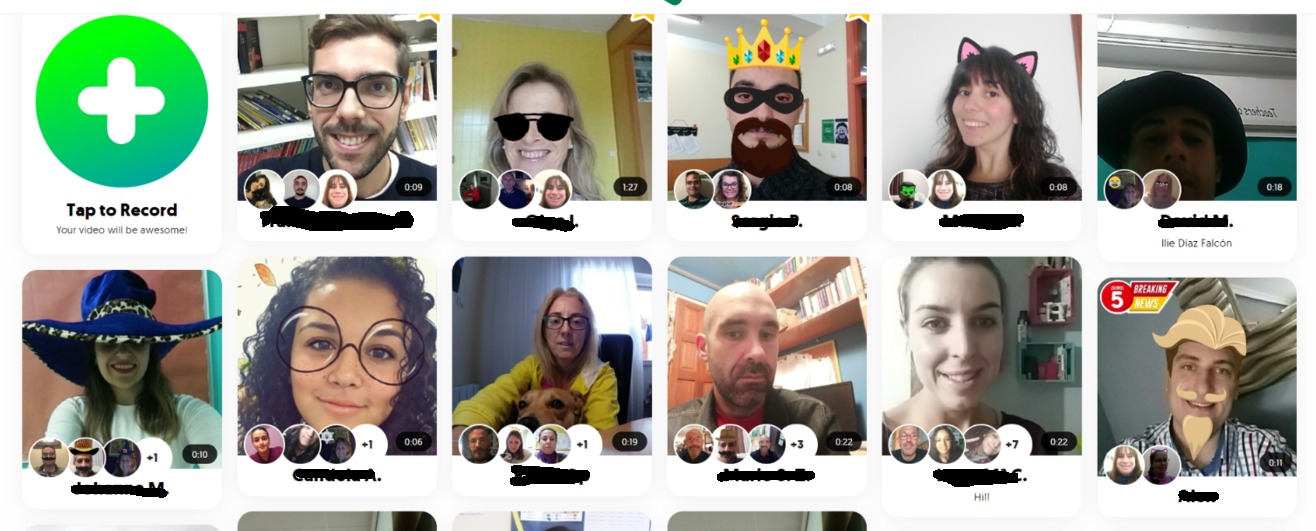
(below is a picture of some of the students that collaborated in this project. I have erased their names. The people in the bubbles are the students answering this specific student)
Follow-Up Activities:
Using our private Whatsapp group, we brainstormed post-project activities. These are some of the ones we did.
- Mixtapes: A Flipgrid feature that allows you to combine videos from different grids. We created one of these MixTapes using the native speakers’ recordings, playing some of them in class and asking students to first identify the get-to-know-you question and then summarize the answer.
- Another idea was to ask students to work in groups of 3 or 4, play a get-to-know-you question and ask them to answer it within their groups. Then, play the answers to the question and give a point to the students whose answers coincide with those on the videos.
The activity in numbers
351 videos recorded, 15,663 views and 89.7 hours of recorded time.
I think I can say that without a shadow of a doubt that we have passed this first collaborative activity with flying colours. Thanks Silvia, Purva and Marisa. I could not have done it without you.
