Tag Archives: methodology

The Perfect Gift: a Listening and Speaking Lesson Featuring Rihanna

Hiii! Hello! Happy New Year!  Here I am again! Back to the grind or so they say!

Almost a month has passed since my last post. And this break ends right now. The holiday break has me going mad and sometimes I don’t even know what day of the week it is. So, I have started preparing classes. Sort of miss them. Can you believe it?

Anyway, I feel so full of energy and I have prepared so many activities that I have written three posts on a row. I will refrain from publishing them all at once and save them for a rainy day.

This first one has to do with presents, something that almost everyone gets these holidays. I know that some people don’t get any presents; some other people don’t like giving presents and some others don’t like receiving them. It does not matter. This lesson fits all moods.

Warm-up

Ask the class to discuss in pairs or in threes the question: What do you prefer, giving or receiving presents? Why?  Get class feedback.

Ask students if they know the singer Rihanna and the famous American talk show host, Oprah Winfrey. I think Rihanna is world-famous but I am not so sure they will know who Oprah is. If necessary, show them a picture. Tell them they are going to watch a video where the protagonists are Rihanna, her mother and Oprah Winfrey. Ask them to predict the content of the video.

Listening Comprehension: Back to the boards

Ask students to work in pairs: one of them faces the board and the other one faces away from the board. Play the video without sound and ask the student facing the board to describe to his partner what is happening in the video.

Link to video

Listening Comprehension: the questions

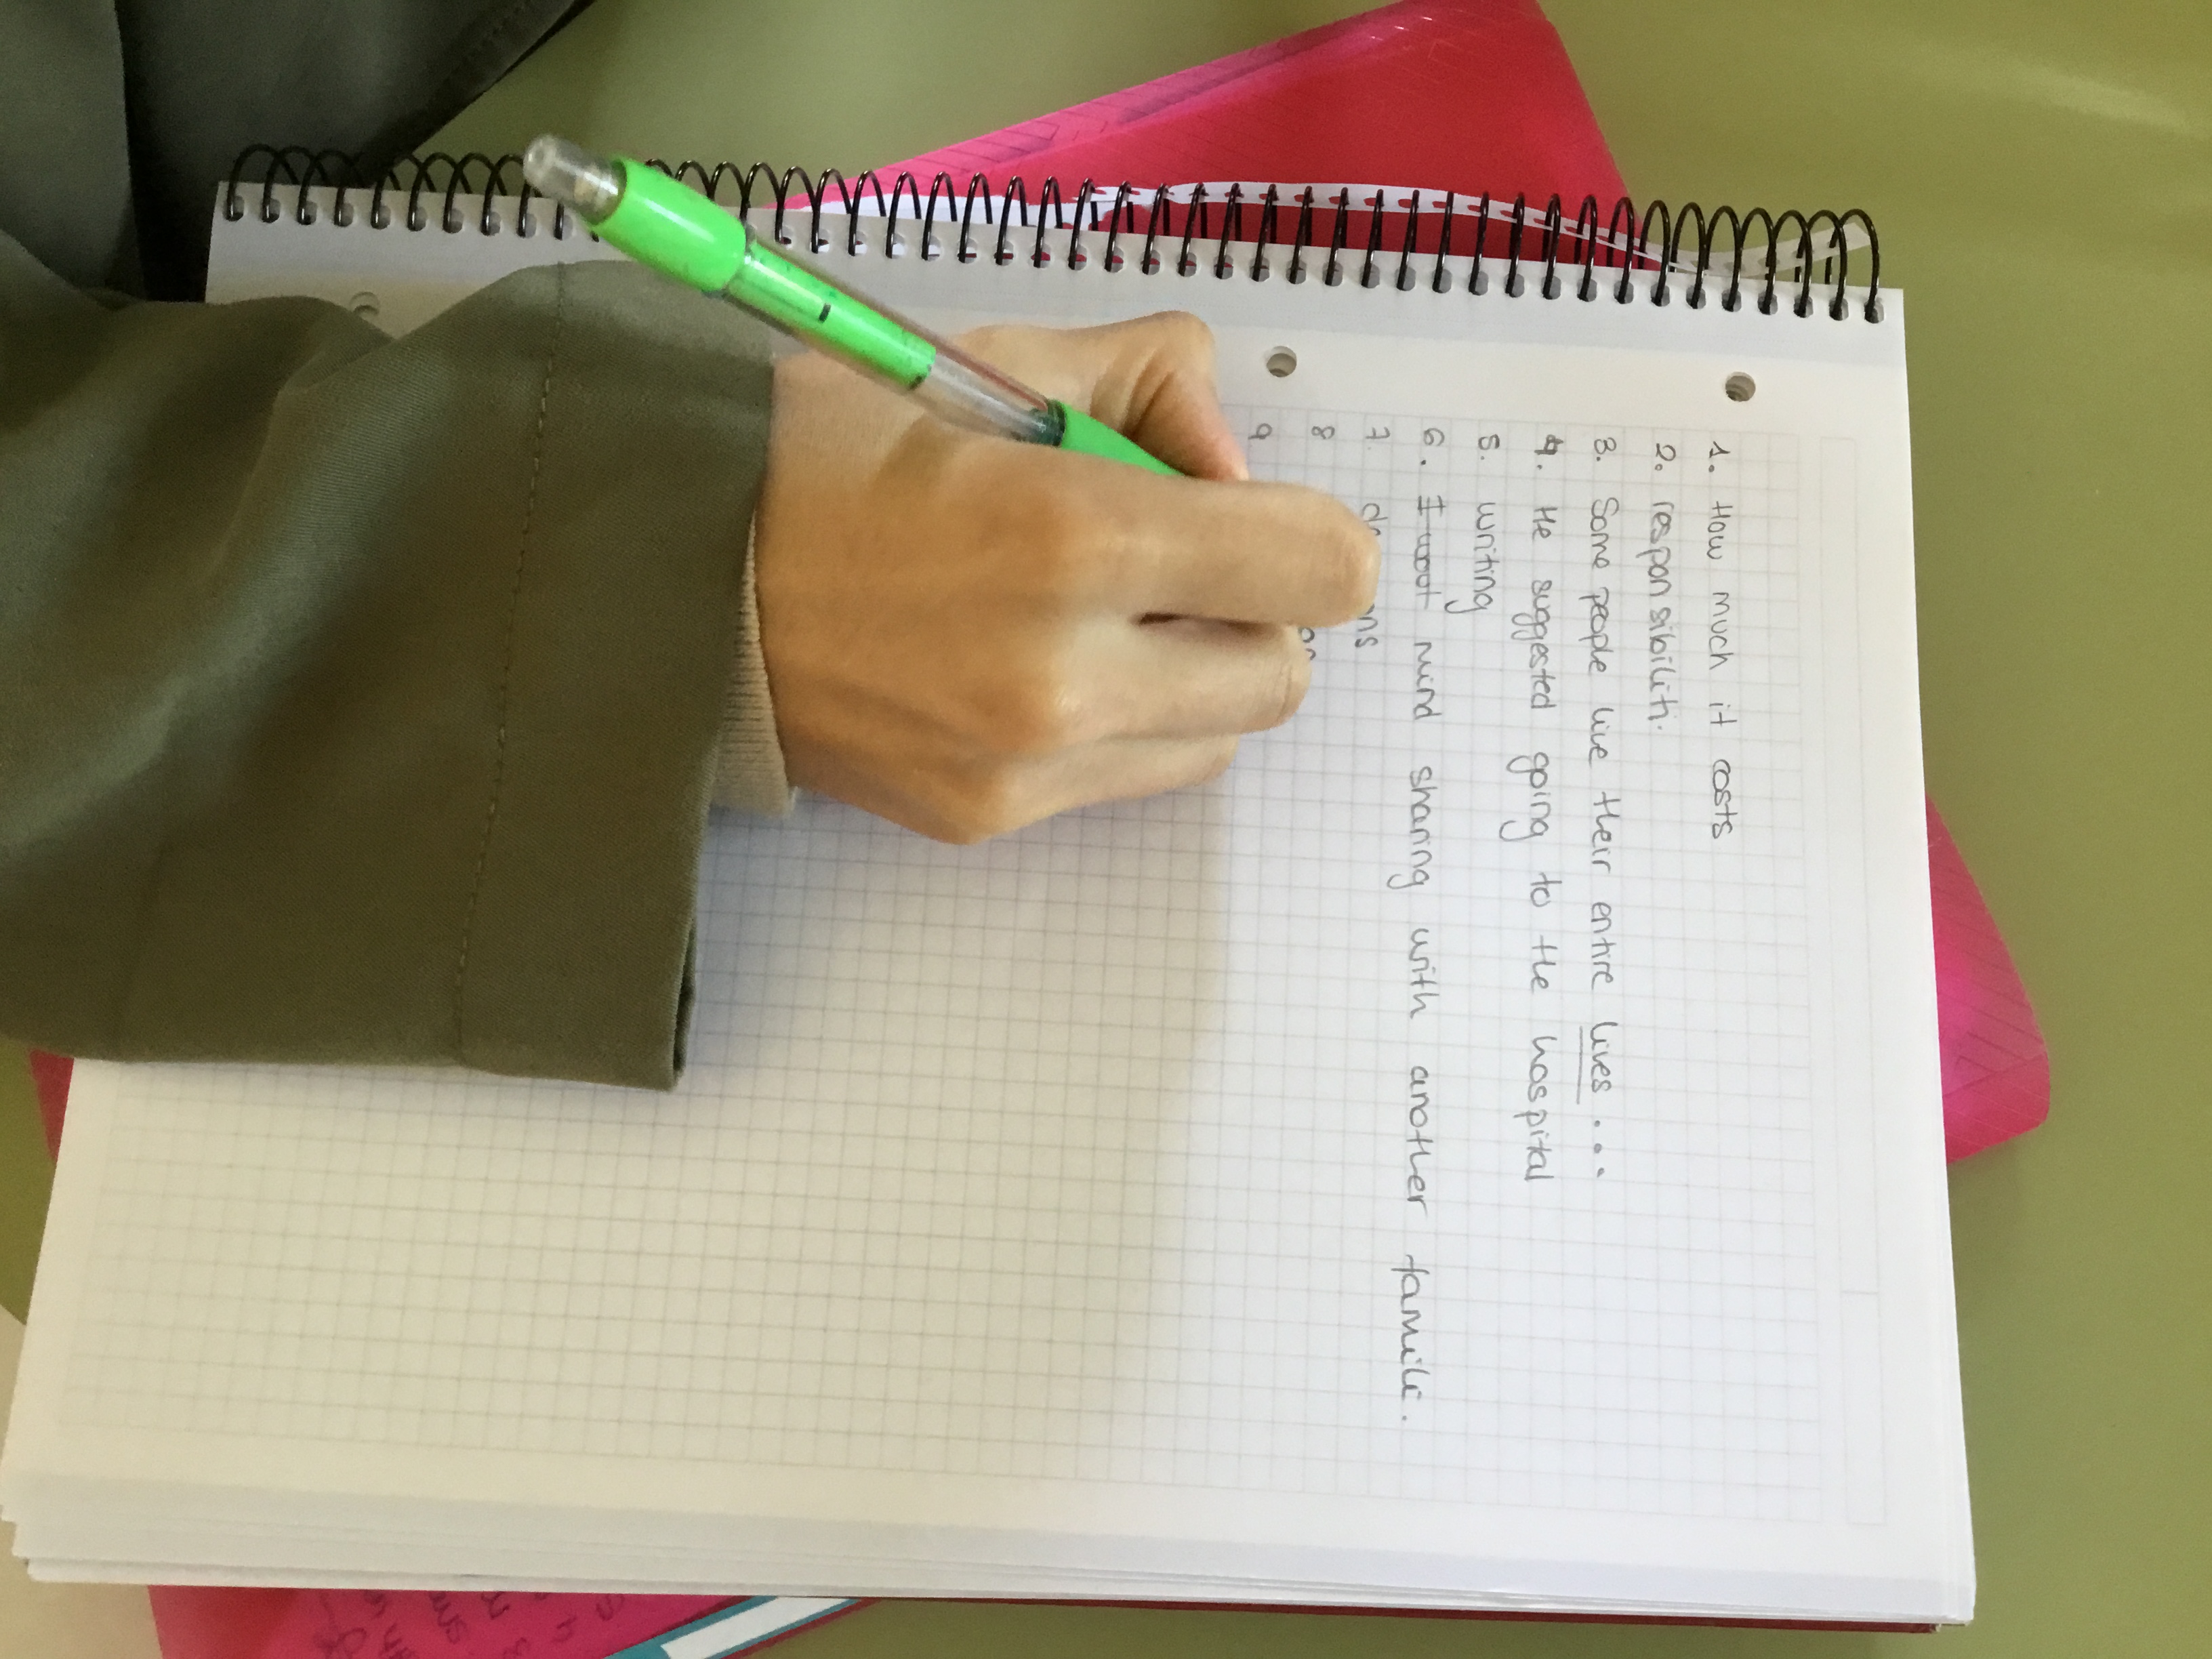
You can ask students to do it online or you can print the PDF. If you decide to do it online, you will get feedback immediately; just press, see your score.

After the listening, ask students: What is the most expensive present you have ever given to someone?

Speaking

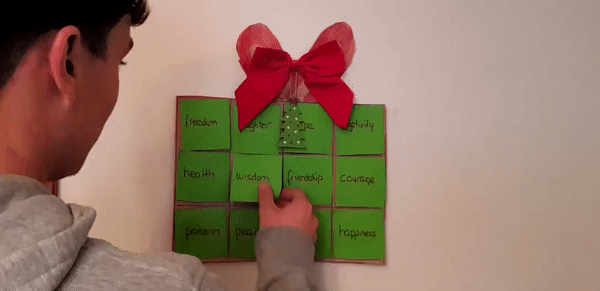
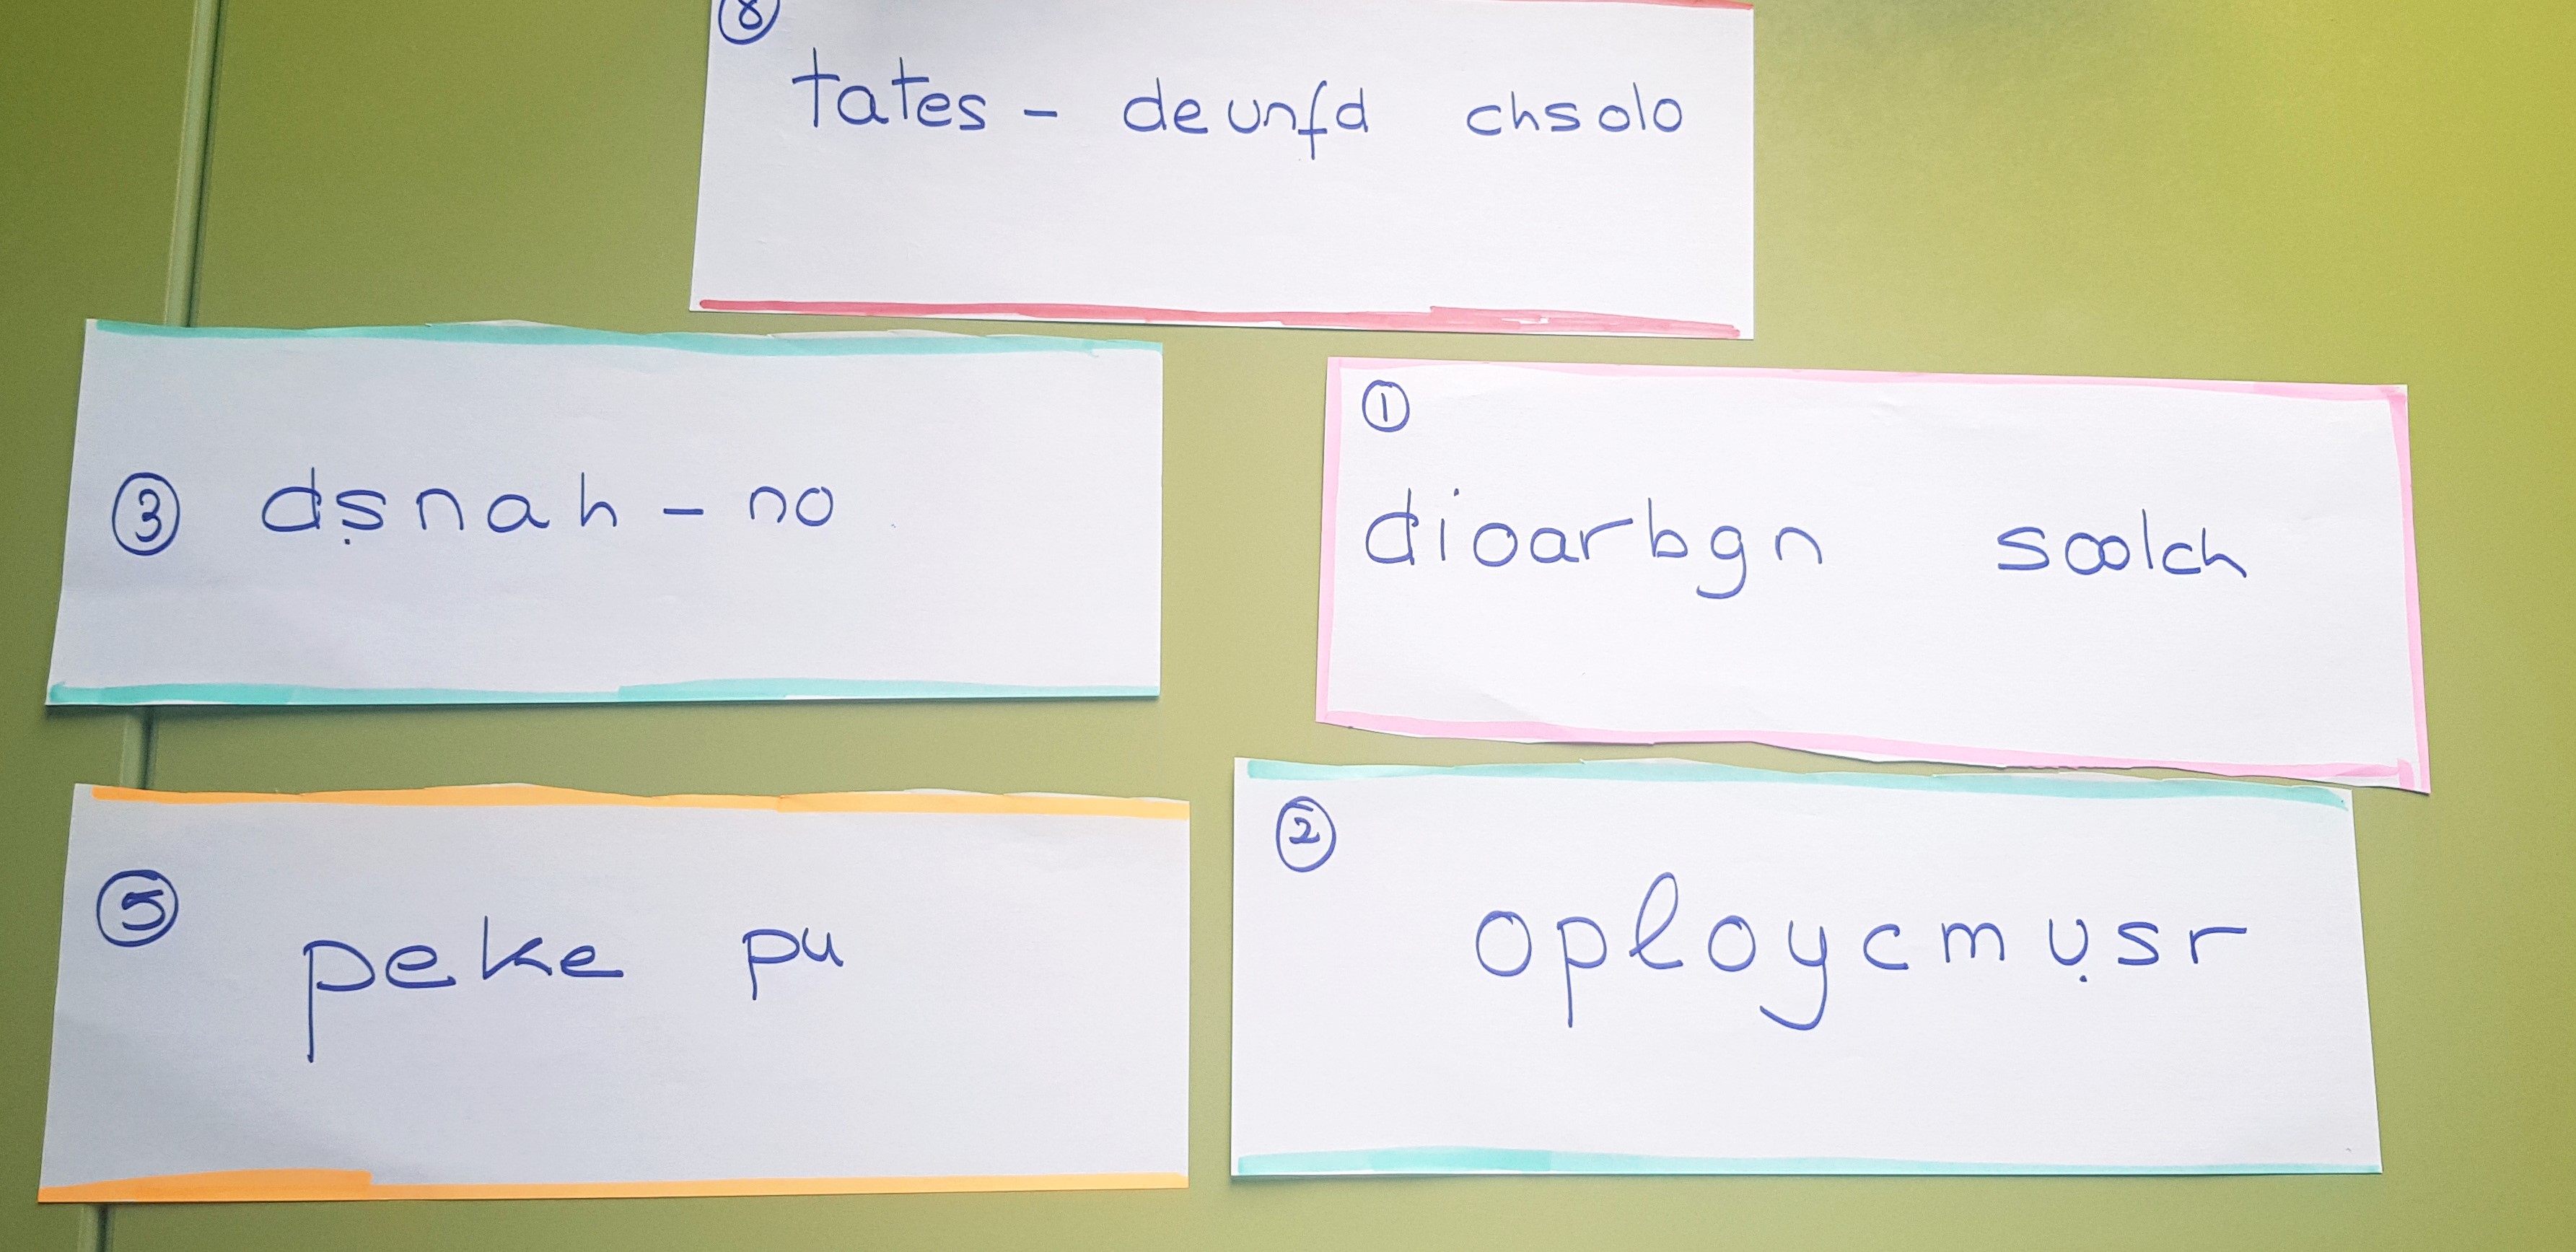
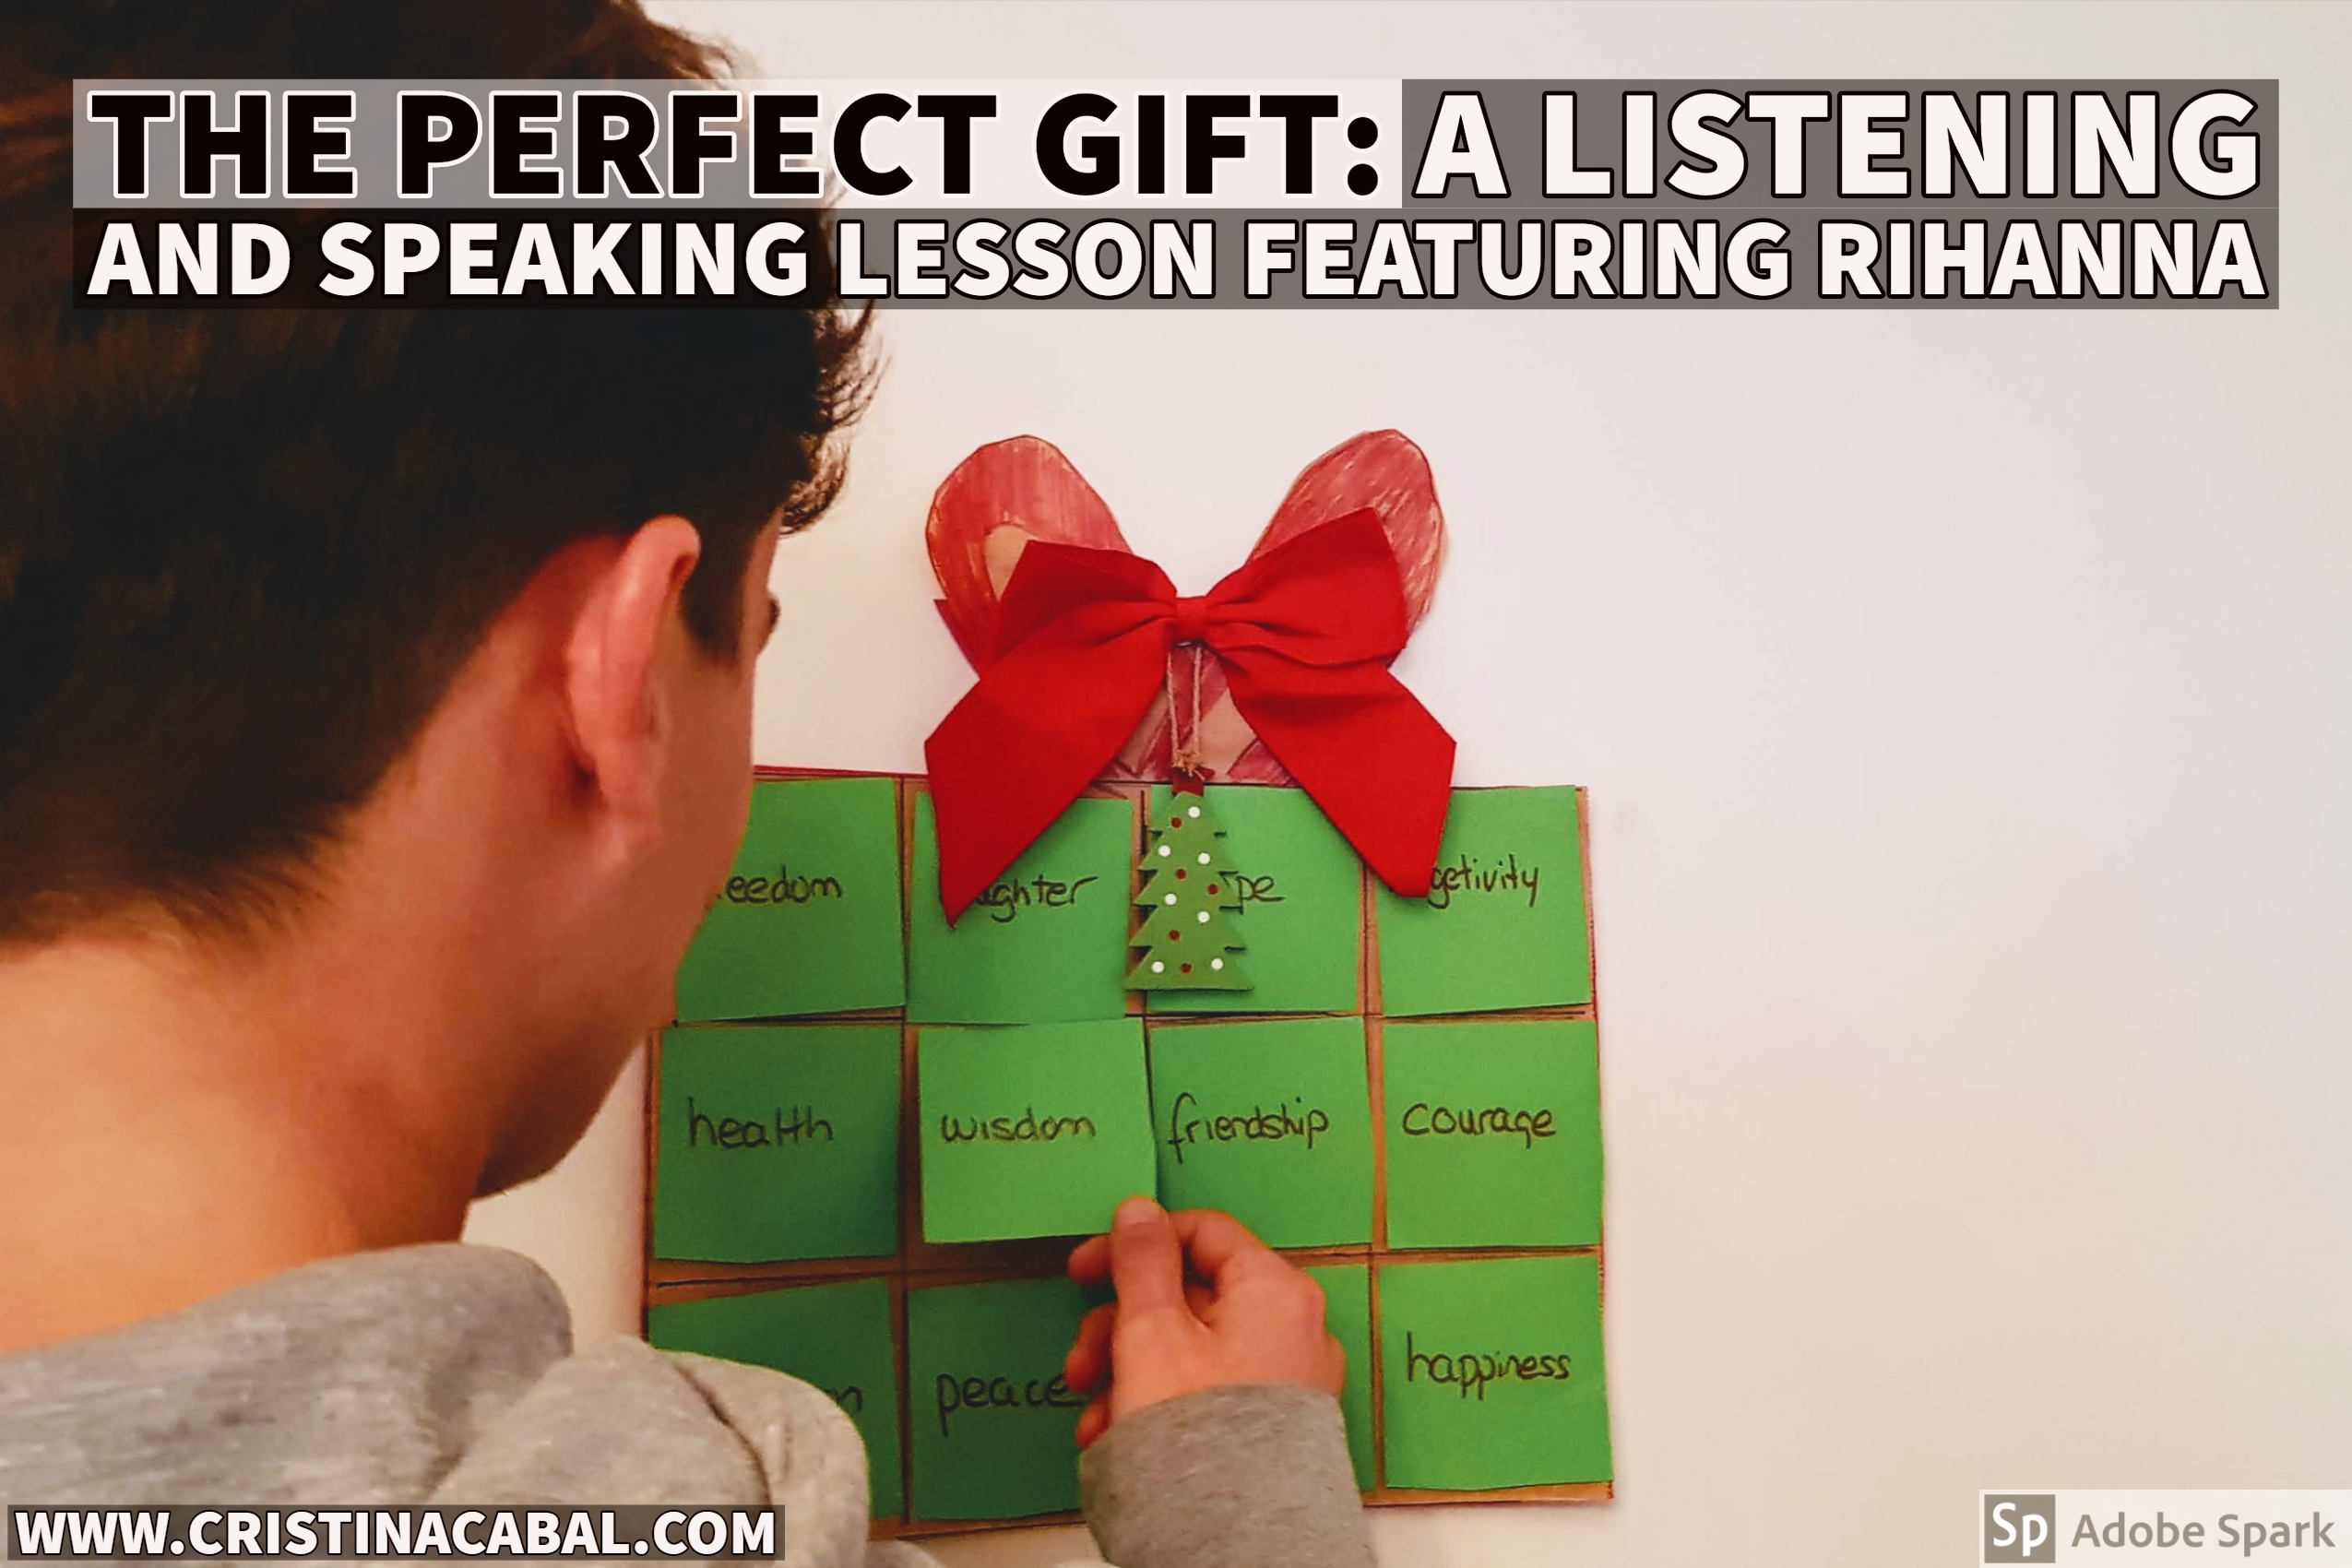
You know when you are on holidays, and have some time to spare and decide to try some crazy stuff? What you see below is the result of me having some time on my hands. Obviously, the idea can be simplified and the gift drawn on the board. But, as I said, I was feeling creative and with nothing to do.

As I have 24 students, I have designed two identical gifts (one in green as in the picture and the other one in red). The idea is to divide the class into two teams and assign each team a different gift.  On one side, they can see nonmaterial gifts; they should choose the one they would like to possess in 2020 and on the other side, a conversation question about gifts and presents.

Ask students to remain standing. The two groups should not mix – easy, as the two gifts have different coloured cards, red and green- and they should talk to everybody in their groups asking and answering questions. Encourage them to elaborate on their answers but let’s keep it flexible.

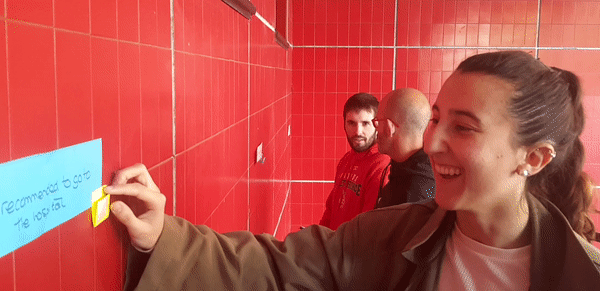
Click here to get the PDF with the conversation questions on the other side of the card.

Enjoy teaching, enjoy learning!

Create your Own Board Game to Practise Speaking and Activate Vocabulary

It is true that there is so much material out there for our English classes that most of the times, we just need to type some keywords on the internet and voîla, we have it. But, think about it, has it ever happened to you to come across some great material but not just exactly what you are looking for?  To me. All the time. And that’s probably why I am always on the lookout for new sites to help me create my own content.

This happened to me last week. I wanted to give my students a board game with conversation questions about sports and at the same time, use a little game to activate the vocabulary we had been studying.  I was lucky, from my files, I rescued an old board game that I had used a long time ago. But although it served the purpose, I was not entirely happy and therefore I set out to trawl the internet looking for an editable board game where I could write the questions I wanted my students to discuss.

And as Jeremiah the prophet said, “You will seek me and find me when you seek me with all your heart”. Well, I must have put all my heart into it ‘cause I found it. The design is not perfect but hey! it’s free. 

 Tools for educators is a nice little site which offers online editable templates. You just choose the template and write your own content. 

In my case, I have used the board game, but you can explore the other templates it offers. I am dying to try the dice generator. I don’t know how I am going to use it yet, but use it I know I will. 

So, this is what it looks like. You will need to fill in the 21 squares. If you don’t, it will still print the board but with some blank squares. Options when you have run out of questions?  Move ahead one space, move back two spaces… Once you have written your content, just print it.

Activating vocabulary

This is a great way to review any subject that needs a little jazzing up

  • Give students 5 pieces of paper. I normally reuse discarded printed with a blank side, which I cut into approx 10×5 cm pieces.
  • Instruct them to write on each piece a word or expression they have learnt about, in this case, sports. Ex: face danger, overcome your fears, adventurous. I encourage them to write not just the word but also the collocation as we have learned it.
  • Ask students to form groups of three or four people.
  • Ask them to put together all their cards, shuffle them a bit and place them face down in the middle
  • Give students counters and a die. The youngest in the group starts playing and then players will continue playing clockwise.
  • When Player A lands on a square, he reads the question and then picks up a card containing an expression which he will have to use when answering the question. They will have one minute to answer the question. If they manage to squeeze the expression, they can keep the card. If not, the card is returned to the pile.

Enjoy teaching! Enjoy learning!

Don’t Just Ask them to Listen. Strategies for Better Understanding

Let’s talk about listening!

Do you or your students struggle with listening? If we are going to come clean here, I have to confess that I do not like listening comprehension tests. I think that most of the time, they are so tricky that even though the student understands pretty well what is being said, very often they cannot guess the right answer, and this happens especially in Multiple Choice listening tests.  So, dear students, listening comprehension questions can be hard to answer, but know that you are not the only ones suffering. I have heard native speakers teaching their own native language confess to being unable to guess the right answer.


On the bright side, there are some things that we, as teachers, can do to help students understand better, but one that is essential is to encourage the correct pronunciation of words in every lesson and to do exercises on connected speech frequently. Isn’t it true that you cannot expect a student to understand a word if they are mispronouncing it?

On the other hand, I firmly believe that in order to get better at listening you need to become an active listener and there are a number of things that we can do to encourage this active listening.

These last weeks, I have been teaching about Education and obviously the listening comprehension exercises are all about education. The listening I am going to give them today is in their course books, and the instructions read like this:

You are going to hear five people talking about how they study for exams.

Nice topic, isn’t it?

Well, the idea is to not just play the listening and ask them to do the task, but to introduce the topic and do some short activities that will prepare them for what they are going to hear.

IDEA 1. Focusing on the title.

Ask a student to read aloud the introduction to the listening task in their course books and on the board write

 Studying for an exam

Ask students to brainstorm in pairs vocabulary that might be said by the speakers in the listening activity. Write the words they come up with on the board. Don’t clean the board yet.

Tip: Before the class, read the transcript for the audio and select a few words you want your students to focus on. In case these words you have chosen are not offered by the students in the brainstorming activity, subtly write them on the board.

IDEA 2. Speaking

Using visuals is always a great idea, and it never fails to spark a discussion. Ask: How do you revise for exams? And show them the two GIFs below. Hopefully, you will, at least, get a smile from them.  Ask them to identify themselves with a GIF and in pairs talk about the question. Get feedback.

IDEA 3. Play the listening the first time.

Remember the words on the board? Play the listening once and ask students to stand up every time they hear one of the words on the board. I guarantee they will be completely focused.

Thanks for reading. Enjoy! 🙂

Messy Words: a Vocabulary, Writing and Speaking Activity

It is October and autumn has officially hit. I am just beginning to come to terms with the fact that days are getting shorter and warm days are saying their goodbyes. Well, welcome autumn! I am all here for you!

Let’s kick it off this new season with a vocabulary revision activity that aims at reinforcing vocabulary while at the same time providing an opportunity for students to stretch their legs and interact with other students in the classroom. Gallery-walks, my favourite!

Aim: 

  • to reinforce the vocabulary of the lesson
  •  Use the vocabulary in context by
  1. writing an open-ended question containing the target word/expression
  2. answering the question by using the gallery-walk class dynamics

Procedure:

Before the class

  • Choose a few words you want to revise. I suggest 8-10 words. 
  • Fold a regular sheet of paper horizontally and cut it in half. You will get two slips of paper. This is a good opportunity to recycle the back of spare photocopies from other courses.
  • Write the letters of each word/expression you want to revise in random order. Number each of the slips of paper for easier reference.

During the class:

Step 1. Slips of paper on the walls

Put up the slips of paper on the walls of the class and ask students in pairs or in threes to stand up and work out what the hidden word on each slip of paper is. Ask them to number them as displayed on the walls. The first pair to have all the words, rings the bell (needless to say, there should be one on my table) and the rest of the class has one extra minute to finish this part.

Ask students to sit down.

Step 2. Writing open-ended questions

  • Students continue working in their pairs. Assign the pairs two of the words/expressions on the walls and ask them to write two open-ended questions –one per term related to “education” (this is the topic this week) containing the word or expression. 

For example, one of the words was “state-funded school” and one of the questions was “Would you send your children to a state-funded school? Why (not)?”

  • Give them small cards to write their questions and, using sellotape, place them next to the term the question refers to.  Ask them to write their names at the back of the card so that you know who has written the question and to give feedback.
  • Quickly correct the questions on the walls, and if there is more than one per word, choose the best one, which will remain displayed together with the slip containing the word in random order. Give the discarded questions back to their owners and allow them some time to focus on their possible mistakes.

Step 3. Speaking. Gallery walks

With the words and the questions displayed on the walls, ask students in pairs to stand up and choose a station (slip+card).

Instruct them to answer the question elaborating on the answer. Allow 5 minutes/station and then ask them to move clockwise to the next station. Repeat procedure.

Until next post! 🙂

Fixing Fossilized Grammar and Spelling Errors in an Engaging Effective Way

End of the school year for me! And for you?

This is a post especially dedicated to all non-tech lovers! I am capping off this wonderful school year with an engaging yet effective activity for error correction. It may not be much when you read how to do it but trust me on this one, your students are going to love it!

If you follow me at all on my blog or on social media (facebook, twitter ), you will know that I am a huge fan of using technology in my classes. When I mean “huge”, I don’t mean that technology dominates my teaching practice. I use technology only when I think it’s going to contribute to effective learning. Otherwise, it’s time wasted.

Slips of paper are hands-down my favourite teaching tool. Essentially, they are scraps of paper that I use and reuse constantly in various ways. In fact, my record is having used the same set of slips of paper six times for a single class. I am sure some of my students will remember this day. They certainly learned everything on them.

The activity I am sharing with you today is a  brand new one. I have to say I am happy with the result. It worked really well, it was effective, meaningful and engaging.

This time slips of paper have been used to fix fossilized grammar and spelling errors, but I firmly believe that the use of slips of paper as a teaching tool is a great addition to any lesson plan.

Note 1: “fossilization” refers the way in which some errors become a permanent feature of a language learner’s language

Note 2: at the end of the post, there is a video I’ve put together with some pics and clips I took from the activity. In case you want to see it. Just saying! 🙂

Materials:

  • slips of paper
  • sticky notes
  • sellotape or blue-tack
Before  the class

Yes. I am afraid there is some prep to do but it’s worth it.

  1. Correct their compositions and write down common or relevant errors: for this activity, I have used common spelling or grammar errors.
  2. Write them down on slips of paper.
  3. Write the correction on sticky notes or scraps of paper.
  4. Hang the slips of papers around the room. Identify each slip of paper with a number and write it down on the bottom right-hand corner.
  5. For each slip of paper, and displayed next to it, is a sticky note containing the correction. The sticky note is folded in half so that the right answer cannot be seen unless unfolded.

How to go about it

Round 1

  • Ask students to take out a regular A4 piece of paper, write Round 1 at the top and number it- whatever X slips of paper you are using. Ask them to do the same on another piece of paper and but this time they should write Round 2.
  • Note: It is spring so if it is sunny, why not take them outside the building and hang the slips of paper on the walls of the building? In fact, this is what I did. If you also play some upbeat music while they are doing the exercise, they are going to love you.
  • Ask them to form pairs.
  • Ask them to walk around the class in their pairs, read the sentence, spot the error, discuss the way to correct it and then write their answers on the response sheet. If the number on the slip of paper is 3, they should write it next to number three on their response sheet.  Tell them it doesn’t matter where they start as they will end up doing all the cards.
  • Emphasize that they will need to speak English all the time and that they will both need to discuss how to correct the error- you want both of them to learn, not just one student-  then write down the answer and then, only then, unfold the sticky note with the corrected version.
  • I like to meander around the room and check to see if they are having difficulties with a specific error and try to help them figure out where the mistake is.
  • Once the activity is finished, I ask them to count up the number of mistakes they have been able to correct and write that number at the top of their paper.

Round 2.

We are working here with fossilized errors, ie, errors we have already corrected a thousand times but we haven’t been able to fix.  Reinforcement and consolidation are essential. So, let’s go for Round 2.

Group students: I asked students to form a line based on their birthdays (day/month). Once they formed the line, I ask them to work with the person on their right. (have a look at the video).

  • Explain that they are going to be competing against each other.  At the end of the activity, the winner is the student who has managed to correct the most mistakes.
  • Everything is the same as above, but this time they don’t discuss the error. Together and silently they read the error on the slip of paper, write the correction on their sheets of paper, compare their answers, unfold the sticky note and put a tick or a cross depending on whether they have been able to spot and correct the error. Hopefully, most students will have been able to fix all the errors.

Round 3

Yes. Again. Remember they are fossilized errors.

Follow-up: Ask students to sit down and ask them to write from memory all the mistakes they have been able to fix. Once they have finished, ask them to share them in pairs. Let’s hope that by writing them down from memory and talking about them in pairs …again, we will have helped them eliminate these fossilized errors from their oral and written production.

I love how slips of papers can turn into a simple and fun formative assessment tool that gets students out of their seats and learning, don’t you?

Have a look at the video now to have a clearer picture of the whole activity.