I’m really happy to introduce a guest writer to you. Maria Jose Díaz is a friend and fellow teacher from EOI Avilés and, in this blog post, she will be sharing with us an excellent communicative activity for C1 students based on pictures. María Jose also runs a blog Ingles en Aviles, which is really worth a visit.
Once again I have to cover the topic of travelling with my C1 students. You might think there shouldn’t be a problem dealing with this theme because everybody likes travelling plus it’s a common topic in the elementary and intermediate levels, which means students are familiarised with it. However, what might be seen as an advantage is a disadvantage for me: students seem bored with talking about different kinds of accommodation, means of transport and flopout versus niche holidays.
After racking my brains for a while I came up with this idea to help students talk about travelling from a different point of view.
Aim: activating new vocabulary through class discussion and providing students with new ideas to talk about travelling.
Level: C1
Materials: pictures of prehistoric people, explorers, missionaries, pilgrims, refugees and holidaymakers.
Instructions:
1. Start the lesson by asking students why people travel. From my experience, they will come up with the following: to broaden their minds, to work, for business, to relax, to know other cultures or to brush up a foreign language.
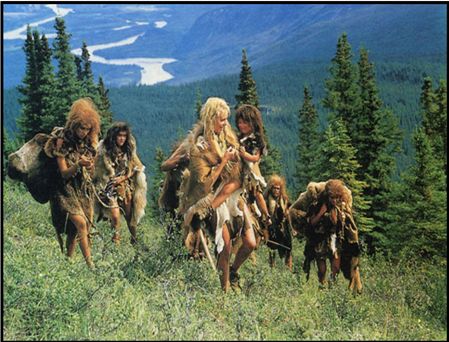
2. Ask for more reasons and show a picture with prehistoric people. Ask why people travelled in those times and try to get words like look for edible plants, follow animals to hunt (game), survival, look for better climes, nomads, caves…
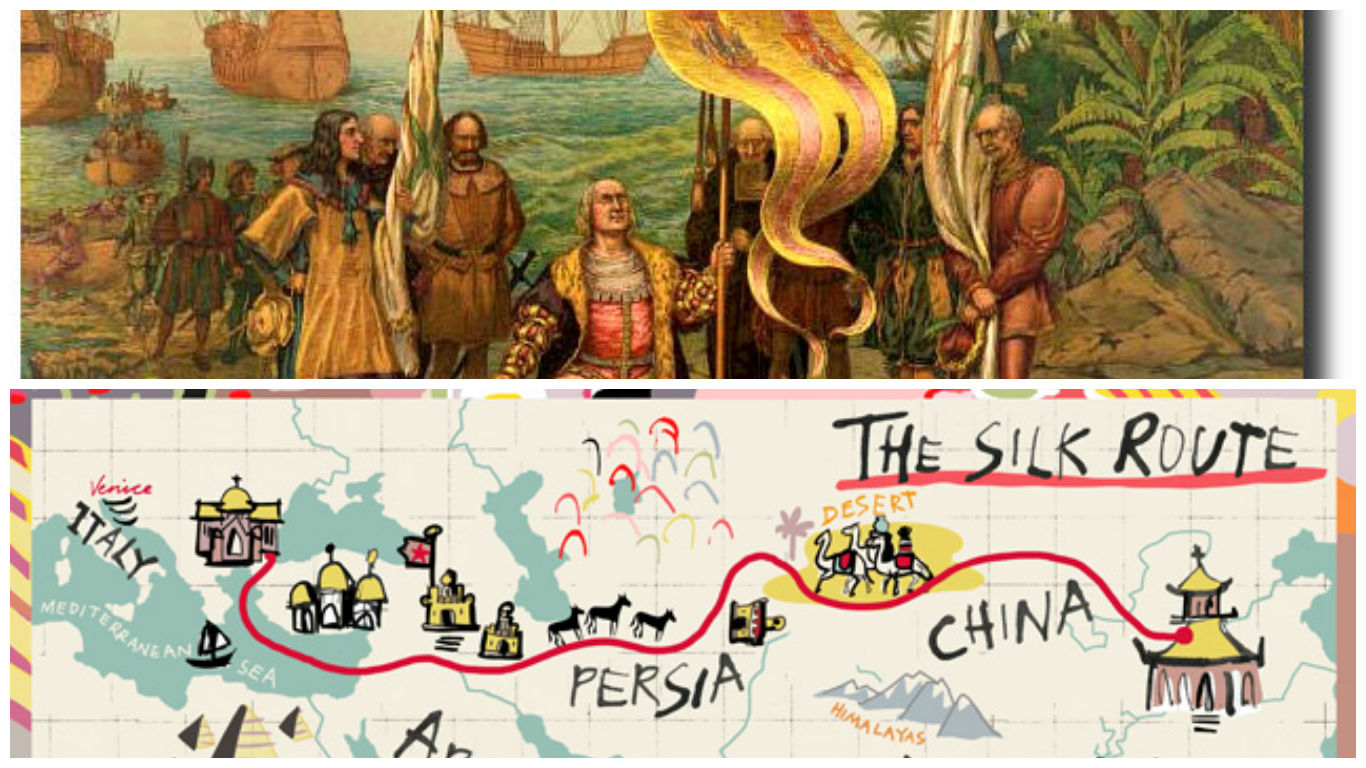
3. Show a picture with explorers to help them think about people who travelled searching for better trade or commercial routes; they can give examples like Columbus or Marco Polo. You can also show them the silk route.
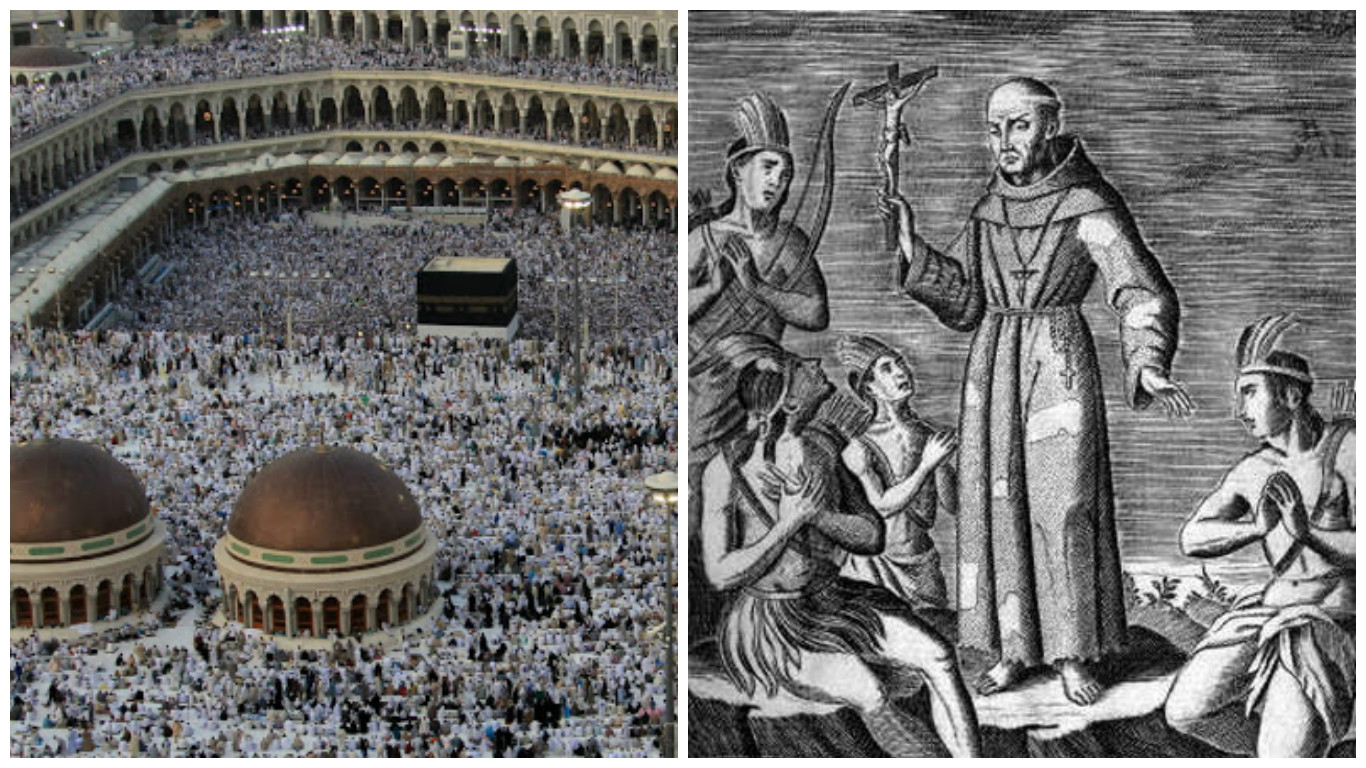
4. Show pictures with pilgrims or missionaries or the Mayflower. The idea is to make them think about why people move for religious reasons, either to evangelise new civilisations or to go on pilgrimage to places that are important to their faith and beliefs such as Santiago de Compostela, Meca or Jerusalem. Also, some people are forced to leave their countries to avoid persecution because of their religious beliefs or because they do not follow the religion of the country where they live.
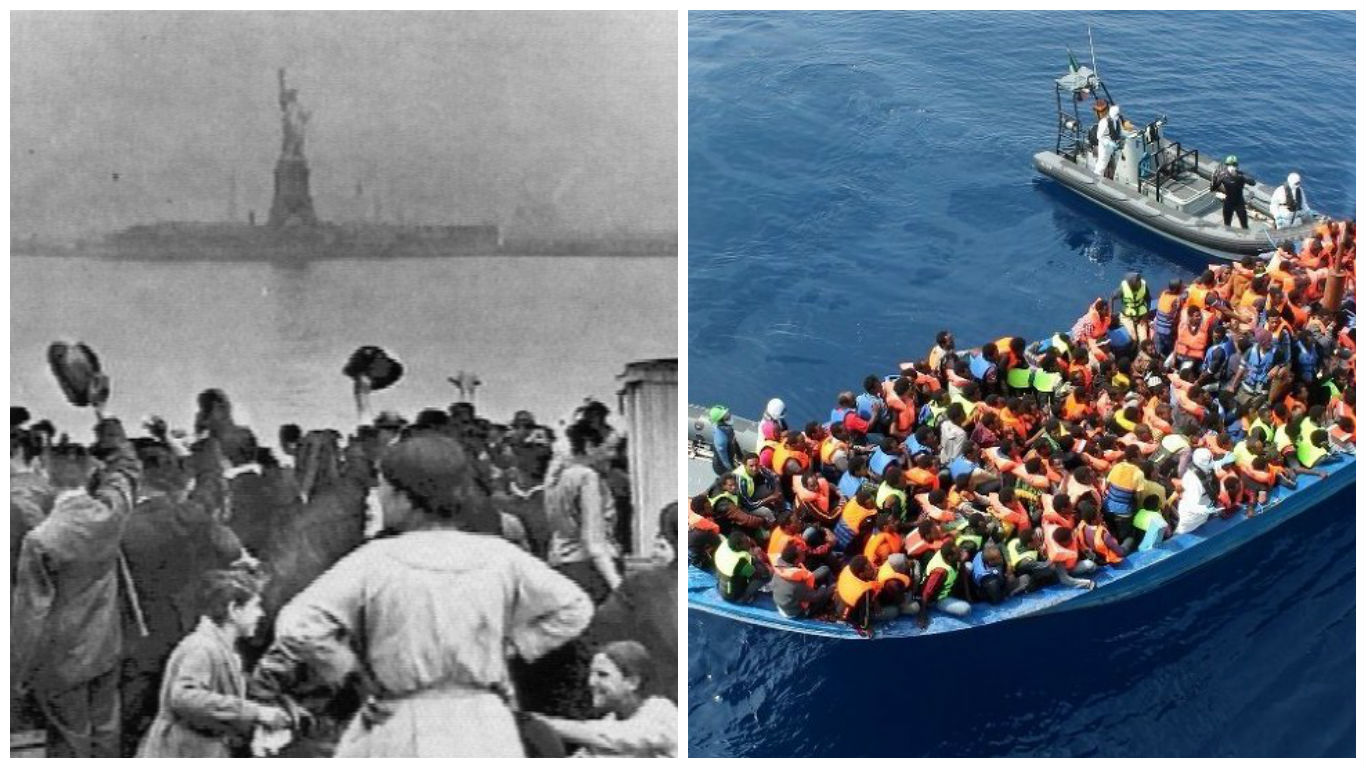
5. The idea of persecution links the pictures in number 4 with the picture below. Refugees or asylum seekers also flee their countries to avoid persecution or to escape conflicts or wars, they seek refuge or asylum somewhere else, they look for a better life, in the same way immigrants and emigrants did in the past (and in the present!).
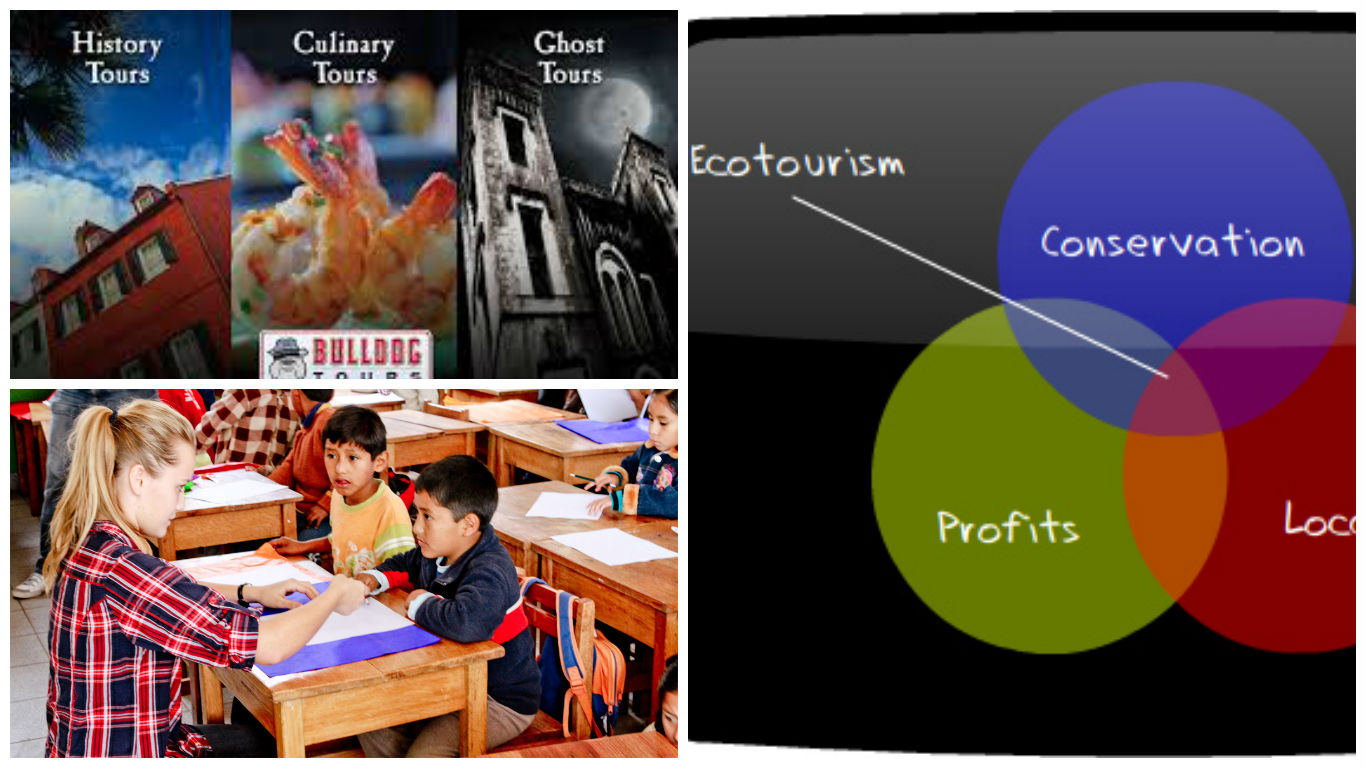
6. Finally, show the pictures below and make students think about their relationship with holidays. Hopefully they will talk about volunteering, ethical tourism and niche holidays.