I love working with posters and these two activities combine some of the elements that guarantee a successful lesson: movement, interaction, visuals and fun.
It is great if you need to revise a number of topics before an oral exam.
ACTIVITY ONE:
Aim: to revise several conversation topics integrating grammar, speaking and writing.
Level: B1 (intermediate and above)
Time: 50 minutes or more
Materials: post-it notes (alternatively, you can use pieces of paper+ Sellotape/blu-tack). I have used the free website Canva to create my posters. You can see them here. I have used the free website wheeldecide to create a wheel for the wh-words. (short video tutorial here)
Task. In this engaging activity students will need to work in pairs or small groups and provide the questions which will be later answered in groups about a certain topic.
Preparation:
- Create as many posters as topics you want to revise and display them on the walls on the class. See mine above. You can also do this activity without posters by writing the different topics on pieces of paper, although obviously this is less appealing. Ideally, the topics should be written big enough to be seen from the back of the class.
- Create a wheel containing wh- words and a yes/no question option. See mine below. If you don’t want to use a wheel, you can write the wh- words on pieces of paper and put them in a box.
In class
This activity is divided into two stages
Stage 1.
- Direct students’ attention to the walls of the class and read the different topics to be revised.
- Ask students to work in pairs or small groups.
- Spin the wheel. Students in their groups choose a topic from the ones displayed on the walls and write a question about it beginning with the wh- displayed on the wheel. Give students sticky notes and ask them to write their question there, and then stick it next to the poster it refers to.
For example: the wheel displays How?. Group A decides to write a question about City life and Country Life. They might write something like: How are city people and country people different?
- Spin the wheel again and repeat procedure as many times as you want. Each time students will need to choose a different topic.
Stage 2
- Ask the groups to stand up and stand next to a topic. Students read the questions on the sticky notes and discuss them. Encourage the use of specific vocabulary.
- After five minutes, ask the groups to rotate to the next topic.
ACTIVITY TWO:
Aim: to revise several conversation topics .
Level: B1 (intermediate and above)
Time: 30 minutes or more
Materials: I have used the free website Canva to create my posters. You can see them here
Task. In this fun activity students will alternate playing the roles of interviewer and interviewee while reviewing different topics before taking an oral exam.
Preparation:
For this review activity you’ll need to create posters on different topics and write two or three topic-related questions to be used in the interview.
In class
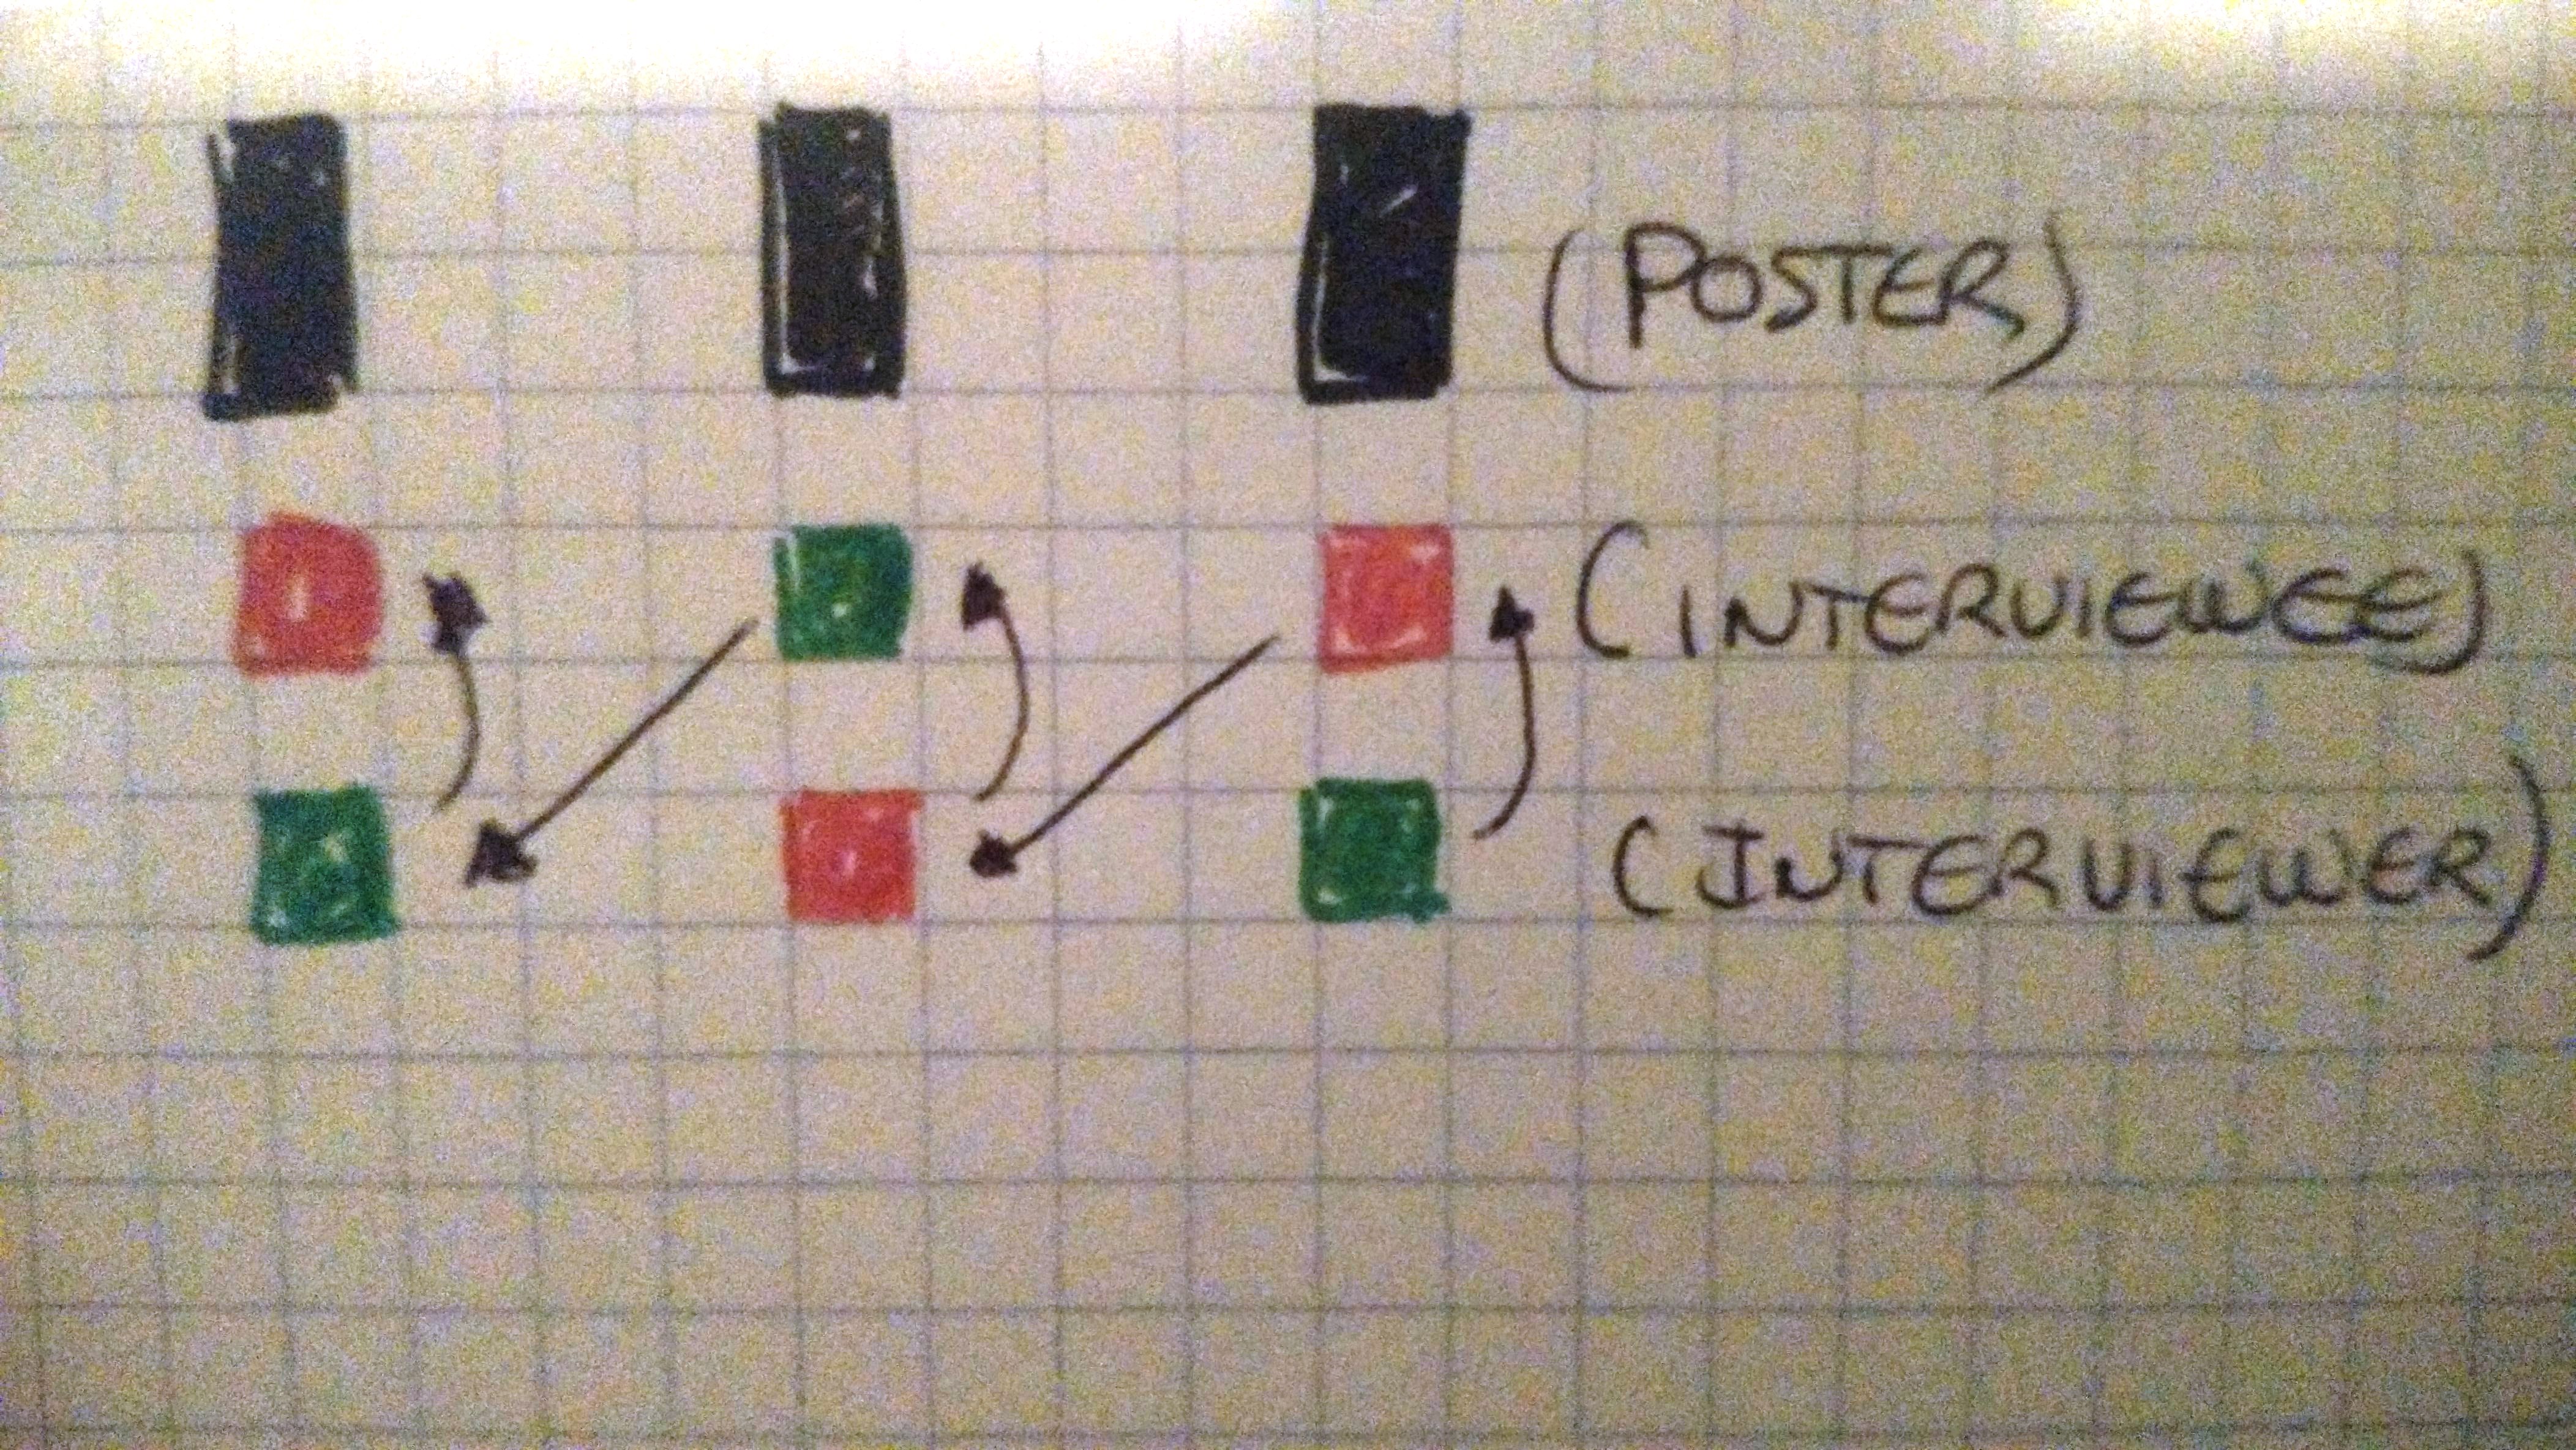
Ask as many students as posters you have displayed on the walls of the class to stand up and stand next to a poster. One student, one poster. Let’s call them Student A. They are now the interviewees. There should be, at least, the same number of students sitting down. Let’s call them Student B. They are the interviewers.
Ask Student B to stand up and choose a student A to interview using the questions on the poster. Encourage Student A to elaborate on the answers. Allow 3-4 minutes.
Ask student B, i.e. the interviewer, to exchange places with Student A and become the interviewee and ask student A to rotate to the next topic and become the interviewer.
In this way, students alternate being the interviewer and interviewee while revising a variety of topics in a dynamic way.
Repeat procedure until all the topics have been covered.
(Note: this activity can also be done if you need to have two Students B in one station. They’ll just have to take the role of interviewer twice before becoming an interviewee.
Hope you enjoy the activities!