Name 4: a Game to Energize the first 10 Minutes of your Class

I write a lot about games on this blog but the truth is that there are many days when all we do in class is course book related. It is easy to fall prey to the monotonous rhythm of the book and there is absolutely nothing wrong with it; but I never get a kick out of doing the exercises the book suggests and I might be wrong, but I don’t think the students do either. And I, for a start, need this kick to keep me going.

So, from time to time, I like to give them games that will not only engage them but also help them fix previously studied content in an attractive way.

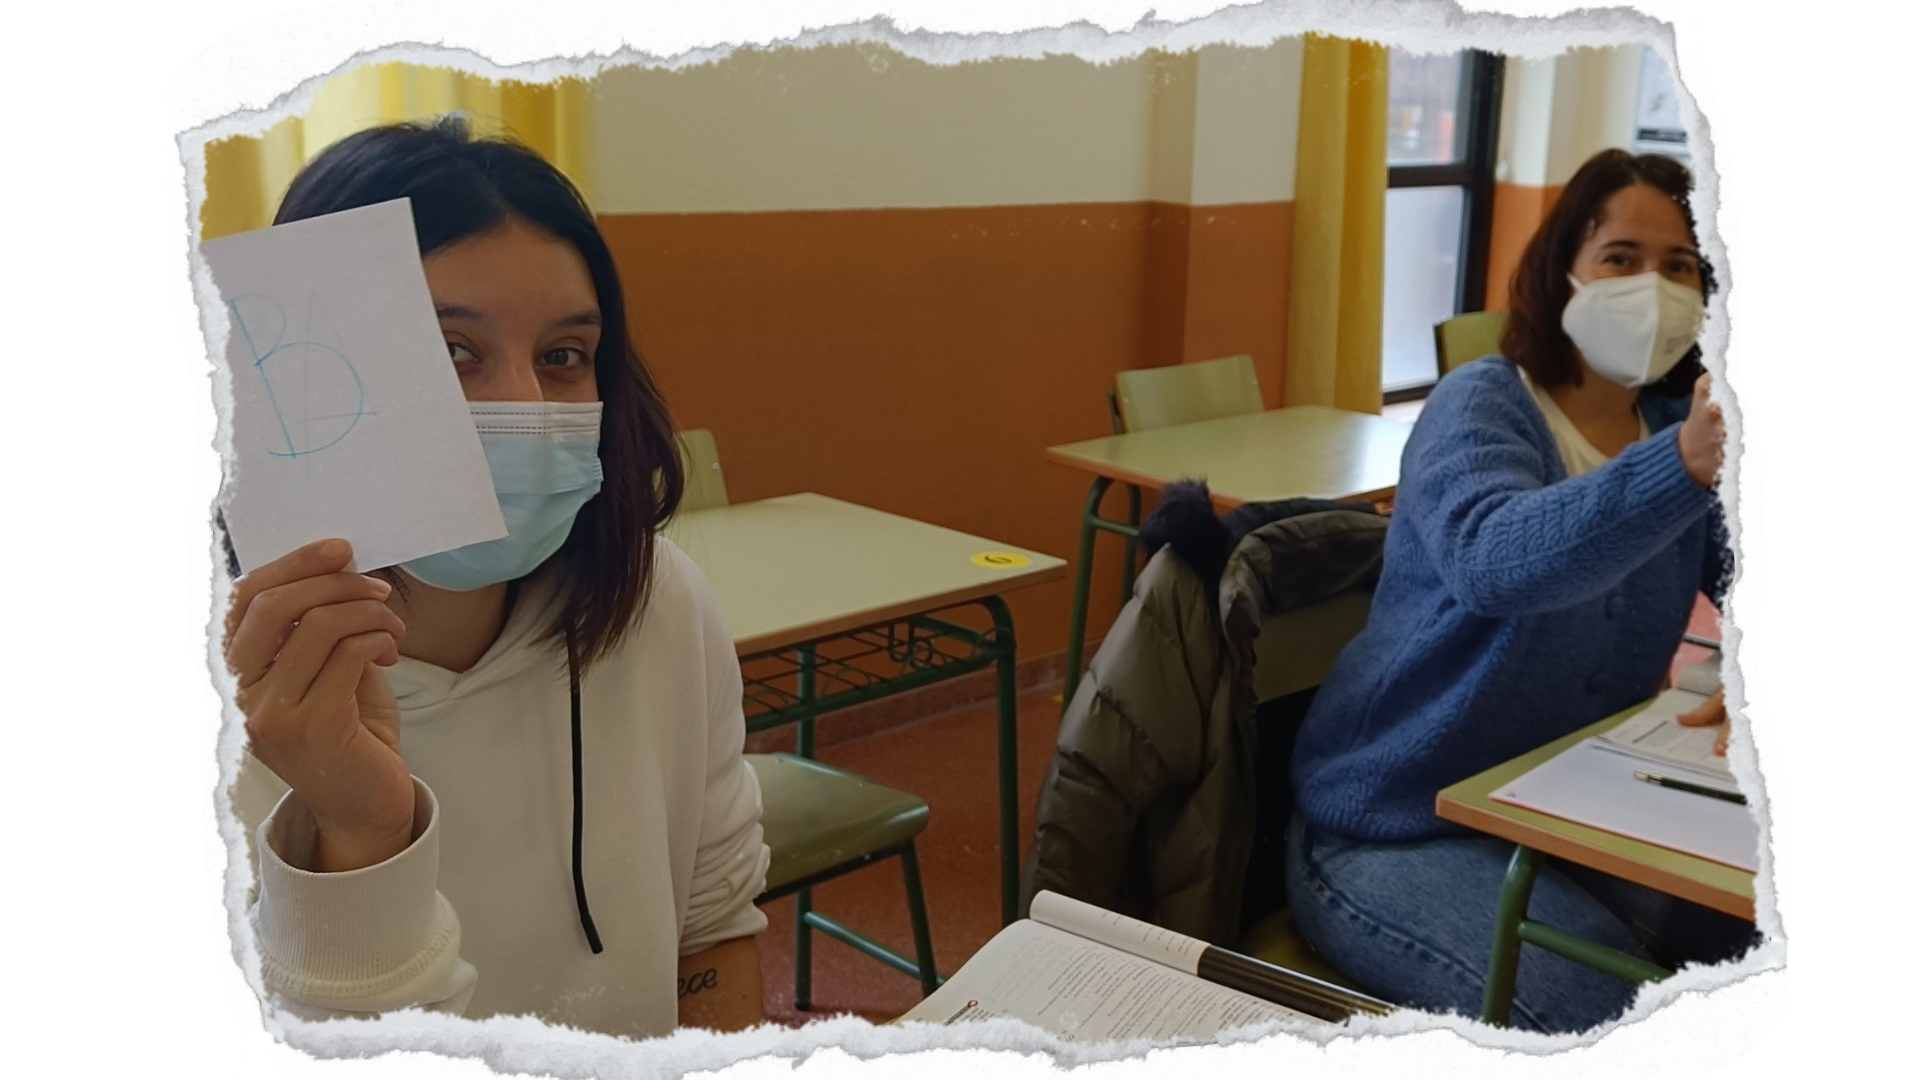
The game I am sharing with you today is called NAME 4, and the aim is to revise content studied in this course and mix it with some easy bits and bobs from previous courses.

I have created the game in Genial.ly. If you don’t want to create your own, you can easily edit mine and write your own categories. Also, in each slide I have placed a countdown timer. The time allotted for each category varies. If you need to modify the time, you can  find numerous countdown timers on YouTube; you just need to write “X seconds countdown”in the search box.

I have used the same template for C1 and B2, slightly varying the categories.

All the instructions to play the game are on the second slide. We had great fun so I really encourage you to give it a go.

GAME FOR C1 STUDENTS. Click on the three dots … to enlarge the presentation

GAME FOR B2 STUDENTS.Click on the three dots … to enlarge the presentation

The Environment: Do we Really Care?

This month many of us, teachers and students alike,  are celebrating the anniversary of all kinds of things we had no idea would define the year ahead of us.  I distinctly remember the day when only two or three students turned up for class and  myself saying things like: “this soon will pass” and “I will see you in a fortnight! before going into confinement.

With human activity slowing down due to the strict restrictions, March will probably also mark the month when our planet could breathe some fresh air for the first time in decades.  Reversing decades of destruction is, of course, not possible in such a short time, but at least, we could have a glimpse of what the earth would feel like without fossil fuels.

The lesson I am sharing with you today is, as you have probably guessed, explores the theme of the environment and is meant for C1 students.

I have designed the lesson using my favourite tool ever, Spark Adobe Page, but in the presentation, you will find links to other websites that will help my students work on vocabulary relevant to talk about this topic, enhance their listening skills by watching videos and discuss questions to boost their speaking abilities. Also, at the end of the post, you can have a look at a writing collaborative activity using Google Slides.

Before you jump right into the lesson in Spark Adobe, perhaps you would like to explore some vocabulary related to the environment.  I have used the awesome tool Flippity. I cannot embed the activity but click on the image to have a good look at all the possibilities it offers for introducing, revising and reinforcing.  As you can see, I have created an activity with a template, but then I can reuse it in a number of different ways. That’s what I call, a real time-saver!


Ready to explore the lesson? This is what you will find in this visual session

  • Natural Disasters: Vocabulary  and exercises
  • Natural disasters: Conversation questions
  • National Geographic repository of videos explaining natural disasters
  • Man-made disaster Video activity with a pronunciation game
  • Environment: vocabulary and games
  • Speaking: conversation questions to  use vocabulary  in context

The Environment. Do we really care?

To round up the lesson, I gave students a writing activity using Google slides in editing mode.  This beautiful template has been designed by Paula from Slides Mania. Thanks; Paula, I think I can call myself a Slides Maniac.


By the way, if you want students As and Bs to work on their questions at the same time, it might be a good idea to use a Chrome extension to split the screen into two. I use Tab Resizer. But, if you do not want to install an extension on the Chrome bar, you can always do it manually.

  1. Depress the left mouse button and “grab” the window.
  2. Keep the mouse button depressed and drag the window all the way over to the RIGHT of your screen. …
  3. Now you should be able to see the other open window, behind the half window that’s to the right

I hope you have enjoyed the lesson

Free Website to Create your Own Multidecker Cards to Learn/Revise Vocabulary

One of my biggest goals when I started posting, was to have a virtual space where I could share free websites or apps that helped me teach better and more effectively by offering my students an alternative to the predictable, and less varied, exercises in the textbooks.

If you have been a regular visitor of this blog, you might have guessed by now the importance I place on reinforcing and revising content. I have always found students learn much more when prompted to remember, even when they can’t.

This website I am sharing with you today is meant for that, to help students revise and learn. It is multidecker app, meaning that you can have as many as 4 different categories.  For example:

  • you can write cards ( for ex. blooper on one side of the card and on the other side its definition )  and then test yourself with the options I know or Not Yet.
  • You can have two options of your choice; for example regular and irregular verbs
  • Once in, you can have 3 options; for example when working with nouns, countable, uncountable and both.
  • And you can have four options; for example four lexical categories.

See here a 3-decker example for prepositions of time.

So, this super simple website works like this:

  1. The first amazing thing is that you don’t even have to sign up to use the already created decks  in the library. Check it out here. Just choose one, click play, and off you go!
  2. But… if you want to create your sets, then you have to sign up. Don’t worry, as I said it’s free.
  3. You can use the search box to find what you are looking for and if you like a deck, just click on the heart and you will find them stored in your Favourites.


Let’s see how to create your own deck. I have made a video to help you go about it but, trust me, it is a piece of cake.

First, go to multidecker.com/ and sign up.

Time to share the link or play in class and… enjoy learning, enjoy teaching!!!


Quiz: Love is in the Air

Not a big fan here of St Valentine’s day, but… it is not about the day, it is about the language that comes with the day. So, very quickly I have put together a small quiz to teach/revise some expressions, idioms and phrasal verbs related to love and friendship, well… mostly about love.

Before the quiz, we will have some fun doing a listening comprehension on St Valentine’s using Edpuzzle (Go Live mode) and after doing the quiz, we will answer the questions below, in pairs. Please, bear in mind I teach adults.

1. Would you rather find out that your partner cheated on you while drunk once, but it doesn’t mean anything and will never do it again or never learn the truth about it?

2. Would you rather marry a funny person who was always poor or a boring person who was very rich?

3. Would you rather never have a best friend but have a long and happy marriage or never get married but have the closest and strongest friendships ever?  Questions from buzzfeed.com

And here’s the quiz. Enjoy it!!

Note of warning: This free website for making quizzes only allows 250 visits/month for free. So, if you get here and cannot see the quiz, I apologize in advance. Please, come back next month or on second thoughts, next St Valentine’s to do it.

Here’s the direct link:https://bit.ly/3QUDZ3g


Digital Gallery Walks with QR Codes for Creative Writing

Before this pandemic started, way back in January 2020, I created lots of activities where students had to stand up and move around the class. These activities were SO engaging, perhaps even more than playing a game with bells or any other prop I am so keen on using in my classes.

The majority of the questions I get asked via email or on the blog are from teachers asking me to share ideas that can somehow substitute this “moving around” the class. It is not easy. So far, I have found nothing that can substitute movement in class; we can only try out different activities and alternatives and hope for the best.


One of my favourite activities is  Gallery Walks. Sadly, we will have to do without traditional gallery walks for a while but, if you have read my previous post, you will have read about a nice alternative. Yes. Virtual. So, hi and hello and welcome to a new era: Digital Gallery Walks. And this time, with a task that I have pompously titled Gallery Walks with QR Codes for Creative Writing.

QR Codes? Why not? We’re all pretty familiar with QR Codes nowadays, aren’t we? Even my 80-year-old mum has a QR Reader on her mobile phone. So, nobody is going to be telling you they cannot do the task because they don’t have a QR Reader installed in their mobiles.

So, ready? Let’s dive into the task! What’s the idea and what’s the final product?

The idea is that students, with the same story starter and in a semi-guided activity, write different stories using only 4 posters. How? by doing a virtual gallery walk using QR codes while, at the time, prompting them to use picture-prompted vocabulary, grammar, connectors and linkers. That is, the whole package!

Aims:

  • to write a mystery story (or any other genre)
  • to boost students’ writing skills
  • to stimulate students’ creativity
  • to encourage the use of connectors
  • to “force” them to use a variety of newly-acquired grammar structures

A step-by-step guide to designing the activity

Step 1: Creating the posters

The first step is to design the posters. For my activity, I designed  4 different posters containing, each of them,  a collage with 4 pictures, a couple of connectors or linkers and some grammar. I used Canva to create my posters.

Step 2. Creating the QR Codes

The next step is creating the QR Codes for each of the posters. I have used QR Code Monkey for this activity because it allows you to insert a number inside the QR Code and for this activity, I needed to number the Codes. To create a code, you just need to paste the URL of your posters and get the QR Code. You can see the QRCodes for my posters below. Wanna try if they work? Open your QR Reader and scan them!

Next, photocopy the QR Codes and stick the 4 QR Codes to the deks with sellotape or, alternatively, give students a photocopy with the task.

Step 3: Explaining the activity

Desks in my class are now arranged in rows. There are 4 rows. I called the first row: student A; the second row, student B …etc

I gave all students the same story starter and instructed Student As to scan QR Code 1; Student Bs QR Code 2; Student Cs,  QR Code 3, and Students Ds, QR Code 4. I explained that they needed to continue the story using one or more pictures from the poster; at least a connector or linker and the grammar point.

I gave students about 5 minutes to continue the story and then we “gallery walked” to the next poster. This means that I told As to scan QR code number 2; Bs QR code number 3; Cs QR code number 4 and Ds QR code number 1.

Repeat procedure every 5 minutes until students have used all 4 posters.

Step 4:  Giving feedback

I collected all the stories and corrected the most important mistakes. While students were busy doing another activity, I put their stories on the walls outside the class so that they could read some of the stories on their way out of the building.

Download my activity here