I’m currently in the middle of —what I like to call—beginning-of-the-course chaos. I am busy doing nothing, wasting time on probably unnecessary things and when the day ends, I find I have done nothing from the to-do list I carefully planned in the morning. Total chaos.
Today, I have a guest post from a colleague from EOI Oviedo, Ángeles Jimenez, who from time to time, saves my a** by agreeing to send me some of her creative activities. This is one of them. I hope you like it as much as I did.
![]()
![]()
![]()
![]()
![]()
![]()
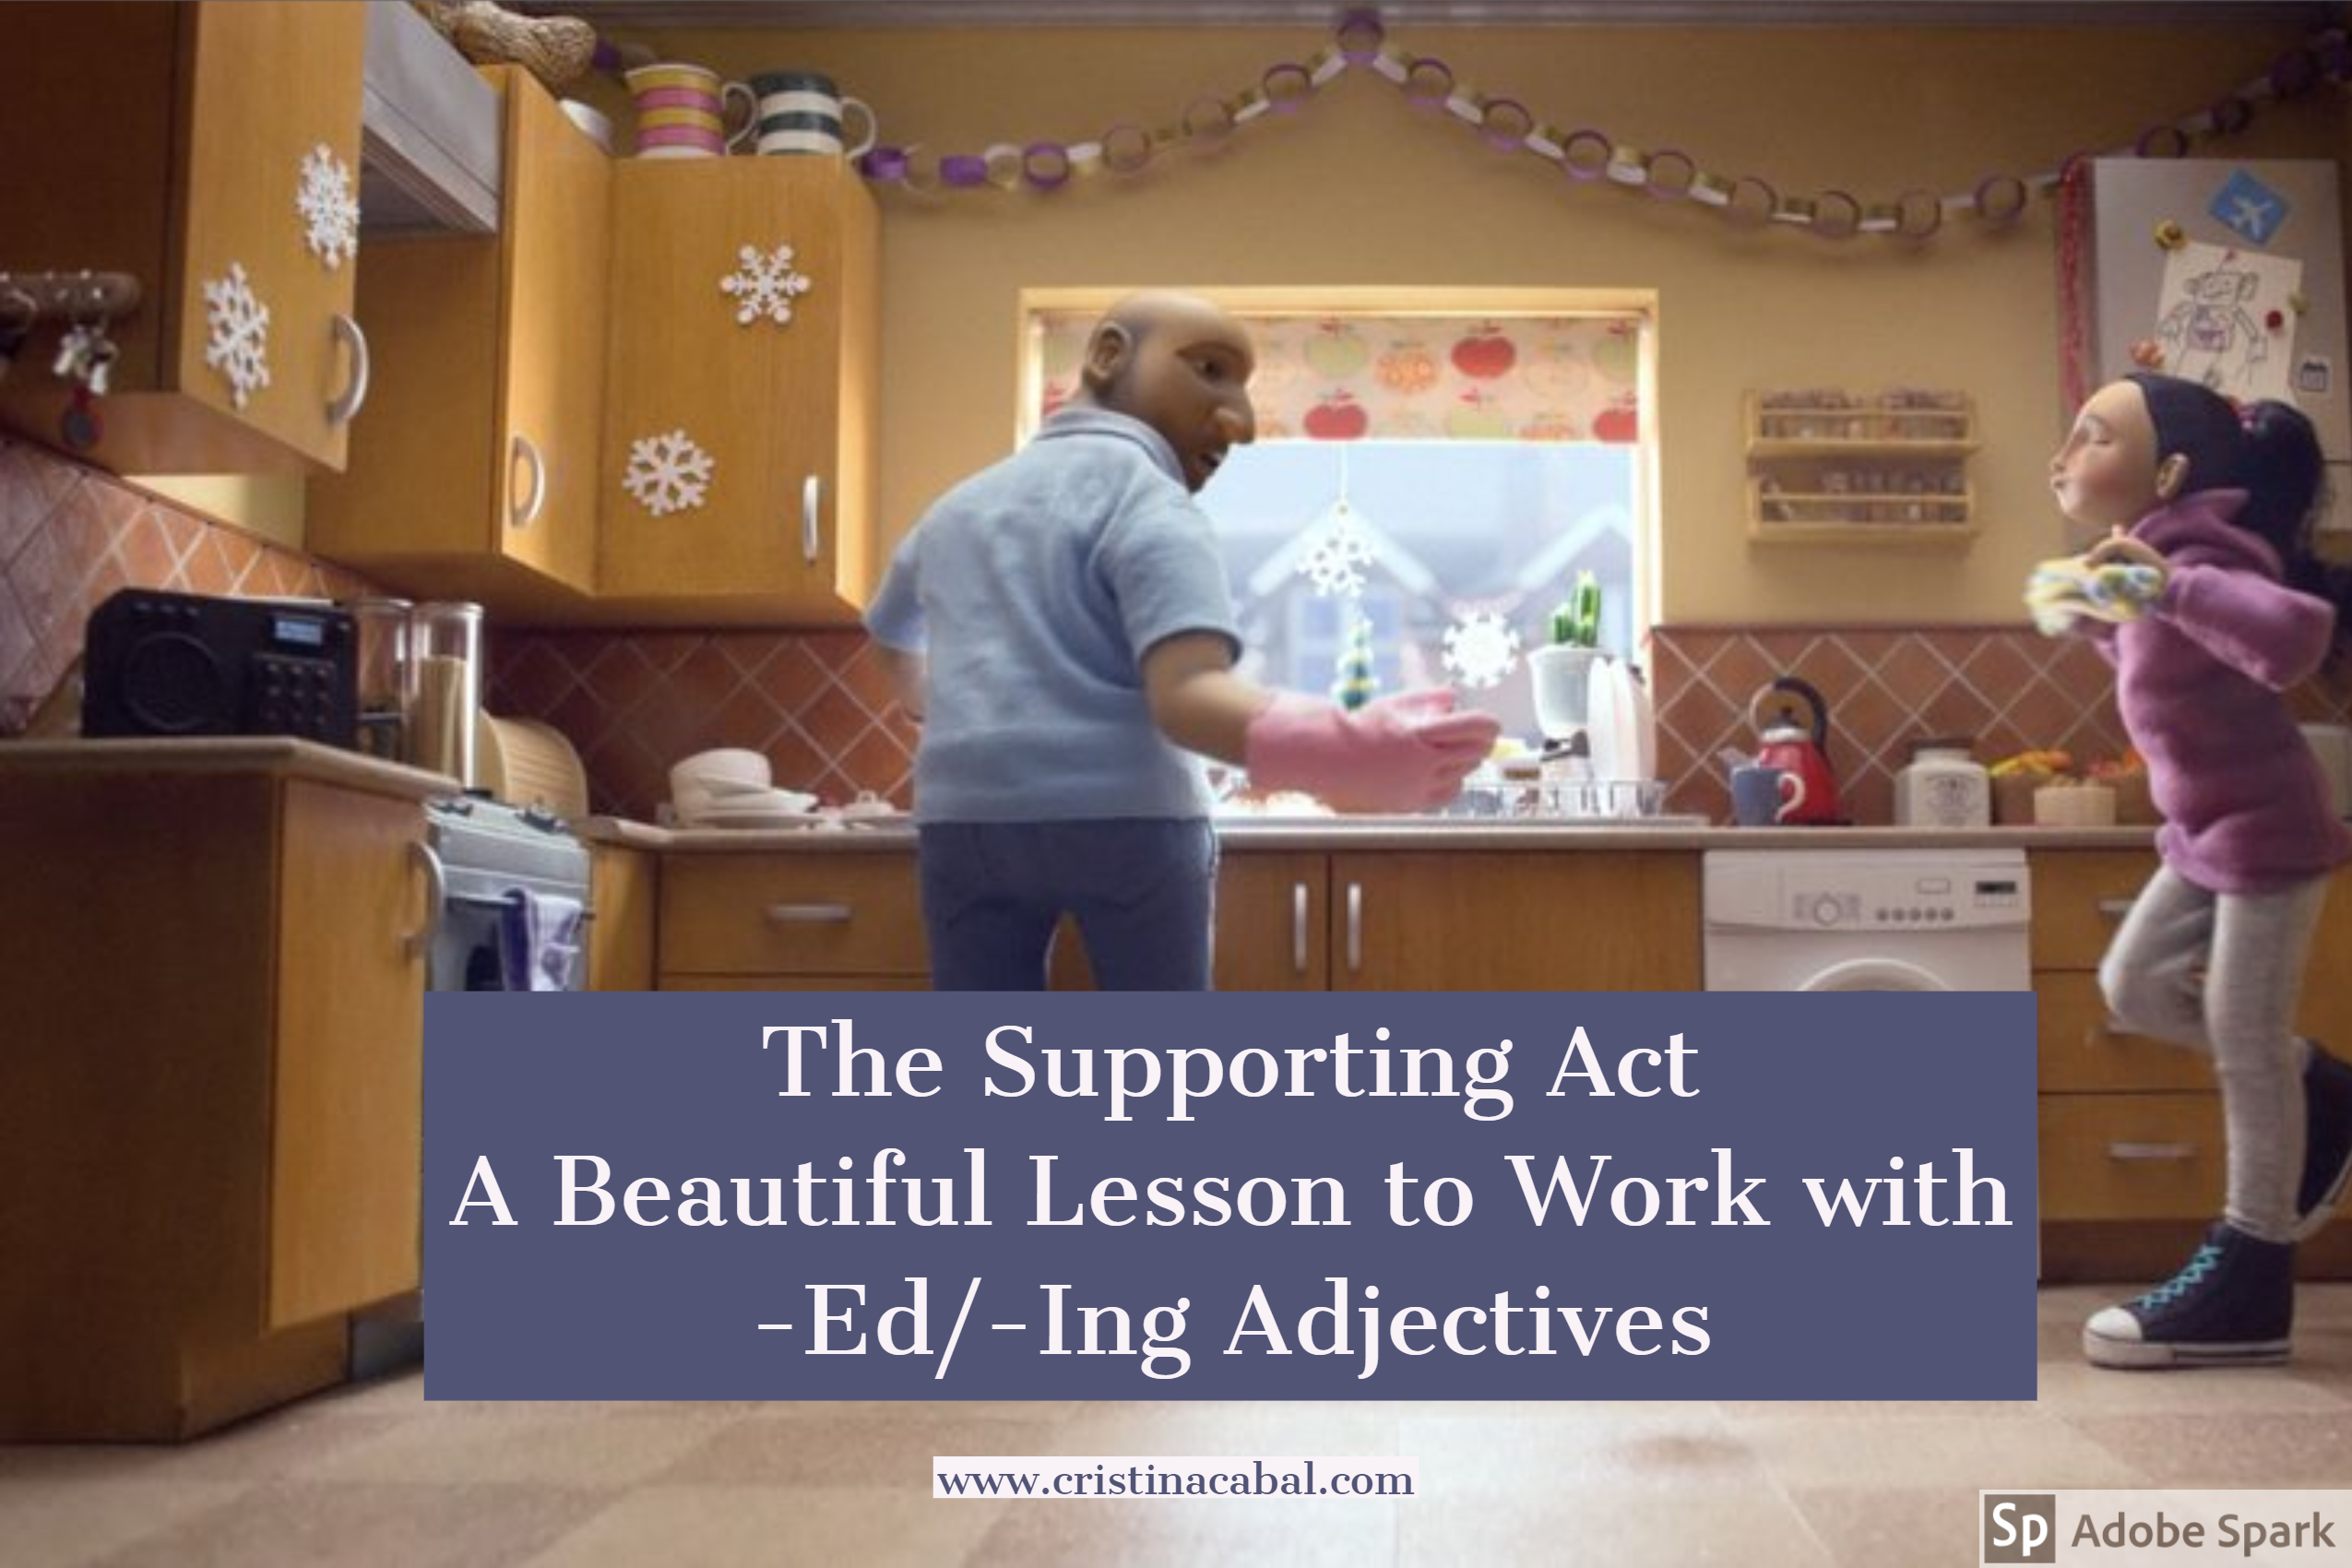
This lesson plan is based on a two-minute short film launched by the B.B.C on Christmas 2017. It’s suitable for intermediate and higher levels.
The lesson starts with a lead-in speaking activity to help students differentiate -ed from -ing adjectives. It’s then followed by a brainstorming activity where students get a lot of talking time.
-ed / -ing adjectives can be a challenging task to teach as students mix them up easily. Sometimes such confusion can lead to amusing mistakes such as “I’m boring” or “I’m tiring” when they truly mean “I’m bored” and “I’m tired”.
![]()
STEP 1
To clear up the confusion, I start with a warm-up activity. I write, on the whiteboard, 3 or 4 -ing adjectives and tell students they will need to come up with a wide range of things, activities and/or people that can fit in each category. “Boring”, “Exciting”, “Frightening” and “Disgusting” are some of the -ing adjectives that work well.
For example, if I write the adjective ” Boring” students might say: studying for exams, politics, queuing at the supermarket…etc.
This is an engaging warm-up as students can personalise the grammar point you’re trying to teach.
I begin with myself writing the word “moths” in the “frightening” column. They may not be familiar with the noun but students love it when the teacher includes anecdotes and personal examples. They get involved in the activity in no time!
Once the whiteboard is full of the students’ own ideas, I then follow with a “How do you feel” question to elicit the -ed adjective.
Example: “How do I feel about moths? I feel frightened”
and I write the word “frightened” on the board with capital letters underlying the -ed part to emphasize that’s how I feel. To make sure they’ve understood the difference, I go through the adjectives on the board asking the same question: “How do you feel about studying for exams?” To round up, a simple graphic is very helpful:
Something ING ⇒ makes you feel ED
![]()
Step 2

I project the frame above from the silent advert because it’s open to interpretation, it offers a lot of speaking practice and I find it’s a great way to revise the use of narrative tenses, especially for intermediate levels. I ask my students to come up with a short story that can explain what is happening/happened, what the girl is/was doing, how she is feeling and what they think is going to happen at the end.
At a more advanced level, they can even make deductions. Elicit some examples such as “It’s late. She must be worried because her parents haven’t arrived home yet”
Also, make sure they use as many adjectives related to feelings as they can.
![]()
STEP 3:
- Play the video.
- Speaking: Ask students to compare it with the stories they created. Ask some follow-up questions: Did they like it? Did they find it touching? Can they relate?
- Vocabulary and speaking. Pdf here. Give the students the handout that accompanies the video activity. It includes an exercise to learn new vocabulary, another exercise to revise -ed / -ing adjectives and last, but not least, a more ludic and relaxing one to test how good their memory is. You can see the first two exercises below:
![]()
Vocabulary exercise. Summarising the story. Choose the most appropriate word from the drop-down menu
![]()
Oral exercise. Using adjectives -ed adjectives to talk about feelings. Ask the following questions and encourage students to use -ed adjectives
- Watch the T.V add and talk about how the girl felt…
- when she came out of school. Ex: excited
- when she gave her dad the talent show leaflet.
- when her dad answered the call.
- when she rehearsed at home, in the street…
- How did her dad feel when he saw her jumping on the escalators?
- Why did she slam the door?
- How did she feel when she …
- drew the curtains?
- couldn’t remember the dance?
- when her dad came out of the audience to help?
- the dance finished?
Silent movies have a great potential for language teaching. They’re a fantastic tool to get students to produce language at any level since it’s the task the teacher sets the one that provides the level. They usually find it easier to memorise vocabulary and grammar when it’s associated with a captivating image or story and when it comes to holding their attention, a short clip does the trick.
Thank you Ángeles, a beautiful activity.