Writing: 5 Useful Exam Tips

I get it. Writing test. These two words don’t look super inviting or inspiring, but trust me, if you follow these tips, it might help you pass or, at least, enhance your writing skills.

I think we have already discussed here at length my obsession with using the vocabulary and structures that I teach in class. That’s non-negotiable. You have to use them. So, I am not going to beat about the bush here and I am going to state the obvious, the two most important tips are:  study and practise. As much as you can. But you already know that, don’t you?

Once we have agreed on these two tips, these are the ones I give my own students. Some students follow them. Some don’t. Some try  🙂


Don’t start writing straight away. Spend about 10 minutes getting ready. You might grow anxious and think this is a waste of time. It is not. In fact, in my humbe opinion, it should be mandatory. Use these 10 minutes to plan what you are going to say and how you are going to say it.

So, you are given the task. Now what?  

  1. Identify the task. It is very important to read the information in the task carefully, underlining any keywords or any questions you are being asked to answer. Identify the topic: is it about sports, work, holidays?
  2. Identify the audience. Who is going to read it and what language do you need to use? Can you use informal language because it is an informal email or maybe a post for a blog or do you have to use formal language because it is a formal letter or email or maybe a report? 

Now that we have clearly identified the topic and the kind of task we have been asked to fulfil, spend some time doing some brainstorming.

Ask for some draft paper and brainstorm…

  1. Vocabulary. Make a list of all the specific vocabulary you remember about the topic (that includes phrasal verbs, collocations, idioms…, etc) The teacher will be looking for specific vocabulary related to the topic. Make sure you use a wide range of vocabulary. As you start writing, find a way to naturally introduce this vocabulary.
  2. Grammar. Make a list of all the grammar and structures you want to use. The teacher will be looking for a wide range of grammar and structures adequate to the required level, but make sure you sound natural and communicate clearly. If you overuse structures or “force” the use of others just to show off, it might have the opposite effect, as it might be inappropriate and possibly confusing.  For example, if in this course you have learned perfect modals – might have worked- try to use them in your essay;  or if you have learned inversions, try to use them, but do not use 3 or 4 inversions just because you know them. It would not sound natural.
  3. Connectors and Linkers. Make a list of connectors and linkers you want to use to contrast different points of view or join ideas. Remember that you will be required to elaborate on your ideas. Words such as “ and” or “but” are fine, but you are not going to impress the examiner by using these very simple linkers. 
  4. Ideas. Finally, brainstorm ideas and choose the strongest ones and the ones you feel most confident developing.

Clear paragraphs. Now you are ready to begin writing your draft. Organize your essay into clear paragraphs 

  • Introduction
  • Body ( here you can have 2, 3 or more paragraphs)
  • Conclusion

A good idea might be to start each paragraph with a strong idea and then elaborate on it,  making sure you back your idea or opinion with reasons and examples. 

New idea, new paragraph.

Have you written your draft? Awesome! Now, reread it and consider adding:

Adjectives to add colour to your work. For example, if you are describing a house, you can write “an elegant house” or “a red-brick house”; if you are writing about “work”, you can modify it by saying “ challenging work” or “rewarding job”. My favourite website for this is Ozdic

Adverbs:  you might want to introduce some sophisticated adverbs such as: remarkably, noticeably…etc

-Strong collocations: have some up your sleeve in case you have the chance to use them. For example: take for granted, draw an audience…etc

Carefully proofread your essay before handing it in. Make sure you check your work to avoid making obvious mistakes:

  • spelling mistakes
  • subject-verb agreement
  • singular-plural agreement,
  • punctuation …etc

Llast tip? Read it to yourself. If it sounds confusing to you, imagine how it would sound to the teacher. You still have time to rephrase what is not clear.

Now you are ready to write your essay on the exam sheet. Be extra careful when copying from the draft. I have found that students when copying from the draft if in a hurry, tend to make spelling mistakes. After all this effort, you don’t want to do that. 

I hope these tips help you and you score high on the writing test. Best of luck!


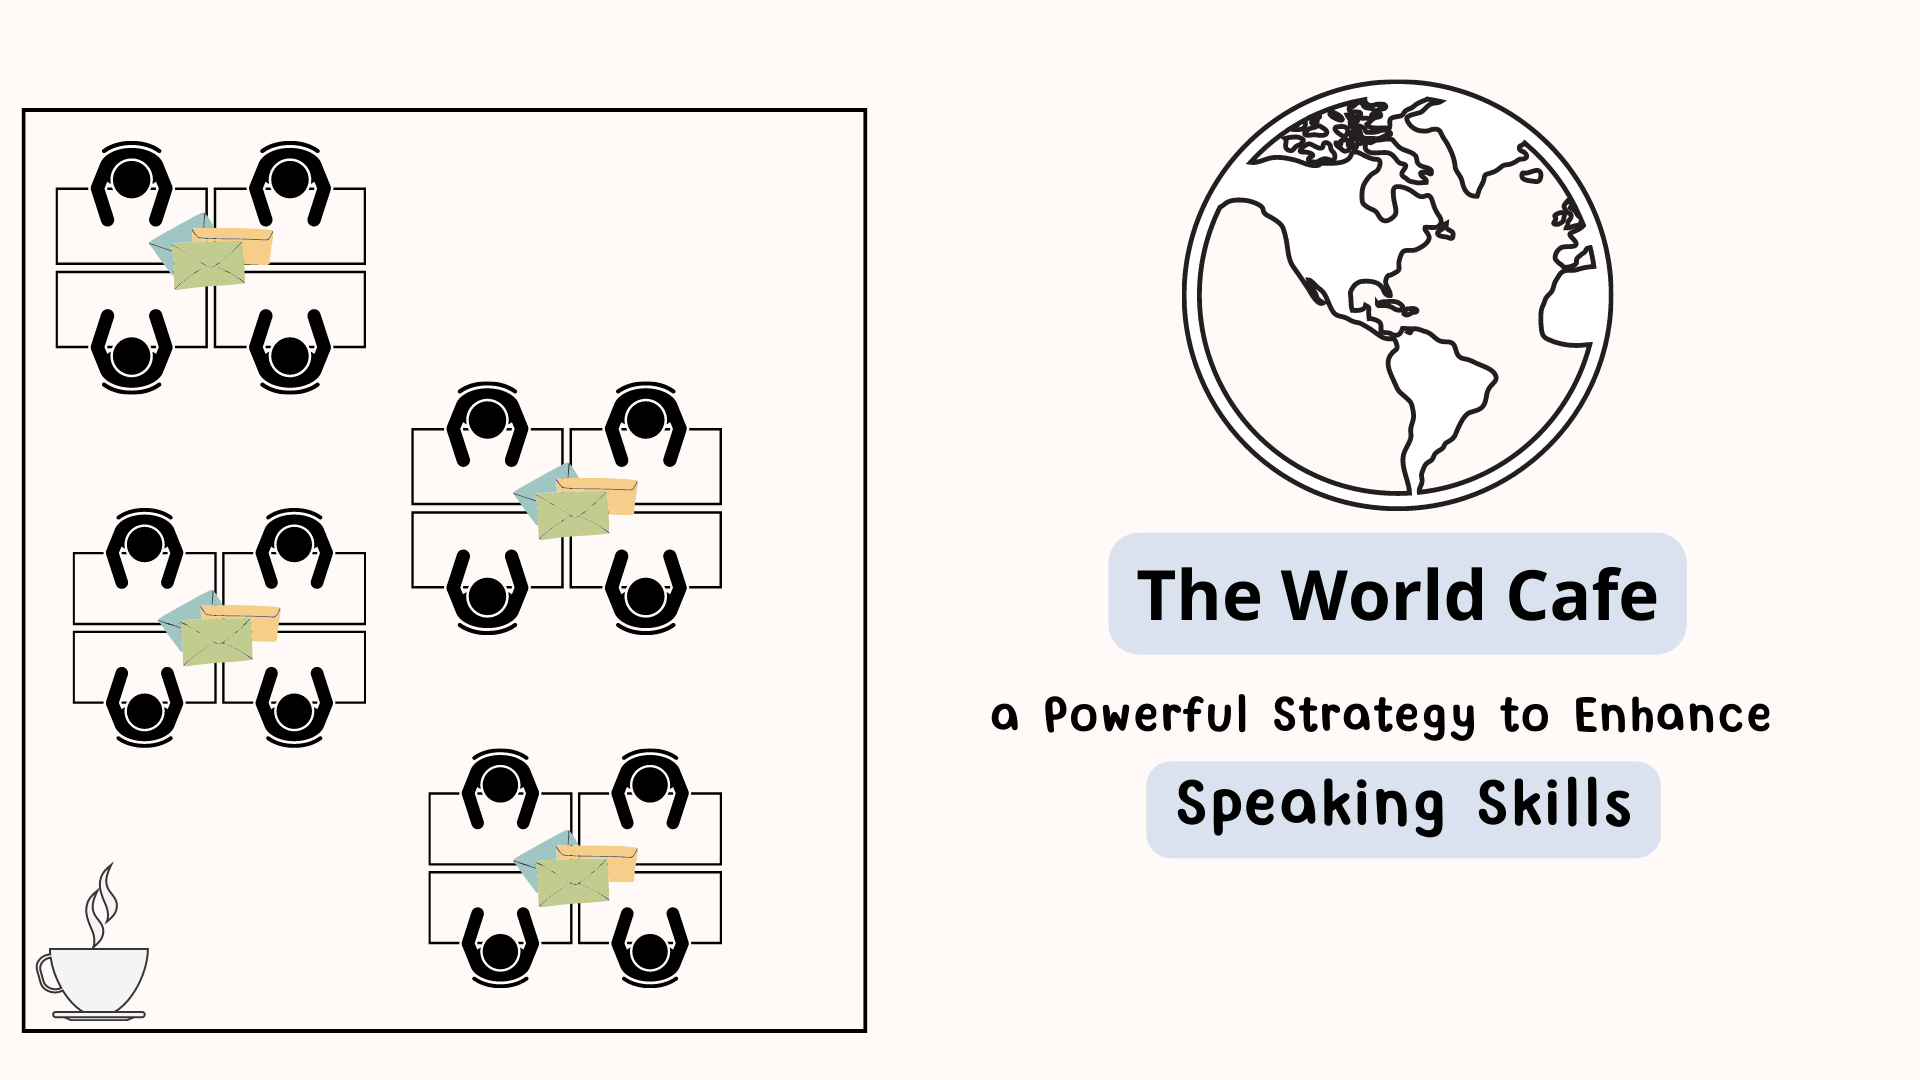
Oral Exams: Two Activities to Revise all the Topics in a Single Lesson

I know precisely what you are looking for because I guess,  we are all in the same boat: approaching finals, a plethora of topics to revise and juggling work and life. These two activities might come in handy now that you, like me, need to help students  1. revise the vocabulary for all of the topics covered during the course and 2. provide the means to use this vocabulary in spoken interactions or monologues. And this, in a single lesson. Granted it is a two-hour session, but still a feat.

What’s the aim?

  • to develop their communicative skills by asking and answering questions  about different topics
  • to compose a short speech on a topic of choice
  • to revise the specific vocabulary learnt for these topics

ACTIVITY ONE: Throwing the Dice. Revising Vocabulary. Asking the questions.

What you need:

  • slips of paper
  • sticky notes or, alternatively, scraps of paper and cellotape.
  • a dice or a virtual dice (here)

On the walls of the class, put up slips of paper with the various themes you wish to review: work, sports, education, leisure time activities…etc.

Step 1. Revising Vocabulary

  1. Put students into pairs or groups. You’ll need as many pairs/ groups as there are topics you’ll be revising.
  2. Assign each pair/group a topic and ask them to write down all the vocabulary/expressions…etc they have learnt related to their assigned topic. Have them name a secretary who will be in charge of writing the vocabulary on a clean sheet of paper and trying to write in legible handwriting.
  3. Give them some cellotape or blue-tack and instruct them to tape/stick the vocabulary on the wall,  next to the topic they have been assigned.


Step 2. Throwing the dice. Writing the questions

1. Assign to each number on the dice a wh-word and write it on the board. For ex:

  1. why
  2. where
  3. when
  4.  what
  5. how
  6. who

2. Now, roll the dice and ask pairs/groups to choose a topic and write a question beginning with the wh ( for example if the number is 4, they will need to write a question beginning with “what”) and related to the topic they have chosen. Make sure pairs/groups choose different topics. Encourage students to write interesting questions or questions that can generate conversation.

Ex: the topic is Crime and the number is 4; the question might be something like :

What are the most common crimes in your town?

3. Once they have written the question, ask them to post it next to the topic the topic it pertains to.

4. Throw the dice again and repeat procedure only, this time, groups must necessarily choose a different topic. Again, make sure all topics are covered. Hopefully, when you roll the dice, it will show a different number. If it is the same number( say number 4 as in the example), throw it again, you want a different Wh- question.

How many questions do I think would be more than enough for each topic? I would suggest 3 questions/topic

Step 3. Gallery Walk

Gallery walk: Once you have at least 2 or 3 questions per topic, ask students to stand up in their groups and stand next to a topic and together read the vocabulary for the topic they will next to it.  Then, have them read the questions and discuss them. Allow about 10 minutes per poster and then ask them to move clockwise to the next topic. Repeat procedure.

ACTIVITY TWO: Tearable topics. Beautiful template

It is not the first time I have used a tearable activity- if I may call it like this-, but it is the first time that I have used Meredithakers’s template. I saw her design and I thought ” I need to use it”. So cute. Have a look at her design here and if you don’t read her, I highly recommend it.

NOTE: This activity follows the first one where students have already had the opportunity to revise vocabulary. If you choose to do only this activity, give students some time to revise the vocabulary they will need to give a great speech.

Before the class: Edit a copy of my/her template and write your own content. My template here

Cut a line between words but don’t cut them all the way so that the slip of paper doesn’t detach. I guess a copy will be enough if you have a class of 24 students or less.

Divide the class into groups of 5-6 people. You can easily create 4 groups of 5-6 people as there are 24 tearable strips of paper. Topics might be repeated, just make sure they are not repeated within the group. In fact, for easier identification, you can divide the class into 4 groups and assign a colour to each group. They can only tear off a topic highlighted in their assigned colour.

Give them about 5 minutes to prepare their monologue encouraging the use of vocabulary and grammar.

Isn’t it a beautiful template? I told you! Thanks @meredith

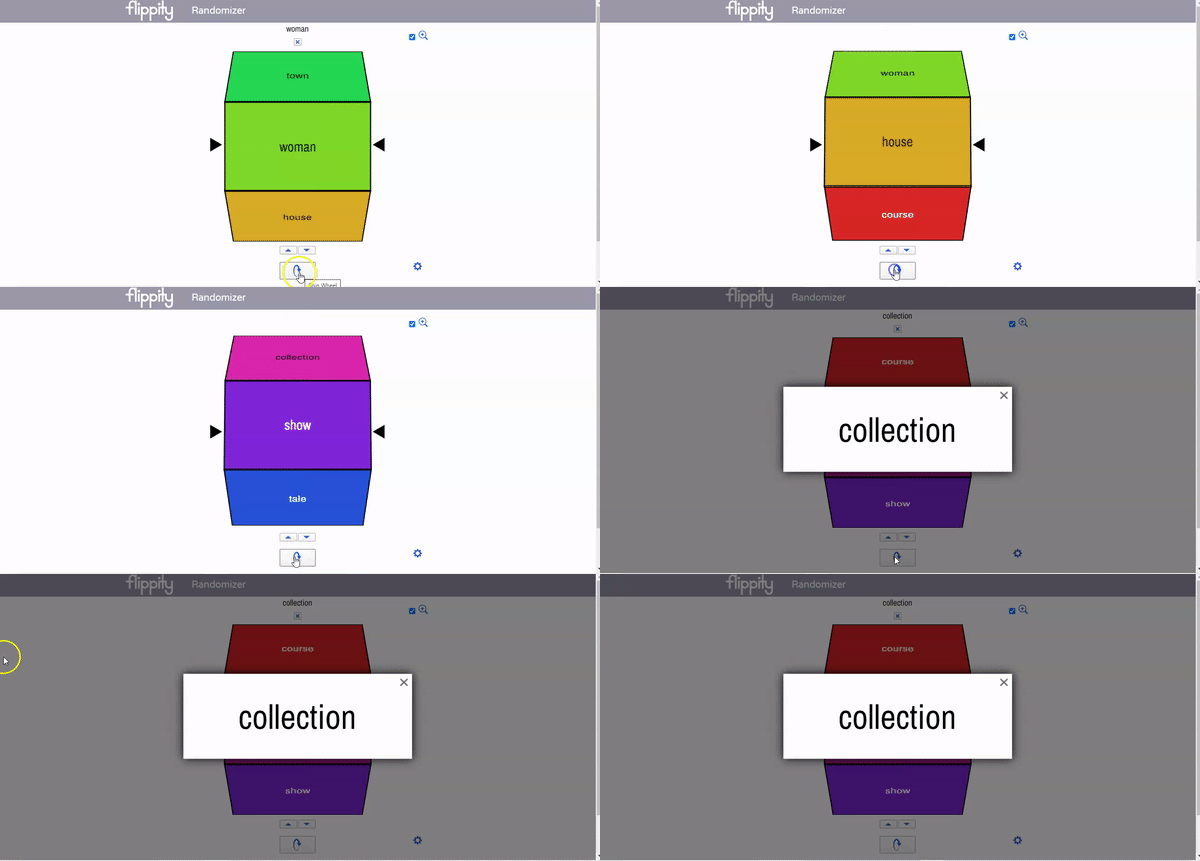
Using Flippity to Randomly Pair or Group Students

Very often, I share on my Twitter feed (@blogdecristina) bits and pieces of what I do with my students during the week. There’s nothing aspirational about these tweets. It’s just a few words about a little tool I have tried, a photograph of a moment in my class, an attempt at pairing students in a different way. I don’t write a post about them because they are really low effort, but they work.

Having a look at my tweets has also led me to realize that there are some tools I use fairly often and never mention here, such as this tool: Flippity.

I won’t claim to know all the edtools out there, but I know and work with lots, and my gut feeling is that although there are some good randomizers, not many compare to Flippity when it comes to forming random pairs or groups. And for free.

So, what’s Flippity?

In most games, Flippity uses Google sheets, so it goes without saying you have to have a Google account. Then, easy, you choose the game and follow the instructions to turn a Google sheet into flipcard, a quiz show, a randomizer, a board game or a bingo to name just a few of the resources it can create.

Today, I want to share with you one of the many ways to work with Flippity; in this case, forming groups in the class. Because aren’t you tired of students always sitting next to the same partner? So, let’s pair them up or let’s group students in a different way in our next class. Surprise your students by working the magic of Flipitty. How?

  • Go to Flippity ( hahaha, obviously) and choose Random Name Picker.
  • Click on Instructions
  • Write or Copy/Paste the list of students
  • Click on Generate
  • Done!. Choose from the top what you want to do with the list: pair them up or perhaps create groups of 4 students?


And just because I love making videos, here’s one about how to do it from scratch


2 Engaging Activities to Work with Reporting Verbs

I have to confess that lately I haven’t had much time to publish. I design a lot of cool, if I may say so, activities for my students but posting about them takes time, time I lack right now. But posting is constantly on my mind, and not because I feel I have to do it, but because it makes me happy. So, today is a happy day.

Now, these are two activities I have designed for my C1 students. If C1 is not your level, keep on reading; they are highly adaptable to any level.

  1. Working on the grammar of reporting verbs
  2. Using post-it notes to reinforce and fix mistakes
One. Working on the grammar of reporting verbs
Helping students learn this point of grammar is not an easy task. OMG, they are so many reporting verbs….!!! Plus, some of them can be followed by more than one pattern. A nightmare!!!
STEP 1. The presentation
Even though it is a C1 level,  I felt compelled to explain what a reporting verb is with a small presentation.
For this introduction, I’ve used the first 6 slides. I have used the rest of the presentation to explain the game that follows.

This is the infographic that I have designed. Please, bear in mind:
1. It is not meant to be comprehensive
2. Verbs can follow different patterns
You can get it here

reporting verbs by cristina.cabal

Step 2: Using double-sided cards. Now that we have seen the grammar, let’s put it into practice. You can download the cards here

  • Aim: to place the verbs under the right pattern
  • Before the class: photocopy one set per group of three/four students. In my case, I have photocopied them in different colours.  Also, photocopy the headings with the verb patterns here.

I think the images below clearly demonstrate how we have played this “game”.

Instructions: put students into groups of three and give each group a set of double-sided cards. (you might want to fold them before the game or ask students to fold them; whatever works for you) The aim of the activity is to place the verb on the card under the right column.

First, they guess the pattern and then, before placing it under the right column, they check their guess by turning the card over.

I did it twice:

  1. They just guessed the pattern and placed it under the right column
  2. They did the same as in 1 but, this time,  they also produced a sentence containing the prompts on the card.

Below, students working

Students checking their guess is correct by flipping the card.


Two. Using post-it notes to reinforce and fix mistakes
This activity using post-it notes is dedicated to  Maribel, a teacher in Andalucía (I will say no more as I haven’t asked her permission ) who, when we met in person in a teacher training session, gave me a most useful present, a box with 1440 colourful post-it notes (an easy multiplication) + a letter I will always cherish.
The activity is a simple,highly-adaptable one and one that can be done in many different ways (you don’t have to use post-it notes- any discarded scrap of paper will do). I just happen to think that presentation matters and colours and movement is an added bonus in this activity.
Step 1. Writing a reporting verb on a post-it note
Ask students to write on a post-it note a reporting verb. Encourage them to have a look at the infographic (pdf above)and instruct them to make sure they know the grammar of the verb they have written.
Note: If you have a large class, put the students in pairs. You don’t want to have as many as 25 reporting verbs to work with. If you have a 6- 12 student class, you might want to ask them to work individually.
Stick their post-it notes on the walls of the class.
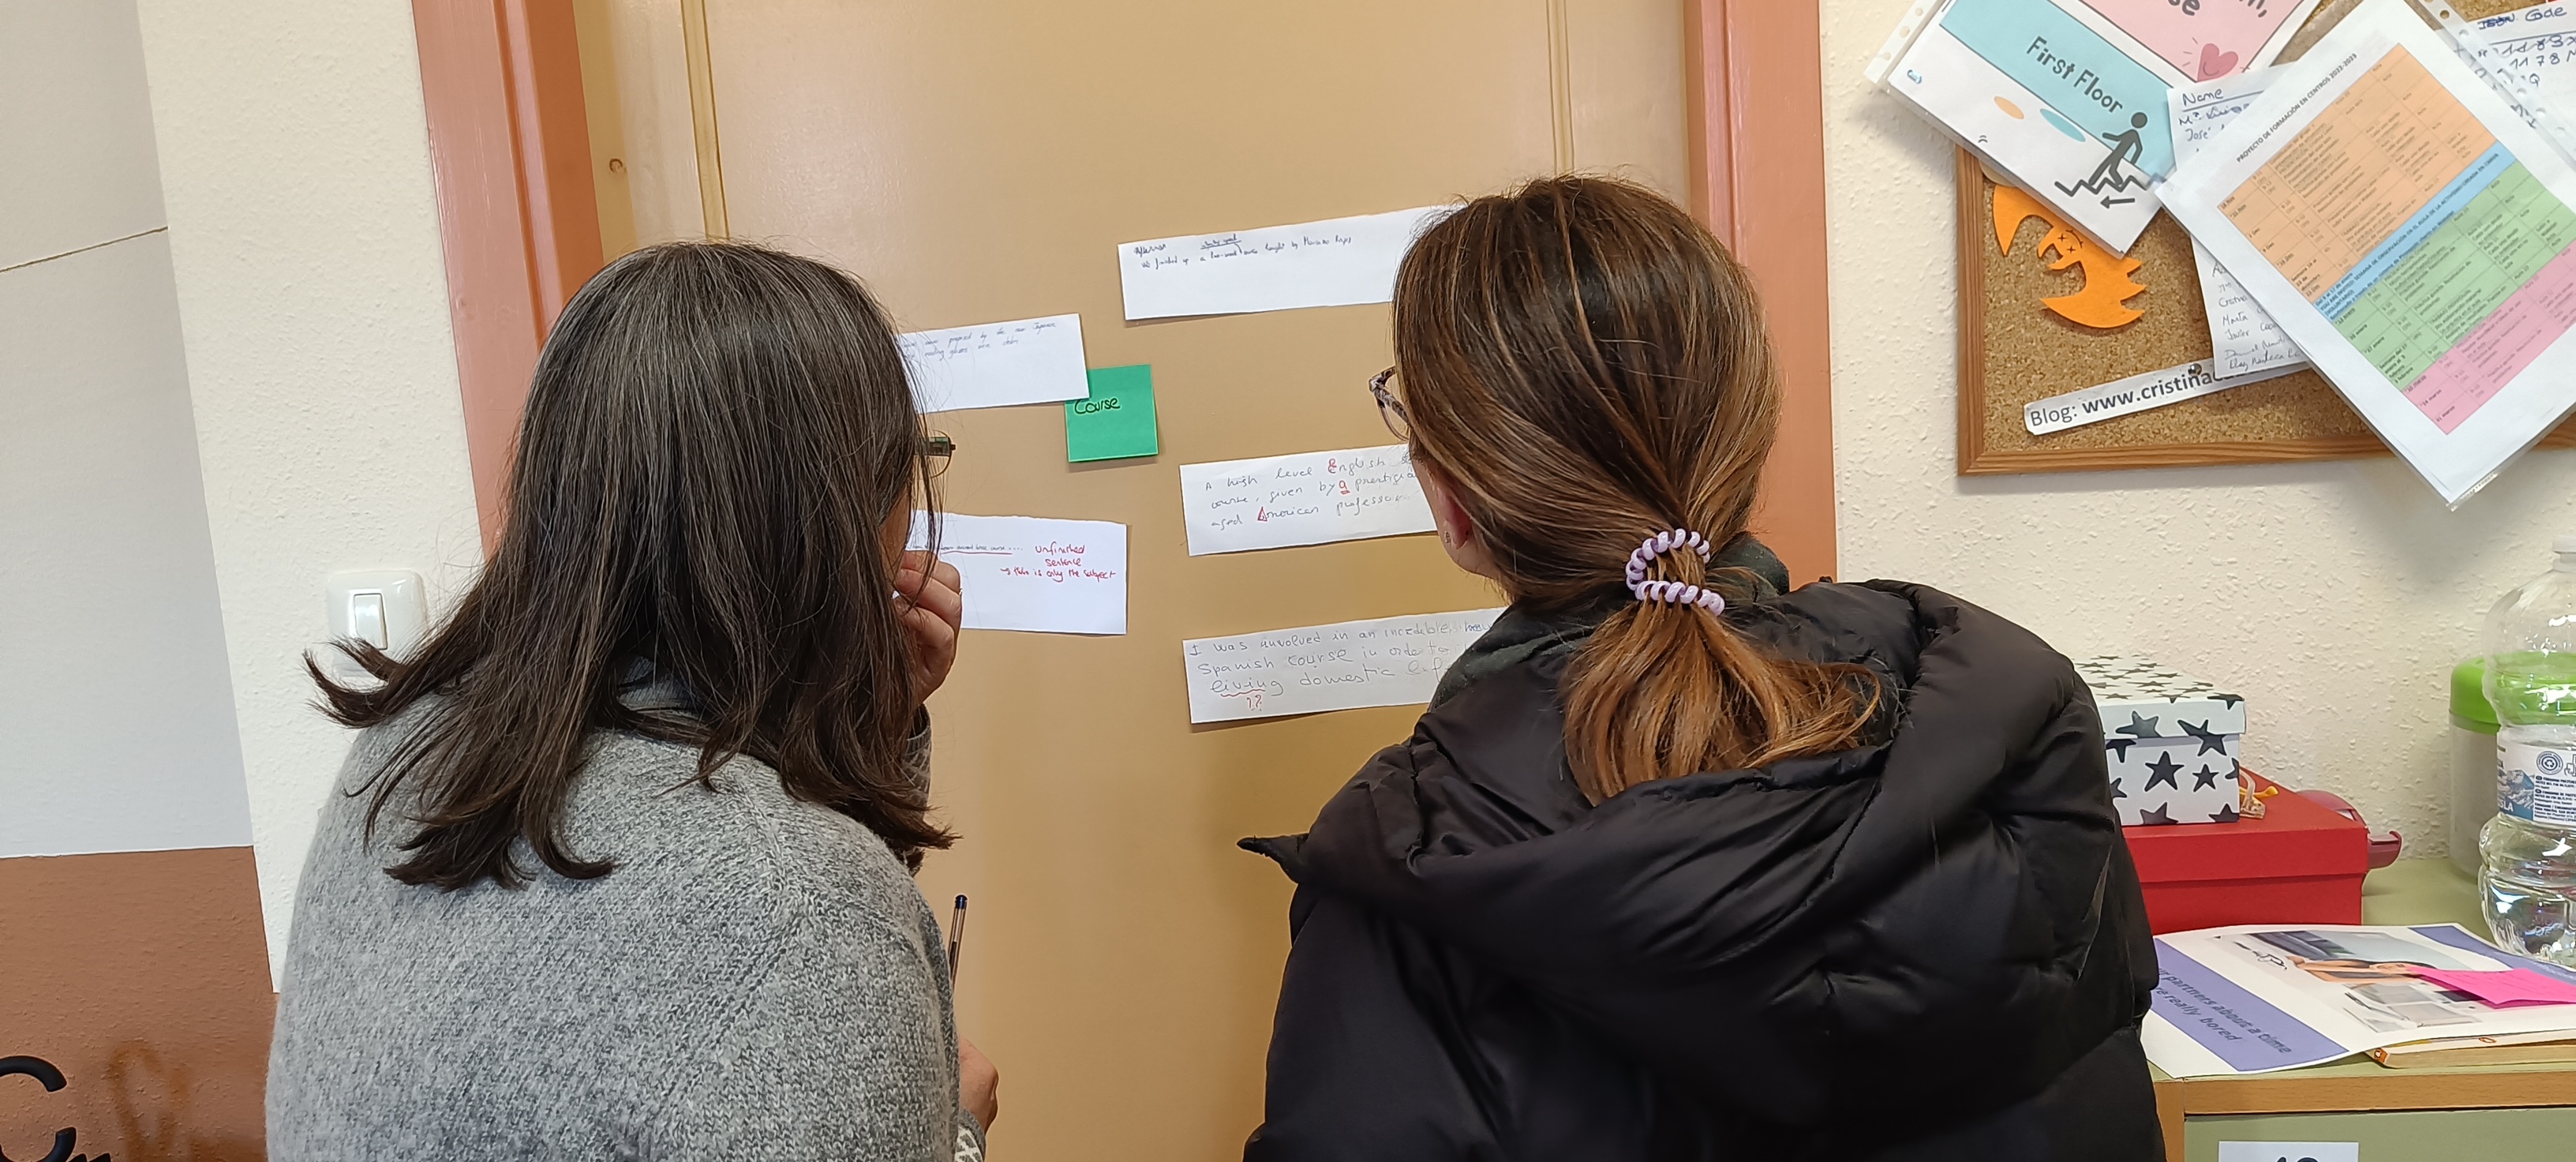
Step 2. Gallery walk. Writing sentences.
On a table in the middle of the class, leave some post-it notes -(a) different colour(s) would be great.
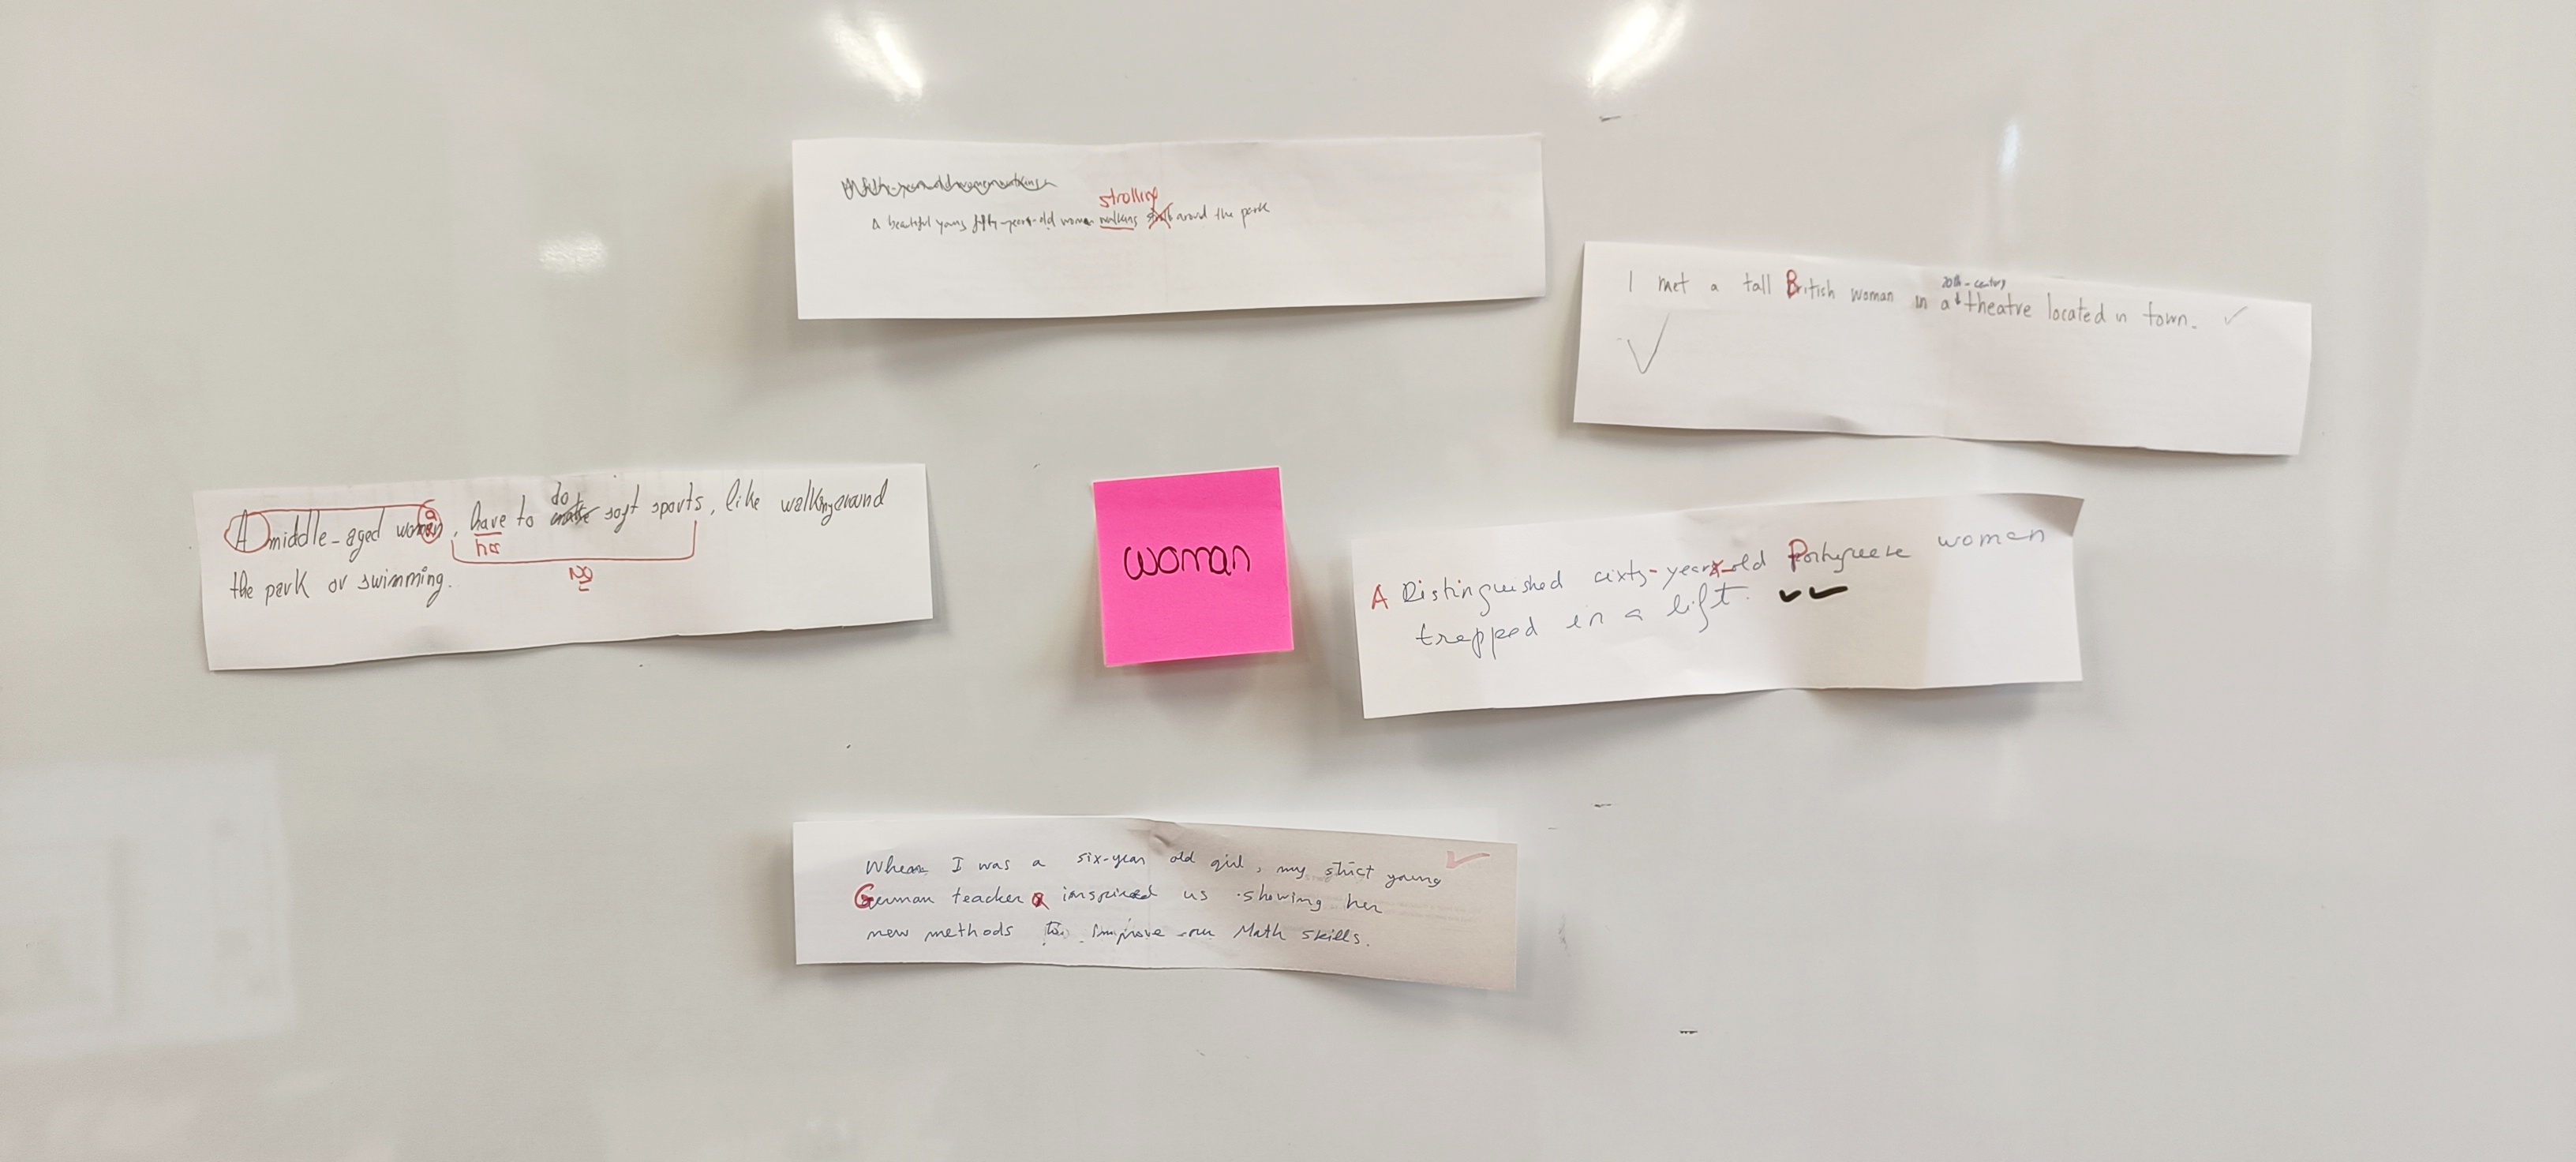
Put students in pairs now and ask them to stand up and do a gallery walk. They will stop at each “picture’ and in pairs write down a sentence containing the reporting verb. They should write the sentences on the post-it notes and put them next to the ‘picture’ it corresponds to. Encourage them to write only when they know exactly what they want to write. Otherwise, it would look very untidy. Also, tell them they need to write a sentence showing they are C1 students (you know how it goes if you don’t push them a tiny bit)
Pairs don’t have to walk clockwise; they can choose any ‘pictures’ on the walls in any order but they must do all of them.
Step 3. Peer correction.
Once they have written their sentences, instruct students to move to the post-it containing their original reporting verb; the one in Step 1, the one they know the grammar for.  Ask them to read the sentences next to their verb
– If they are correct, they should put a tick
– If they are wrong, they should underline the mistake but not correct it
Step 4: Fixing mistakes
Ask students to stand up again, the infographic containing the grammar for those verbs in their hands,  and again do a gallery walk. They should read all the sentences surrounding a “picture’. If their sentence happens to be one of those containing mistakes, they will have to correct it using the infographic as a reference.
Step 5: My turn
Now, it is my turn to make sure, as a teacher, that all the sentences are correct. I have also added my opinion on whether the sentence is a C1-level sentence or a B2-level sentence to encourage them to try harder next time. 🙂
I hope you have enjoyed the activity.

Lesson Plan: The Hunt for News

It’s been years since  I last discussed the media and its role in our society in my classes. I don’t really think much has changed since the last time I explored this topic in class.

  • I feel we are still being manipulated by the media
  • I still feel we are, in most cases, misinformed
  • I still feel that the press is controlled by the same networks of people that run everything else
  • I still feel the information we receive is biased and based on speculation rather than hard facts.

But this lesson is meant to be focused on the paparazzi and their work chasing celebrities or famous people. We will discuss the very serious damage that the paparazzi and tabloid media can cause when they constantly invade people’s privacy. We will discuss whether the paparazzi are to blame for some unfortunate events and whether stricter laws should be enforced. We will study vocabulary relevant to this topic and read real examples where the right to have a private life will be discussed. Are you ready?

Step 1: a stirrer.
  1. Ask students: Have you ever met someone famous?

Telling an anecdote about yourself never fails to engage students. It’s only fair that if you are asking them to talk about themselves, you do the same.

2. On the board, write the question below and ask students to briefly comment on this.

 Want fame? Kiss your privacy goodbye! 

Step 2 . Introducing vocabulary

Every time I revise or introduce vocabulary in my classes, I make a point of reminding my students that they need to study the vocabulary in chunks. There is no point in studying the verb “apply” if they don’t know the preposition it collocates with.  The next activity is a good one to remind students of this necessity.

  • Give students two minutes to write all the vocabulary they know related to The media.
  • On the board, write a circle with the word The Media inside. Do a mind-map with all the vocabulary students provide.
  • Drill pronunciation and then do a quick translation exercise to consolidate meaning and pronunciation.

Introduce new vocabulary.

  • To follow a lead
  • paparazzo/paparazzi/amateur paps
  • revulsion/respect for their profession
  • a tip-off/to tip off the paparazzi
  • to gather news
  • to spot a celebrity
  • agency/ˈeɪ.dʒən.si/
  • news outlets
  • news coverage
  • exclusive /ɪkˈskluː.sɪv/
  • a major scoop
  • click-bait story
  • photojournalism
  • tabloid journalism and sensasionalism /senˈseɪ.ʃən.əl.ɪ.zəm/
  • to censor/impose strict censorship /ˈsen.sə.ʃɪp/
  • Celebrity scandals
  • sensational news
  • To harass foreign journalists UK /ˈhær.əs/ AmE /həˈræs/
  • to stalk a celebrity /stɔːk/
  • to pursue or chase celebrities /pəˈsjuː/
  • to catch up on the news
  • to leak to the press
  • to tackle misinformation
  • invasion of privacy /ɪnˈveɪ.ʒən/ /ˈprɪv.ə.si/
  • untrustworthy/reliable sources /ʌnˈtrʌstˌwɜː.ði/
  • accuracy of the reports
  • unverified information
  • biased/unbiased
  • to be in the limelight
  • to be highly sought-after /ˈsɔːt ˌɑːf.tər/

You can follow the rest of the lesson plan using the presentation below. I hope you enjoy it!

The Hunt for News

In case you are looking for debatable or persuasive topics about the media, here you have some.