Tag Archives: speaking

When in Rome do as the Romans Do: a Lesson about Manners, Habits, Customs and Traditions

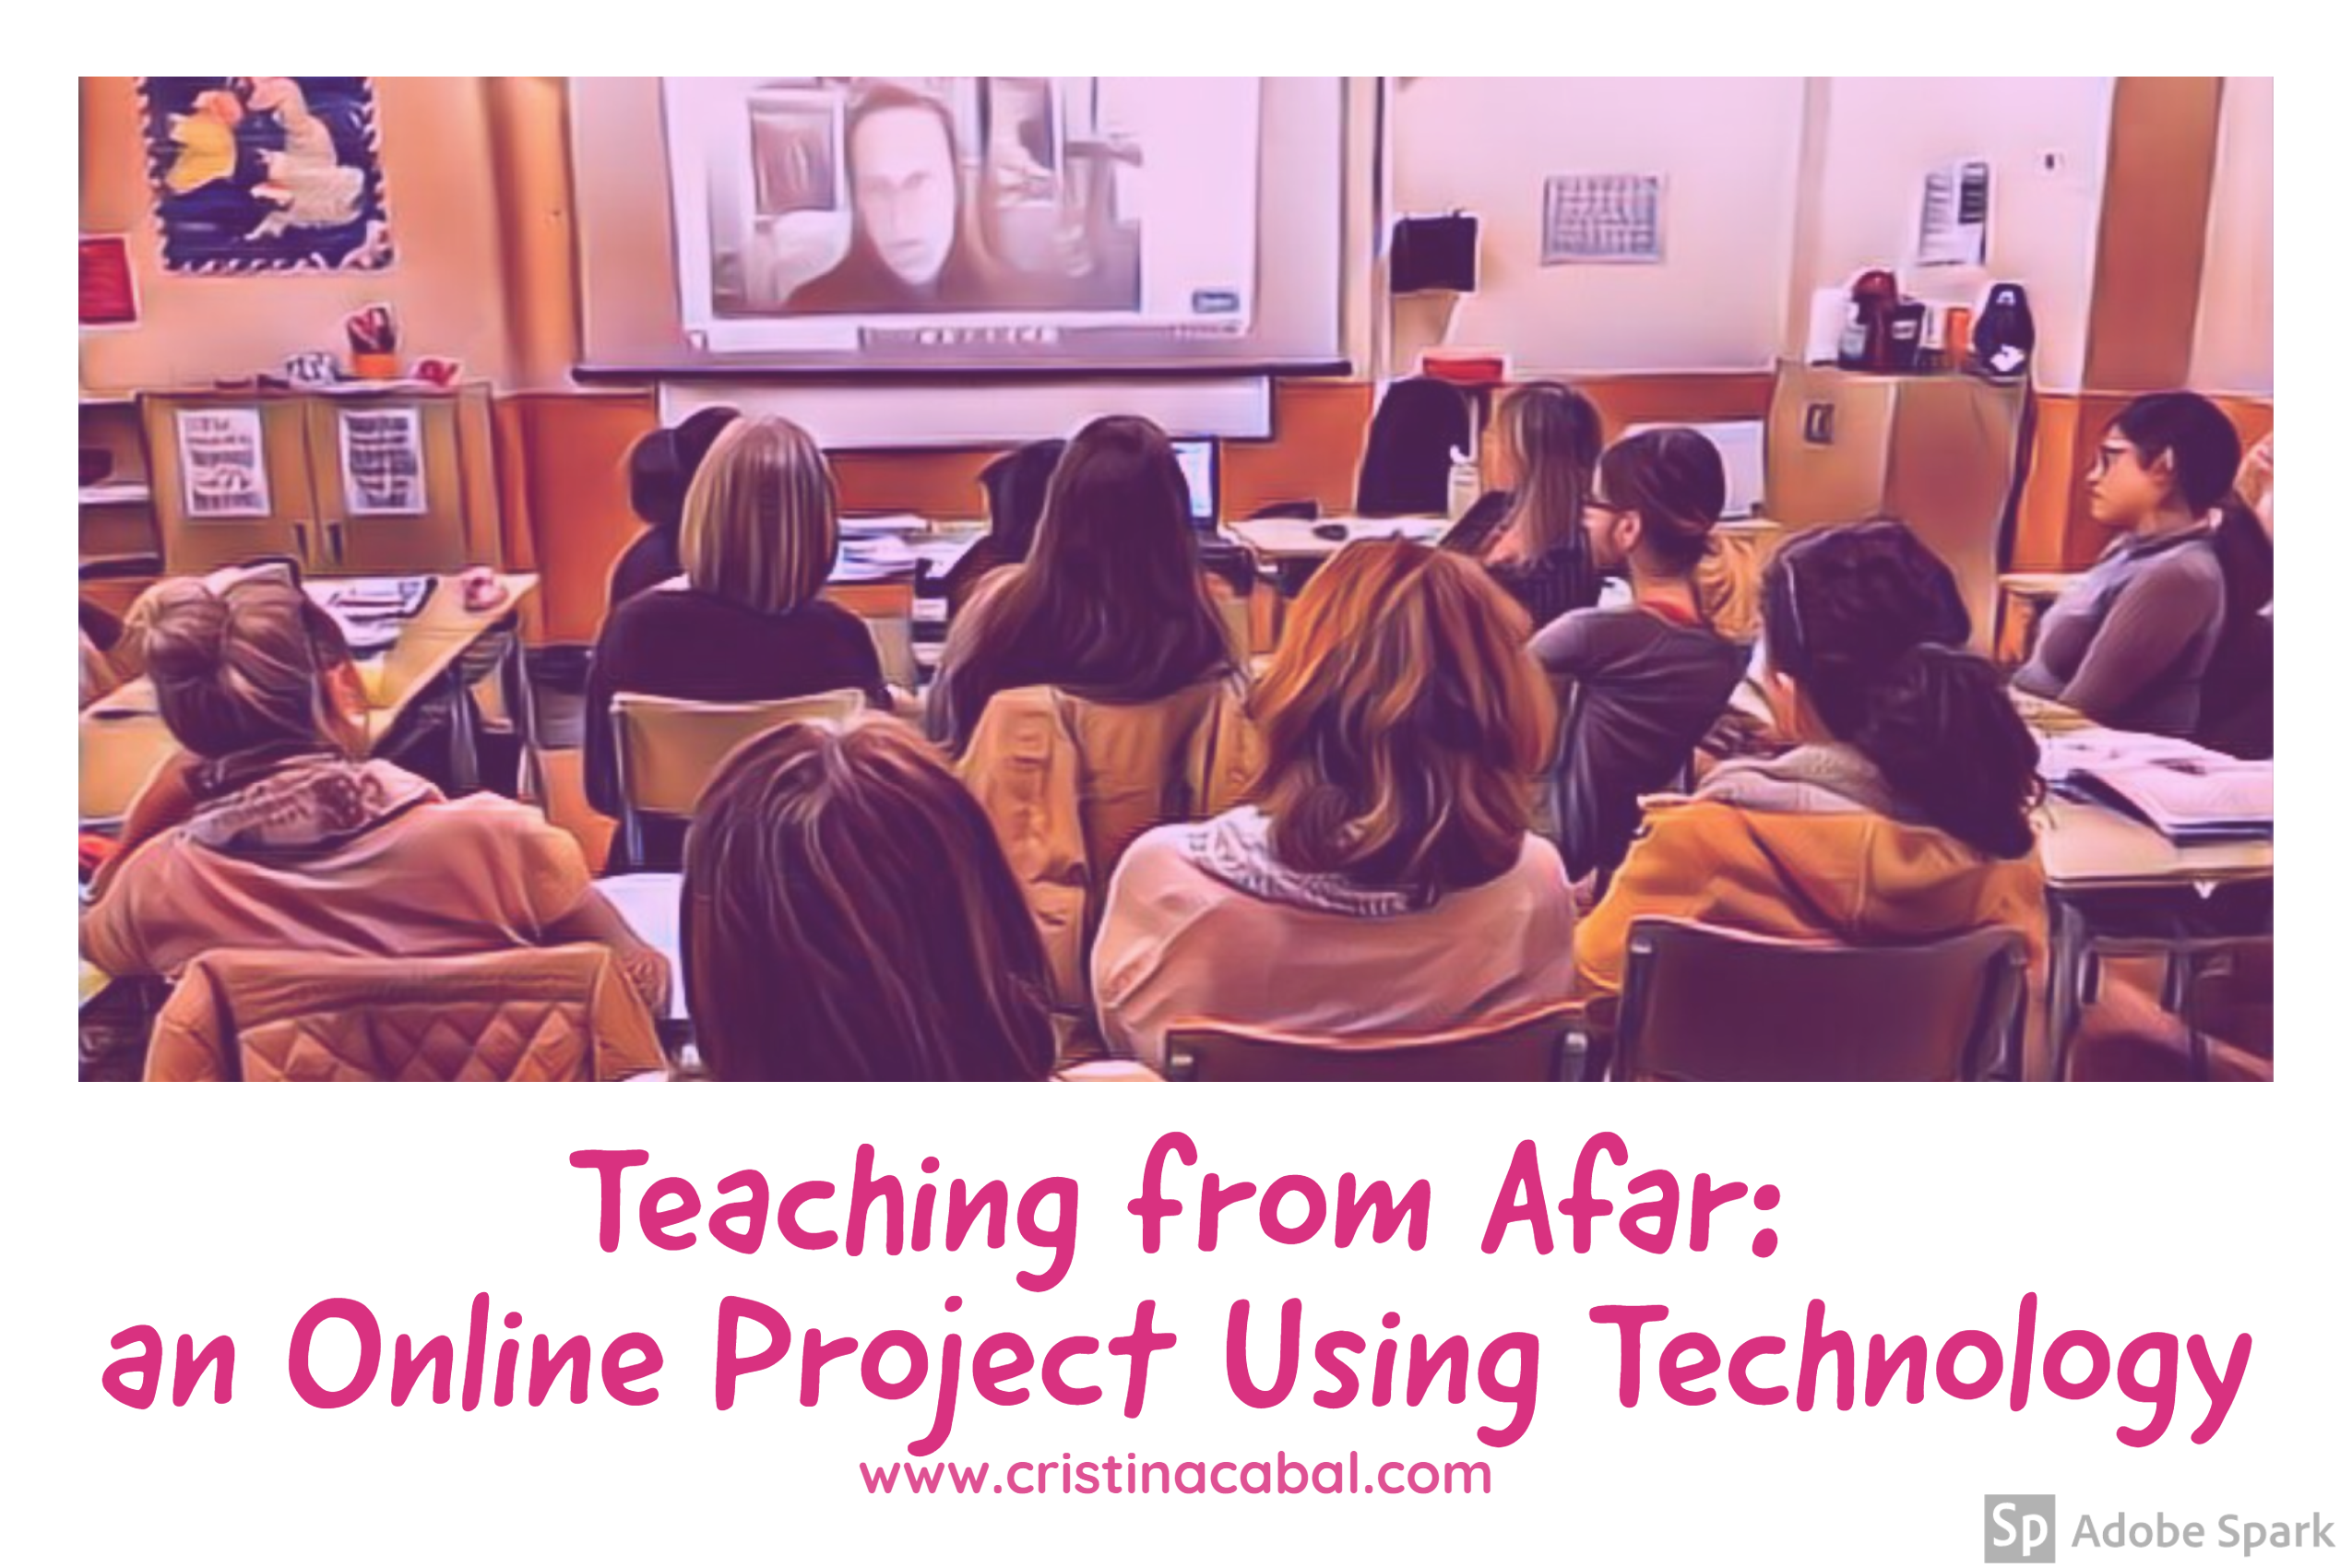
Say hello to one of my favourite activities.

Here’s what makes this activity perfect for me and my style of teaching

  • Enhancing their listening skills by listening to authentic audio. Giving students authentic audio they can understand is a real boost to their confidence. Another plus, if there are no comprehension questions, as is the case, students feel more relaxed. Did you know that reducing stress enhances learning? (D Krashen 1981).
  • Gallery walks using posters which gives students the chance to stretch their legs, and practise their speaking abilities.
  • A small writing activity related to the posters
  • Giving students the possibility to work with different students in the class


The lesson
Lead-in

On the board, write the proverb below and ask students, in pairs, to comment on its meaning. Encourage students to share their anecdotes.

When in Rome, do as the Romans do
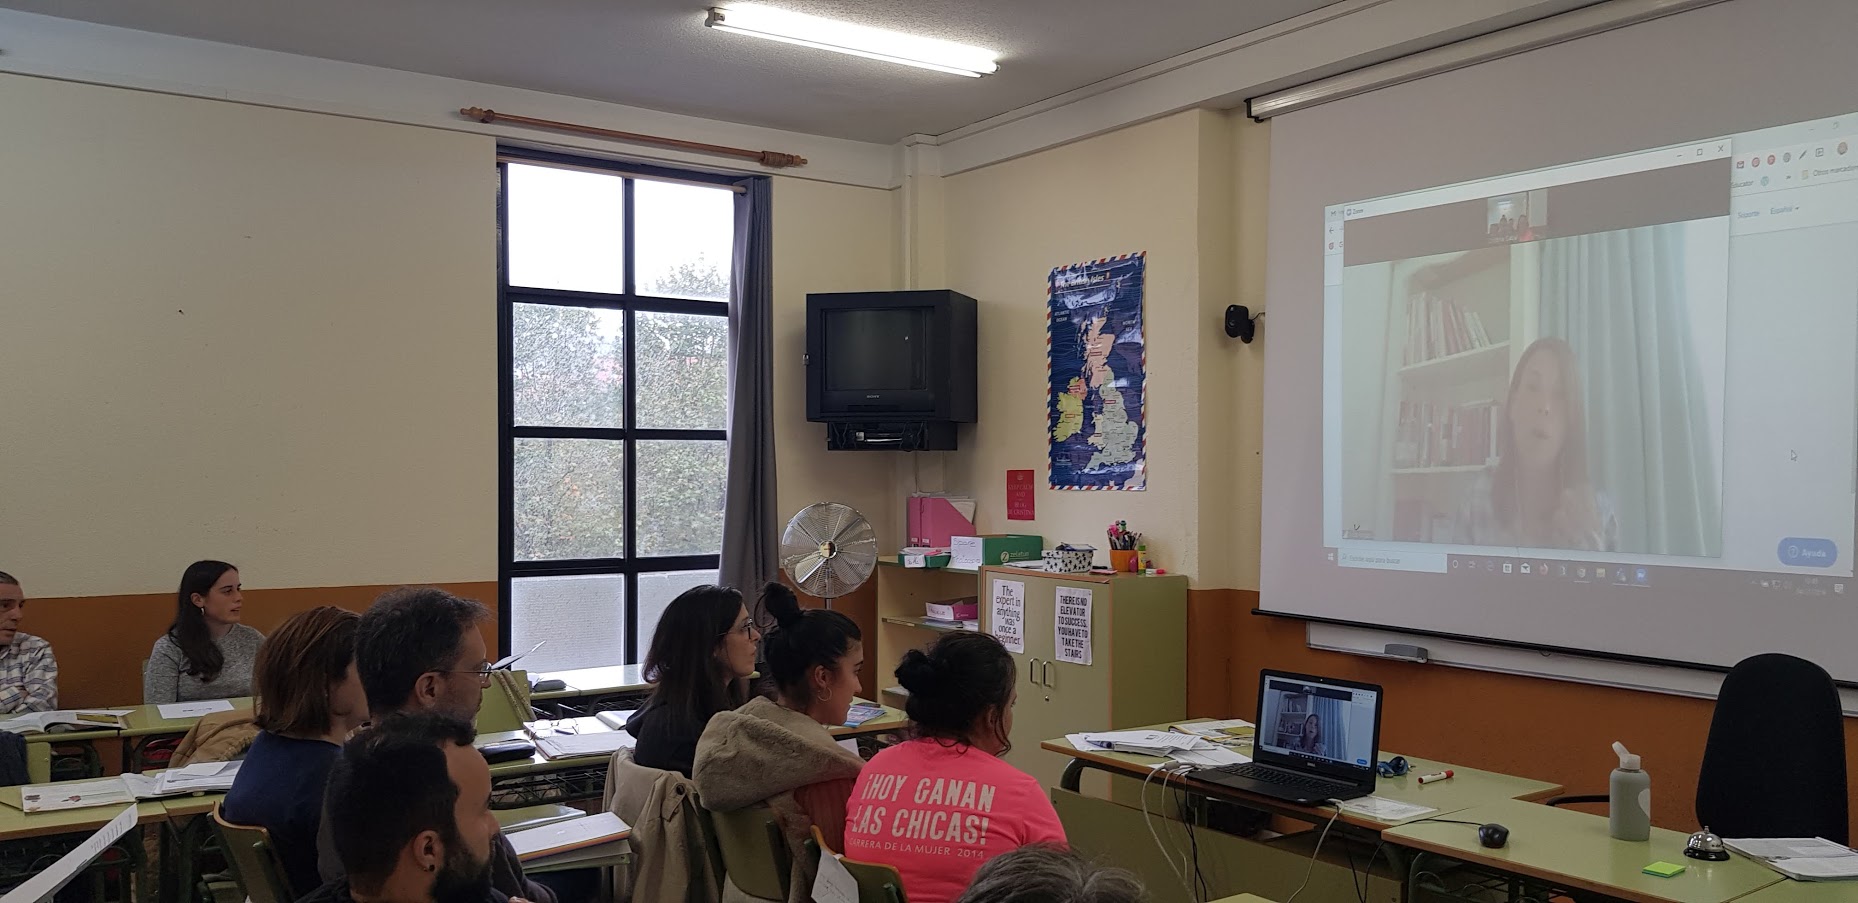
Listening Comprehension: British manners. A note-taking listening exercise

This authentic material is great for B2 learners. It poses just the right challenge. Not too hard, not too easy!

Tell students they are going to hear a man called Elliot talking about 5 British manners. The task is simple. Play each example of good manners individually and…

  • First time: ask students to write what manners he is talking about
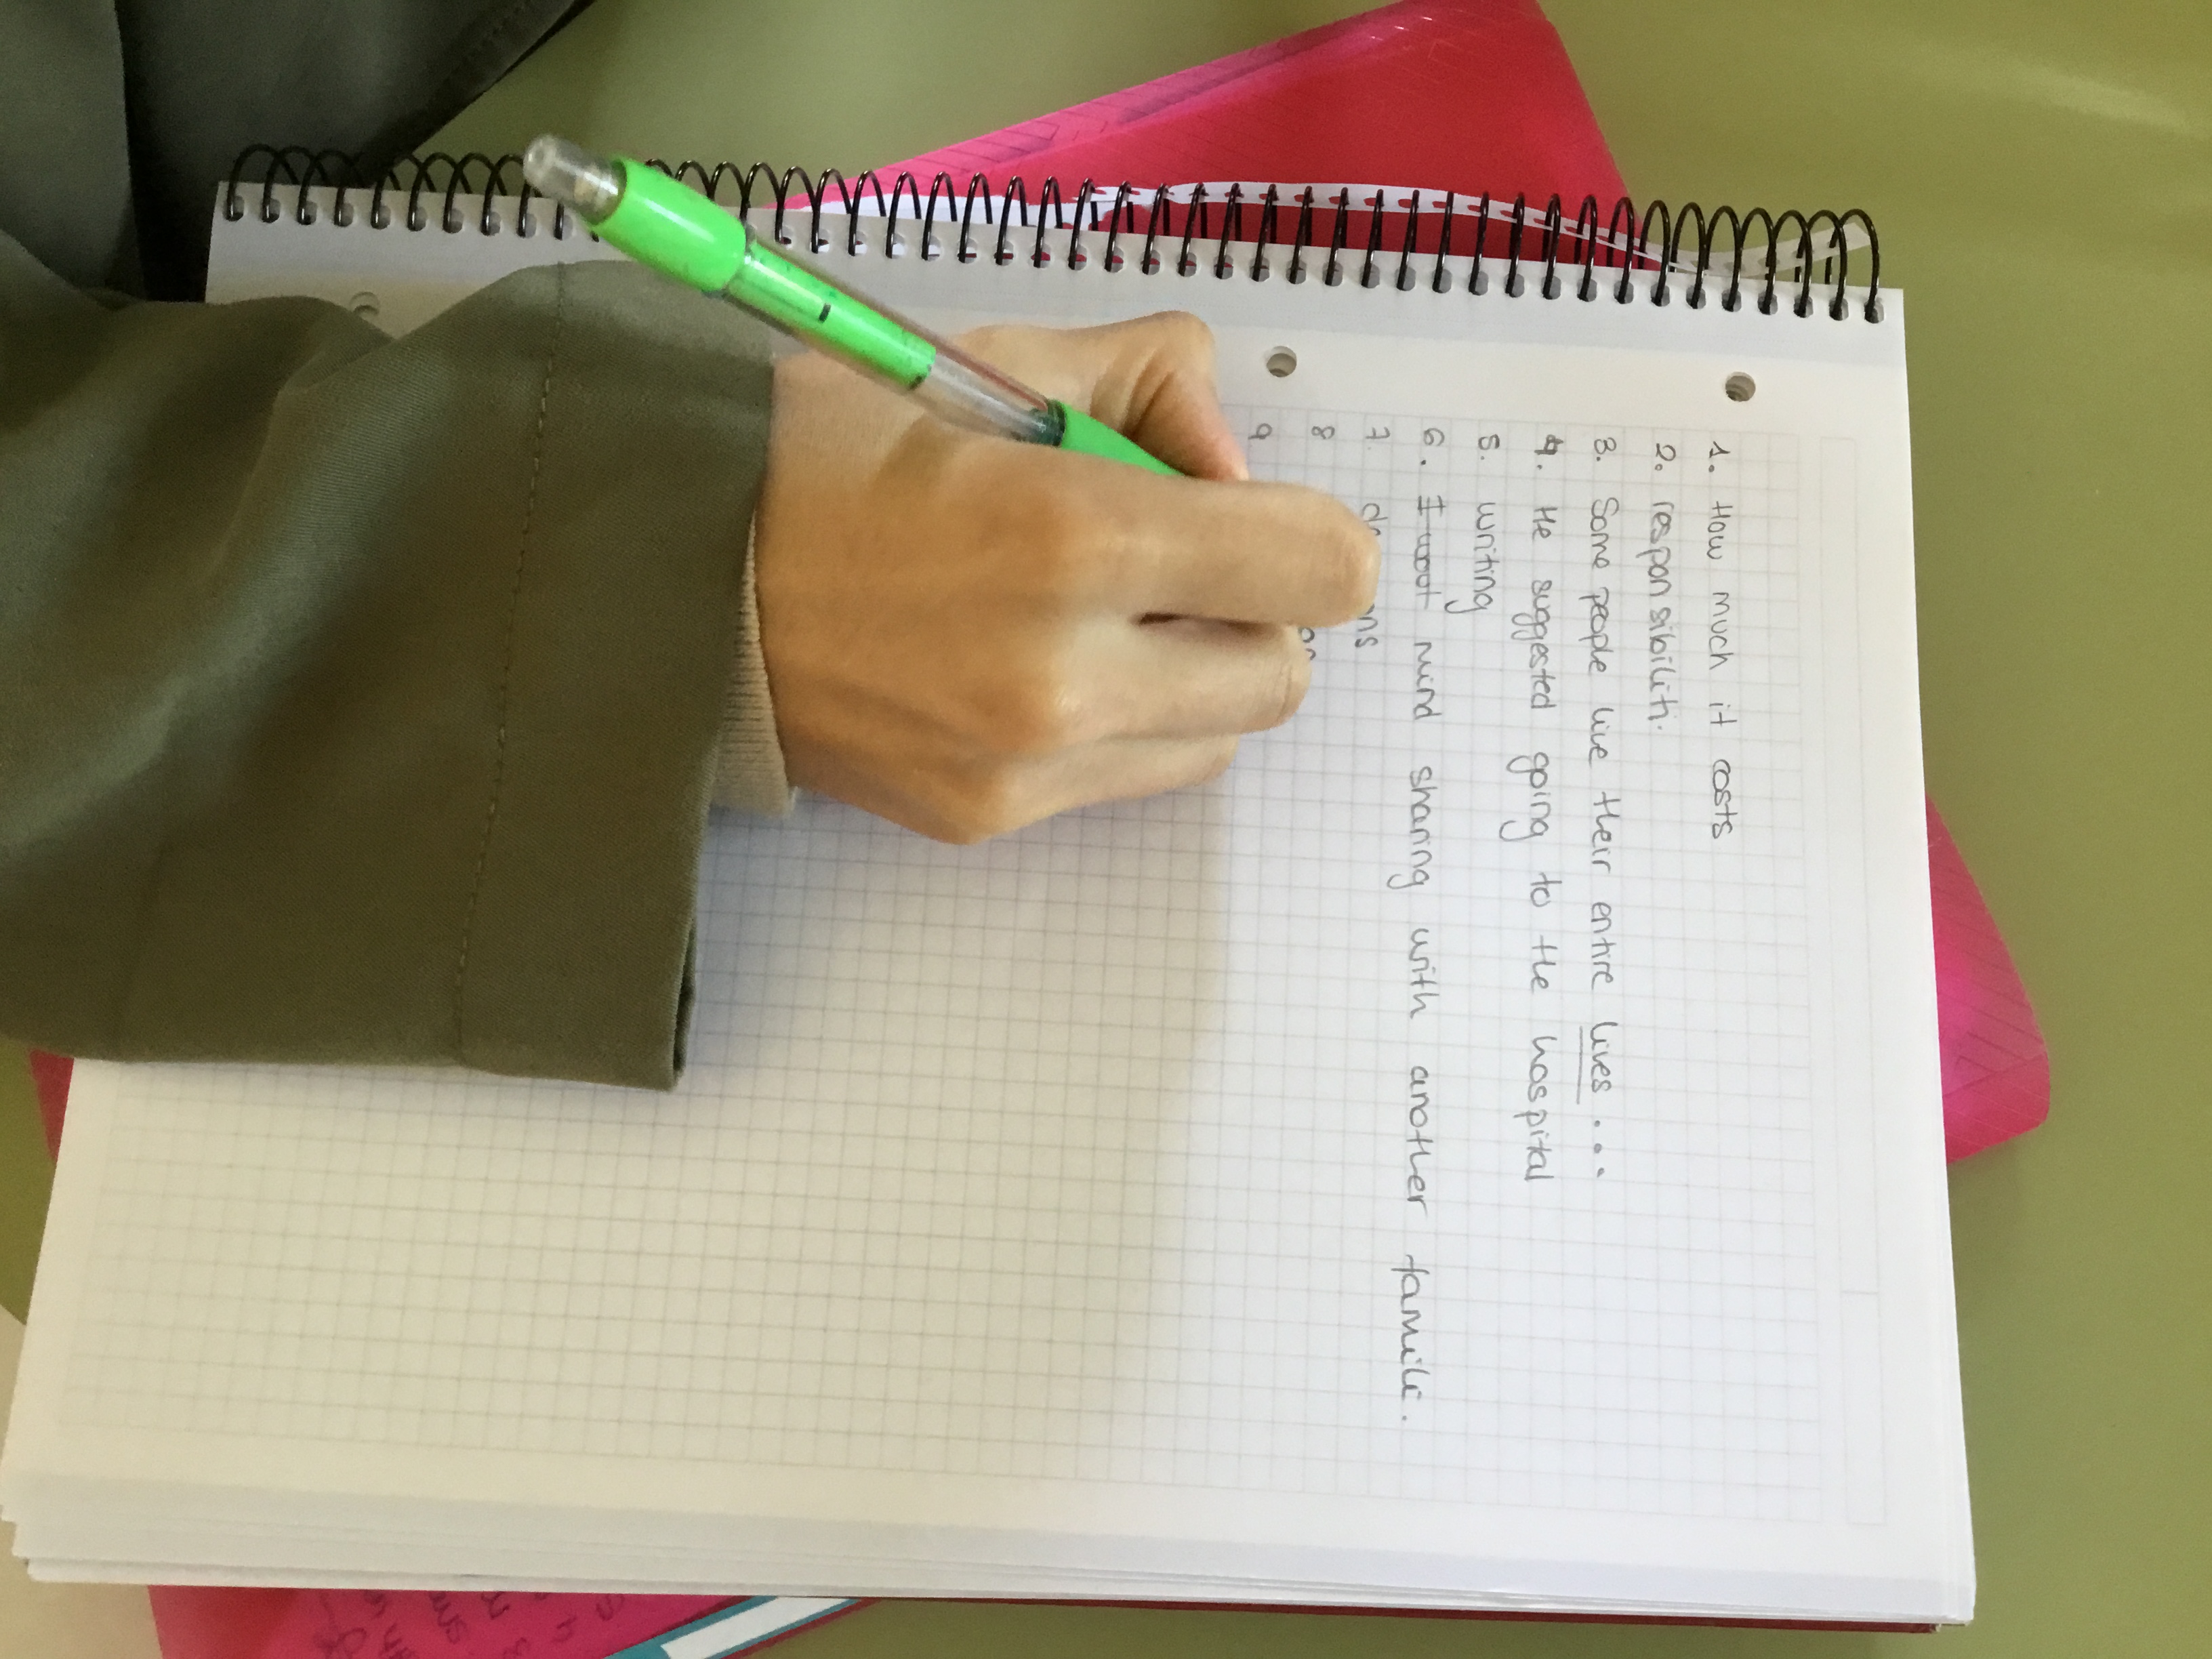
  • Second time: play the video again and ask students to take down notes
  • Pair up students and ask one of them to retell the information offered in the video. The other student listens and /or helps. This role will be changed for the second example of manners
  • Ask someone to retell the information for the whole class.
  • Write any relevant vocabulary on the board.
  • Ask: what about in your country? 
  • Repeat procedure for the second example of manners. Remember, there are 5 of them.


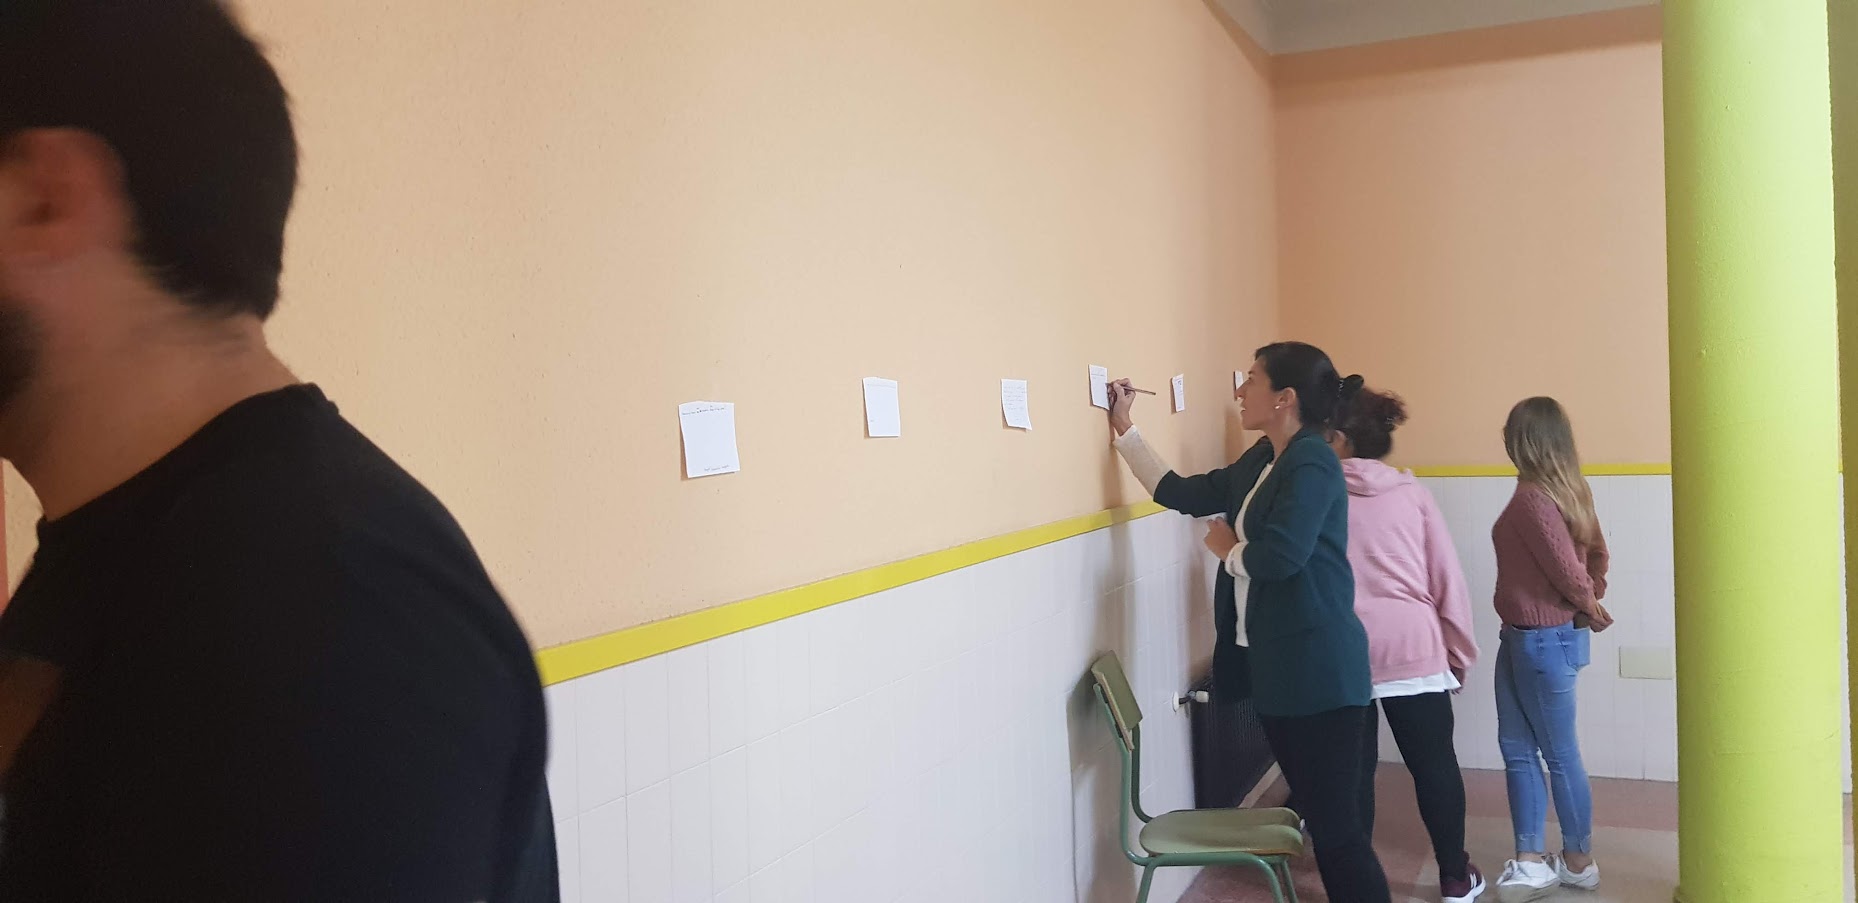
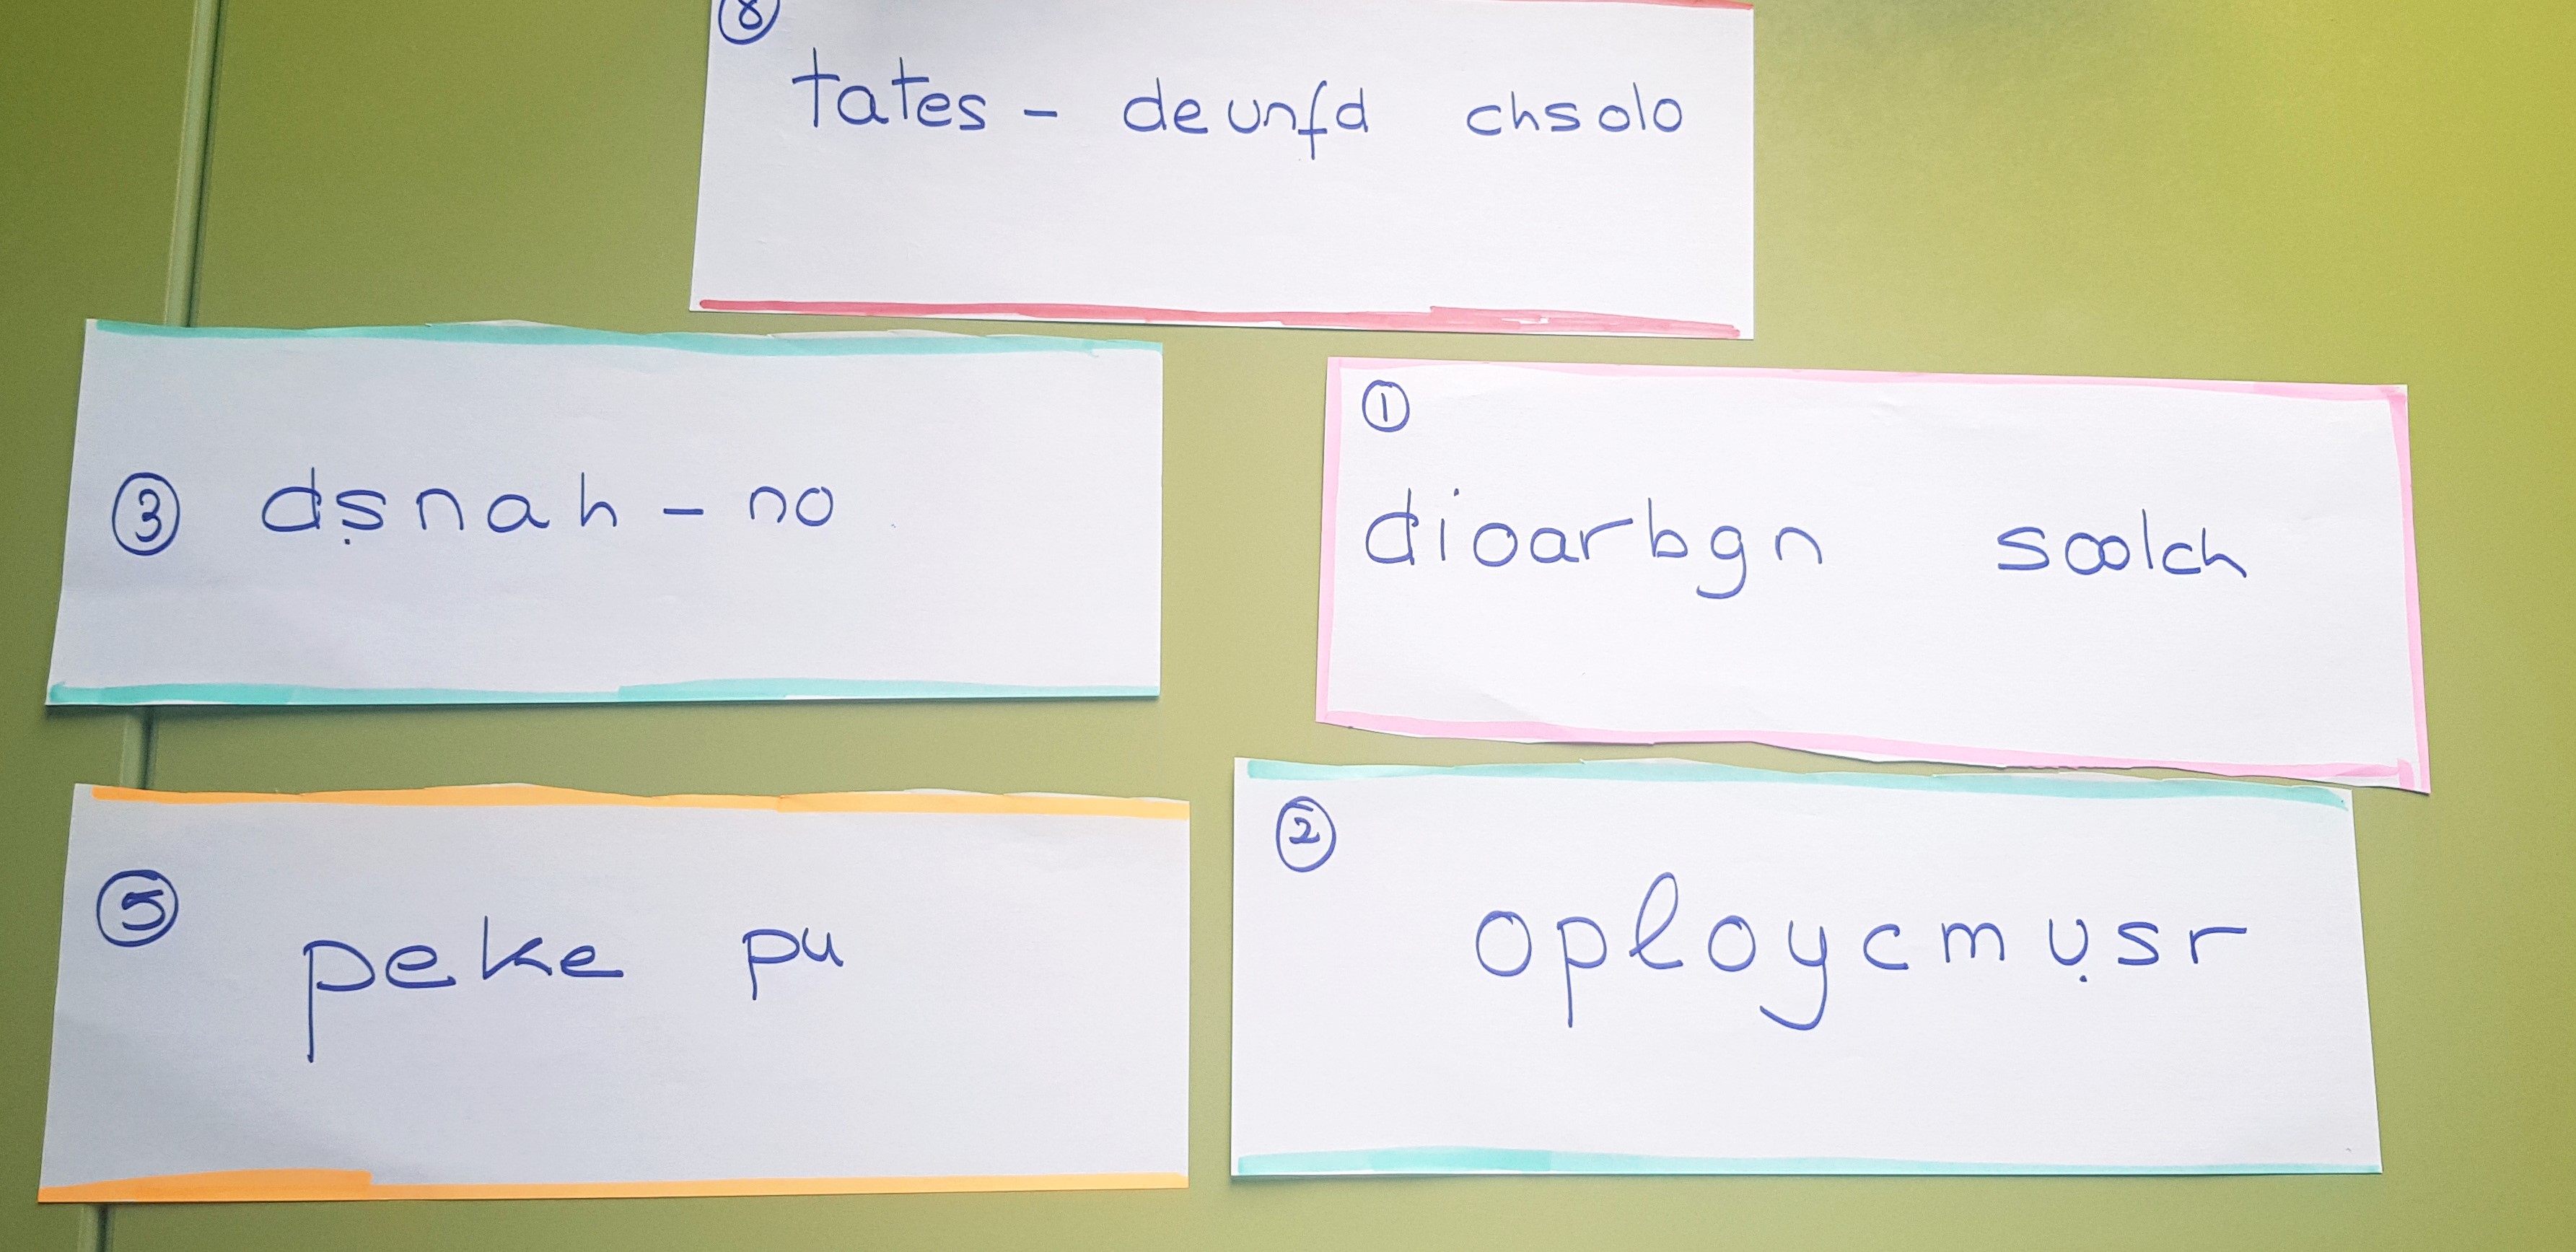
Gallery Walks: a speaking and writing activity using posters

Can you see any benefits to always working with the same person/student? I cannot. That’s why I always encourage my students to change partners regularly. However, some of them are quite reluctant and need a gentle push.

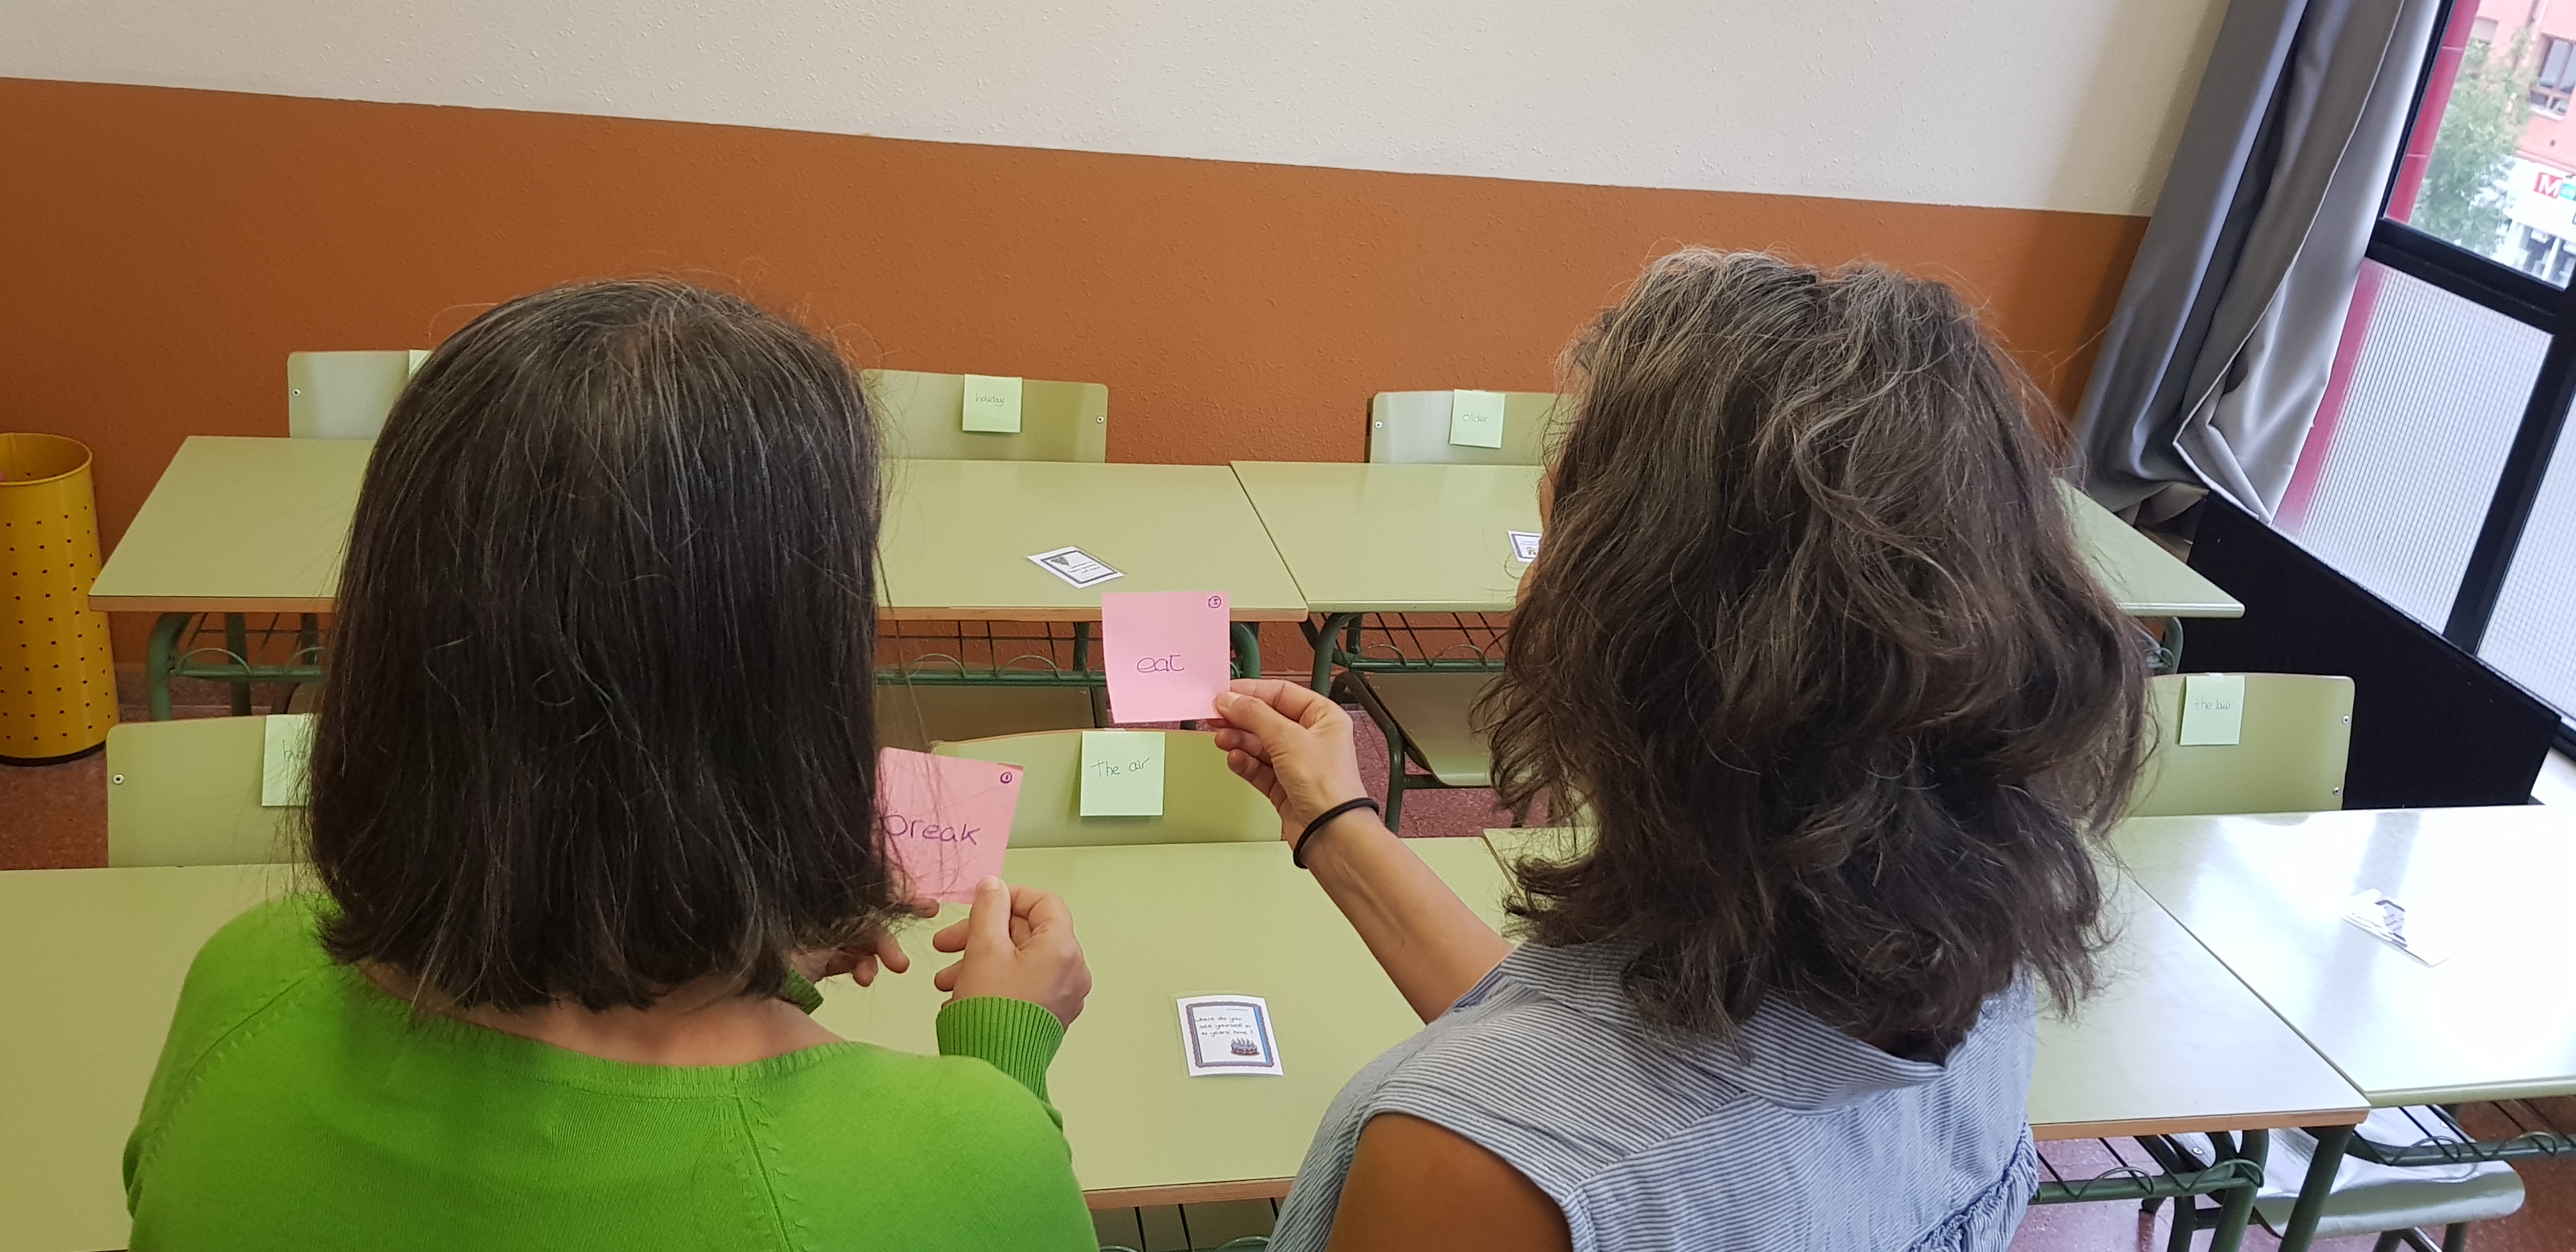
Forming groups: I have used small popsicle sticks to form groups of three.  The sticks were coloured as in the picture and they just needed to find the other two students with the same colour.

Before the activity: I cut small pieces of paper of different colours and I assigned each poster a different colour

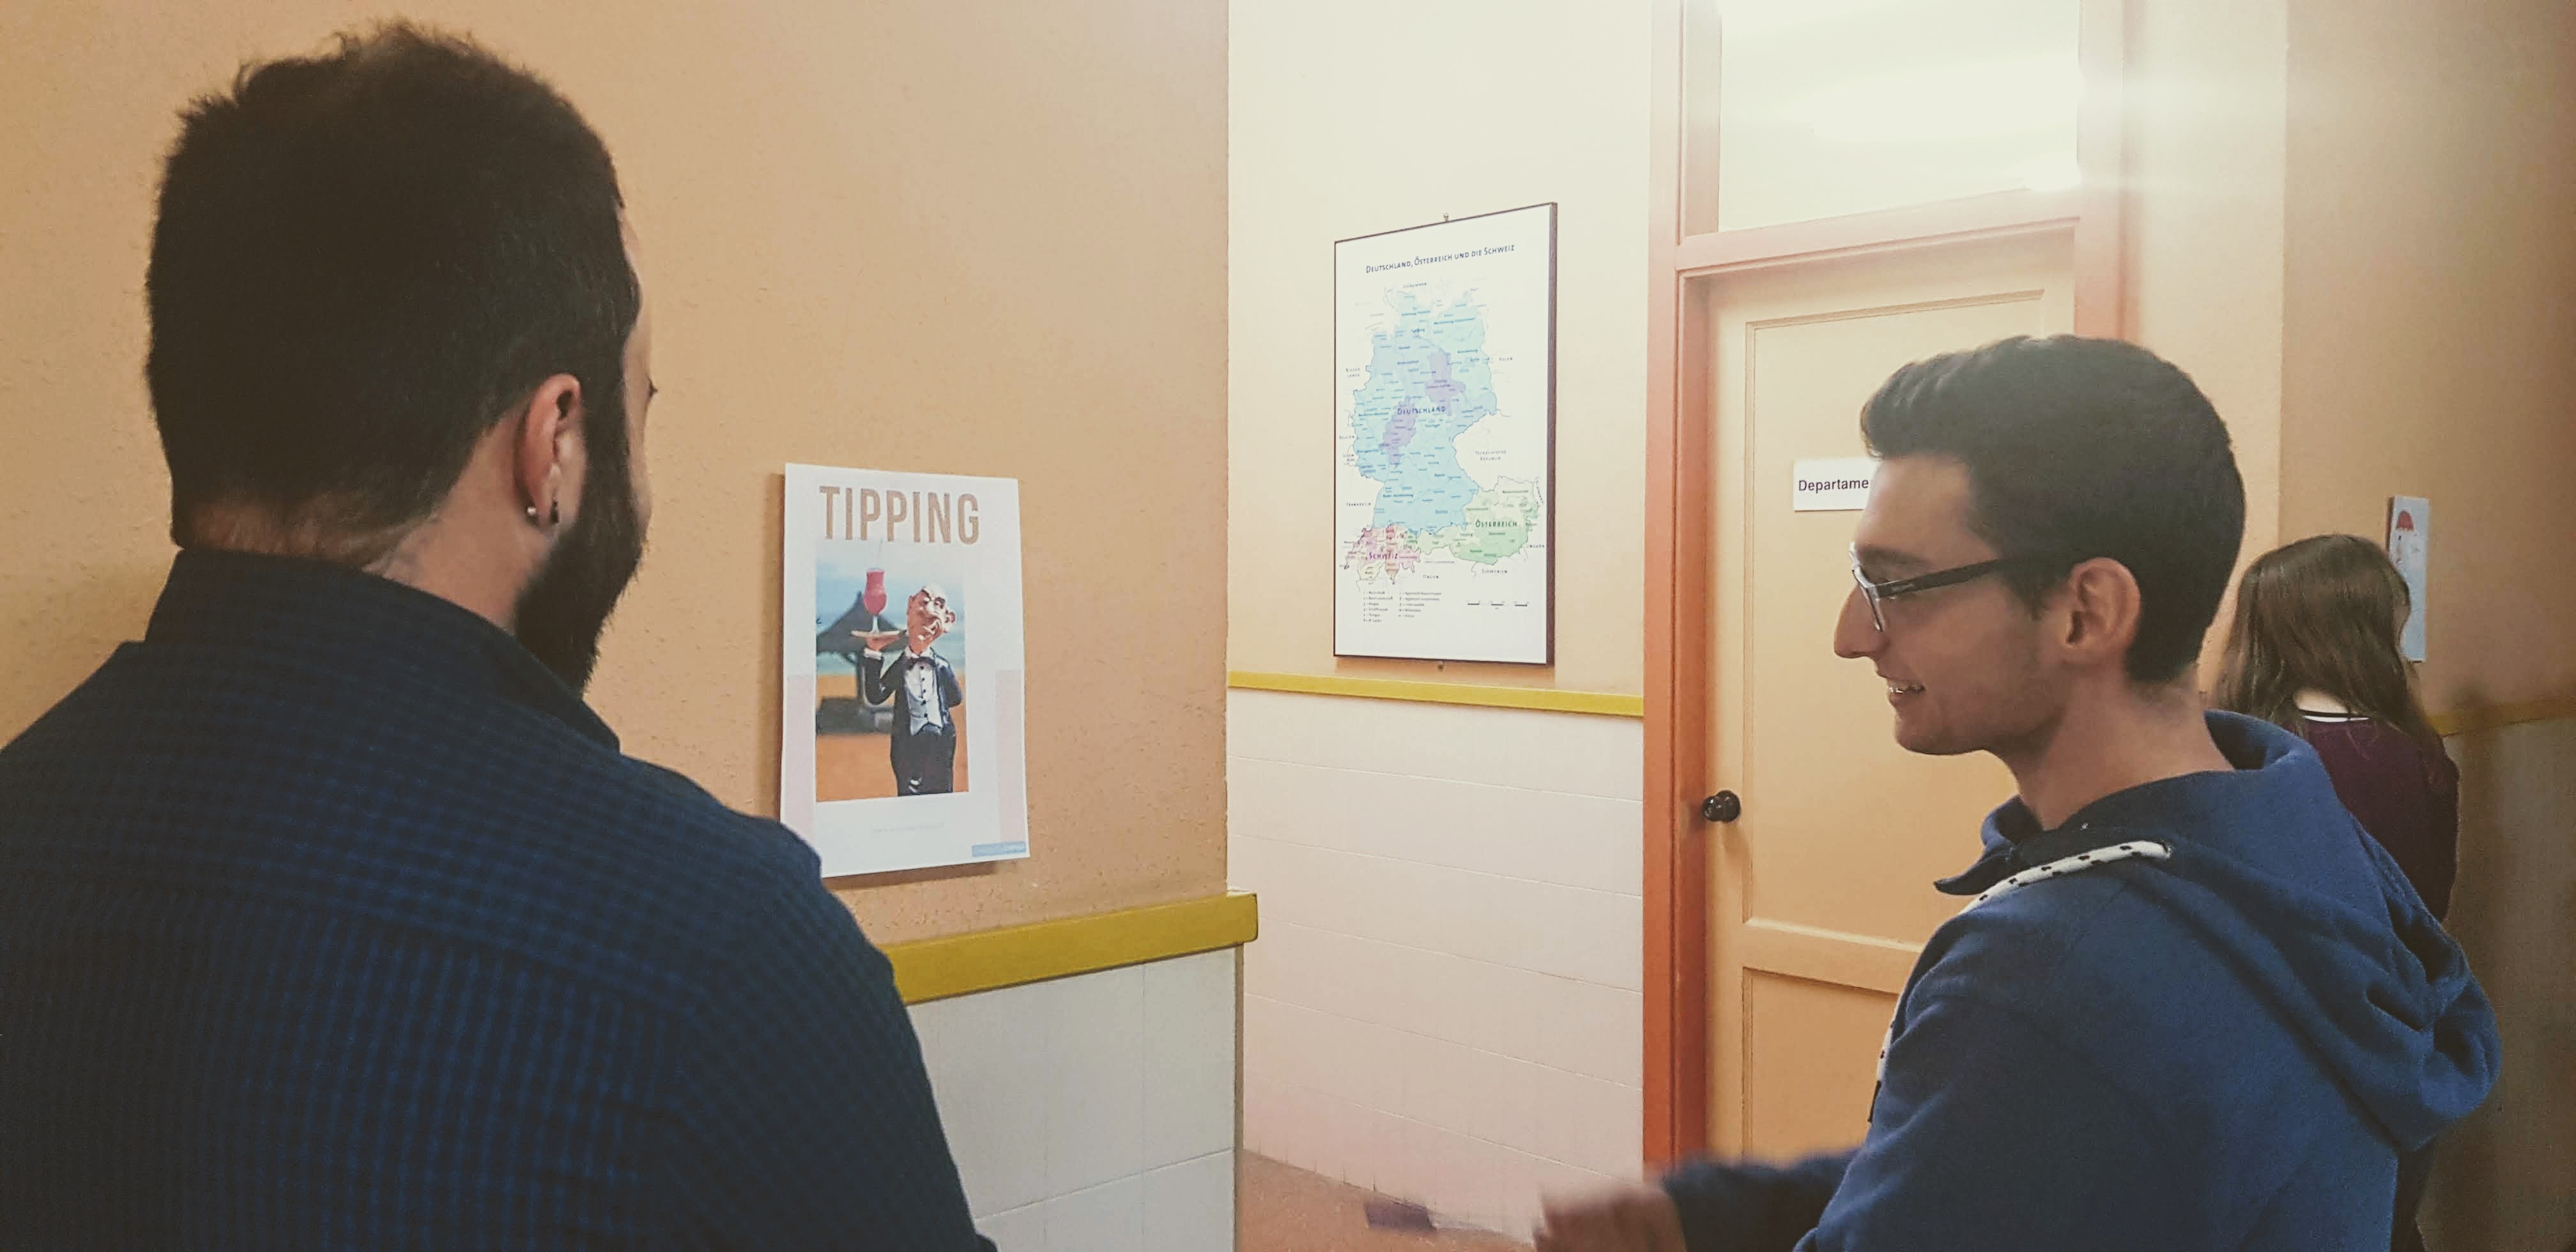
  • On the walls – I put up simple posters – I had to use the space outside my classroom as my class is tiny. I had six posters: Greetings, table manners, punctuality, gender roles, tipping and taboos.
  • Students in their groups choose a poster and they are instructed to do the following:

  1. Discuss the manners on the poster in their country and in other countries they might have been to. Is it the same or different?
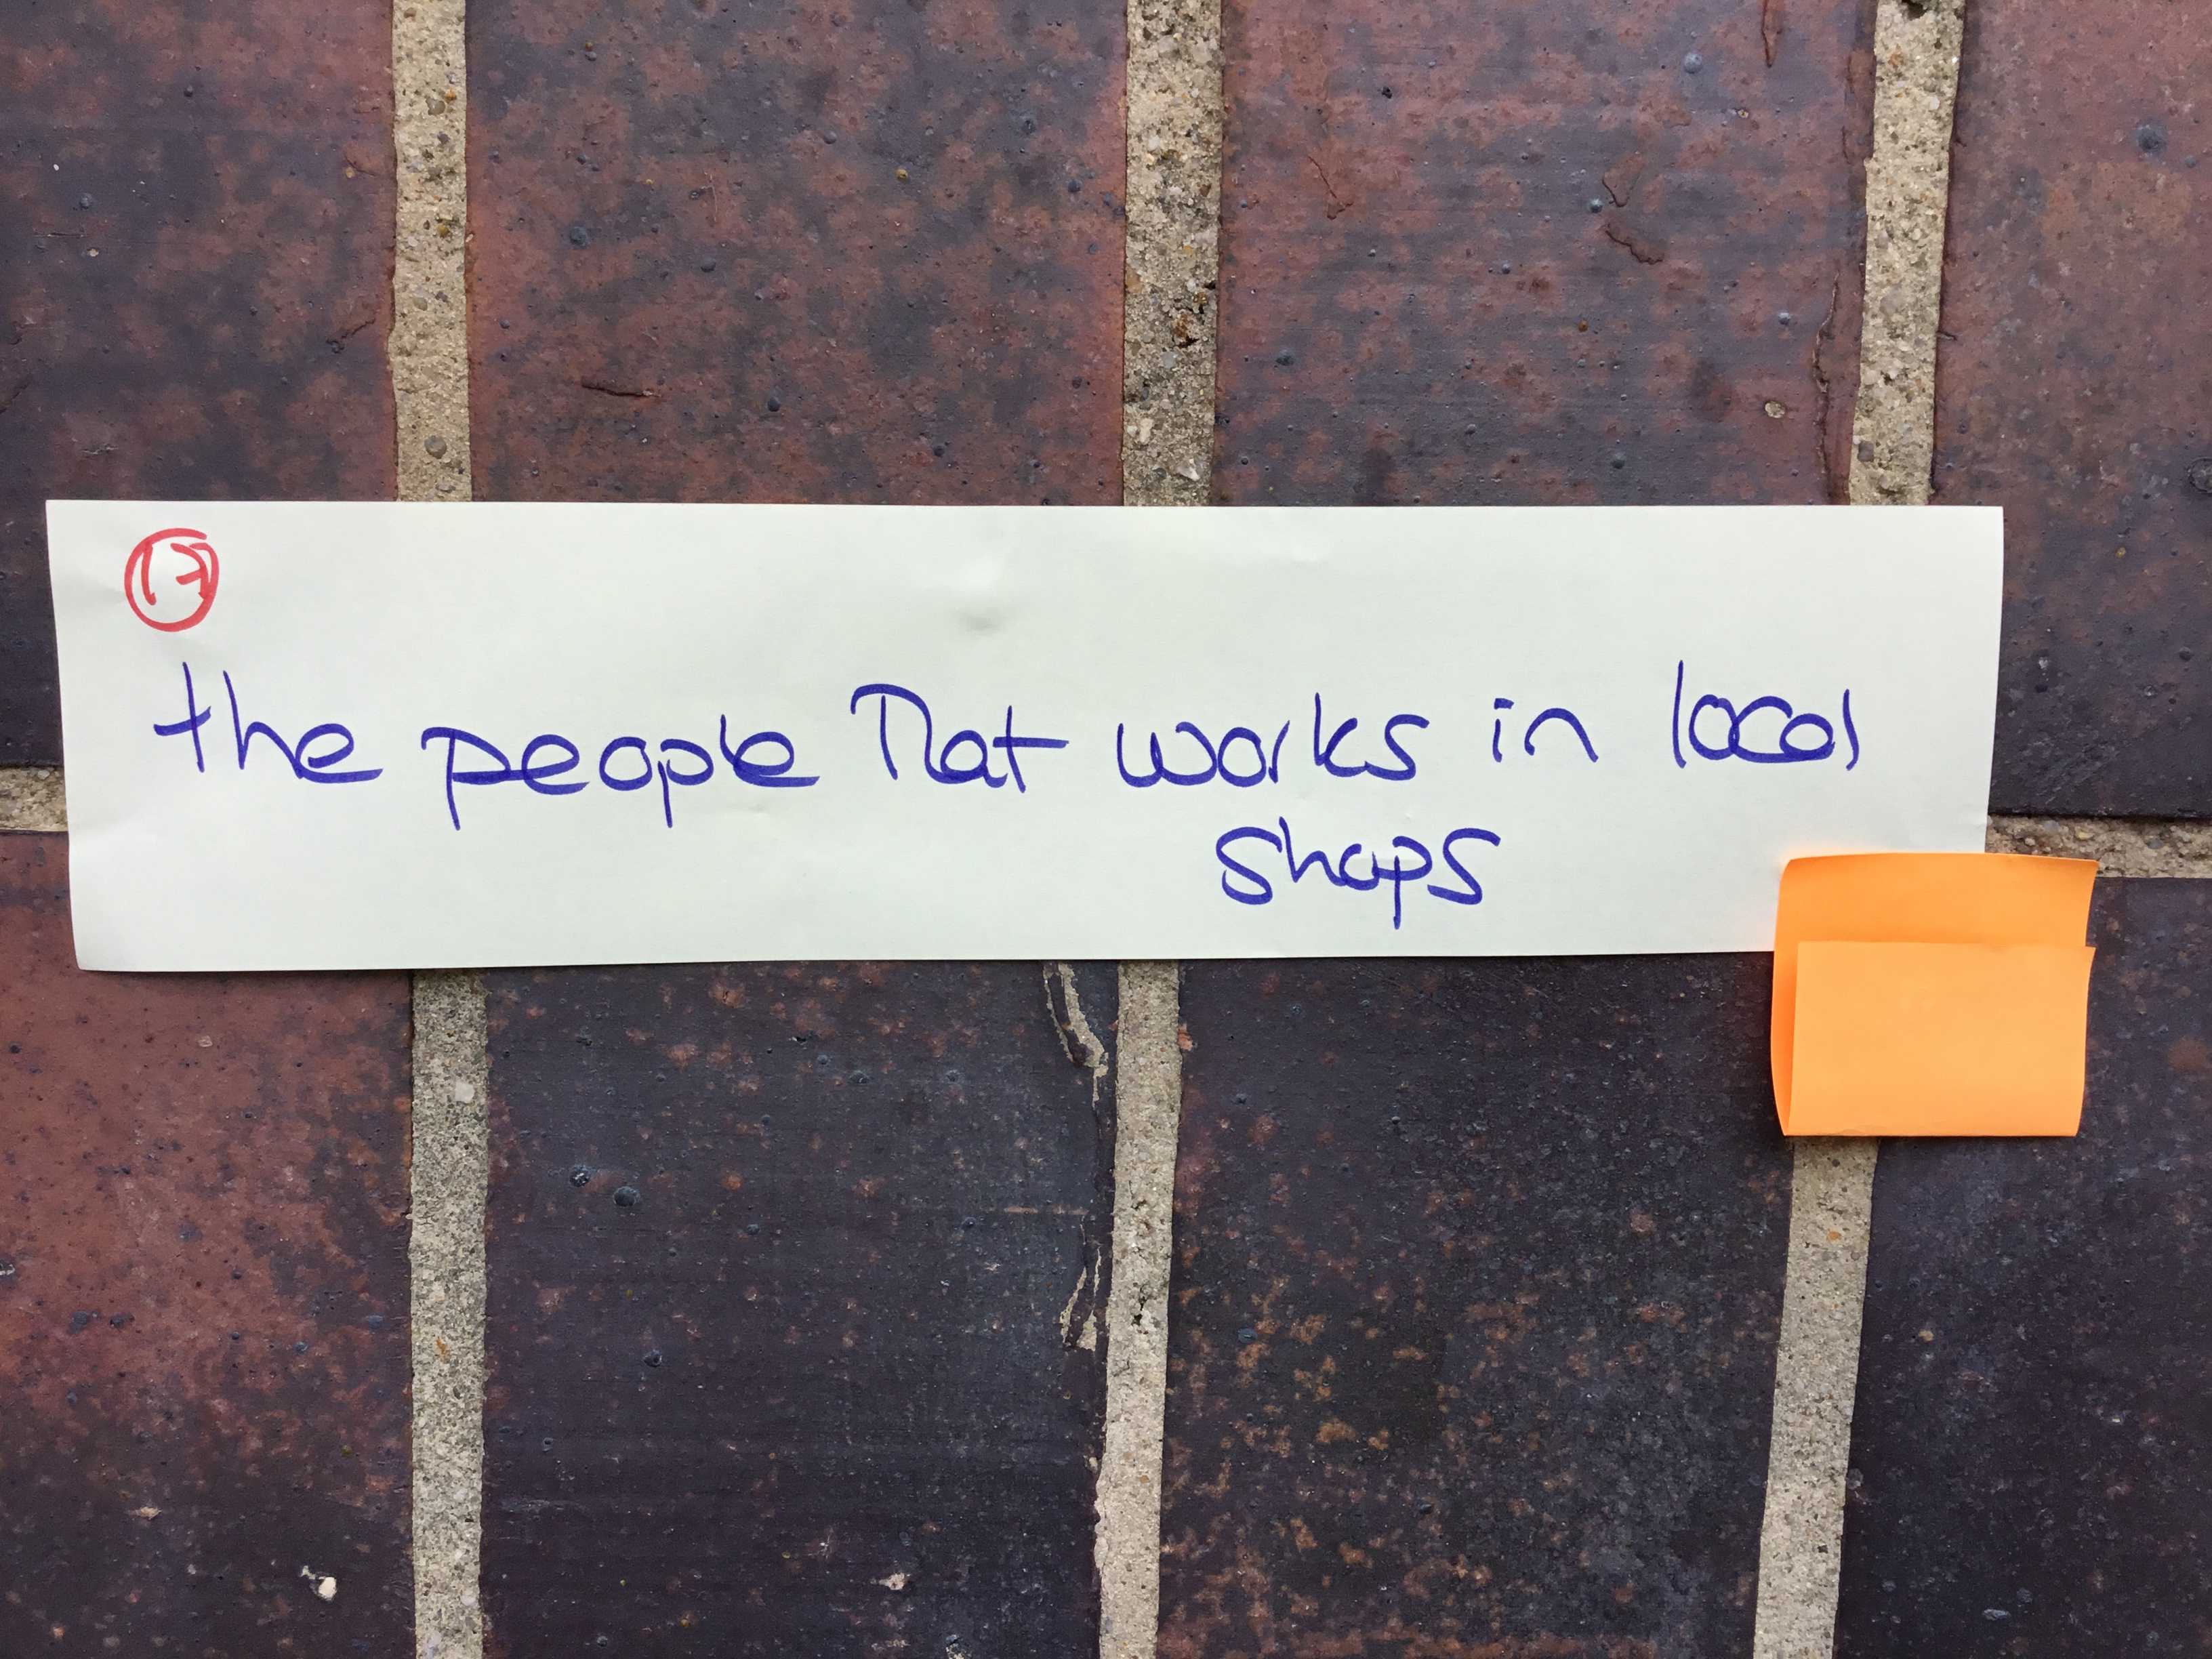
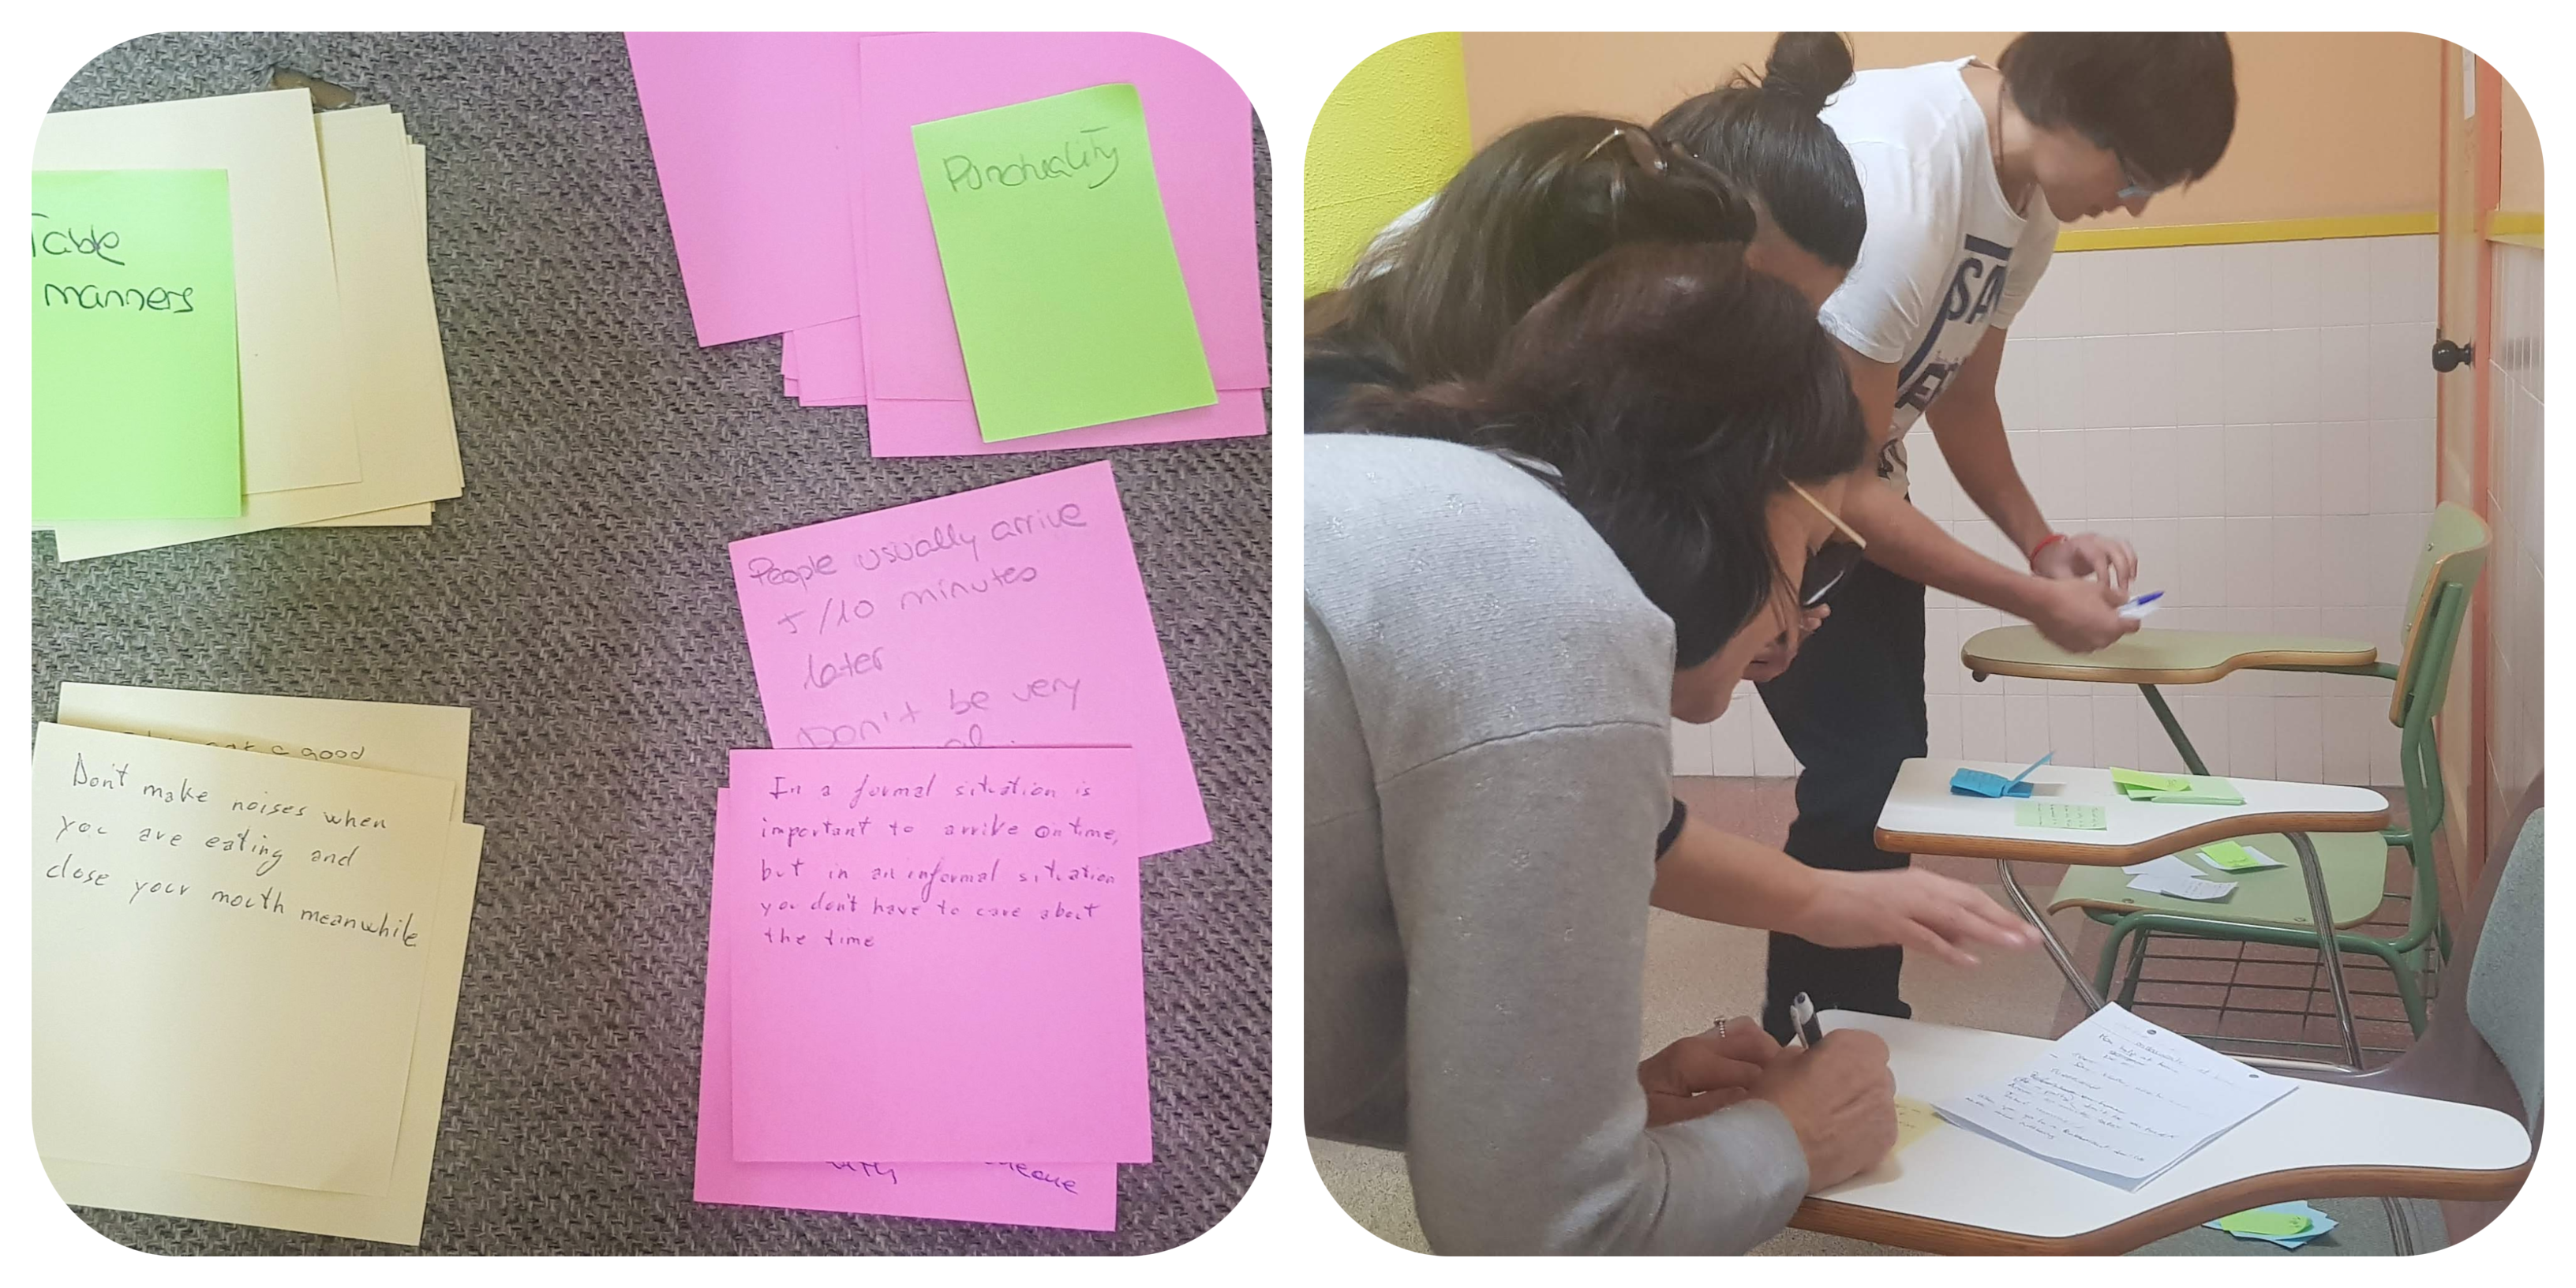
  2. Before moving to the next poster, students are instructed to take a piece of paper with the colour corresponding to the poster they have been working with and write a piece of advice for someone visiting their country, in this case, Spain.  ( if they were talking about Tipping, they should write a piece of advice on tipping).They were instructed to leave their written piece of advice on the table, choose a new poster and repeat procedure.
  3. Allow 25-30 minutes for this part
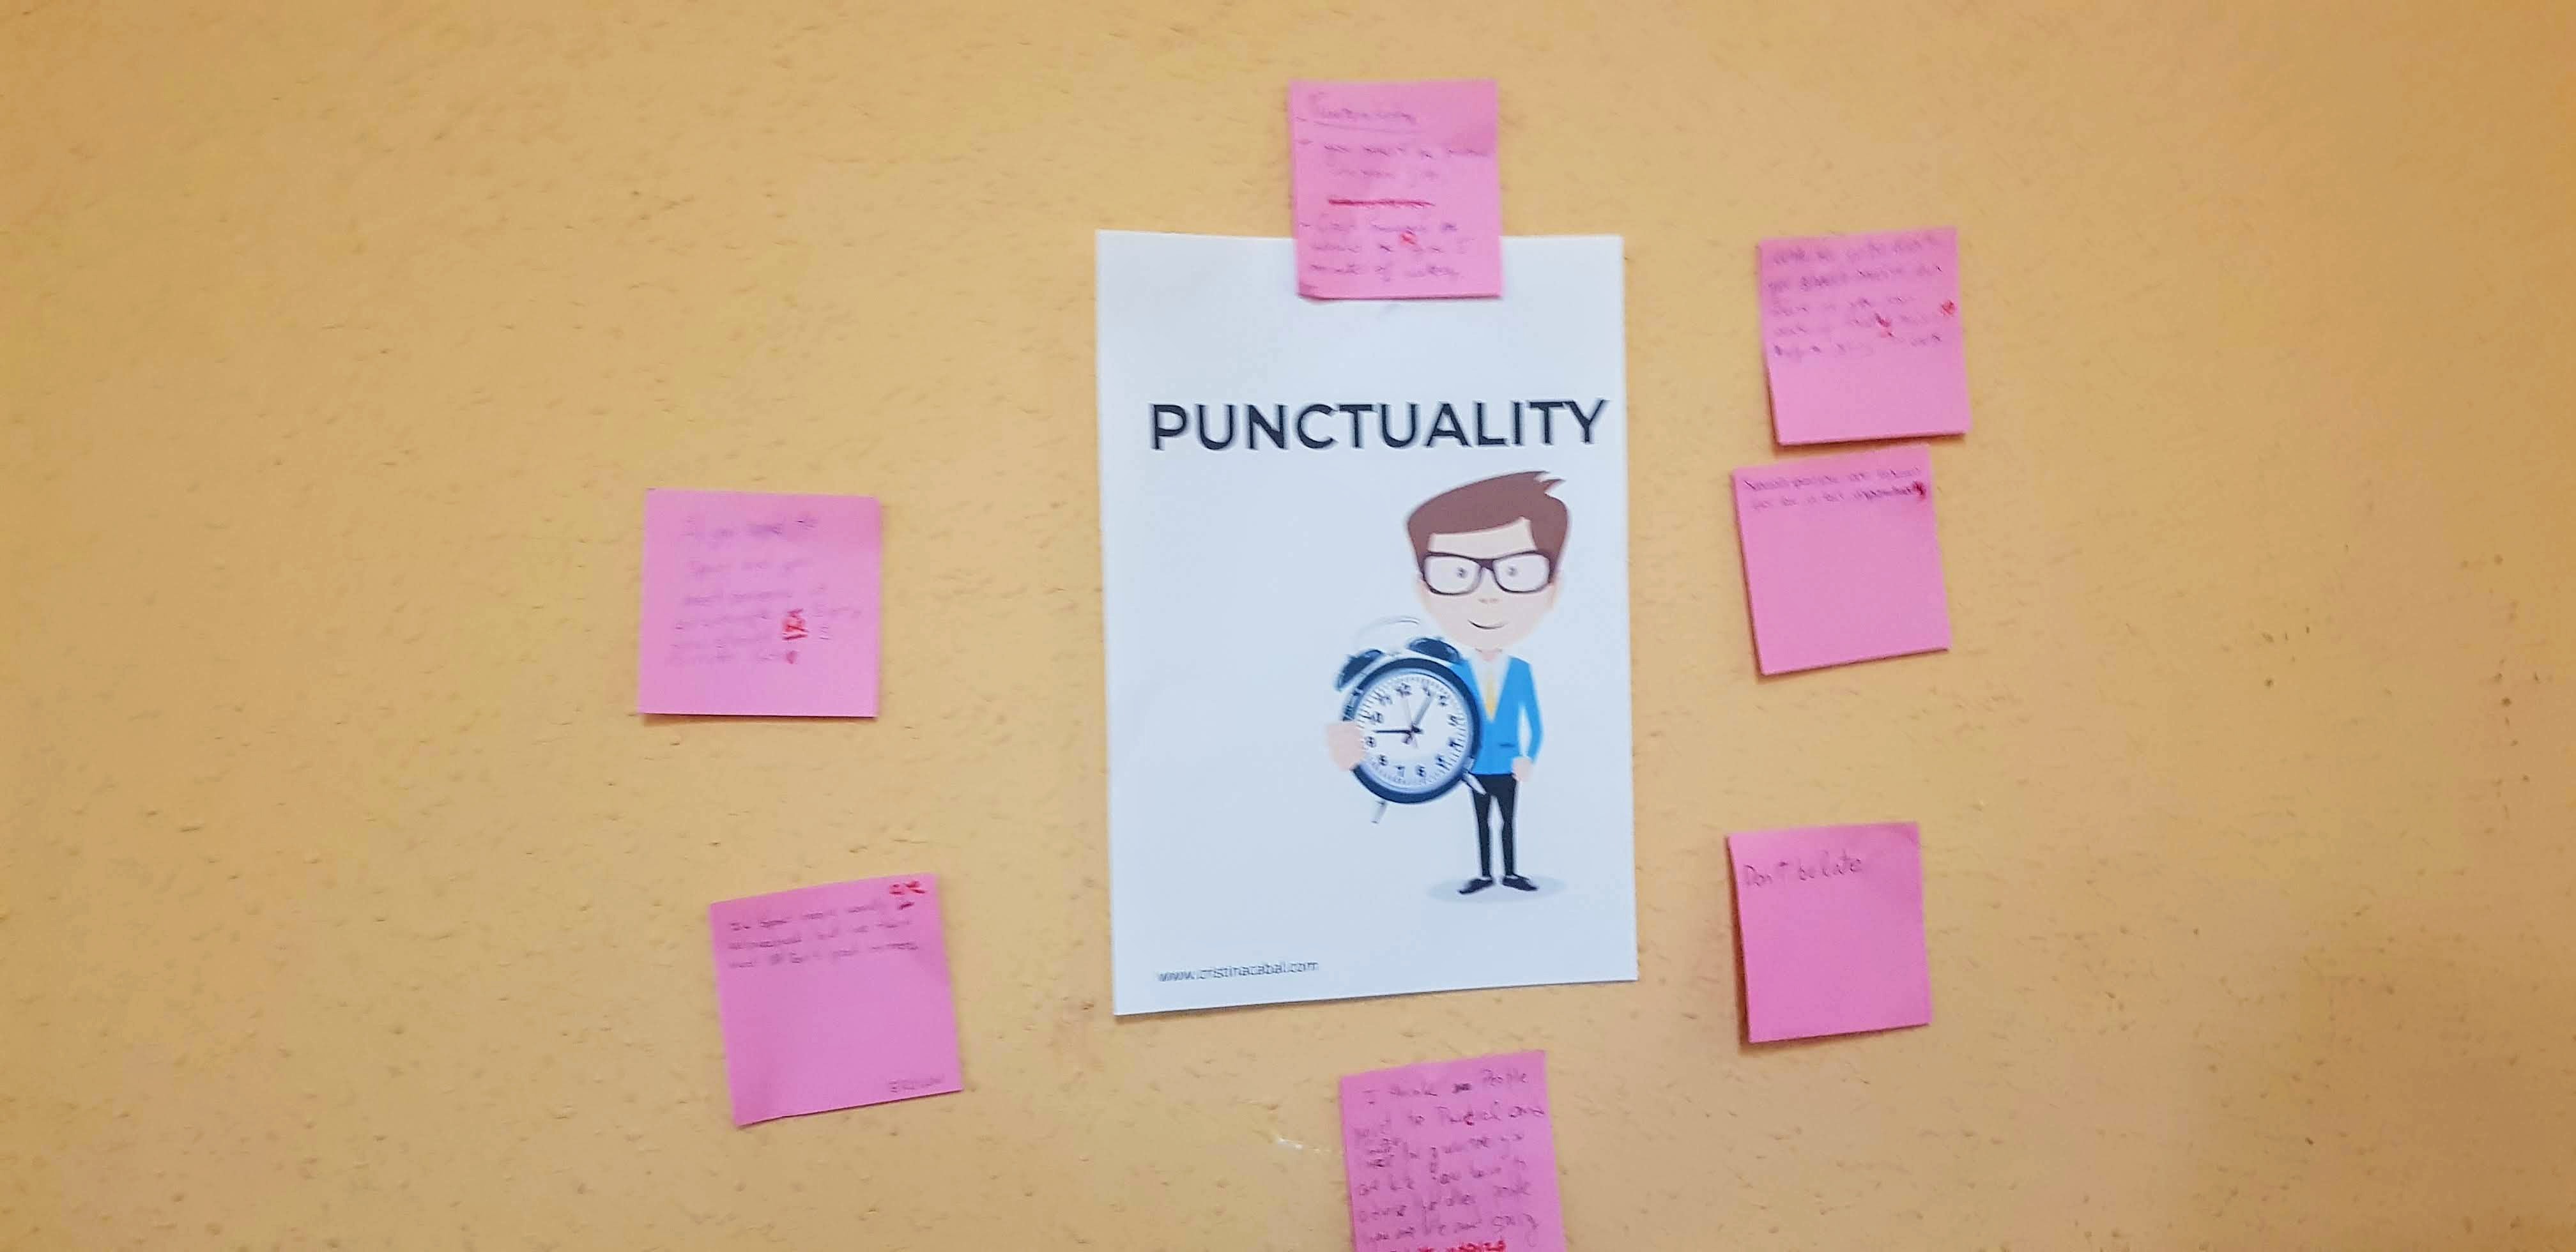
  4. Quickly correct spelling and grammar mistakes. Using blue-tack, put all the pieces of advice around the posters the advice has been written for.
  5. Ask students to do a second gallery walk commenting on all the tips and having a look at their mistakes.

Posters here

Writing an article about an unusual custom in the world

Lead-in:

Ask students: Have you ever experienced culture shock? Where were you? What happened?

Unit 1 in our textbooks explains how to to write an article. Using this format, I have asked students to do a bit of research on the internet and write about an unusual custom. To spice things a tiny bit, I have assigned students different countries using a random wheel.


Teaching from Afar: an Online Project Using Technology

"I am not telling you it's going to be easy. I am telling you it's going to be worth it" Art Williams

I’m going to scream this from the rooftops. Social media is more than meets the eye.

I love the possibilities social media offers for both students and teachers alike. Today, I want to share with you a project I did with my B2 students using technology and my professional social media network. But, before we dive in, let me ramble for a little bit here.

Social media is more than meets the eye. True that most people use it just for fun, to catch up with friends old and new and read the occasional news, hardly ever bothering to check the source of the news, but there are also lots of people who are using social media for other purposes.

Right now, social media provides teachers with lots of opportunities to learn and see what other teachers are doing all around the world. Instantly. For free.  You do not have to wait to read in a journal about the latest methodologies, about what teachers are doing on the other side of the world. You just follow people or communities, open your Facebook or your Twitter and there it is, opening doors and pulling down borders.

I grew up watching the news in black and white and using a landline phone to ask the operator to dial a number for me to be able to make a phone call so when in my 30’s there was talk of the possibility of making videoconferences, I thought it was science fiction. I couldn’t be more mistaken as we all know nowadays.

Today I would like to share with you a successful project I recently carried out with my B2 students using my professional social media and a free video/audio conference platform.

You are not one of my followers yet? Don’t worry! It is never too late!

Topic: education

Motivation:

  • to offer my students the opportunity to interact with native speakers from different countries ( something that is not easy in the north of Spain)
  • To ask them questions about their education system
  • To offer my students the opportunity to do a meaningful activity using the vocabulary learned during the lesson.
  • To make them realize they can understand and be understood by native speakers.

Tools:

  • Twitter/Facebook
  • Zoom
  • Slips of paper

Project: to interact with British/American native speakers and ask them questions about their education system using Zoom, a reliable  free video platform

Thanks to

My most heartfelt thanks to Tamara Parson, who is an English teacher living on the south coast of England; Trudi Rogers, also an English teacher living in France, and Hollin Wakefield,  a French teacher form Berkeley (California) and creator of the awesome app Fluentkey. Thank you very much for your generosity and patience. I couldn’t have done it without you.

One week  before the activity
  1. We worked with the topic of education and learned and practised vocabulary related to it.
  2. It was my first time using Zoom. I had to make sure I knew how to use it so I needed to persuade someone with enough computing skills to help me set a fake conference. (Thanks MªJosé)
  3. Using my professional social network Facebook and Twitter (bait, click to follow) I asked for collaboration of teachers from the UK and the USA.
The day before the activity
  1. I explained the activity and told my students we were going to have a video conference with experts on education from the UK and the USA. The conference was going to last about 30 minutes
  2. I asked my students to write interesting questions about things they wanted to know about the education system in the Uk and the USA. I instructed them to ask open questions.

This way we practised writing questions, which is something students always struggle with.

  1. Once they had their questions, I gave them a slip of paper and asked them to write their question there and at the back of it, their name.
  2. Using blue-tack, I displayed their questions on the walls of the class.
  3. I asked students to stand up and read all of them and then do a second reading choosing the ten questions they liked best. To indicate they liked a particular question, they just had to put a tick.

  1. I also read the questions, correcting grammar and spelling mistakes.
  2. The 10 questions which got more ticks were the ones students had to ask. However, if we had any spare time, any student could volunteer to ask any of their questions. In fact, in one of the groups, two or three extra questions were asked.
  3. I gave back each and every question to their owners and we worked on pronunciation.
  4. I told all my students to practise their questions at home as homework.
  5. I went home, set up the meeting on Zoom and emailed the collaborating teachers the invitation to the Zoom conference.
The day of the activity.
  1. We practised asking the questions again so that students felt more confident about their pronunciation.
  2. We moved chairs in front of the screen and at the appointed time, the videoconference began.
My personal experience

It is with immense satisfaction that I can say that it was a tremendous success.  Trudi, Tamara and Hollin were just awesome and even though I had never seen them before and could have easily pulled back, they didn’t and they were really generous with their time.

From an academic point of view, my students were really motivated and it was really a boost to their confidence as not even once did they have to repeat their questions and they could easily follow the answers and sometimes lengthy explanations.

What is more, in the answers given by the native teachers, they could recognize most of the vocabulary they have worked with in class and this made studying this vocabulary more meaningful to them.

As for me, I was delighted. I am not going to say, it did not take time to set it up because I would be lying but it was really worthwhile.

Besides, the press caught wind of the activity and we made it to the local news as you can see in the photo below.

Thanks to Illán García from La Nueva España and to José Alesson for the photographs.

"I am not telling you it's going to be easy. I am telling you it's going to be worth it" Art Williams

Messy Words: a Vocabulary, Writing and Speaking Activity

It is October and autumn has officially hit. I am just beginning to come to terms with the fact that days are getting shorter and warm days are saying their goodbyes. Well, welcome autumn! I am all here for you!

Let’s kick it off this new season with a vocabulary revision activity that aims at reinforcing vocabulary while at the same time providing an opportunity for students to stretch their legs and interact with other students in the classroom. Gallery-walks, my favourite!

Aim: 

  • to reinforce the vocabulary of the lesson
  •  Use the vocabulary in context by
  1. writing an open-ended question containing the target word/expression
  2. answering the question by using the gallery-walk class dynamics

Procedure:

Before the class

  • Choose a few words you want to revise. I suggest 8-10 words. 
  • Fold a regular sheet of paper horizontally and cut it in half. You will get two slips of paper. This is a good opportunity to recycle the back of spare photocopies from other courses.
  • Write the letters of each word/expression you want to revise in random order. Number each of the slips of paper for easier reference.

During the class:

Step 1. Slips of paper on the walls

Put up the slips of paper on the walls of the class and ask students in pairs or in threes to stand up and work out what the hidden word on each slip of paper is. Ask them to number them as displayed on the walls. The first pair to have all the words, rings the bell (needless to say, there should be one on my table) and the rest of the class has one extra minute to finish this part.

Ask students to sit down.

Step 2. Writing open-ended questions

  • Students continue working in their pairs. Assign the pairs two of the words/expressions on the walls and ask them to write two open-ended questions –one per term related to “education” (this is the topic this week) containing the word or expression. 

For example, one of the words was “state-funded school” and one of the questions was “Would you send your children to a state-funded school? Why (not)?”

  • Give them small cards to write their questions and, using sellotape, place them next to the term the question refers to.  Ask them to write their names at the back of the card so that you know who has written the question and to give feedback.
  • Quickly correct the questions on the walls, and if there is more than one per word, choose the best one, which will remain displayed together with the slip containing the word in random order. Give the discarded questions back to their owners and allow them some time to focus on their possible mistakes.

Step 3. Speaking. Gallery walks

With the words and the questions displayed on the walls, ask students in pairs to stand up and choose a station (slip+card).

Instruct them to answer the question elaborating on the answer. Allow 5 minutes/station and then ask them to move clockwise to the next station. Repeat procedure.

Until next post! 🙂

Flexible Seating Using Collocations

What could be the advantages of sitting always in the same place working with the same partner? Can you see any? I can’t.  The activity below has been designed to give students plenty of opportunities to work with different partners in an engaging way. It is very flexible and lots of fun.

But first of all, a small intro. It is my first post in a long, long time so please bear with me. 😉


It is October! 

If you are wondering, no, we haven’t started classes yet. I’ll be greeting my new students tomorrow, 7th October. I can’t wait! I already know my classes are full. 25 students and some more on a waiting list. I am a bit worried because my class is tiny. One of the smallest in the premises but hey! I am not sharing it with any other teachers. It’s just for me, so I am not complaining. However, I like to do activities where students get up from their seats and move around the class and that’s going to prove difficult in this smallish class. I guess I will just need to use the hall for some activities.

Isn’t it true that we spend most of our day at school or work sitting down? And after some time,  sitting down gets boring, doesn’t it? Well,  in this activity students will need to stand up, move around the class and then sit down several times. Just my kind of activity. Besides, it can be adapted flexibly and creatively in different contexts and situations.  At the end of the post, you can read some other ideas I have to teach or revise vocabulary using this classroom dynamics.

Aim

  • to revise very common collocations
  • to ask and give information about yourself
  • to provide opportunities to get to know everybody in the class
  • to provide a friendly environment where students do not feel uncomfortable making mistakes and can learn from each other.

Time: 30-40 minutes

Preparation:

  • The collocations. Prepare a set of common collocations. You will need one per student. I have 25 students, so I will need 25 collocations. For example: break the law or fail an exam. On a card, write break or fail; on another card write the law or an exam. The cards containing the second part of the collocation  (the law, an exam) should be sellotaped to the back of the chairs of the classroom, visible to all the students. I use different colours for easy differentiation. (see picture below)
  • NOTE: it is important that the collocations are unique, ie, that they can only match once. For example: if you have break //the law,   you cannot have twist //your arm; as break can also collocate with arm as in break//your arm. It is useful to keep a list of the collocations you are using for agility purposes.
  • The questions to discuss. Prepare a set of questions; in my case, and for this class,  of the type get-to-know-each-other questions. I have prepared 25 but you can easily just use half the questions and have students share and talk about the same card.

Downloadable Materials:

Procedure:

  • Greet students at the door and hand them a card containing the first part of the collocation.
  • Explain that they will have to find the second part by reading the cards taped on the chairs.
  • Once they have found the matching card on a chair, they should sit down on that same chair.
  • Quickly check that everybody has found the right collocation and if they haven’t, ask students to work out where the matching part is before you intervene. It is good to make mistakes. That’s very often how you learn.
  • Ask them to say their collocation aloud so that the class can also revise it.
  • Once they are in their right seats, hand them a card containing a get-to-know-you question. Encourage them to include their collocation in their conversations.
  •  Ask them to leave the cards containing the get-to-know-you questions on the table. They can remain there for the next students.
  • Allow 6-7 minutes’ conversation and then collect the cards containing the first part of the collocation. (in the picture below, the pink ones)
  • Shuffle them, hand them out to different students and repeat procedure so that students get the chance to sit in another place and talk to a different student.
  • This second time, when students say their collocations aloud, ask them to pause for a second to give the class the chance to provide the second part of the collocation. This way, we reinforce without effort.

TIPS:

  •  I did the activity 4 times. The first time students found it harder to find the right collocation than the second time; the third and fourth time, they were incredibly quick.
  • I asked students to focus on their cards and read them carefully. Sometimes, the key to finding the right collocation resides in an article or a preposition.
  • The first and second time, and always before the speaking activity, I asked students to read their collocations aloud so that everybody got familiar with them. The third time, I asked them to try to remember their collocation without looking at the back of the chair. The fourth time,  I asked students to read aloud just the first part and then pause, giving the class the opportunity to provide the matching collocation. Revising, reinforcing and consolidating. That’s what we are aiming for.
  • At the end of the activity, I asked students to write down all the collocations they could remember and wrote them on the board to correct spelling mistakes. I gave a sweet to the student who remembered the most collocations  🙂

VARIATIONS

  •  Working with the vocabulary of a certain topic; on the chairs sellotape the cards containing the term and give students the cards containing the definition. For example, if  I am teaching Education: on one card professor  (taped on the chair) and on the other card a senior teacher at a university or college; and on the table a question such as: What was your favourite subject at school?
  • Working with phrasal verbs: term//definition
  • Working with compound nouns: first half// second half. For example: sitting// room
  • Working with phonemic transcriptions; on one card the phonemic transcription; on the chair the card with the matching word  /si:n/ seen
  • Working with functional language; on one card the function in the form of a question and on the chair,  a card with a possible answer. The follow-up task might be to continue the dialogue.

I don’t know. So many possibilities. The limit is your imagination.


Fixing Fossilized Grammar and Spelling Errors in an Engaging Effective Way

End of the school year for me! And for you?

This is a post especially dedicated to all non-tech lovers! I am capping off this wonderful school year with an engaging yet effective activity for error correction. It may not be much when you read how to do it but trust me on this one, your students are going to love it!

If you follow me at all on my blog or on social media (facebook, twitter ), you will know that I am a huge fan of using technology in my classes. When I mean “huge”, I don’t mean that technology dominates my teaching practice. I use technology only when I think it’s going to contribute to effective learning. Otherwise, it’s time wasted.

Slips of paper are hands-down my favourite teaching tool. Essentially, they are scraps of paper that I use and reuse constantly in various ways. In fact, my record is having used the same set of slips of paper six times for a single class. I am sure some of my students will remember this day. They certainly learned everything on them.

The activity I am sharing with you today is a  brand new one. I have to say I am happy with the result. It worked really well, it was effective, meaningful and engaging.

This time slips of paper have been used to fix fossilized grammar and spelling errors, but I firmly believe that the use of slips of paper as a teaching tool is a great addition to any lesson plan.

Note 1: “fossilization” refers the way in which some errors become a permanent feature of a language learner’s language

Note 2: at the end of the post, there is a video I’ve put together with some pics and clips I took from the activity. In case you want to see it. Just saying! 🙂

Materials:

  • slips of paper
  • sticky notes
  • sellotape or blue-tack
Before  the class

Yes. I am afraid there is some prep to do but it’s worth it.

  1. Correct their compositions and write down common or relevant errors: for this activity, I have used common spelling or grammar errors.
  2. Write them down on slips of paper.
  3. Write the correction on sticky notes or scraps of paper.
  4. Hang the slips of papers around the room. Identify each slip of paper with a number and write it down on the bottom right-hand corner.
  5. For each slip of paper, and displayed next to it, is a sticky note containing the correction. The sticky note is folded in half so that the right answer cannot be seen unless unfolded.

How to go about it

Round 1

  • Ask students to take out a regular A4 piece of paper, write Round 1 at the top and number it- whatever X slips of paper you are using. Ask them to do the same on another piece of paper and but this time they should write Round 2.
  • Note: It is spring so if it is sunny, why not take them outside the building and hang the slips of paper on the walls of the building? In fact, this is what I did. If you also play some upbeat music while they are doing the exercise, they are going to love you.
  • Ask them to form pairs.
  • Ask them to walk around the class in their pairs, read the sentence, spot the error, discuss the way to correct it and then write their answers on the response sheet. If the number on the slip of paper is 3, they should write it next to number three on their response sheet.  Tell them it doesn’t matter where they start as they will end up doing all the cards.
  • Emphasize that they will need to speak English all the time and that they will both need to discuss how to correct the error- you want both of them to learn, not just one student-  then write down the answer and then, only then, unfold the sticky note with the corrected version.
  • I like to meander around the room and check to see if they are having difficulties with a specific error and try to help them figure out where the mistake is.
  • Once the activity is finished, I ask them to count up the number of mistakes they have been able to correct and write that number at the top of their paper.

Round 2.

We are working here with fossilized errors, ie, errors we have already corrected a thousand times but we haven’t been able to fix.  Reinforcement and consolidation are essential. So, let’s go for Round 2.

Group students: I asked students to form a line based on their birthdays (day/month). Once they formed the line, I ask them to work with the person on their right. (have a look at the video).

  • Explain that they are going to be competing against each other.  At the end of the activity, the winner is the student who has managed to correct the most mistakes.
  • Everything is the same as above, but this time they don’t discuss the error. Together and silently they read the error on the slip of paper, write the correction on their sheets of paper, compare their answers, unfold the sticky note and put a tick or a cross depending on whether they have been able to spot and correct the error. Hopefully, most students will have been able to fix all the errors.

Round 3

Yes. Again. Remember they are fossilized errors.

Follow-up: Ask students to sit down and ask them to write from memory all the mistakes they have been able to fix. Once they have finished, ask them to share them in pairs. Let’s hope that by writing them down from memory and talking about them in pairs …again, we will have helped them eliminate these fossilized errors from their oral and written production.

I love how slips of papers can turn into a simple and fun formative assessment tool that gets students out of their seats and learning, don’t you?

Have a look at the video now to have a clearer picture of the whole activity.