Hello March!
Kicking off the month with one of my favourite topics of conversation: languages learning. This is a lesson I feel I could entirely teach based on videos from the internet and conversation questions.
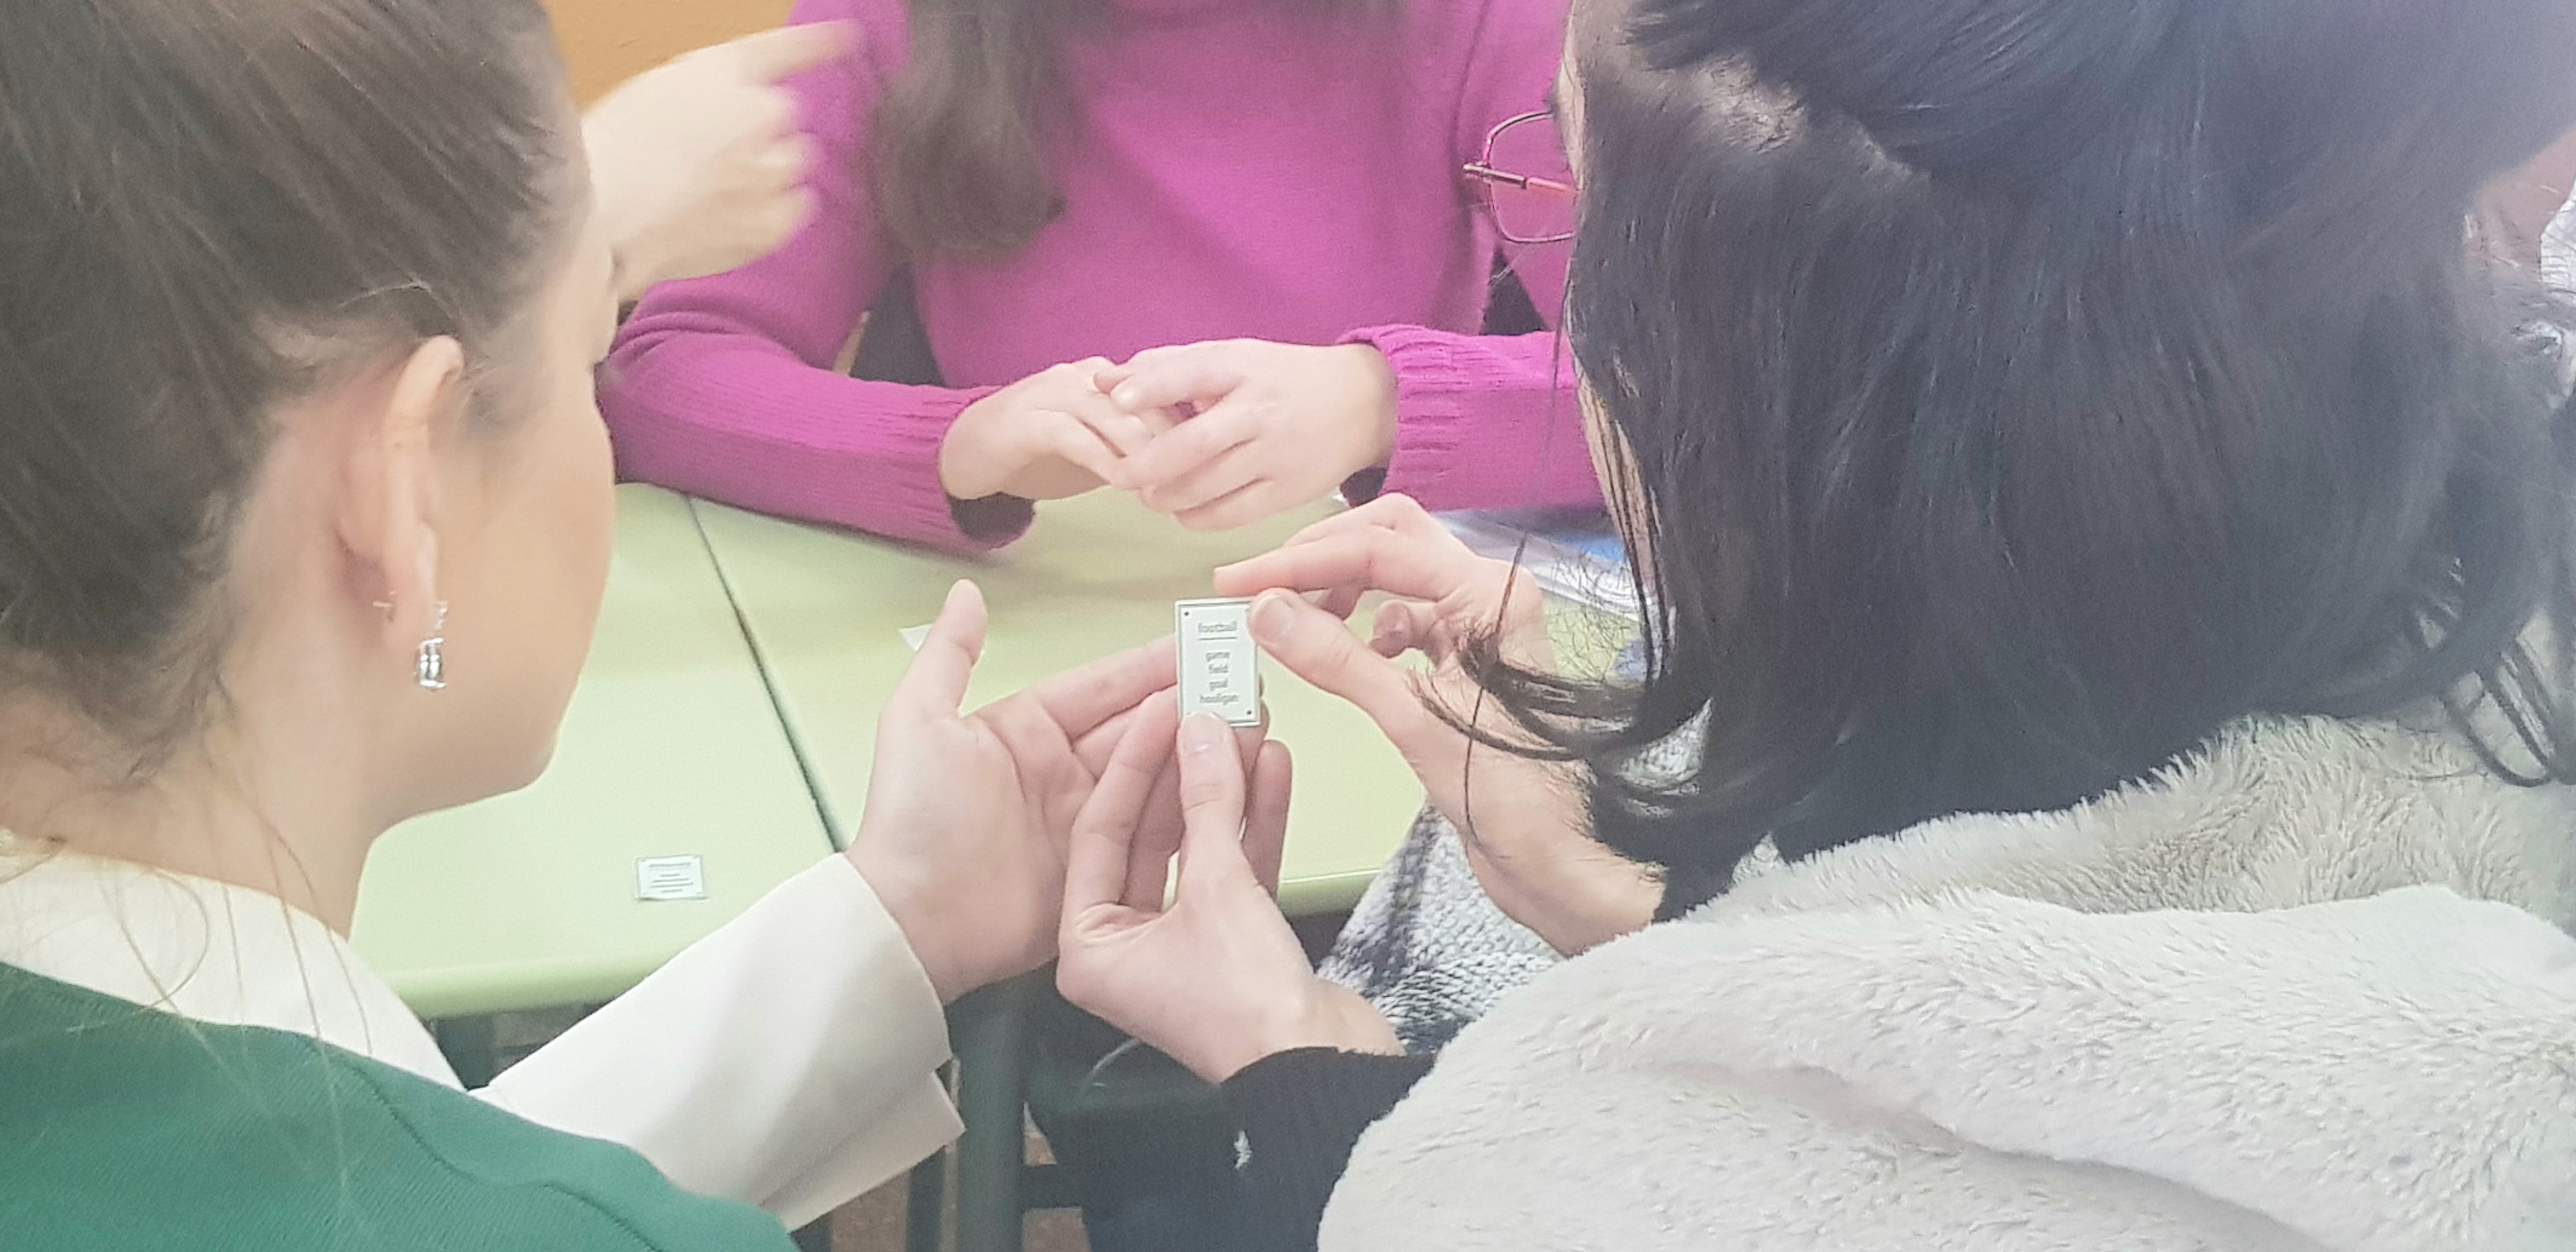
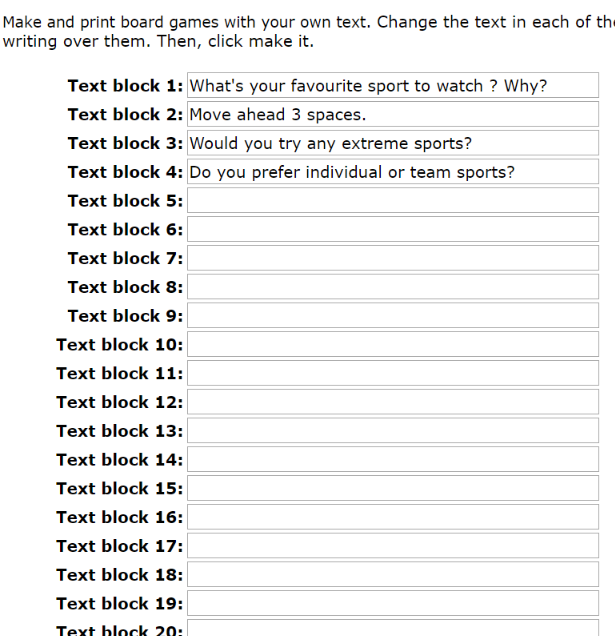
I always like to introduce a new topic with some visual aid that either sparks discussion or puts a smile on my students’ faces. This time, I might have gone too far and used not one but four videos. Ohh, but they are so good!
These are the videos I have been using over the years and that have never failed me!
TO PUT A SMILE ON THEIR FACES
I normally play this video at the very beginning of the lesson and ask them to guess our next topic. Believe it or not, although I have seen it a thousand times, I still laugh my head off.
Useful Vocabulary:
- translator, interpreter, to translate from Spanish into English, native speaker, to be fluent, to speak a language fluently, to be proficient in (English); to speak like a native speaker, to be bilingual, lingua franca.
Discussion Questions
- How many languages do you speak?
- What is the most difficult language to learn in your opinion?
- Have you ever tried to learn a language and given up because it was very difficult?
- Do you think that in the future there will be just one language in the world?
- Nowadays English is the lingua franca; do you think this is going to change any time soon?
TO BOOST THEIR MOTIVATION
Before playing the video, ask students:
Why are you learning English?
Useful Vocabulary:
to do a course, have a chat, standard English, slang, take a message, widely spoken, mother tongue, make mistakes, pronunciation issues, to make an effort, to sign up for a course, to learn a language online, a complete beginner.
Discussion Questions
- How old were you when you started learning English? Do you think it is a good age?
- What motivated you to start learning English?
- What are the advantages of learning a foreign language?
- Are there any similarities between English and Spanish? Does Spanish have many loan words from English?
- When you are speaking in English, do you try to be accurate or do you just talk and not worry about making mistakes? Which way do you think is better?
TO HELP THEM GET BETTER AT ENGLISH
Useful Vocabulary: to switch between two languages, to put into practice, to feel frustrated, a conversation partner, to memorize vocabulary, to improve your grammar, speaking skills, to have a good range of vocabulary.
Discussion Questions
- Do you think it is possible for a non-native speaker to speak the language like a native?
- What do you find most difficult to learn in English? Why do you think is that?
- What is the best way to speak a language?
- What do you do on your own to improve your English?
- What techniques do you use to learn new vocabulary?
TO SPARK DISCUSSION
Useful Vocabulary:
translator, interpreter, context, translation fails, to come in handy, accurate translation, basic conversation, translation app, a translation device.
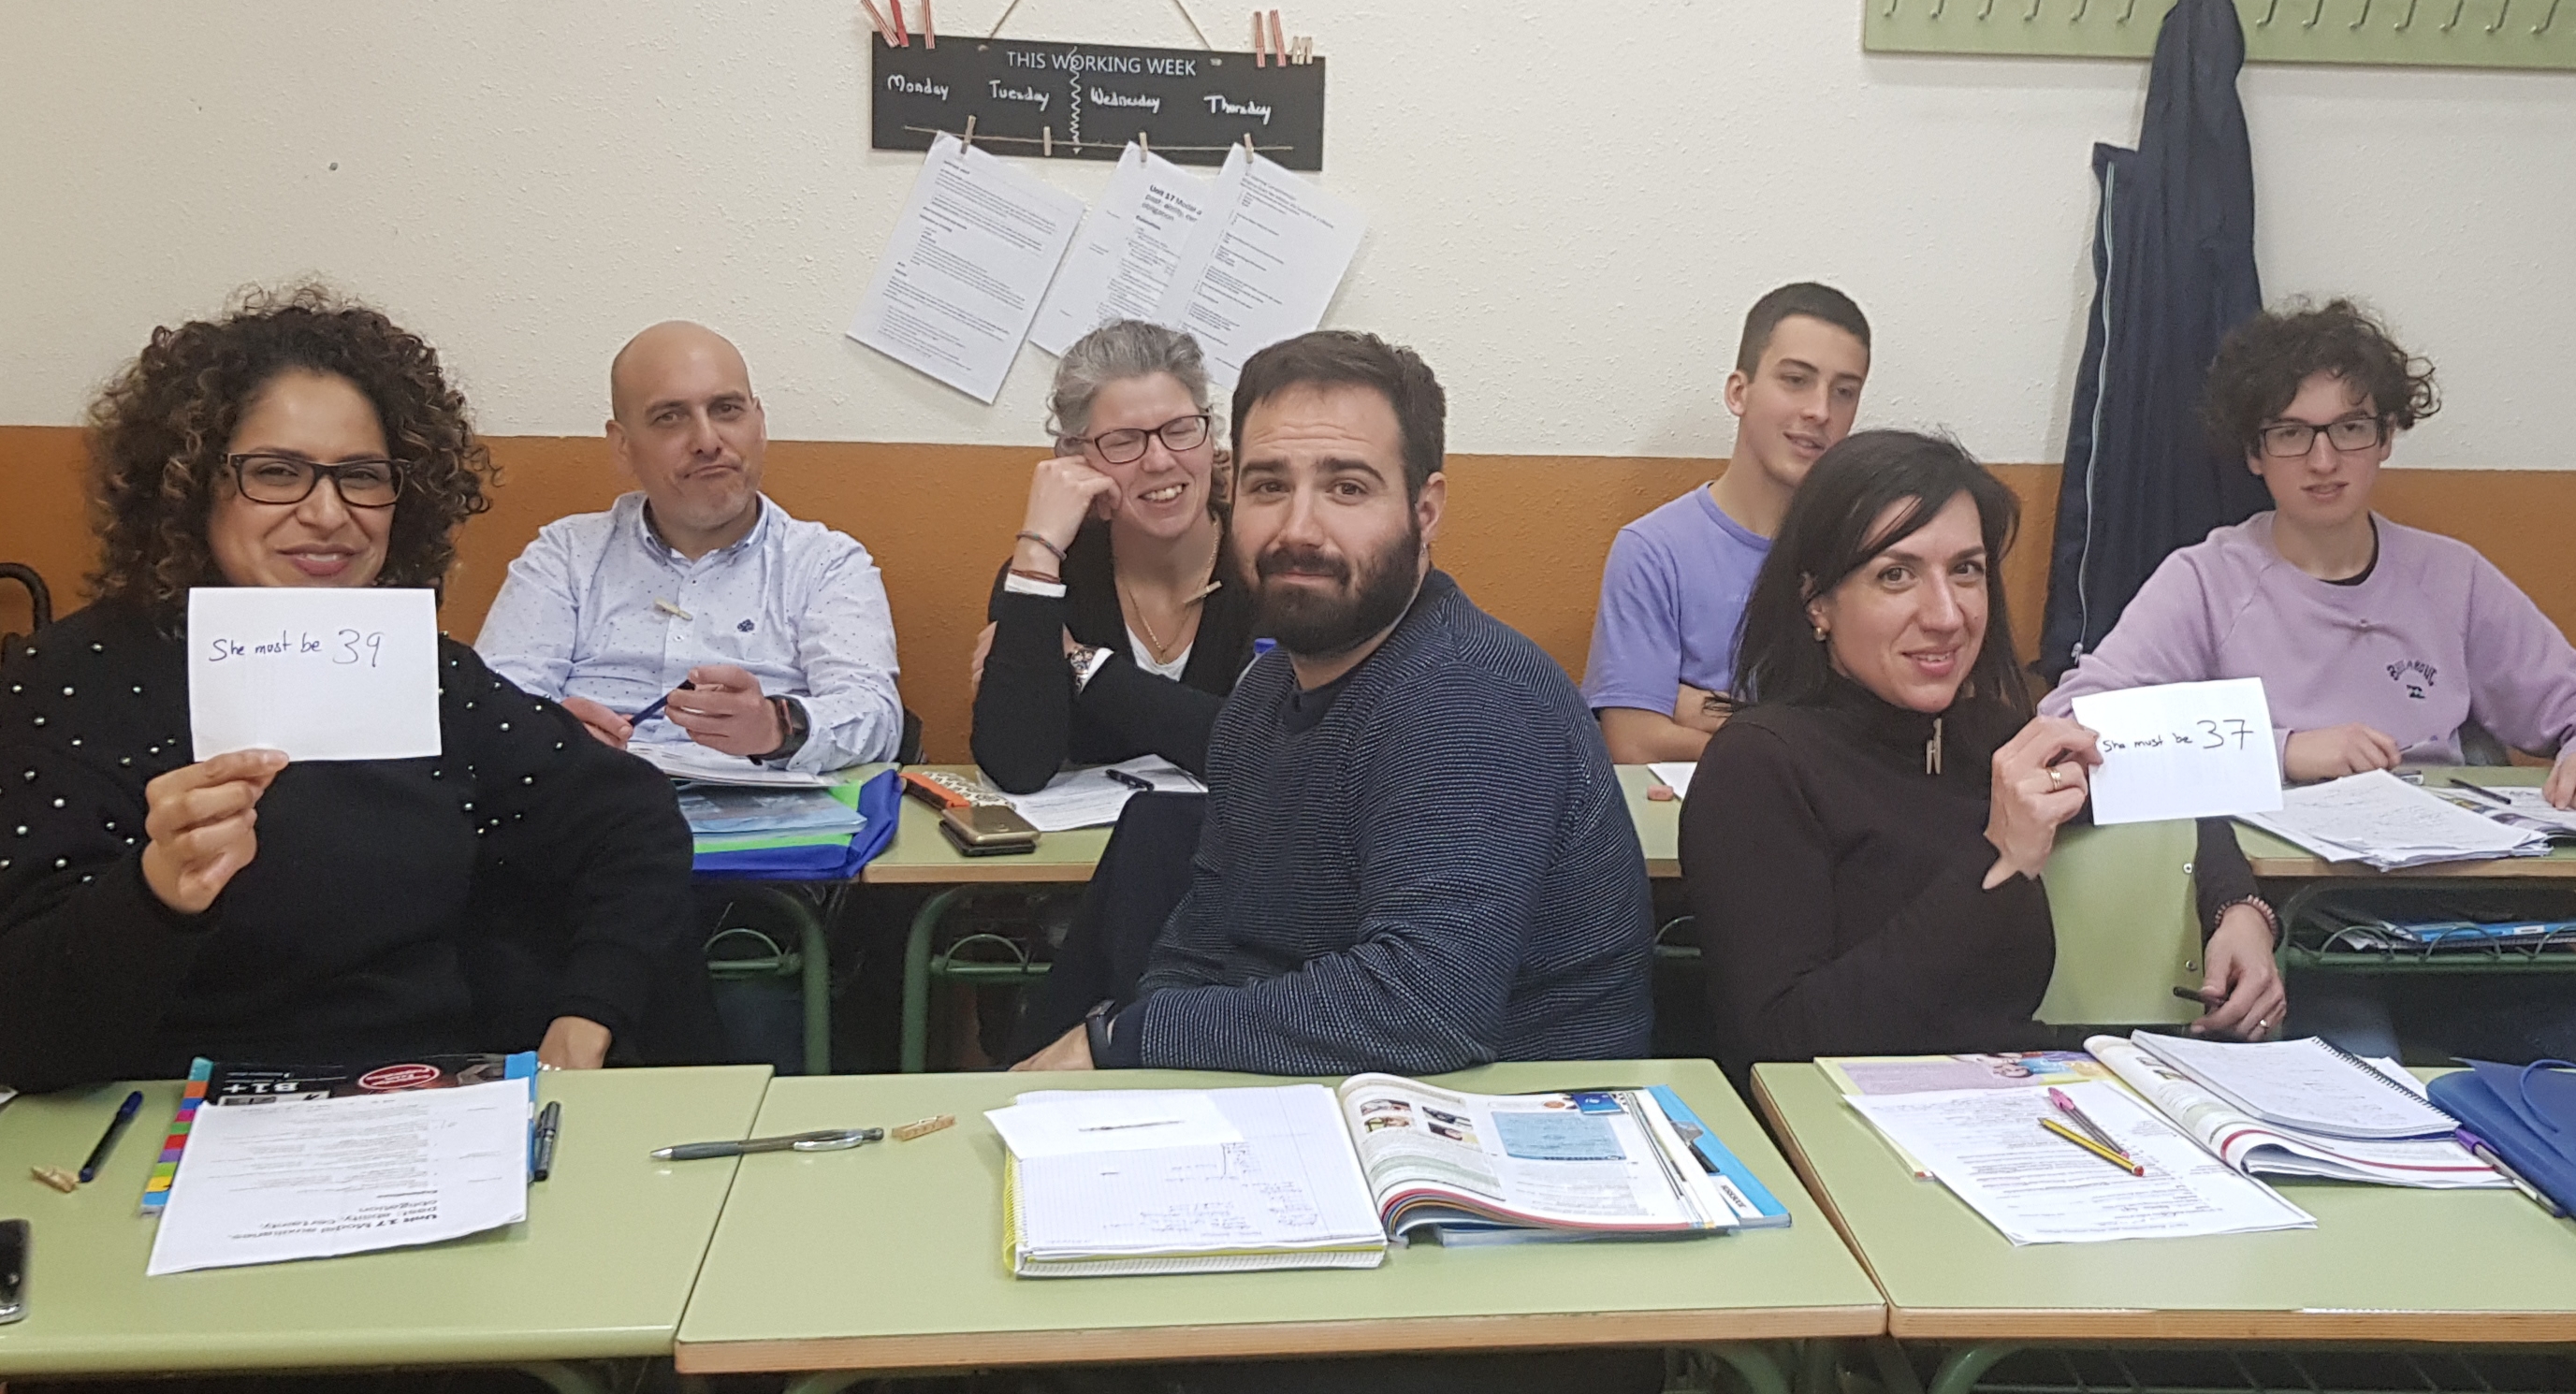
Controversial Statements
On the board, write these two statements and ask students to choose the one they agree with. Form two groups depending on their choice. Allow them to discuss their reasons to support the statement and then pair up students from different groups to try to convince each other to change sides.
The statements:
- “There is no point in learning a foreign language when Google Translator can do it for you”
- “Translation technology is good but should not replace learning languages”
You, as a teacher, want to agree with the second statement. Here are some reasons against the use of translation apps and in support of the second statement I have found to convince my students to keep on learning English. Do you think I’ll manage to convince them? Translation apps:
- They cannot understand context or translate pronouns correctly
- Cultural references are lost
- They don’t produce high-quality translations
- Accuracy depends on your accent or on background noise
- You cannot use it for long and involved conversations
- It is not good at recognising proper names and names of cities
- Your data is not safe