There has been a lot of talk recently about the benefits and drawbacks of using ChatGPT in the classroom. To be honest, from the teachers’ perspective and in my opinion, the benefits far outweigh the drawbacks. In fact, I can only see advantages. It is true that it is not going to help you engage your students; after all, it is only text, but what is undeniable is the fact that it is a great time saver for teachers. For me, ChatGPT is like Aladdin’s Genie of the Lamp, but granting unlimited wishes. You just wish for something, ask it nicely, and there it is. Ready to be used. You may not always be satisfied with what he initially offers you, but no worries, just ask again and be more specific about what you want.
In this lesson about animals, and in all the activities below, I have used ChatGPT. As I said, a real time-saver. You just need to add your teacher’s magic!
- Topic: Animals
- Level B2 upwards
- Skills: vocabulary, speaking and mediation.
Activity 1: Introducing Animals. Playing with ChatGPT.
Fun activity. I asked students to pair up and asked them to come up with a list of 10 farm
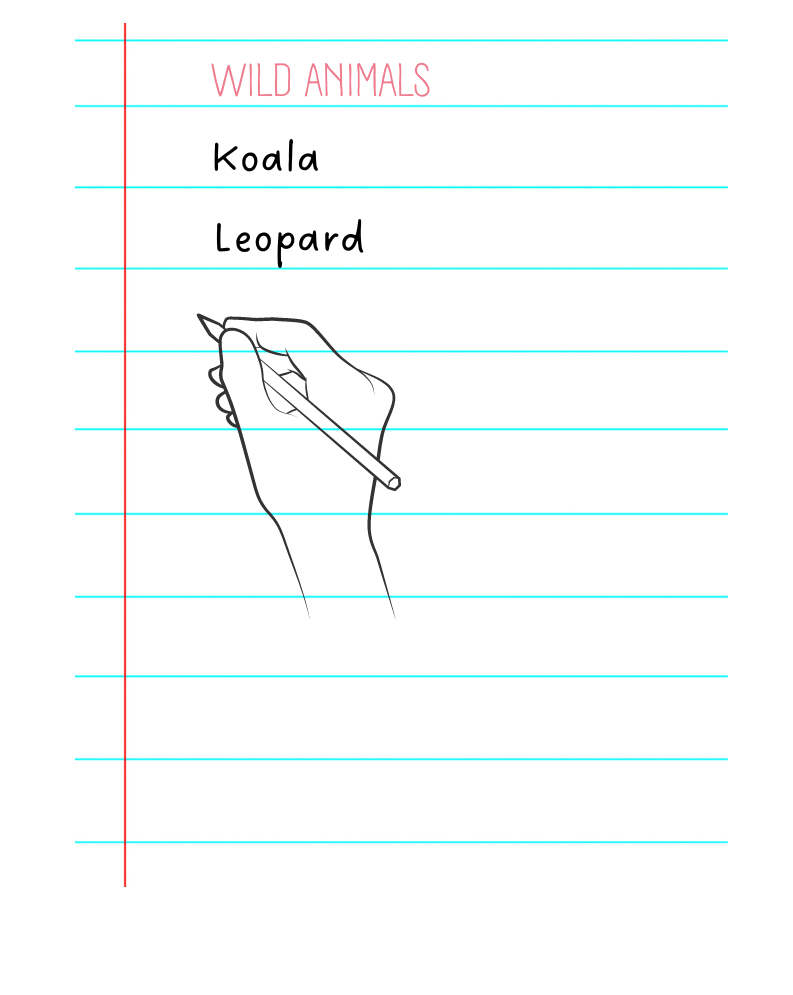
animals. To make things exciting, I set a timer for one minute only! Once the minute was up, I had them swap their lists with another pair.
And then, I brought in ChatGPT to join the fun and asked it to generate a similar list of farm animals. The students got a point for every animal they had that was also on ChatGPT’s list!
We wrote any new vocabulary on the board and repeated the same activity, but this time with wild animals.
Prompts in ChatGPT:
- write a list of 10 farm animals
- write a list of 10 wild animals
Activity 2. Guessing the animal.
I decided to play a fun guessing game with the help of ChatGPT. I picked an animal and then asked ChatGPT to give me three clues about the animal, starting with the most difficult clue and ending with the easiest clue. I asked ChatGPT not to use the name of the animal in the clues.
Prompt: Can you provide me with three clues that describe a rhinoceros, in descending order of difficulty, for someone to guess the animal without mentioning the word ‘rhinoceros’?”
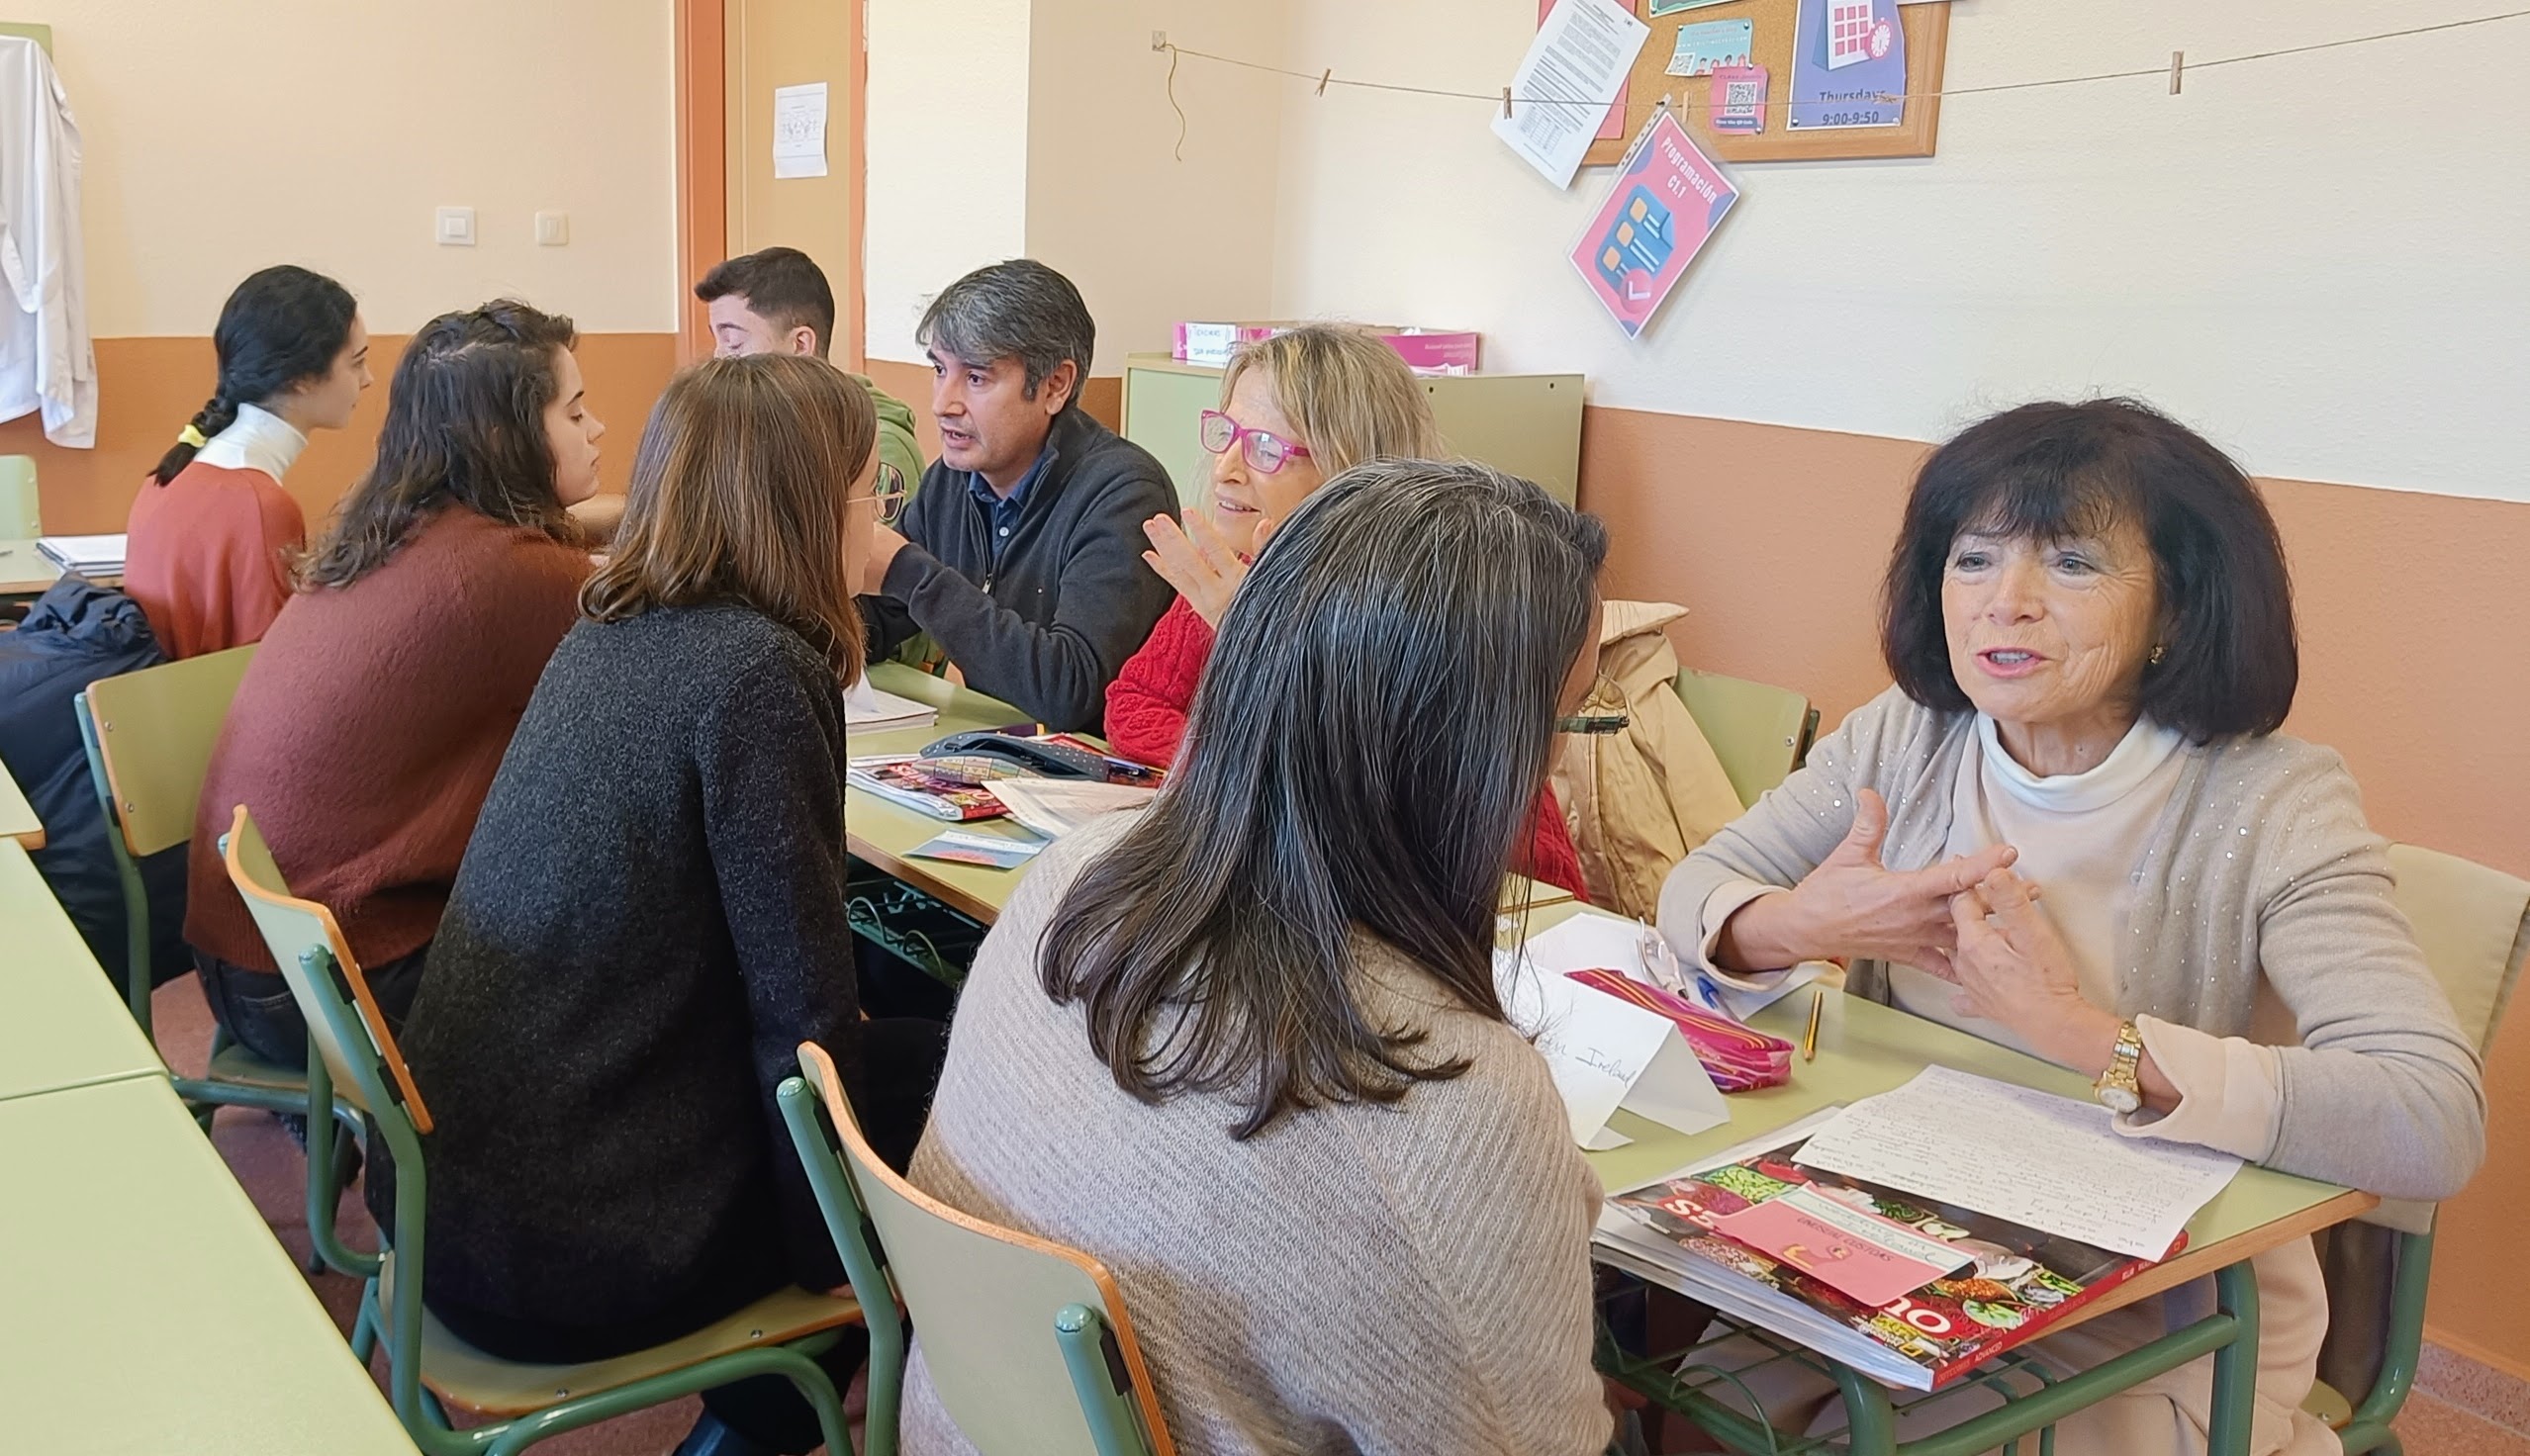
I asked students to play in groups of 4, name a spokesperson, and gave each group a hotel bell.I then explained that I was going to read a series of clues for an animal, starting with the most difficult one (worth 3 points). After I read each clue, the groups had a brief moment to confer amongst themselves. If they thought they knew the answer, their spokesperson could press the bell. During the activity, I made sure to emphasize that only the first team to press the bell was allowed to give an answer for each clue. This added an element of competitiveness and encouraged the students to be quick on their feet. If they guessed correctly, they scored 3 points for their team. However, if their guess was incorrect, they would not be allowed to press their bell for the next clue (worth 2 points), even if they knew the answer. The last clue, which was the easiest one, was worth only 1 point. It was a really fun way to challenge the students’ knowledge and teamwork skills!
Note: you might not agree with the level of difficulty ChatGPT gives for each clue. Feel free to change the order. For example: For the word rhinoceros, this is the order provided by the chatbot. I read it in a different order.
- This animal has a thick, tough skin that helps protect it from predators. (2 points)
- It is known for its large, pointy horn on its nose. ( 1 point)
- This animal is a herbivore and can be found in both Africa and Asia. (3 points)
Activity 3. Speaking : ChatGPT questions in a Speed chatting Activity
I asked ChatGPT to provide me with 10 thought-provoking questions about animals. I then asked my students to discuss these questions with a different partner each time I posed a new one (speedchatting style)
Prompt: provide me with 10 thought-provoking questions about animals.
These are the questions ChatGPT provided. I used only 5 of them.
- Do animals have emotions like humans do? How can we tell?
- Is it ethical to keep animals in captivity for human entertainment? Why or why not?
- How do animals communicate with each other? Can humans learn from their communication methods?
- What are the consequences of humans encroaching on animal habitats?
- Should we use animals for scientific research? Are there ethical boundaries to be considered?
- How has human intervention affected the evolution of certain animal species?
- Is it possible for animals to exhibit intelligence or problem-solving skills on par with humans? If so, which animals are capable of this?
- How have animals been used in art, literature, and mythology throughout history? What significance do they hold?
- Should humans be held accountable for the extinction of certain animal species?
- How can we improve animal welfare in farming and agriculture?
Activity 4. Interlinguistics Mediation Task.
Yes. Yay! It can also help you here. In my region, in mediation tasks, the input is in Spanish and students use English to do the activity, in most cases either summarizing or explaining the main points in the text. Given that ChatGPT works in Spanish too, why not give it a go?
Yes. Yay! It can also help you here! So, in my neck of the woods, when students do mediation tasks, they typically get input in Spanish but have to complete the activity in English. Usually, this involves either summarizing or explaining the main points in the text. Given that ChatGPT works in Spanish too, why not give it a go?
First, I asked ChatGPT to generate the text in Spanish, printed it and ten, gave the task to my students. Then, and again using ChatGPT, I modelled the activity. These are the prompts I have used.
Prompt:Write a text in Spanish of about 200 words about why animals should and should not be used in circuses. Use four paragraphs. In the first paragraph, write an introduction, in the second paragraph write reasons for, in the third paragraph reasons against and in the 4 th paragraph write a conclusion.
Prompt: Summarize the following text in English in about 100 words in an organized way. (copy and paste the text generated from the previous task)
All this would have normally taken me a long time to write, and this is where ChatGPT can really help you save time. And time is gold, isn’t it? But remember, ChatGPT does not teach, it is your own magic that engages students.