I’m not a native speaker. I work in English, write, read and watch TV in English. In short, I breathe English. But I’m not a native and I’m not ashamed to admit that sometimes, especially when correcting written work, I have this feeling that a collocation is just not right but I cannot I come up with the correct one straight away.
Has it ever happened to you?

I could rely on my instinct, I could certainly do it, but sometimes I just can’t without making sure I’m doing the right thing. Problem is that a dictionary would be no help here as we are dealing with more complex issues. We are not talking about grammar or vocabulary meanings, we are dealing with how words collocate with some words, but not with others and this is just something that if you are not a native, you will have a hard time deciding whether it is correct or a bad translation from your native language. The problem, of course, is that to your non-native ears it might sound perfect.
For example, let’s take this simple sentence
Global warming is produced by…
Does it sound Ok to you?
For a Spanish speaker, this sounds just right. But is it a natural collocation in English?
Doesn’t Global warming is caused by… sounds better?
When I am in doubt, I have a bunch of useful websites I use, but my favourite for this kind of problem is Netspeak. Please check my post Six amazing Websites that Make your Writing Stronger to read about this “bunch” I was referring to.
So, when I am not sure if “xxxx ” is correct, this is what I do.
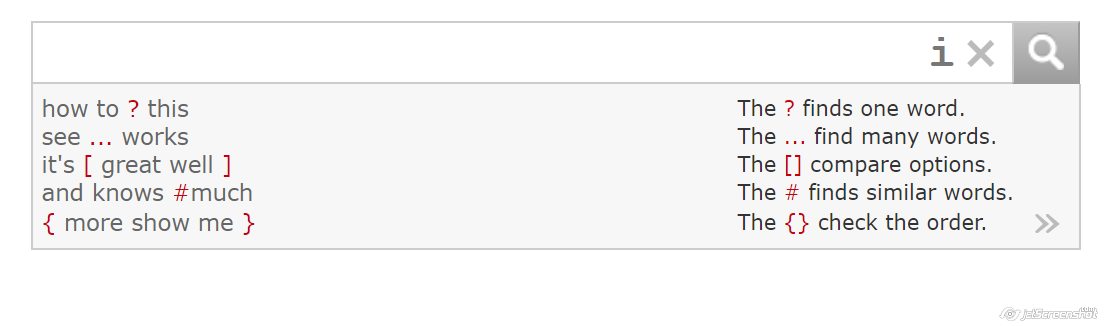
What else can you do on Netspeak?Among other things:
- If you have forgotten a specific word, type ? Ex: ? for granted
- If you need to find many words, type … Ex …granted
- If you are not sure about two words or want to compare them [] Ex It sounds [good well.
 Blog de Cristina is also on facebook. Click here to follow us