Here’s the thing – I do love playing bingo. But here’s the other thing – I’m kind of picky about the kind of bingo I play.
I like playing bingo…
- where all the students are involved
- where they have to use the target language
- where there is some kind of prop involved
- where there is heaps of fun+ lots of learning
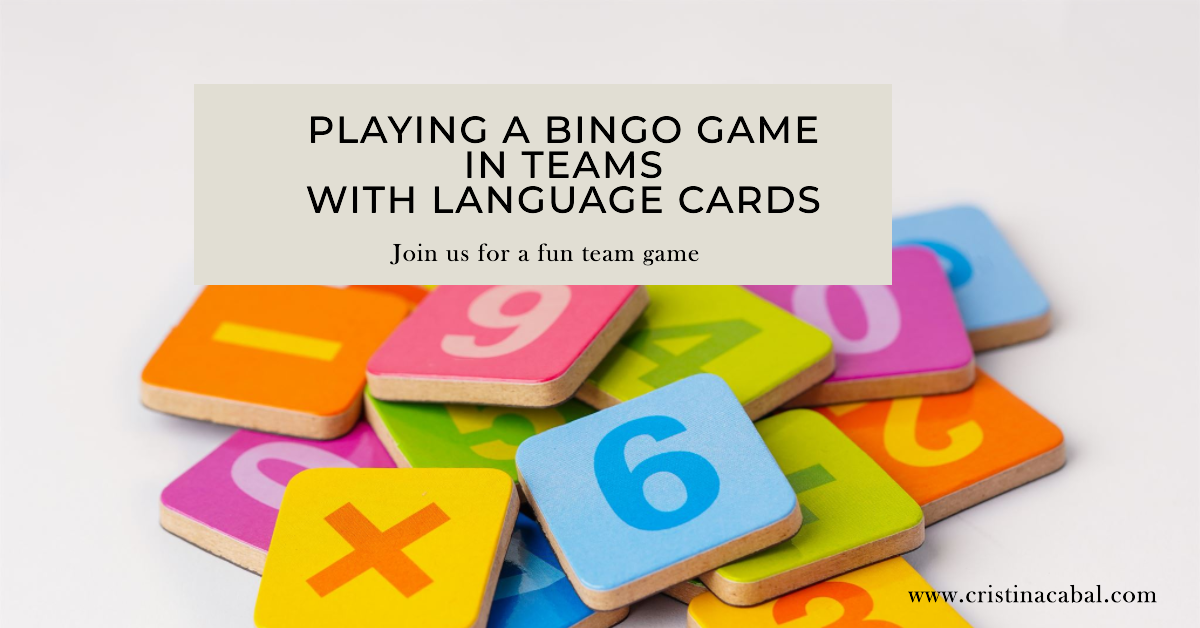
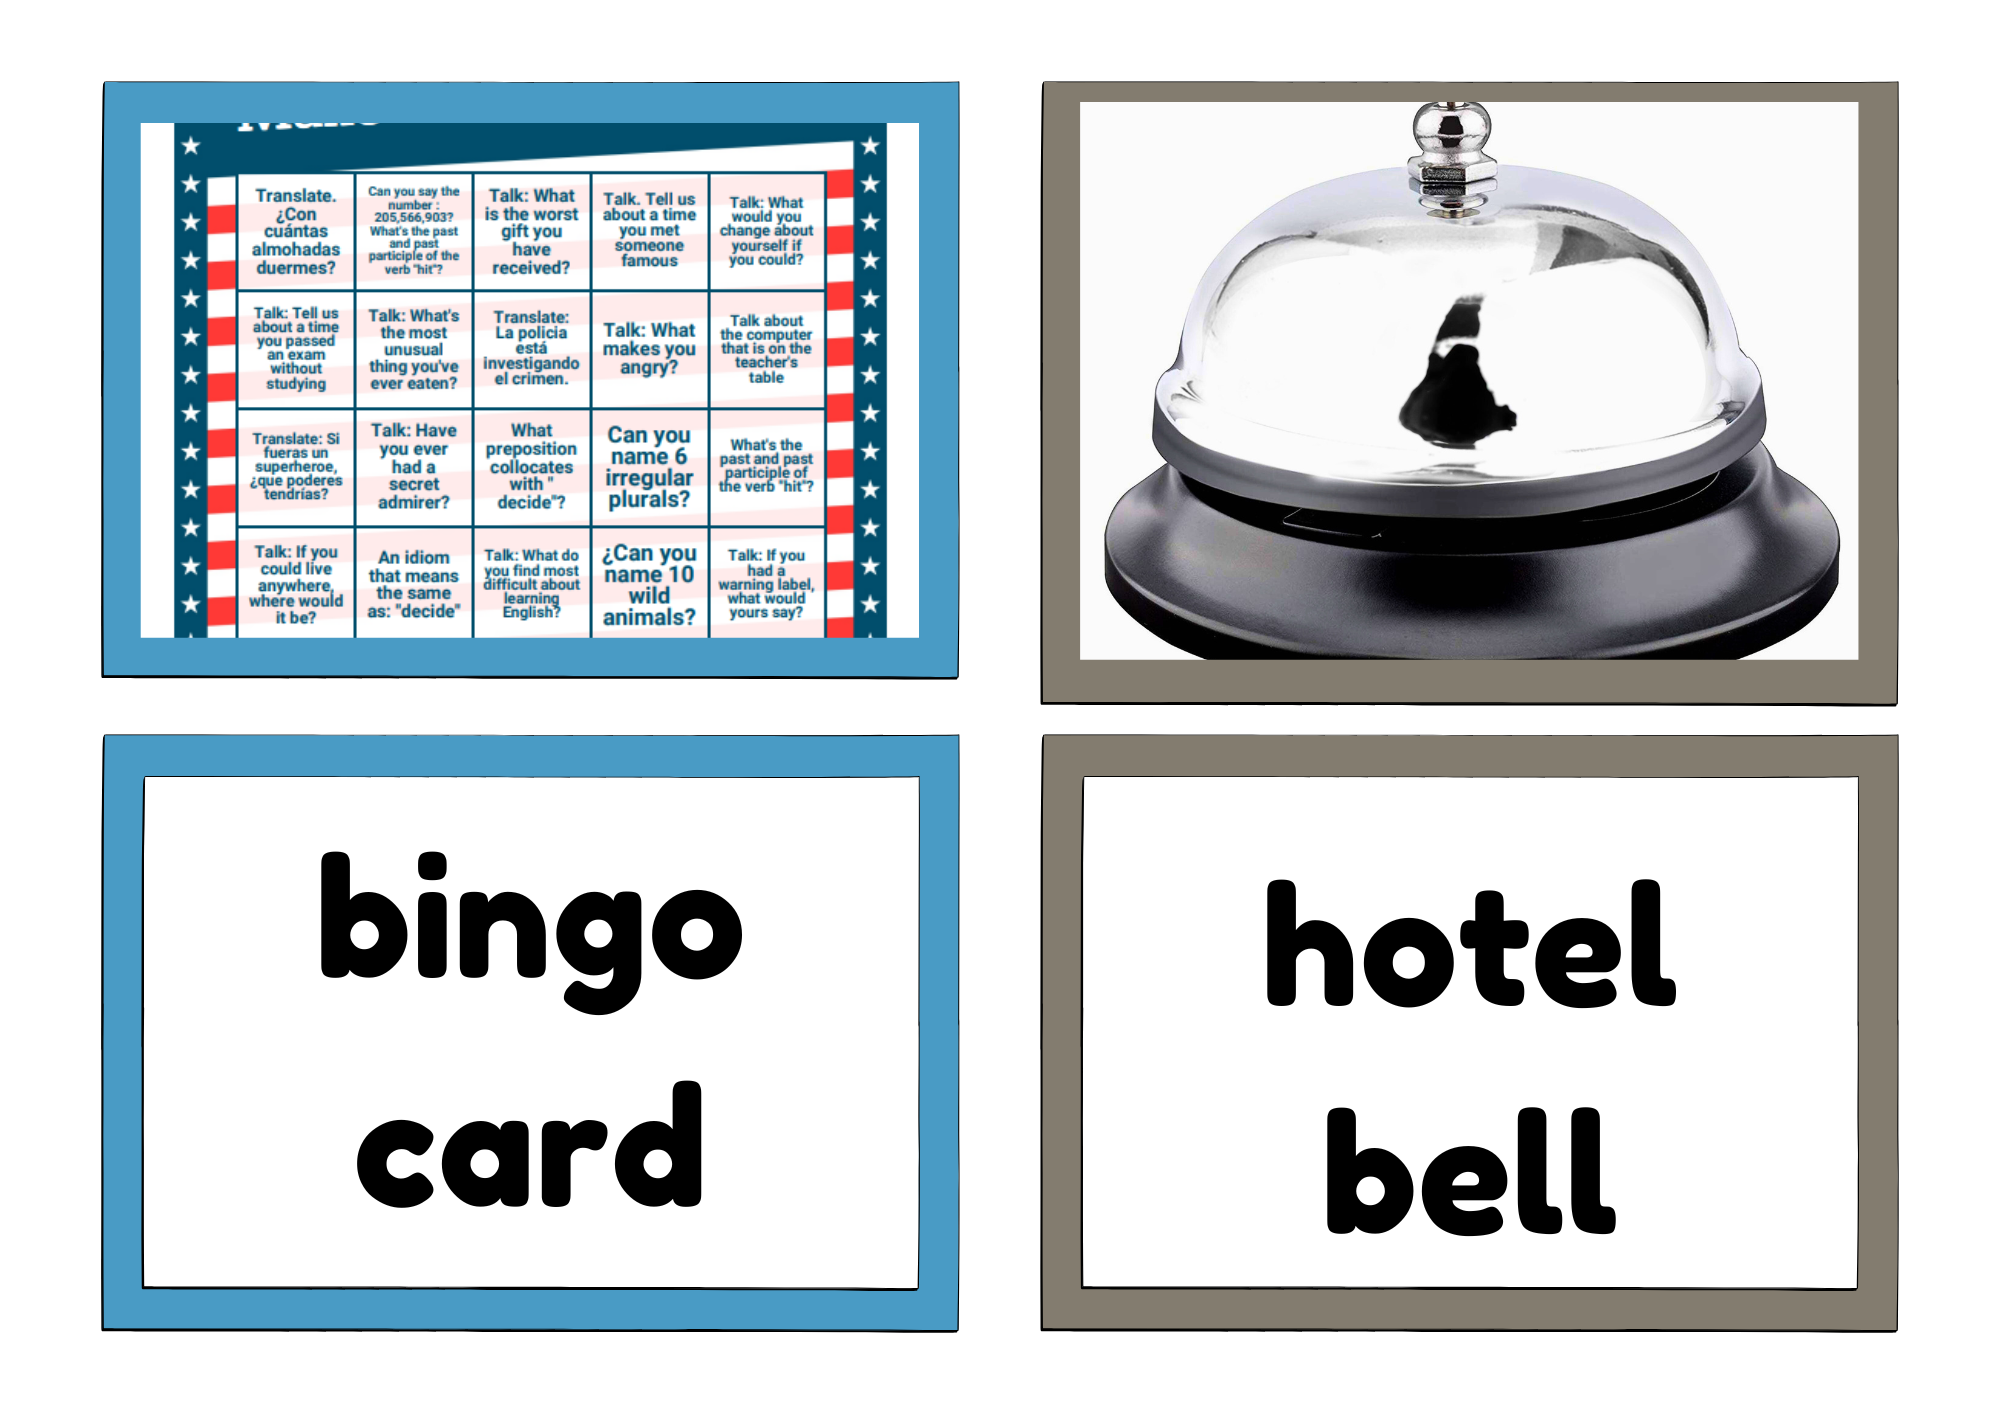
And that’s why I have designed this “Get to Know You” bingo game in teams for my first class. I have designed the task cards for the first day of the school year, but it is easily adaptable for any level and any content. You will see a mixture of speaking, translation and grammar and vocabulary tasks and also a mix of difficult and easy tasks to keep things interesting. More elements for this bingo? Yes, it is played in teams and we need hotel bells. Yay!!!
BEFORE THE CLASS
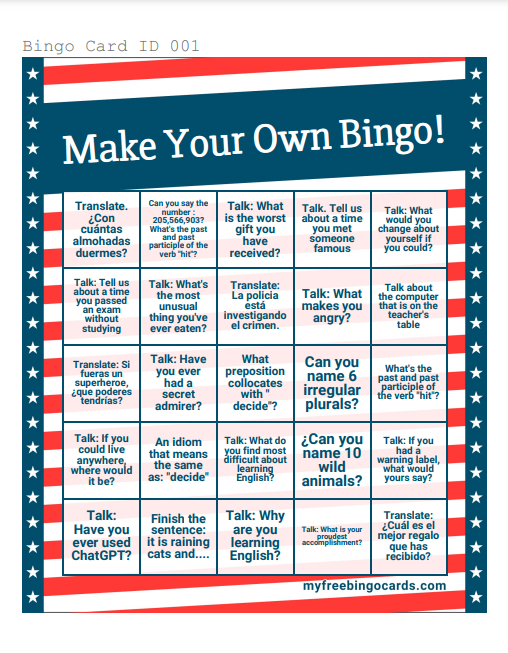
- Prepare bingo cards: Create unique bingo cards for each team member. Each card should have a 5×5 grid of squares, with each square containing a different task.
- Task bag: Prepare a bag or container with folded pieces of paper, each containing all the tasks listed on the bingo cards.
IN THE CLASS
- Form Teams: Divide the class into teams that should sit together. Each team should have an equal number of members ( 3/4 members works fine) . Give each team member a unique bingo card. Give each team a hotel bell.
- Draw a card: Start the game by drawing a task card from the bag. The drawn task card should be read aloud to everyone.
Now, this is where I twist the bingo game.
Any team and any team member can attempt to complete the task that is drawn from the bag. If they think they can do it, they will ring the bell. At this point, it is important to notice that there are two kinds of tasks:
DIFFERENT KIND OF TASKS CARDS
1. If it is a speaking task, they can ring the bell as soon as someone in the team decides to attempt to complete the task. Speaking tasks require that the student speaks for one minute non-stop.
2. If it is a task that involves thinking, conferring or writing, teams will ring the bell as soon as they have completed the task and/or are ready to answer. .
NOTE: the teacher will choose the team that rings the bell first.
SUCCESS OR FAILURE AT COMPETING THE TASK
- What happens if a team fails to complete a task? Then, the teacher says NO! and another team gets the chance to complete it but to do so, they will need to ring the bell as quickly as possible.
- What happens if a team completes the task successfully? If this happens, all the members in this team can claim the corresponding square on their bingo card by marking it. It doesn’t matter where the square is on their bingo card or who in their team completed the task; if any member of the team completes the task drawn, all members of the team claim that square.
WINNING
The game continues until a team or individual gets five squares in a row marked horizontally, vertically, or diagonally on their bingo card. The first team, or individual in the team, to achieve this yells “Bingo!” and the team is declared the winner.
CREATING THE BINGO CARDS
I have used the free bingo generator, My Free Bingo Cards. You don’t need to register, and it lets you generate 30 unique bingo cards. Here are my bingo cards in case you want to use them.
EXAMPLE OF TASK CARDS
Speaking tasks: the team member attempting to do the task will have to talk for 1 minute non-stop about
- Talk: What would you change about yourself if you could?
- Talk: What makes you angry?
- Talk: What do you find most difficult about learning English?
- Talk: If you could live anywhere, where would it be?
- Talk: What is your proudest accomplishment?
- Talk: Why are you learning English?
- Talk: Have you ever used ChatGPT?
- Talk: Tell us about a time you passed an exam without studying
- Talk: What is the worst gift you have received?
- Talk about the computer that is on the teacher’s table
- Talk: Have you ever had a secret admirer?
- Talk: What’s the most unusual thing you’ve ever eaten?
- Talk: If you had a warning label, what would yours say?
- Talk. Tell us about a time you met someone famous
TRANSLATION TASKS
- Translate. ¿Con cuántas almohadas duermes?
- Translate: Si fueras un superheroe, ¿que poderes tendrías?
- Translate: ¿Cuál es el mejor regalo que has recibido?
- Translate: La policia está investigando el crimen.
GRAMMAR and VOCABULARY TASKS
- An idiom that means the same as: “decide”
- ¿Can you name 10 wild animals?
- What preposition collocates with ” decide”?
- Finish the sentence: it is raining cats and….
- Can you say the number : 205,566,903?
- What’s the past and past participle of the verb “hit”?
- Can you name 6 irregular plurals?
I have not tested this activity in class as classes have not started yet. I normally wait until I have tried the activity in class but this time, I could not wait to share it with you, plus this is a very busy month for me with exams and teacher training sessions and I was afraid I might forget the idea. So, here it is. Better safe than sorry! I hope you like it!