Monthly Archives: January 2025

Nailing the Monologue: The Three-Rule Strategy

Oh, exams—just the word can send a chill down your spine, right? Believe me, I haven’t always been a teacher and I can distinctly remember feeling the clock ticking and not having enough time to revise. As the big days approach, as  a teacher, I now notice how my students start to feel the pressure too. But don’t worry, we’ve got this!

Today, I am going to give you some tips to ace one of the parts of the oral exam: the monologue. But, and this is a big “BUT” , you need to know before you continue reading that oral exams need to be studied. Otherwise, no matter how good the tip or the strategy, it just won’t work.

The worksheet:

You will receive a worksheet that includes:

  1. A clear theme for the monologue.
  2. Two engaging photos to illustrate the topic and spark ideas.
  3. Three starter phrases to help you structure your thoughts.

Preparation Time

Let’s talk about how to use your preparation and speaking time wisely.

  • You’ll usually have a few minutes to prepare (not many, so don’t waste them!). In my C1 exams, you will have 2 minutes.
  • Then, you’ll have about three minutes to deliver your monologue—if you’re working at a C1 level, that’s your target.
Tips to Ace Your Monologue
  1. Read the Title
    The title gives you the main topic—don’t skip over it! It’s your guide to what you need to discuss.
  2. Make Use of the Photos
    While you don’t have to describe the images,  you can refer to them to support your ideas. They’re there to inspire and give context, so use them wisely.
  3. Cover the Three Statements
    You’ll need to address all three statements provided in your worksheet. Aim to distribute your time evenly among them. A good rule of thumb? Spend about one minute per statement to ensure a balanced and well-developed monologue.

What Is the Rule of Three?

It’s simple: For each of the three statements on your worksheet, think of three ideas to build your response. These ideas can reflect whether you:

  • Agree with the statement.
  • Disagree with it.
  • Partially agree or disagree, offering a mix of perspectives.

Tips

Tip: you are only allowed 2 minutes to prepare. Listen up!!! You won’t have time to write full sentences. Write only ideas. Think quickly how you can elaborate on them , but don’t write it. Just think. Otherwise, you won’t have time to cover the 3 statements in your worksheet.

Tip: This isn’t about listing ideas and moving on. It’s about developing them fully and thoughtfully. You’ll need to use vocabulary and grammar that matches your level, especially if you’re aiming for C1. The goal is to show depth in your argument and coherence in your structure.

Here’s another tip: You might not always need all three ideas to deliver an excellent monologue. If you elaborate enough on two ideas, giving details, examples, or explanations, that’s perfectly fine. It’s better to say fewer things with substance and clarity than to rush through a long list of undeveloped points.

Making It Work in Practice

When you’re planning, ask yourself:

  • What’s my opinion on this statement?
  • Can I support it with an example, a reason, or a counterpoint?
  • How can I link my ideas smoothly to create a natural flow?

For example, instead of quickly stating, “I agree because X, Y, and Z,” aim for something like:

  • “I partially agree with this statement because… [idea 1]. In particular, I’ve noticed that… [example]. On the other hand, there’s another perspective to consider… [idea 2].”

By following the Rule of Three, you’ll create monologues that are organized, engaging, and packed with meaningful content.

Flow Is Important

When you’re speaking, connect your ideas smoothly. Use natural expressions like:

  • “With this in mind…”
  • “Another point to consider is…”
  • “Building on that idea…”

These phrases will help you create a conversational flow but…

Tip: while the examiner might be pleased that you have used an expression like “when it comes to …ing” to introduce an idea, it is only OK to use it once during your monologue. If you use the same expressions over and over again, it will have the opposite effect.

Helpful Links

Creating a Personalized Story Book with AI: Fun, from Start to Finish!

Ever wanted to create a personalised storybook, for children or adults, with a touch of creativity,  AI magic, and a lot of fun? Well, I decided to try this recently, and let me tell you – I had a lot of fun! The best part? It didn’t take me more than 15 minutes! Of course, I’m not going to promise that it’ll always be that fast, but trust me – it can be an efficient, enjoyable process if you know where to start.

This time, I didn’t create a storybook per se, but I made a unique, personalized book aimed at B2+ adult English students, focusing on the theme of New Year’s Resolutions. I’m going to walk you through the steps I took – and how you can do it too!

Step 1: Crafting the Perfect Prompt for ChatGPT

The first thing I did was think about what I wanted in my book. Since it was for adult students, I decided to base the content around New Year’s resolutions – a topic that would naturally spark reflection and conversation.

To get started, I crafted a detailed prompt for ChatGPT, which went like this:

Create a short story for adult English learners at the C1 level about New Year’s resolutions. Provide a bit of context at the start, introducing Cristina, the main character—a cheerful woman in her 40s, with blonde hair, brown eyes, and a friendly smile, who lives in Pravia, Asturias. Each page should have a brief narrative appropriate for language teaching, followed by a question related to New Year’s resolutions to engage learners. For each page, also describe the image in Pixar style, ensuring Cristina’s physical description (blonde hair, brown eyes, friendly smile) is consistently included to maintain visual continuity. Design about 10 pages for the story.  Repeat cristina’s description for each image prompt. 

This was my blueprint. By clearly outlining the structure, theme, and tone, ChatGPT knew exactly what I was aiming for. You’ll notice I emphasized consistency in both text and illustrations because I wanted the book to feel cohesive and visually engaging.

Step 2: Generating the Content with ChatGPT

Once I hit “send,” ChatGPT took the prompt and began generating responses that were thoughtful and perfect for my goal. The AI produced a series of pages, each with:

  • A little context about New Year’s resolutions
  • An engaging question about resolutions
  • Suggested words or grammar structures for students
  • A prompt for illustrations


Step 3: Designing the Visuals in Canva

  1. Choosing a Story Book: I took the content I generated with ChatGPT and jumped into Canva to design the book. In the search box, I wrote Story Book and took my pick.
  2.  Creating the images:OK. I have the design and the text but what about the visuals?  For the illustrations, I used the prompts ChatGPT provided, foung Magic Media on Canva and c pasted the prompts ChatGPT had provided for  each page. I made sure  the images maintained a consistent style.


Step 4: Publishing the Book – Canva + Heyzine Flipbooks = Magic!

Now that my book is ready,  “How do I share this with my students or readers?”  Easy! Canva has partnered up with Heyzine Flipbooks, which gives my book a whole new level of interactivity. This feature allows me to create a digital flipbook experience – just like flipping through the pages of a physical book! Oh, and did I mention it adds sound too?

But how do I take  my storybook and take it to HeyZine? No worries, follow these simple steps

How to Use Heyzine Flipbooks on Canva:

  • Click on the “Share” button
  • Select “See All”:
  • Scroll Down and Find Heyzine Flipbooks:
  • Click on Heyzine Flipbooks:

And here’s the result.

Writing a News Article: From Theory to Engaging Practice

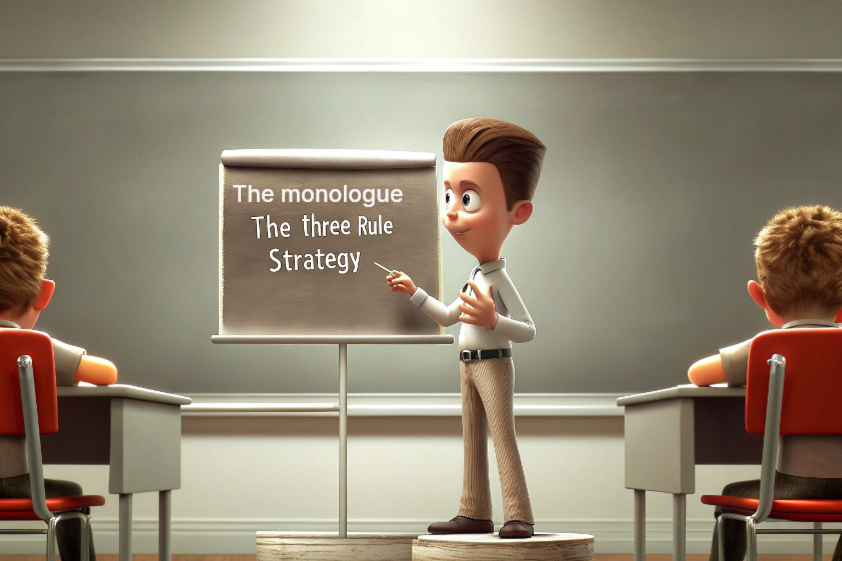
I know,  teaching students how to write a news article can feel a bit… uninspiring, right? Sure, we’ve all given them the “who, what, where, when, why, and how” spiel and shown a couple of examples. But then comes the big question: how do we make it exciting, hands-on, and memorable?

Picture this: your classroom is buzzing like a newsroom. There’s a clothesline of headlines strung across the room, and students get to pick one that sparks their curiosity. They, then, start writing their stories. Now, what? After that, each student’s headline goes back to the clothesline. Now, instead of just presenting their work, students pick a headline that catches their interest and become the audience for their peers’ stories. Sounds intriguing, right? If I’ve piqued your curiosity, keep on reading and below I’ll explain how this clothesline activity can transform the typical writing exercise into a dynamic and memorable learning experience!

Before we dive in, just a quick reminder: this is Part 3 of our series leading up to writing a complete news story. If you missed Parts 1 and 2, be sure to check them out to catch up on the grammar and writing activities that set the stage for this exciting final step

Step 1: The Theory; a.k.a the uninspiring part.

PDF

In the handout,

  • I’ll guide my students through the step-by-step process of writing a news article
  •  Provide two sample activities to get started. It begins like this

Step-by-Step Guide to Writing a Newspaper Article

1.Outline the Article Structure

Draft an outline based on the inverted pyramid structure, where the most critical information comes first. This typically includes:

    • Headline: A catchy title summarizing the main point.
    • Byline: The author’s name and possibly their role.
    • Lead Paragraph: The introduction that covers essential details.
    • Body paragraphs: Provide details in descending order of importance
    • Conclusion: wrap up the story

2. Focusing on the Headline Characteristics

  • Always be  concise and direct
  • Typically use: …

(refer to the PDF)

Step 2: Creating the Prompts for the Fake News Stories. The Beauty of Belnding Old and New

Back in the day, crafting 15 fake news headlines for a lesson? Absolutely not. Too much time, too much effort! But now? With AI, it’s  so easy!!!.

I hopped onto Canva and  wrote the prompt below—and, in seconds, I had them all. Then, I printed them (yep, old-school paper!), and bam—ready for class.

I want to give my C1 English students news headlines and some details of the story. Students will need to write the news story and be creative. Can you provide me with 15 news headlines and a  couple of details about the story using bullet points? They will also be required to use reported speech  so some direct quotes from people involved in the story are welcome. Include some fun headlines about EOI Avilés, a state language school in Asturias.

Link

Newspaper headlines de cristina.cabal

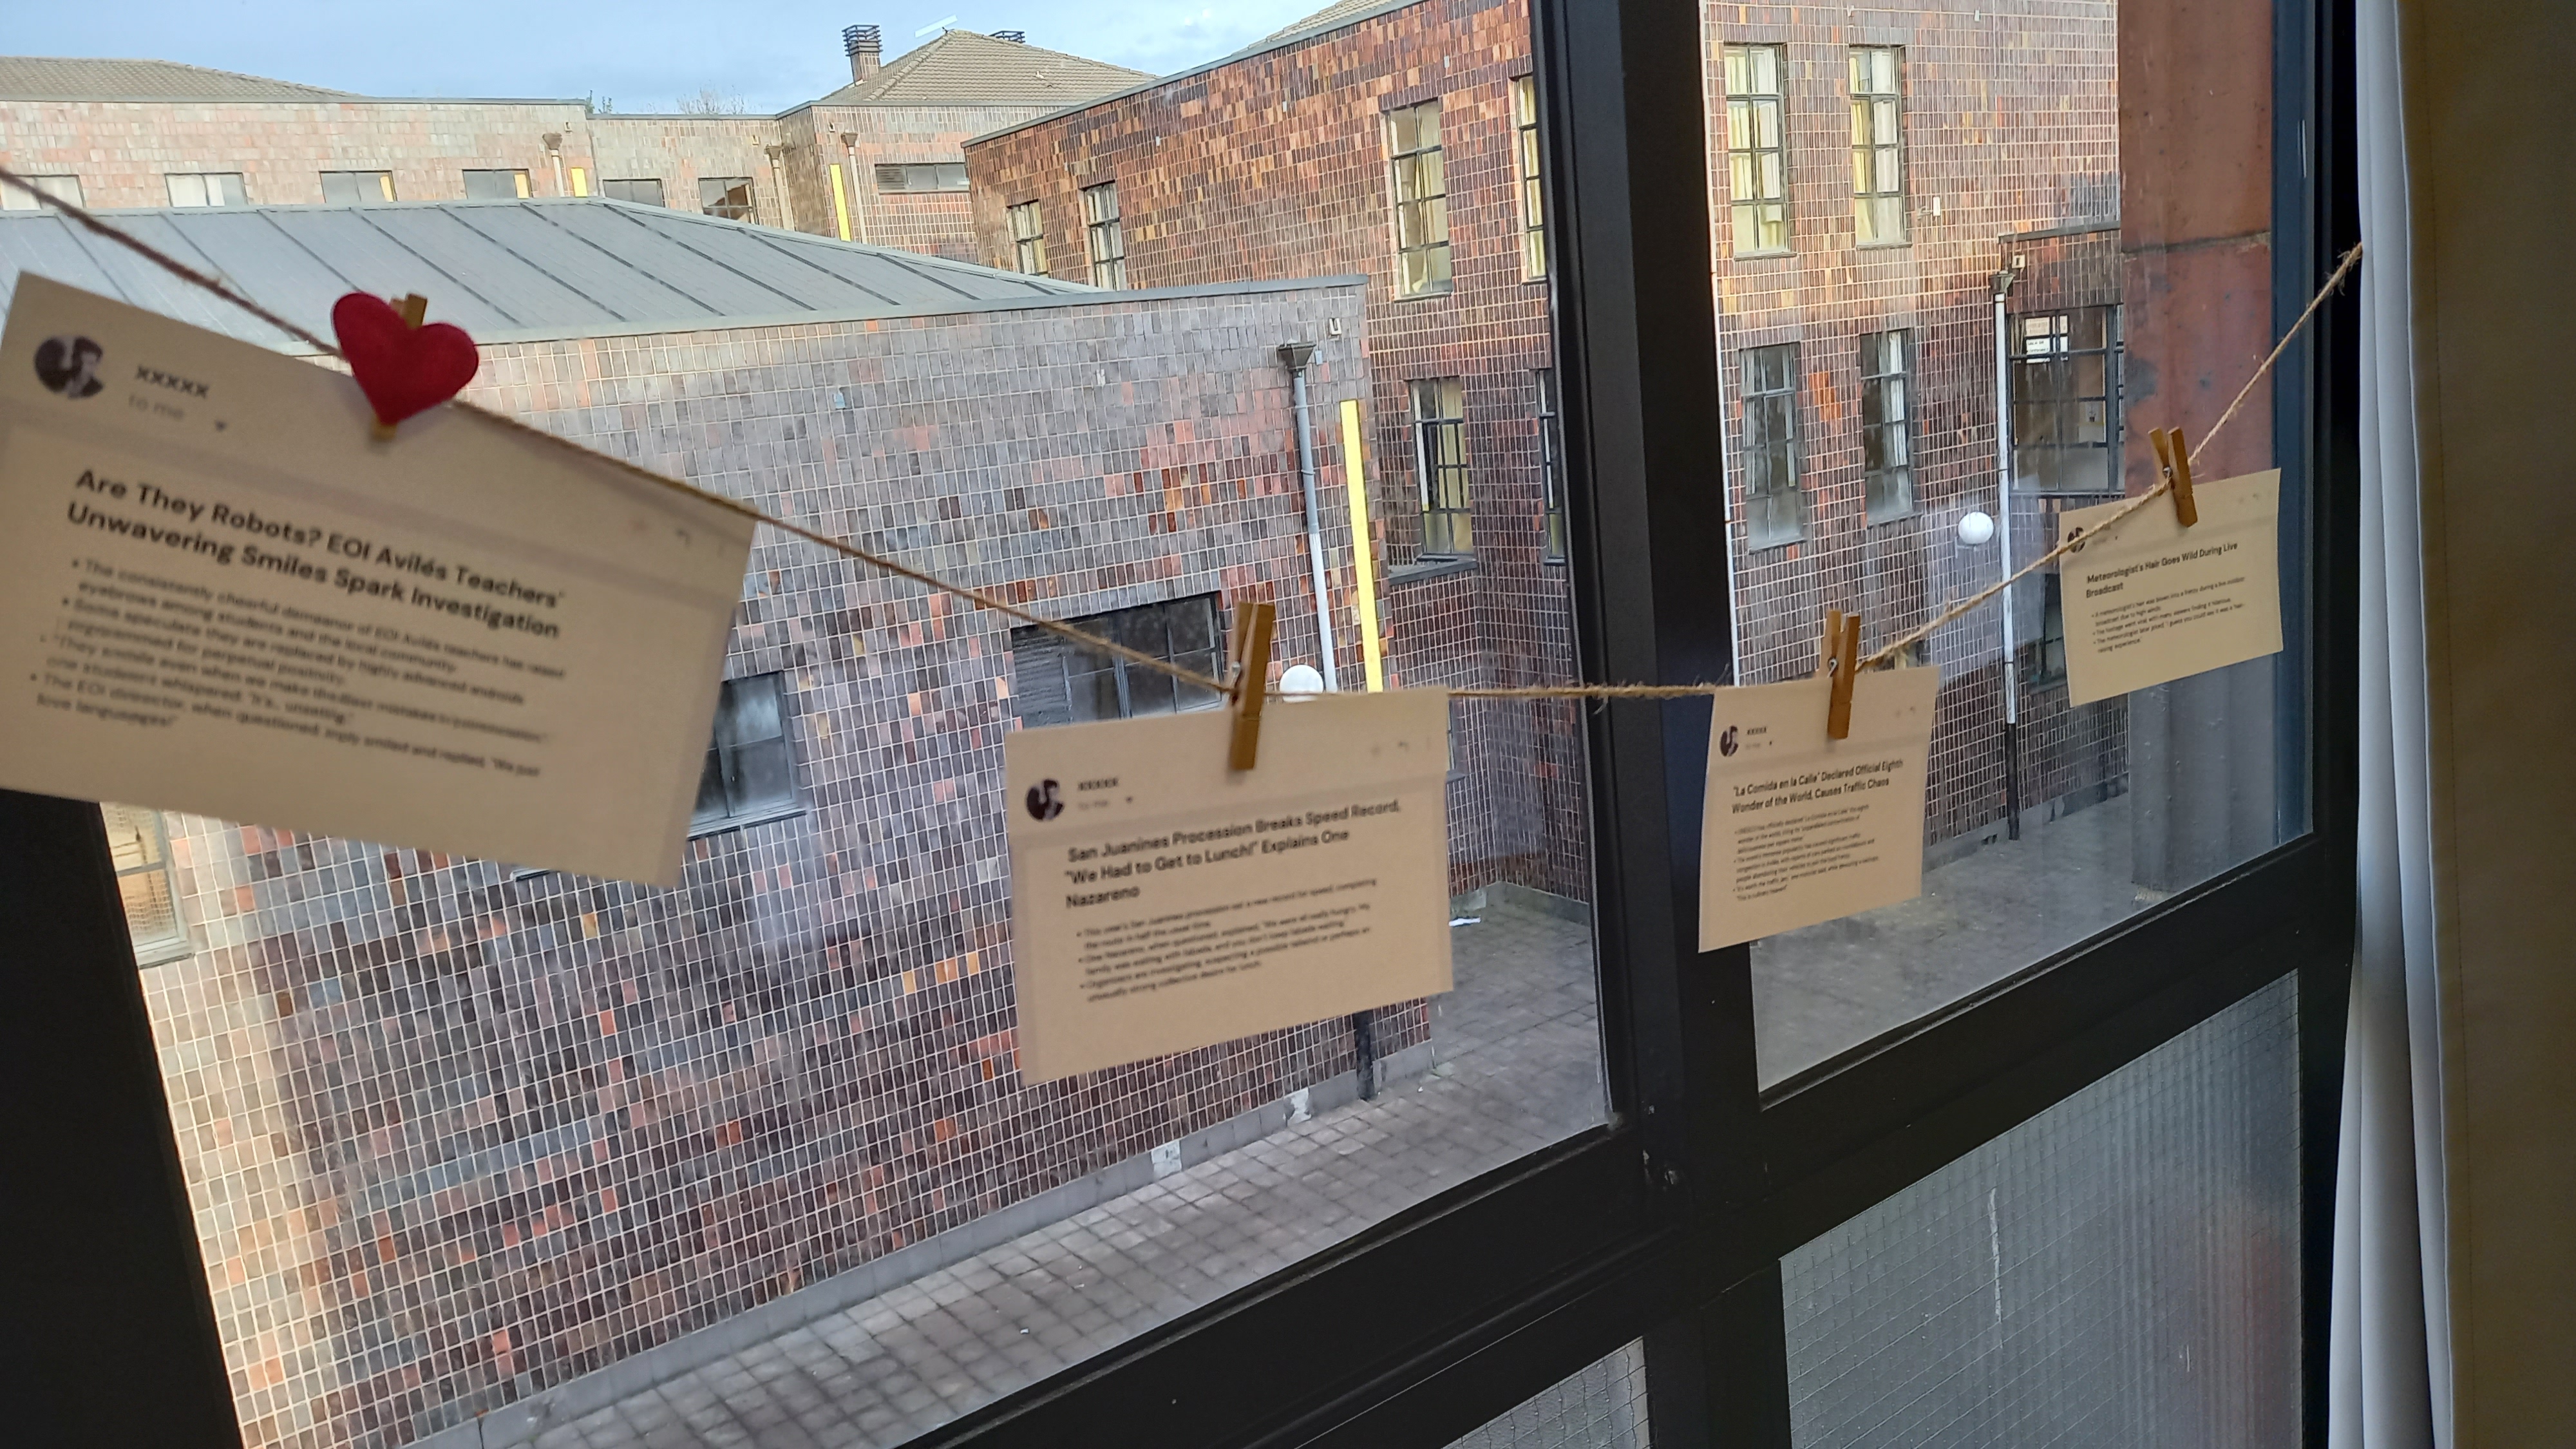
Step 3. Fake News on a Clotheslines

Next, I hung the cards  on some cute clothesline.

Students stood up, browsed the “news,” and picked their favorite headline -the stories included some hilarious takes about my school, EOI Avilés (those got the biggest laughs).-Then, they got to work writing their stories. I gave them 25 minutes to write their stories.  And just like that, you can turn a writing activity into something dynamic and interactive.

While students wrote their fake news stories, I got to work correcting their most important mistakes. It took longer than expected, so I handed out an extra exercise to keep them busy while I finished.


Final Step: Headline Hunt and Story Swap

For the final step, I divided the class into journalists and audience members. The journalists hung their prompts for headlines on the clothesline, giving a glimpse of what their stories were about. I asked the audience members to stand up, browse the prompts, and choose the one they were most curious to hear. OOnce selected, the audience members read their chosen headlines aloud, and the journalists who had written the corresponding stories raised their hands. They then paired up, with the journalists sharing their stories directly with the audience members. While I didn’t ask them to memorize their stories, they were encouraged to speak naturally and avoid reading directly from their texts, making their storytelling more engaging and dynamic.

They, then, changed roles.

FINAL THOUGHTS

This whole process got me thinking about how magical it is to mix traditional teaching methodologies with the innovative power of AI. AI takes care of the boring work—brainstorming, designing, even personalizing content—while I get to focus on the hands-on, human side of teaching. It’s like having a super-efficient assistant who works behind the scenes while I take center stage in the classroom.

And honestly, I think that’s the future of education. It’s not about choosing between AI and traditional methods. It’s about finding that sweet spot where the two complement each other. AI gives us tools to do the heavy lifting, but we still get to add that personal, human touch.

Follow us on