Monthly Archives: March 2023

It was not Rocket Science but it was a Smashing Success: Conflict and Resolution

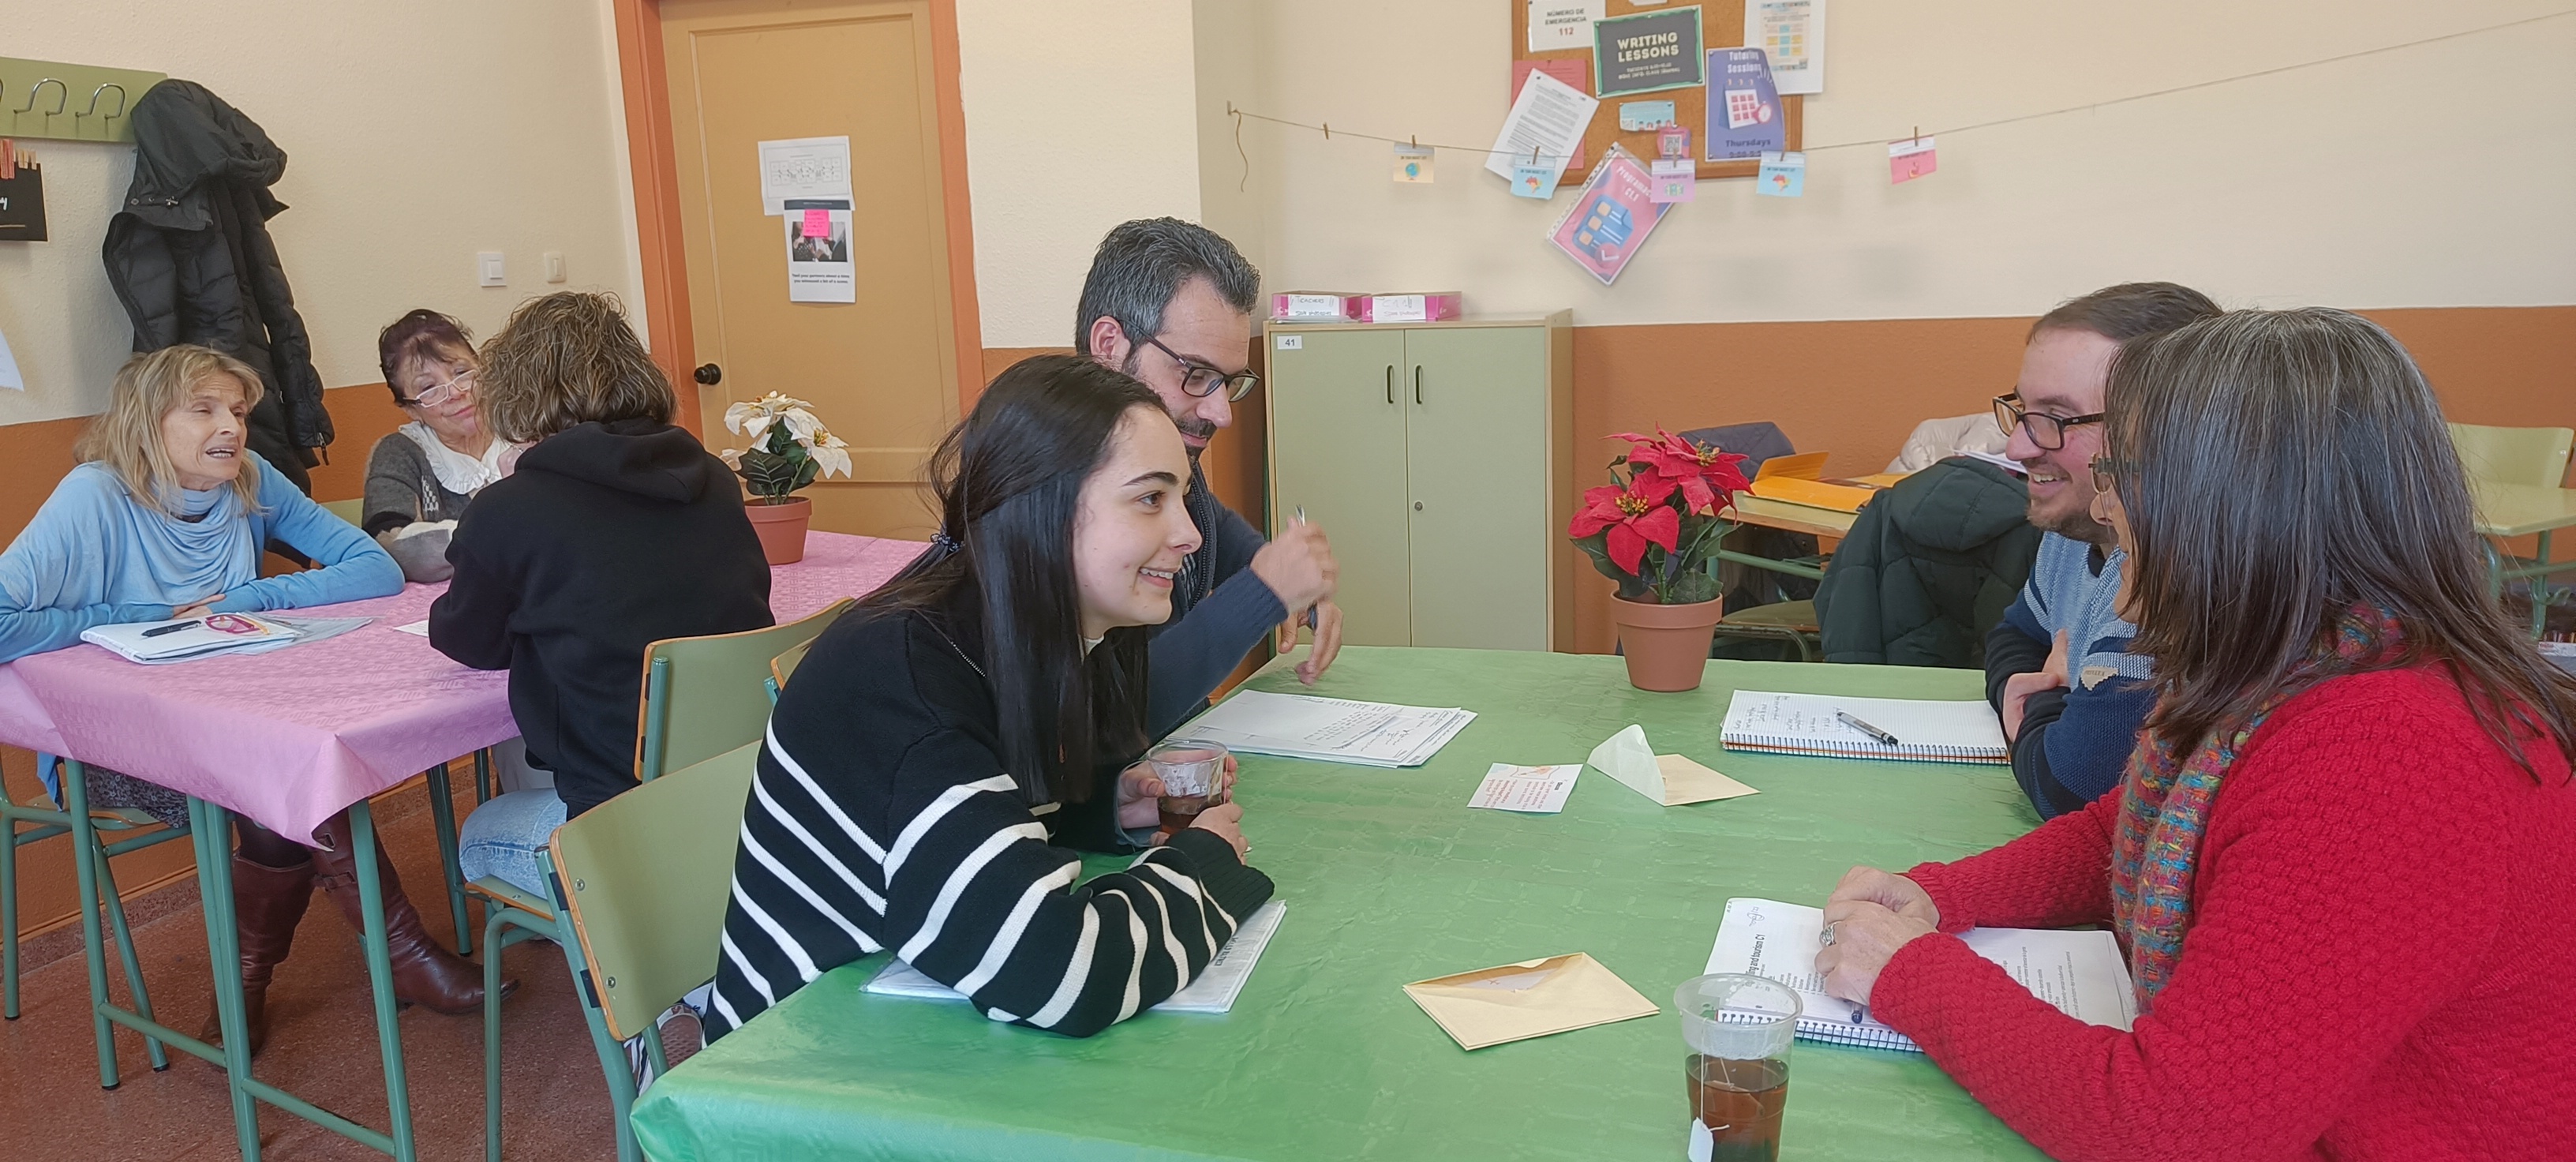
It is not very often that I feel depleted of energy. I try to prepare my classes in such a way that they do not only engage students, but also me. I really need this spark in my lessons to keep me motivated. But some Mondays ago, I was just not feeling it and the way the lesson was laid out in the textbook was not helping either. It was mind-numbingly boring, and I was so tired that I could think of nothing to engage me or my students. But thankfully, my colleagues Paula and Alba were there to save the day, and they rushed to help with some ideas.  Want to know what came out?

First Step. Always. Revision.

We were working with these useful phrases to use in arguments.  So, first and foremost, revision. This is key.

These are some of the sentences we studied:

Using “point”

  • What’s the point you are trying to make?
  • That proves my point
  • You are missing the point
  • I take your point.
  • Please, get to the point.
  • There is no point crying over spilt milk
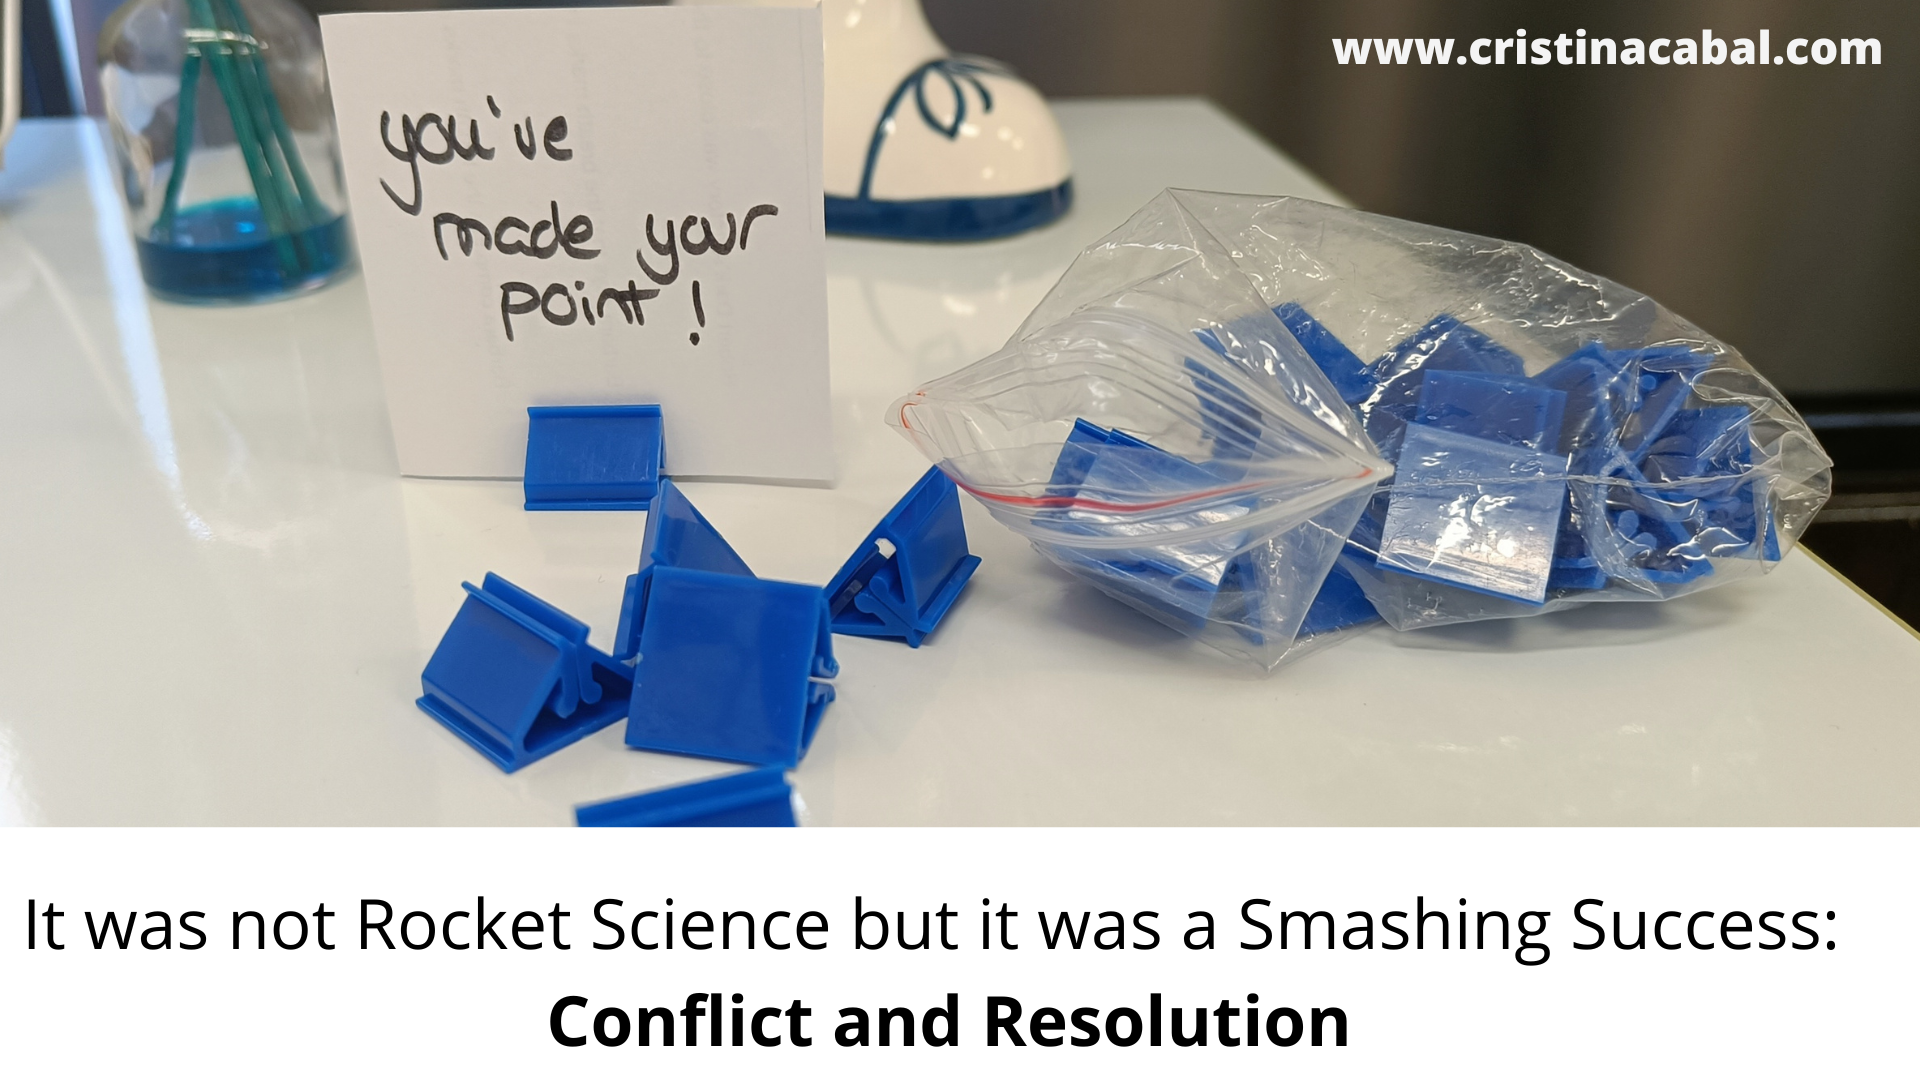
  • You’ve made your point

Some other useful phrases:

  • You are twisting my words
  • That’s not what I meant at all
  • We’ve got our wires crossed
  • We should clear the air
  • That came out all wrong
  • We are going round in circles
  • Can we just agree to disagree?
  • There is no need to raise your voice
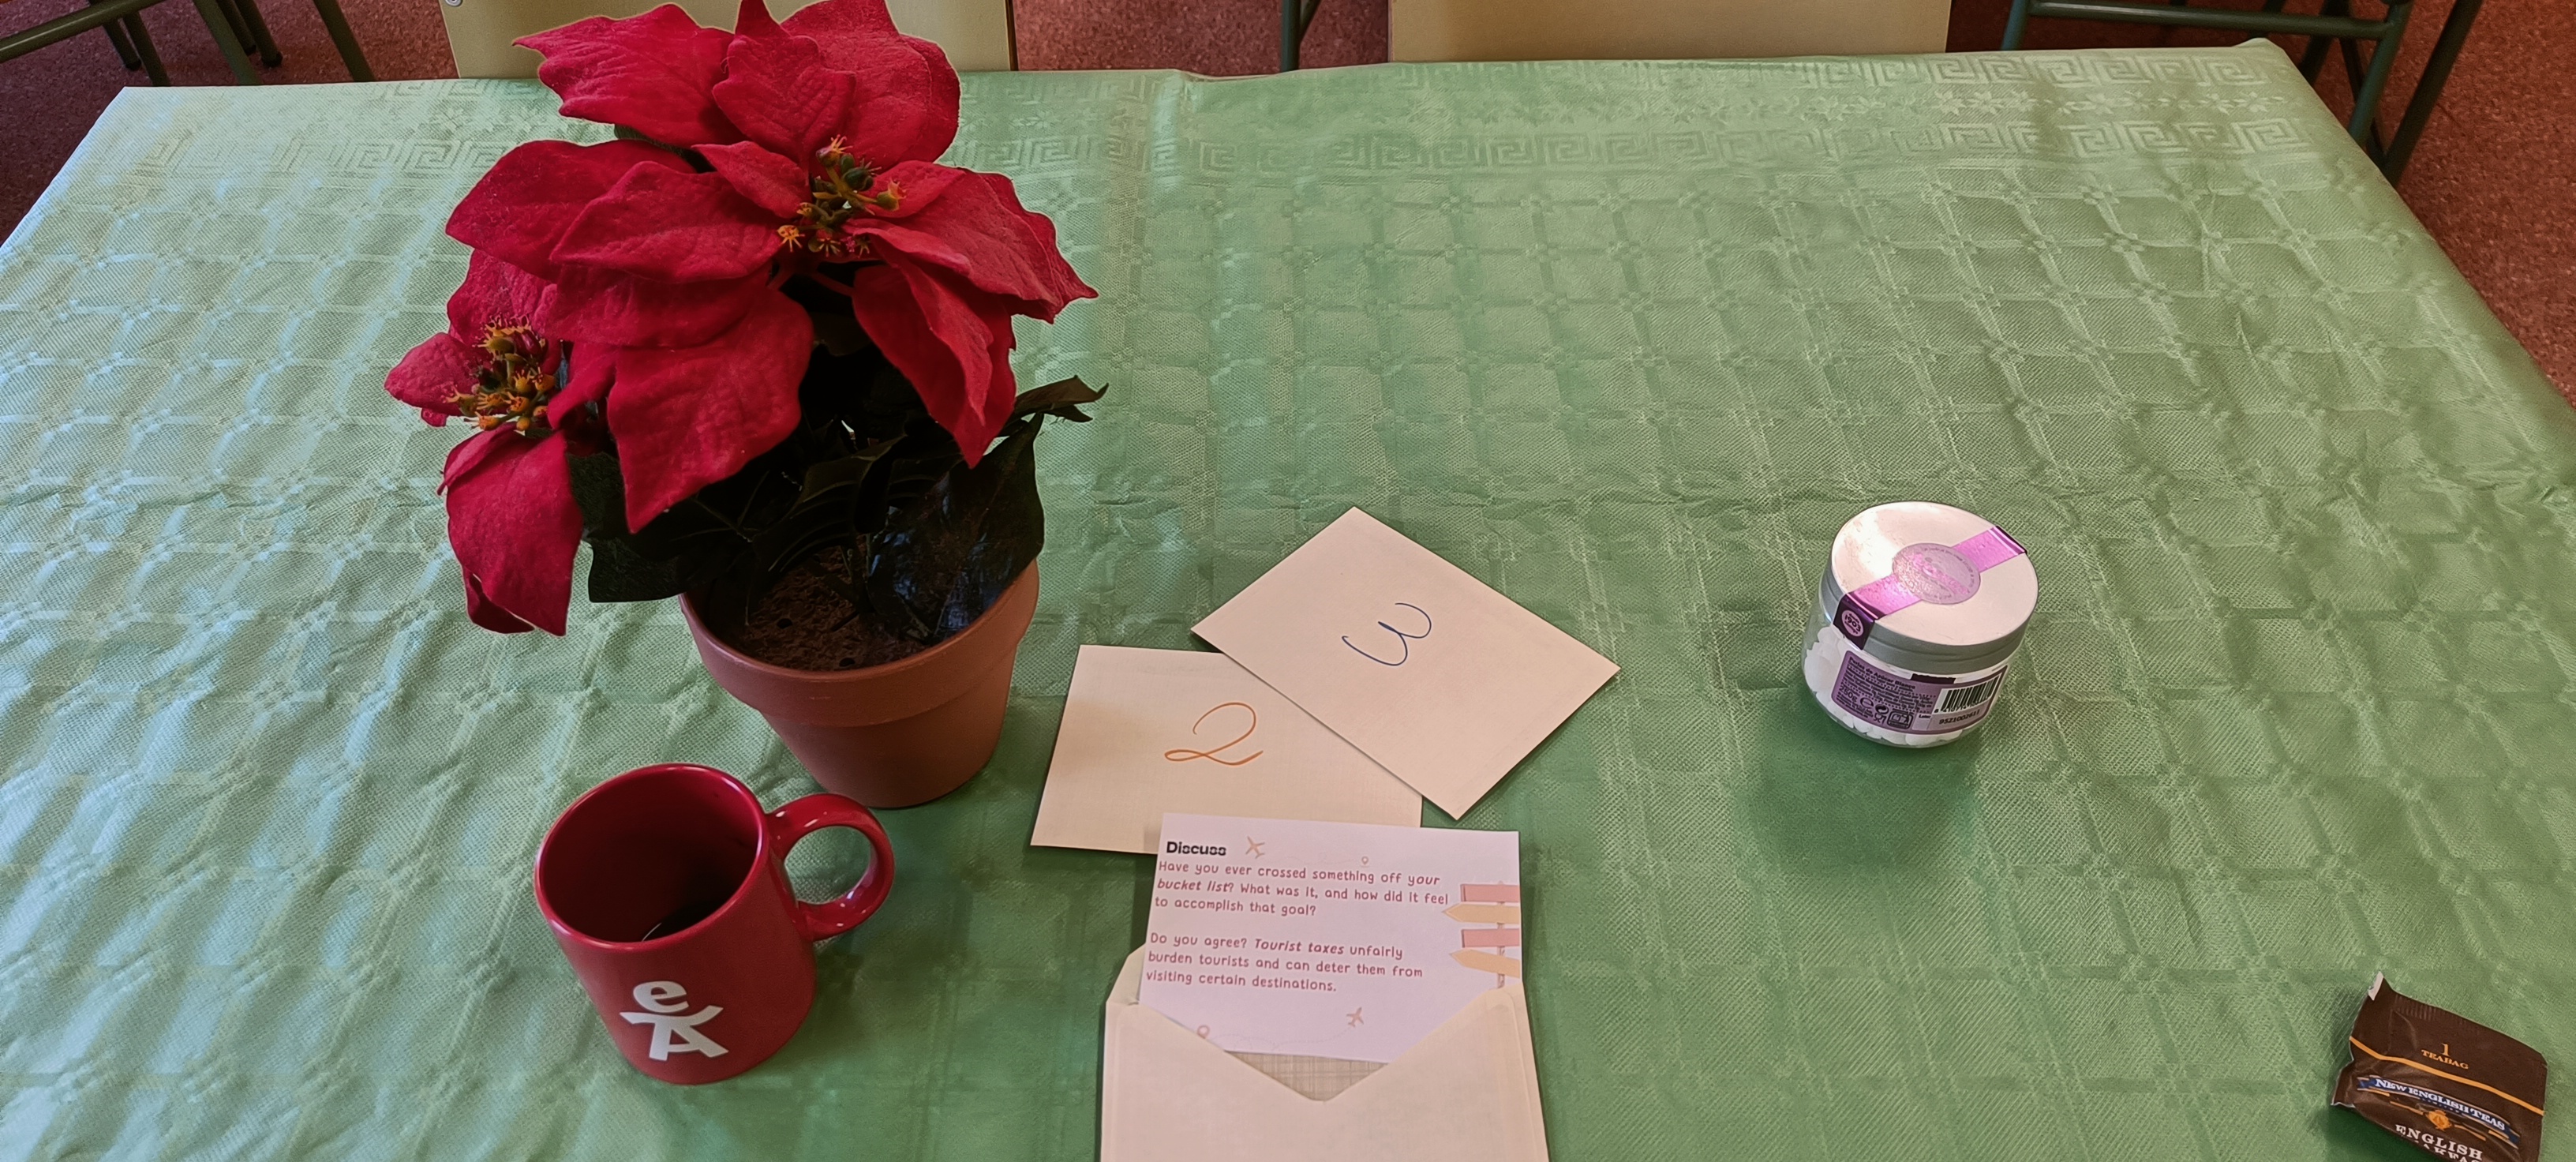
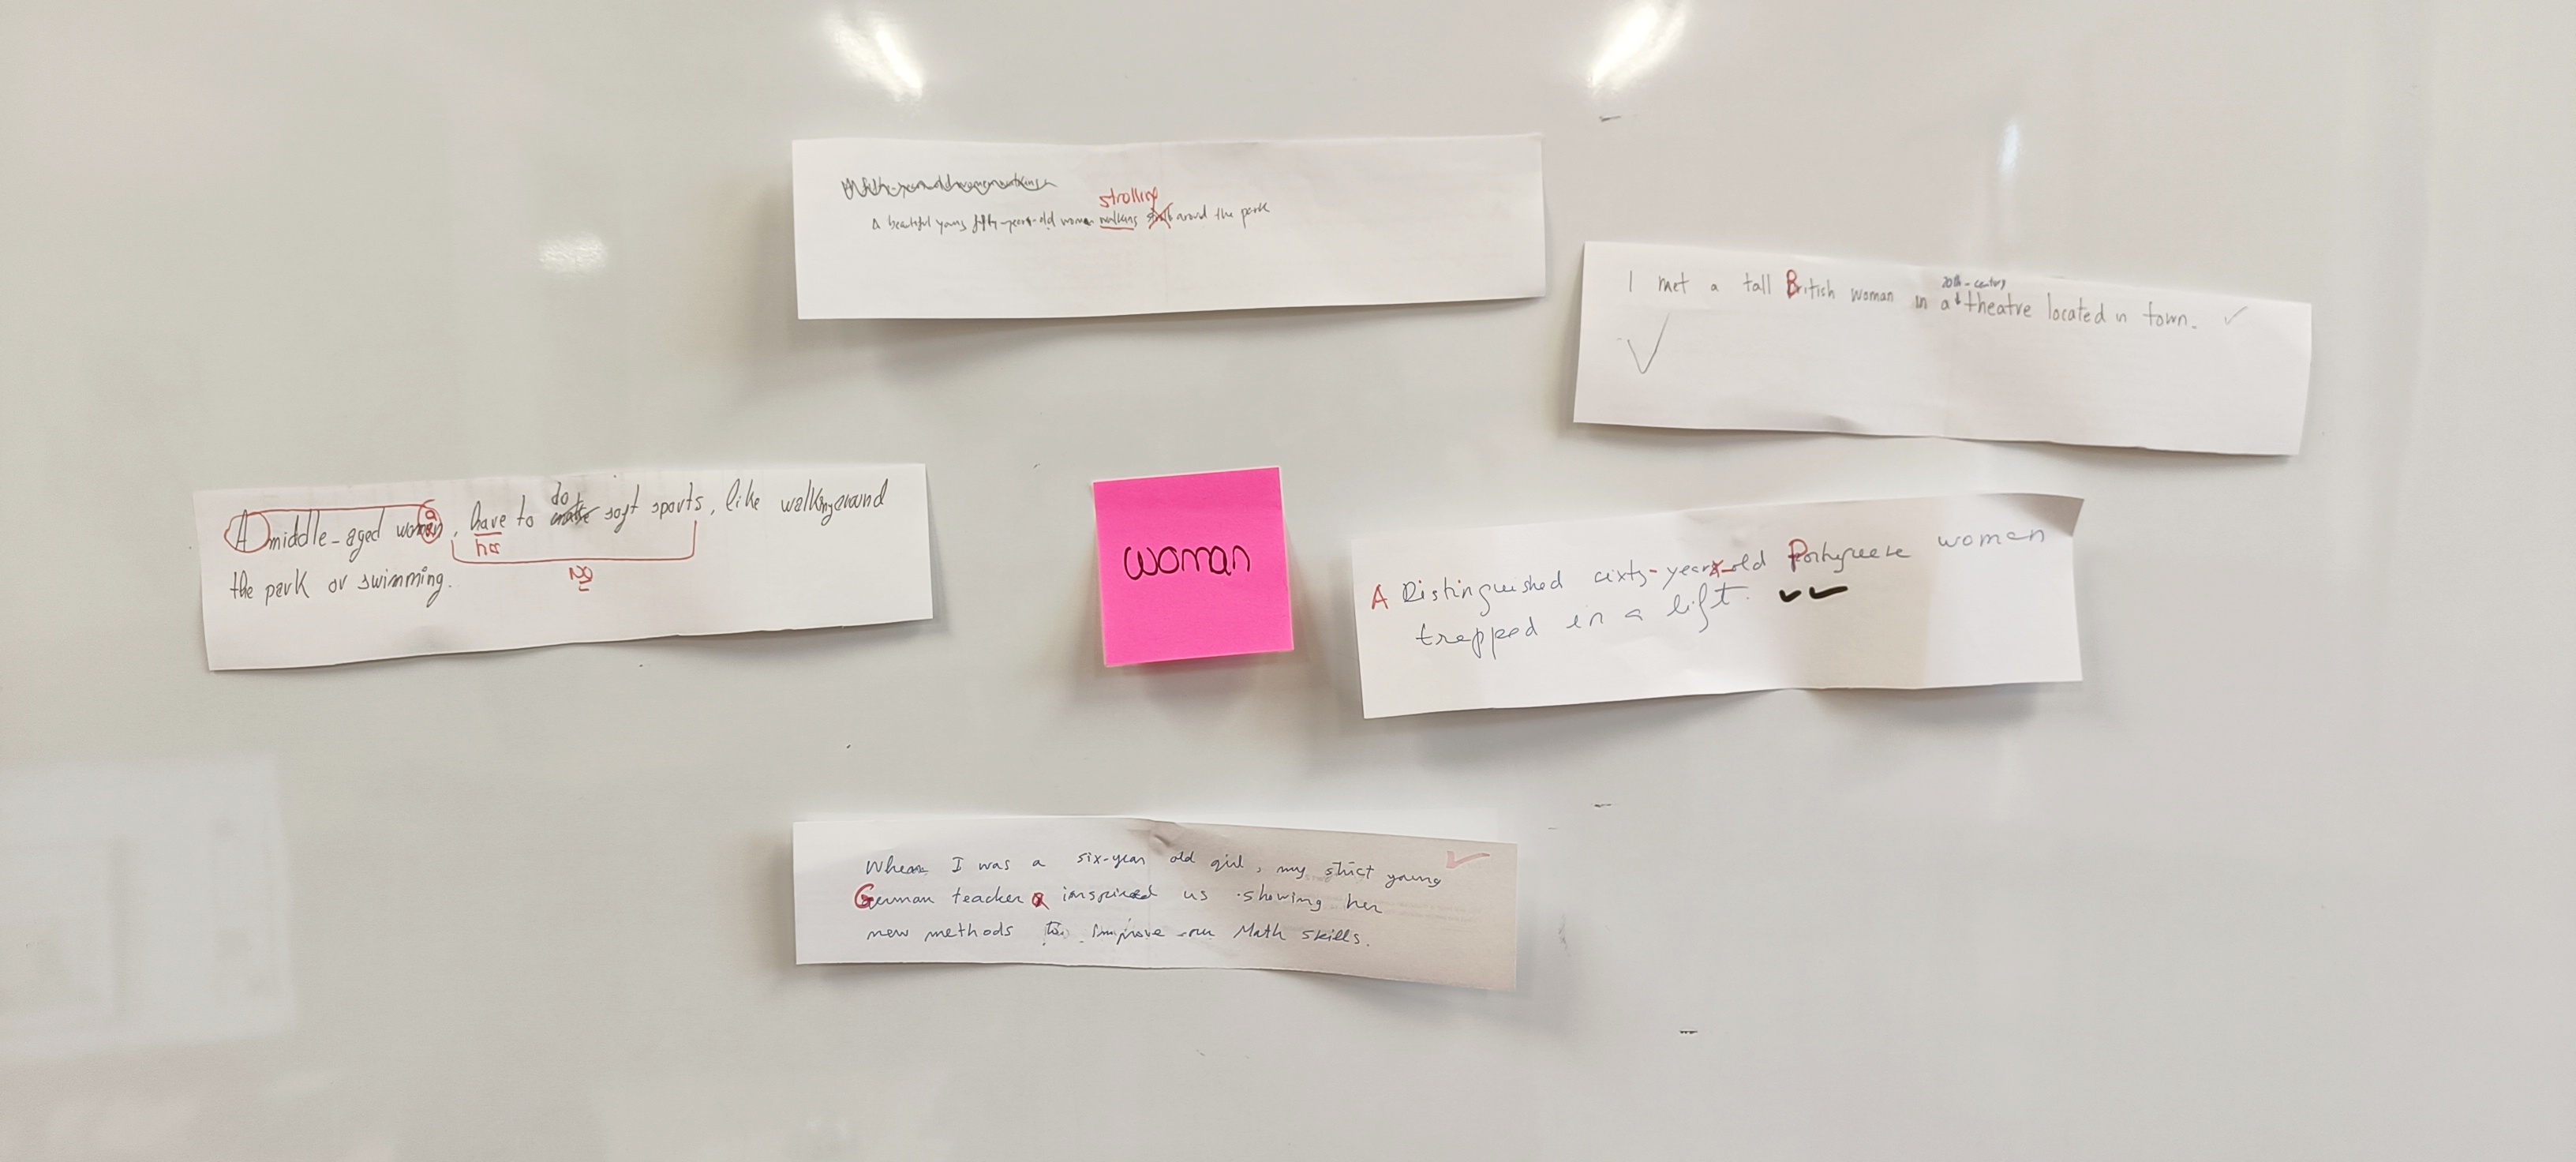
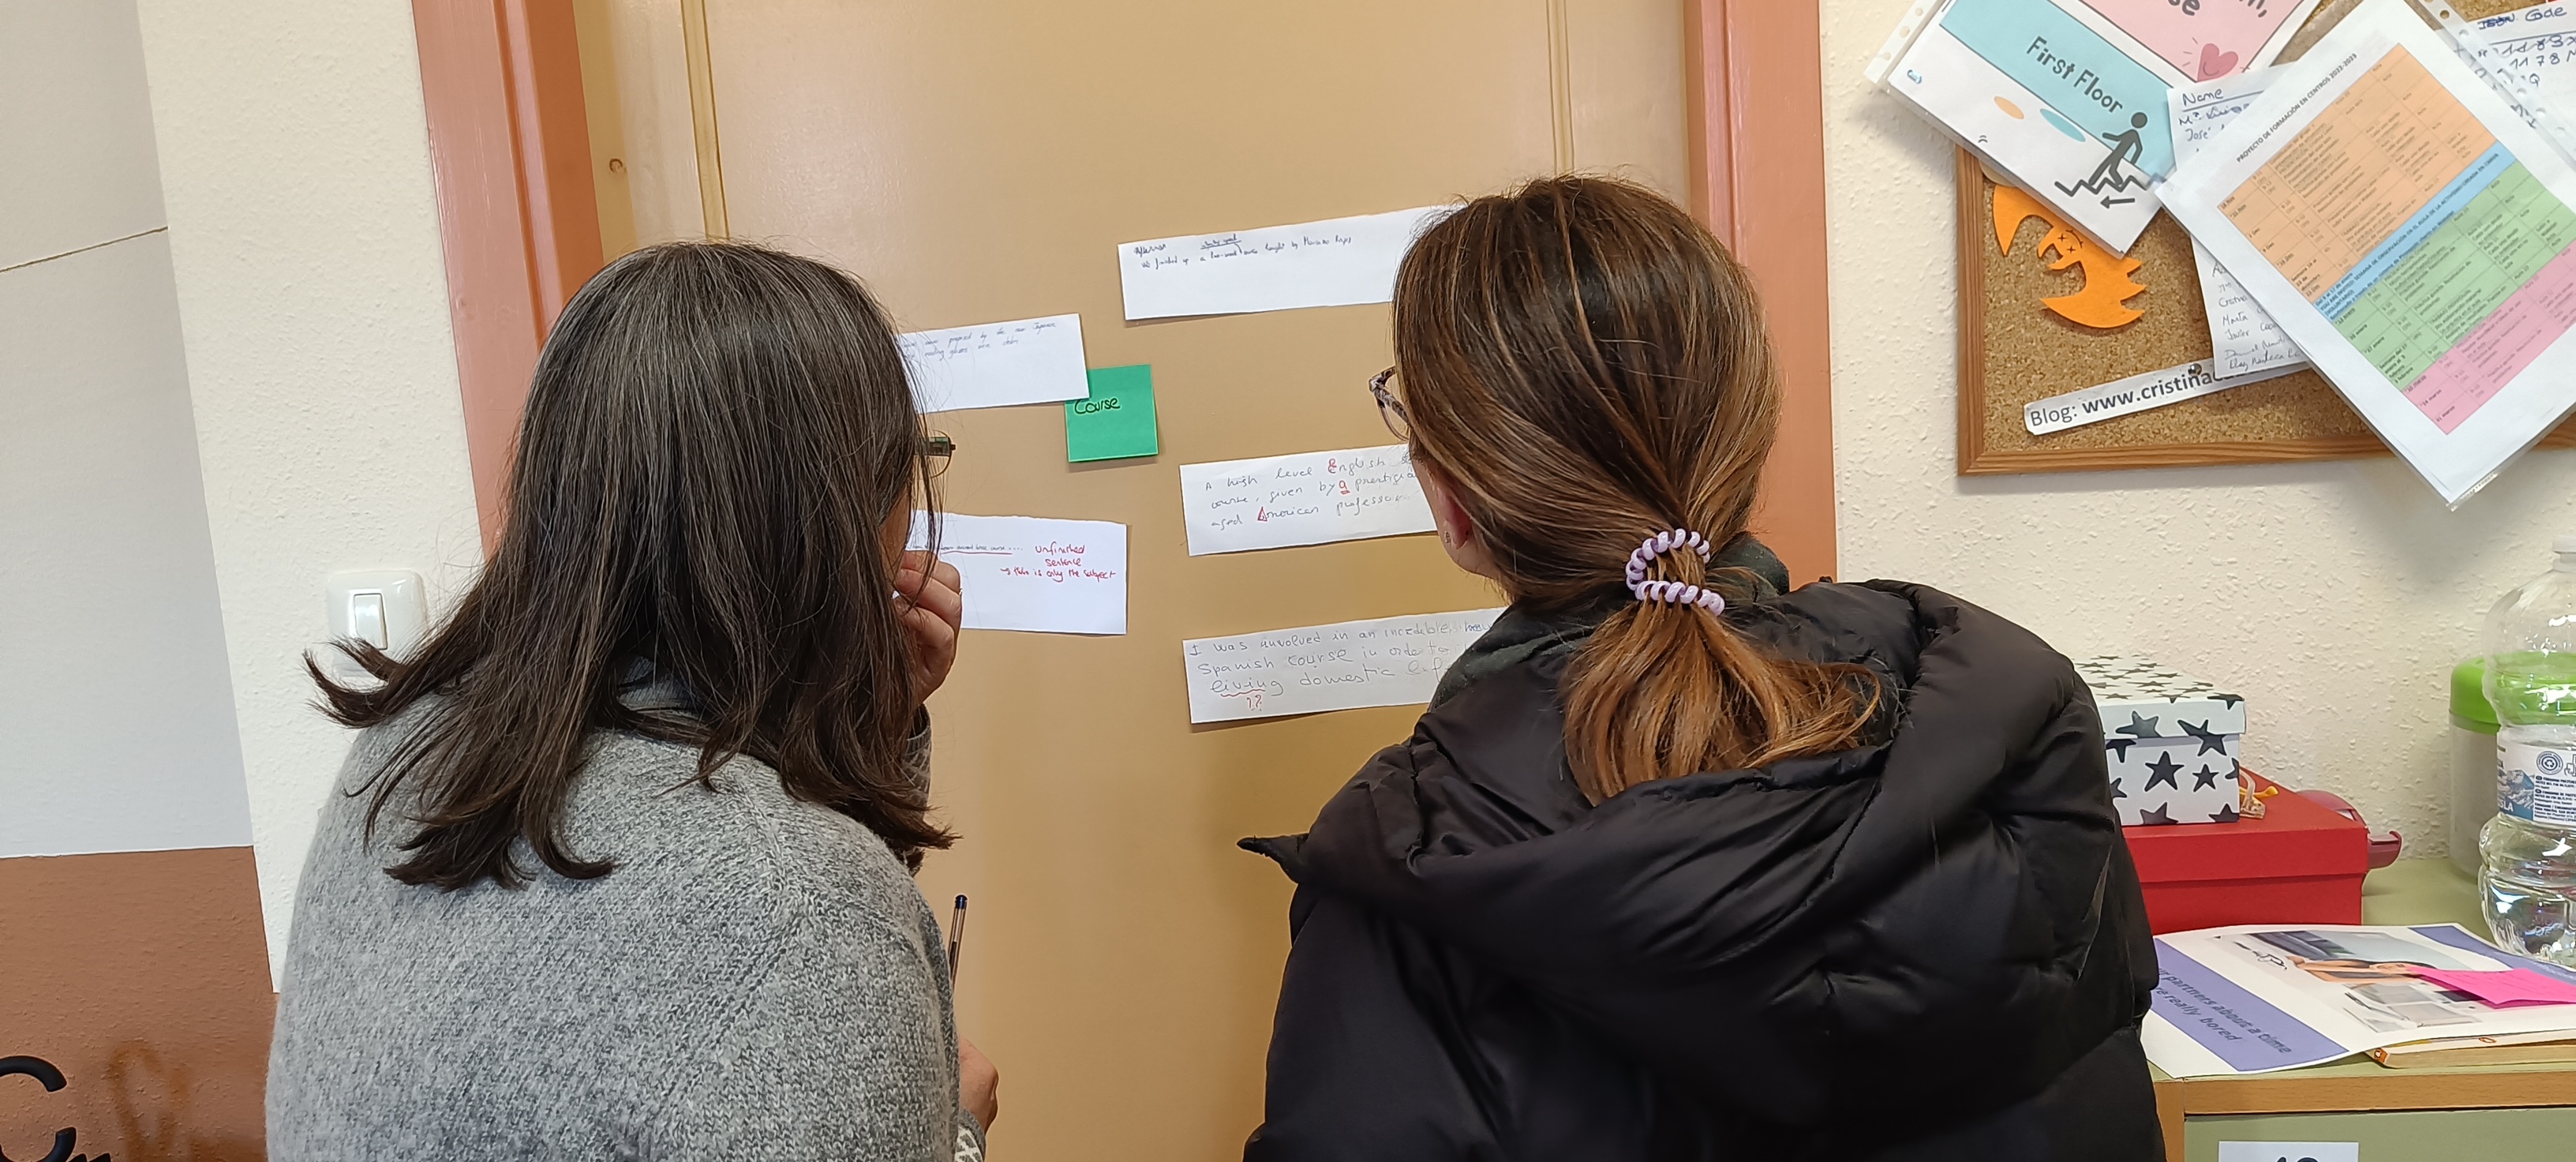
Second step:Paper
I gave my students a small piece of paper and asked them to write one of the sentences above on the slip of paper, encouraging them to use their best handwriting, as this sentence was meant to be read and used by other students working with them.
To hold the pieces of paper, I gave them these tiny blue holders I bought here.  (I love props, what can I say? Does the activity work without them? Sure thing!)
Third Step: More Paper.
I asked students to form groups of four and provided four scraps of paper, each with a word written on it – two with “AGREE” and two with “DISAGREE”. The scraps of paper were placed in the middle of the table, face down. Remember: before displaying the statement, they should be face down on the table.
Fourth Step: Controversial statements.
I did a very quick search on the Internet looking for controversial statements.  Two minutes before the class started, I opened a presentation template of Canva ( I tend to always use the same) and pasted the statements.

controversial statements de cristina.cabal

Now, we are ready to start. Let’s recap.

  • Students have chosen a sentence  (step 1) and put it on display for the other students to use.
  • Additionally, on the table, there are  4 scraps of paper which, at this stage, are placed face down on the table.
Fifth Step: Speaking and Choosing a Role
  • Display the first controversial statement and ask students to choose a random scrap of paper containing  the words AGREE or DISAGREE.  Give them a minute to prepare their arguments defending their point of view regarding the statement. You might hear some ohhh, ahhh and some grumbling if they got the opposite of what they think. Just smile!!!
  • Encourage students to discuss the statement and try to incorporate some of the sentences they see displayed by their classmates in the group conversation.

Sixth Step: Change Partners
  • After 10-12 minutes of discussion, ask the students to change partners and move to different tables, bringing the sentences they have chosen with them. Display a new controversial statement and once again ask the students to randomly choose a scrap of paper with either “AGREE” or “DISAGREE”.

Note: I only had one student who is a devout Catholic and, in this case and depending on the statement being discussed,  I allowed this student to choose the slip containing either “AGREE” or “DISAGREE” that aligned with his beliefs.

The World Café: a Powerful Strategy to Enhance Speaking Skills

Ever since experimenting this engaging strategy for boosting speaking skills and collaborative thinking at the XII Congreso Oficial de Escuelas de Idiomas held in Santiago de Compostela, I was determined to incorporate this learning/teaching approach into my classes.  Even knowing that the probabilities of offering a coffee in a school environment to create the right atmosphere were scarce, I was determined to explore this strategy with my students. I am so glad I did it. It was a hit!

But what is the World Café?

The World Café is a way of facilitating group conversation. It is a powerful speaking strategy that encourages everyone to work together, share their ideas and perspectives, ask questions, and collectively come up with new insights and this, in a relaxed environment that helps students get to know each other and build community.  The conversations evolve through several rounds, in which you begin a conversation by asking a question. After talking about it for about 20 minutes or so, people rotate to new rounds of conversation, talking to different people.

In summary, the reason I decided to implement this strategy was…

  • students spend like about 45 minutes talking non-stop.
  • for each round, students are asked to move to a different table and engage in conversation with different students.
  • Students can talk in a relaxed way, share ideas and opinions and build community.
How do I set up a World Café in my class, and how can I make it fit into my lessons?

The World Café is very easy to set up.  To make it work, you just need:

  • Decide on a topic to be discussed. In my case, it was Travelling.
  • Prepare a set of questions, topic-related, for each Round.  I recommend three rounds with 2-3 questions in each round.
  • Although this approach is suitable for all levels and all topics, it is particularly effective with intermediate learners and above. It is recommended to have a minimum of 9/12 students in the classroom, although it works even better with larger groups.
  • Creating the right environment. You need to create an environment that encourages discussion. It is usually modelled after a café, so putting 4 classroom tables together to form a bigger table with 4 or 5 chairs per table would do the trick. Ideally, you would cover the tables in paper tablecloths. If you are going to do three rounds of questions, you will need to set up three tables, which will accommodate 12-15 students (4/5 per table). If you have more students, you will need to set up more tables, but this does not mean you will need a fourth round of questions.
  • Generate the questions. You need to create the questions, specifically crafted for the specific topic you will be discussing. In my case, travelling. You can see my questions here for the three rounds I have prepared.  Each of these 3 cards will be  placed inside 3 corresponding envelopes, each one labelled Round 1, Round 2 and Round 3. Put the envelopes for the 3 Rounds on the tables.

  • Name a host at each table. The process begins with the first of 15- minute rounds of conversation for the 4/5 students seated around the table.  As it is Round 1, they will open the envelope that reads Round 1. At each table, you can name a student who will act as the host, directing the conversation and taking notes of the most important agreements. If you use a paper tablecloth, they can write directly on it.

  • Second Round. At the end of the 15 minutes, people move to a different table, encouraging students to sit with different classmates. You might want the host to remain at the table and direct the second round too, or choose a new host for this Round 2. Now, they open the envelope marked Round 2 and the whole process is repeated.
  • Sharing key ideas from their conversations. Finally, at the end of the three rounds, individuals are asked to share insights from their conversations with the rest of the class. Alternatively, you can ask groups to share their ideas with the class after each Round.

My personal opinion. I think my students loved the activity. I think it helps build a sense of community and offers a relaxing environment to hone their speaking skills.

Negative point: we didn’t have coffee, but we had tea.

Spice Up Your Writing Lessons with the Noun Roulette

Let’s talk about writing today! If you’re searching for a writing activity that is engaging, effective, promotes collaborative work, and takes only about 20 minutes to complete, then look no further! I have a simple yet effective activity that can help you achieve all these goals.

As an educator, I am always looking for new ways to help my students improve their writing skills. That’s why I’m excited to share an activity that I’ve created which has proven to be both effective and engaging for students. In this case, it’s been used in a C1 level class, but it can easily be used with any level.  In this blog post, I’ll be explaining the details of this activity and providing examples of how it has helped my students write more advanced texts. If you’re looking for a fun and creative way to help your students improve their writing, then keep reading!

This activity consists of two parts, with the first part being designed specifically for C1 students, or possibly strong B2 students. If you teach lower levels, you’ll need to create your own slides for Part 1 of the activity, but you can still use Part 2 and 3 in this post.

Part 1: The theory

I have created this brief presentation to target some specific points to help them write more advanced sentences. We have focused on 5 key points, including reduced relative sentences, order of the adjectives and using a noun as a compound adjective.

In the last slide, you will find the Noun Roulette Randomizer. Yay!

Improving writing de cristina.cabal

Part 2:  The Noun Roulette Randomizer 

Time to recycle spare photocopies!  Cut them into strips of paper large enough to write a long sentence on.

  • Ask students to pair up and give each pair 3 or 4 strips of paper.
  • Display the noun roulette and explain that it will randomly select a noun. For example: collection.
  • Click here to see the roulette in action. To create your own, click here and type your own words. Easy-peasy!!

  • In their pairs, they will have about 2 minutes to come up with their best sentence by incorporating some of the points worked with in the first part of this activity. They must include the noun “collection”.
  • In the meantime, I’ve written the word ‘collection’ on a post-it note and posted it on a visible part of our classroom wall.
  • Once they have finished writing their “advanced” sentence, we will put them up on the wall, surrounding the noun. You can use Sellotape or Blue-tack for this.
  • Select a new noun with the roulette and do it all over again. I have done this 3 or 4 times.
What is your role as a teacher?  Yes, you need to be working, too. Once they have placed their sentences on the walls, correct their mistakes.
Part 3:  Voting
Once the sentences have been written and mistakes have been corrected, instruct students to stand up in pairs and read all the sentences surrounding the nouns. They will now need to vote for the sentence they think is the best in terms of showing a more advanced level, regardless of the mistakes they might have made. To mark the sentence they like best, they will just have to put a tick on the strip of paper containing the sentence, as you can see in the picture.
This has two aims:
1. To help students identify their own and their peers’ mistakes, which is a valuable learning experience.
2. By voting on the best sentence, students come to understand their own ability to distinguish between writing that meets the C1 level and writing that falls short.