I have to confess that lately I haven’t had much time to publish. I design a lot of cool, if I may say so, activities for my students but posting about them takes time, time I lack right now. But posting is constantly on my mind, and not because I feel I have to do it, but because it makes me happy. So, today is a happy day.
Now, these are two activities I have designed for my C1 students. If C1 is not your level, keep on reading; they are highly adaptable to any level.
- Working on the grammar of reporting verbs
- Using post-it notes to reinforce and fix mistakes
One. Working on the grammar of reporting verbs.
Helping students learn this point of grammar is not an easy task. OMG, they are so many reporting verbs….!!! Plus, some of them can be followed by more than one pattern. A nightmare!!!
STEP 1. The presentation.
Even though it is a C1 level, I felt compelled to explain what a reporting verb is with a small presentation.
For this introduction, I’ve used the first 6 slides. I have used the rest of the presentation to explain the game that follows.
This is the infographic that I have designed. Please, bear in mind:
1. It is not meant to be comprehensive
2. Verbs can follow different patterns
reporting verbs by cristina.cabal
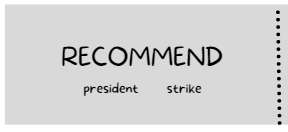
Step 2: Using double-sided cards. Now that we have seen the grammar, let’s put it into practice. You can download the cards here.
- Aim: to place the verbs under the right pattern
- Before the class: photocopy one set per group of three/four students. In my case, I have photocopied them in different colours. Also, photocopy the headings with the verb patterns here.
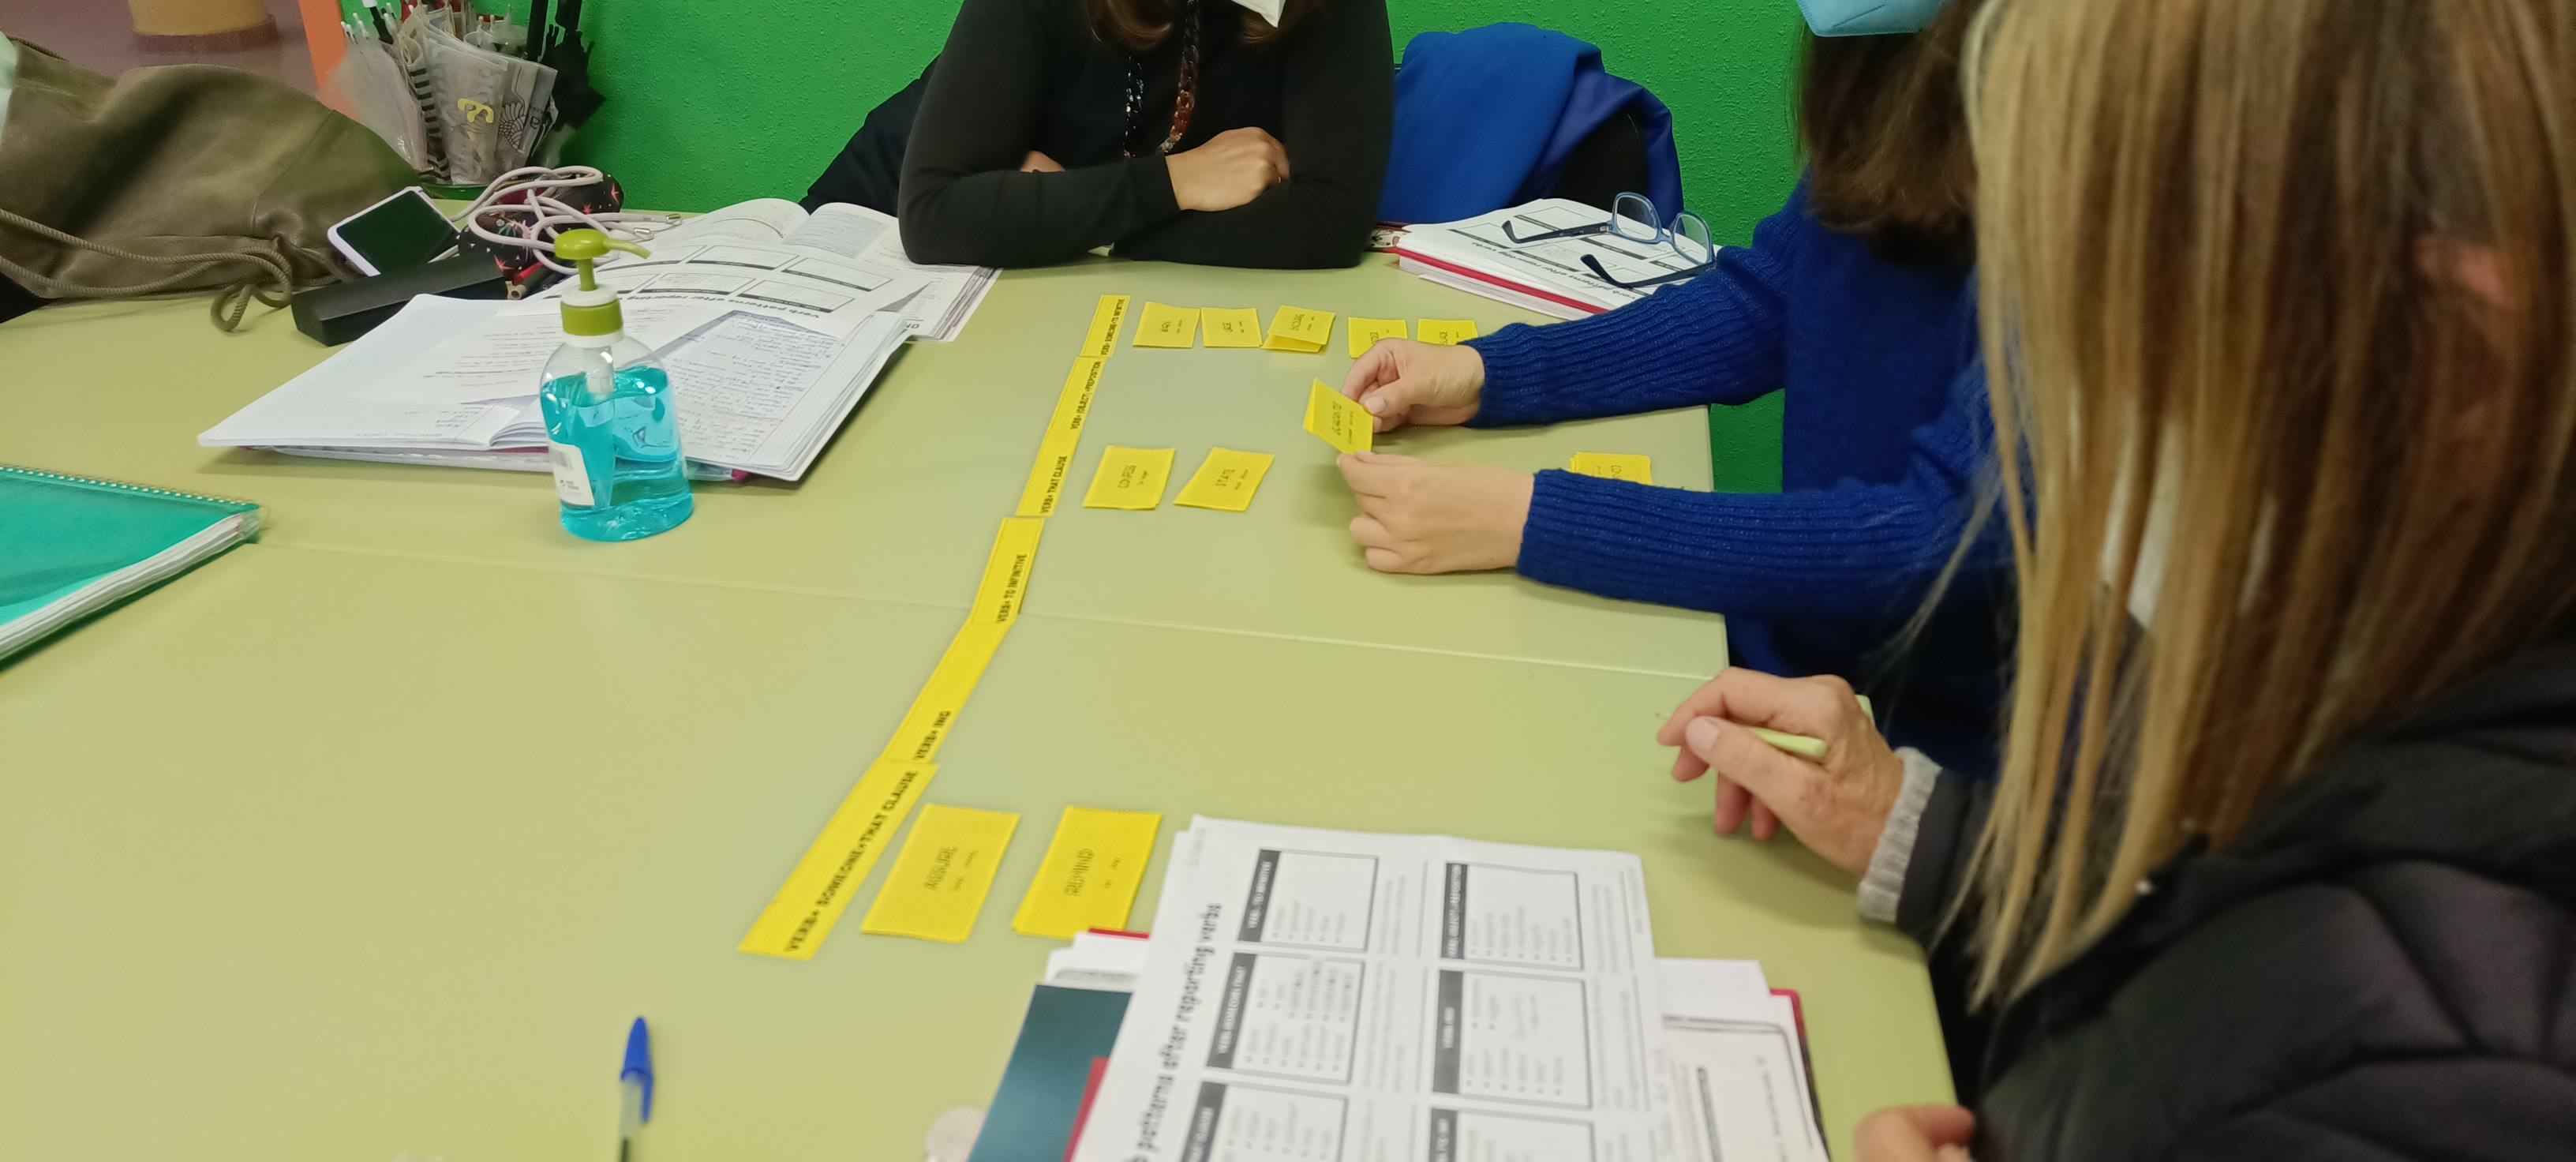
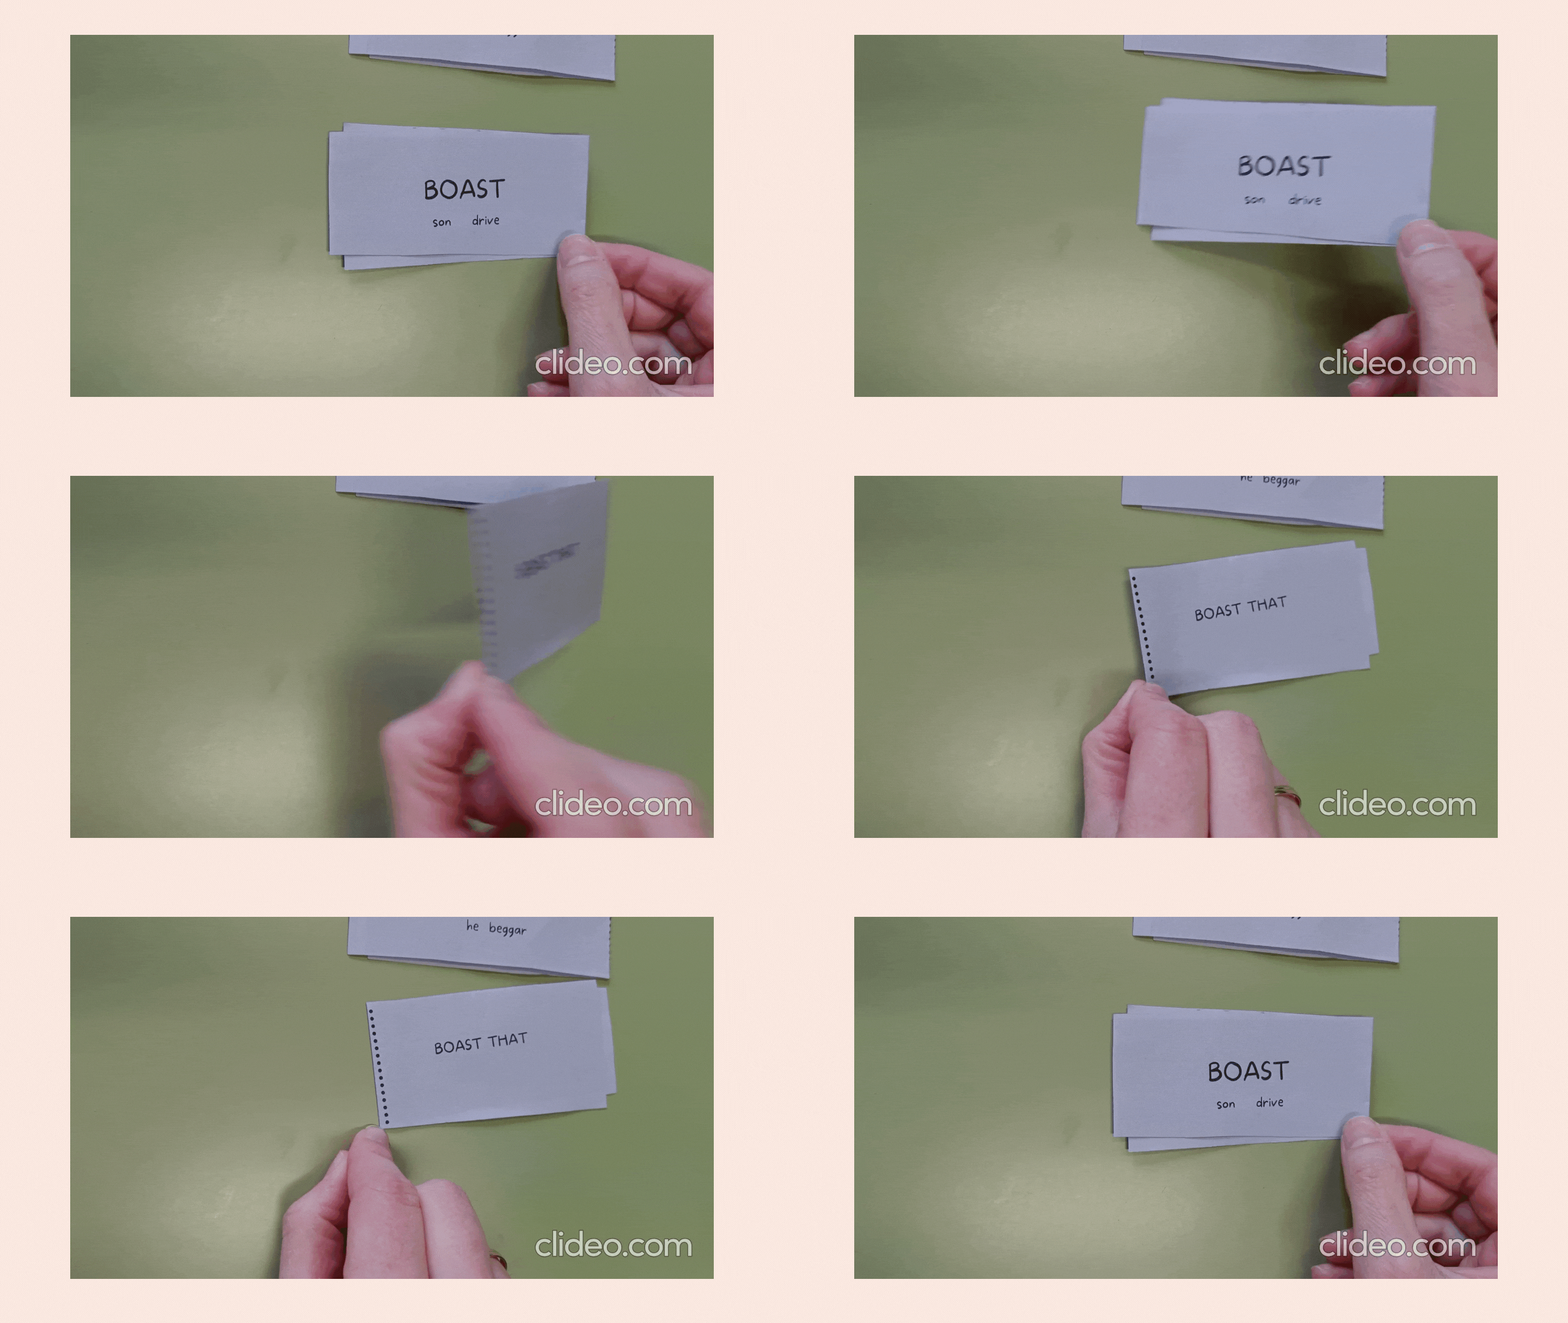
I think the images below clearly demonstrate how we have played this “game”.
Instructions: put students into groups of three and give each group a set of double-sided cards. (you might want to fold them before the game or ask students to fold them; whatever works for you) The aim of the activity is to place the verb on the card under the right column.
First, they guess the pattern and then, before placing it under the right column, they check their guess by turning the card over.
I did it twice:
- They just guessed the pattern and placed it under the right column
- They did the same as in 1 but, this time, they also produced a sentence containing the prompts on the card.
Below, students working
Students checking their guess is correct by flipping the card.
Two. Using post-it notes to reinforce and fix mistakes.
This activity using post-it notes is dedicated to Maribel, a teacher in Andalucía (I will say no more as I haven’t asked her permission) who, when we met in person in a teacher training session, gave me a most useful present, a box with 1440 colourful post-it notes (an easy multiplication) + a letter I will always cherish.
The activity is a simple, highly-adaptable one and one that can be done in many ways (you don’t have to use post-it notes-any discarded scrap of paper will do). I just happen to think that presentation matters, and colours and movement is an added bonus in this activity.
Step 1. Writing a reporting verb on a post-it note
Ask students to write on a post-it note a reporting verb. Encourage them to have a look at the infographic (PDF above)and instruct them to make sure they know the grammar of the verb they have written.
Note: If you have a large class, put the students in pairs. You don’t want to have as many as 25 reporting verbs to work with. If you have a 6–12 student class, you might want to ask them to work individually.
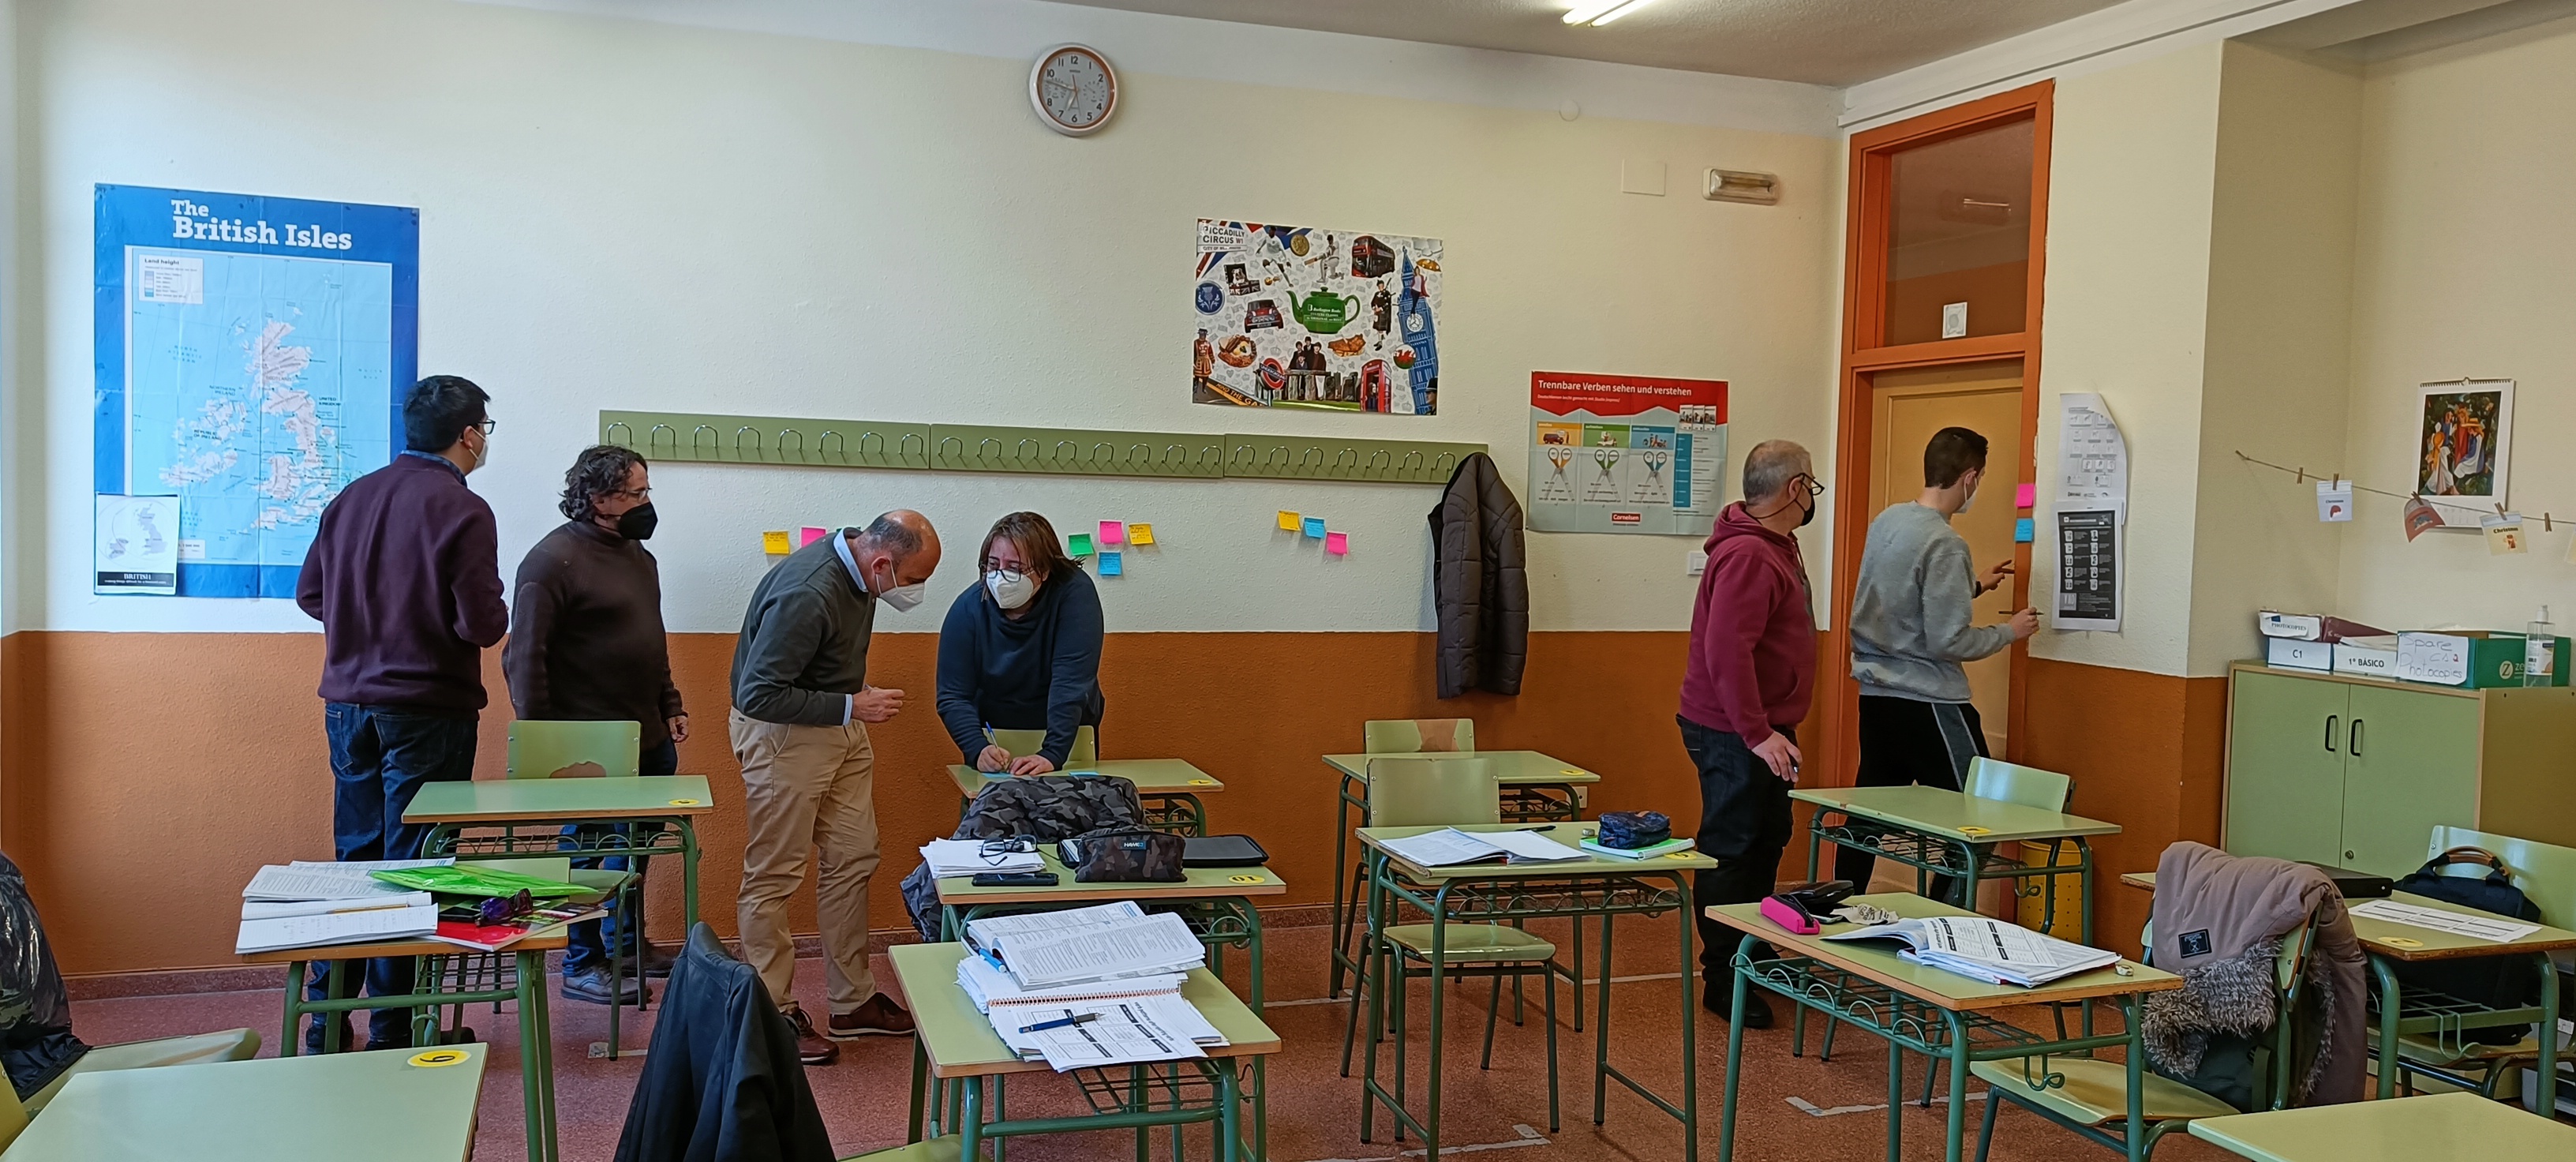
Stick their post-it notes on the walls of the class.
Step 2. Gallery walk. Writing sentences.
On a table in the middle of the class, leave some post-it notes -(a) different colour(s) would be great.
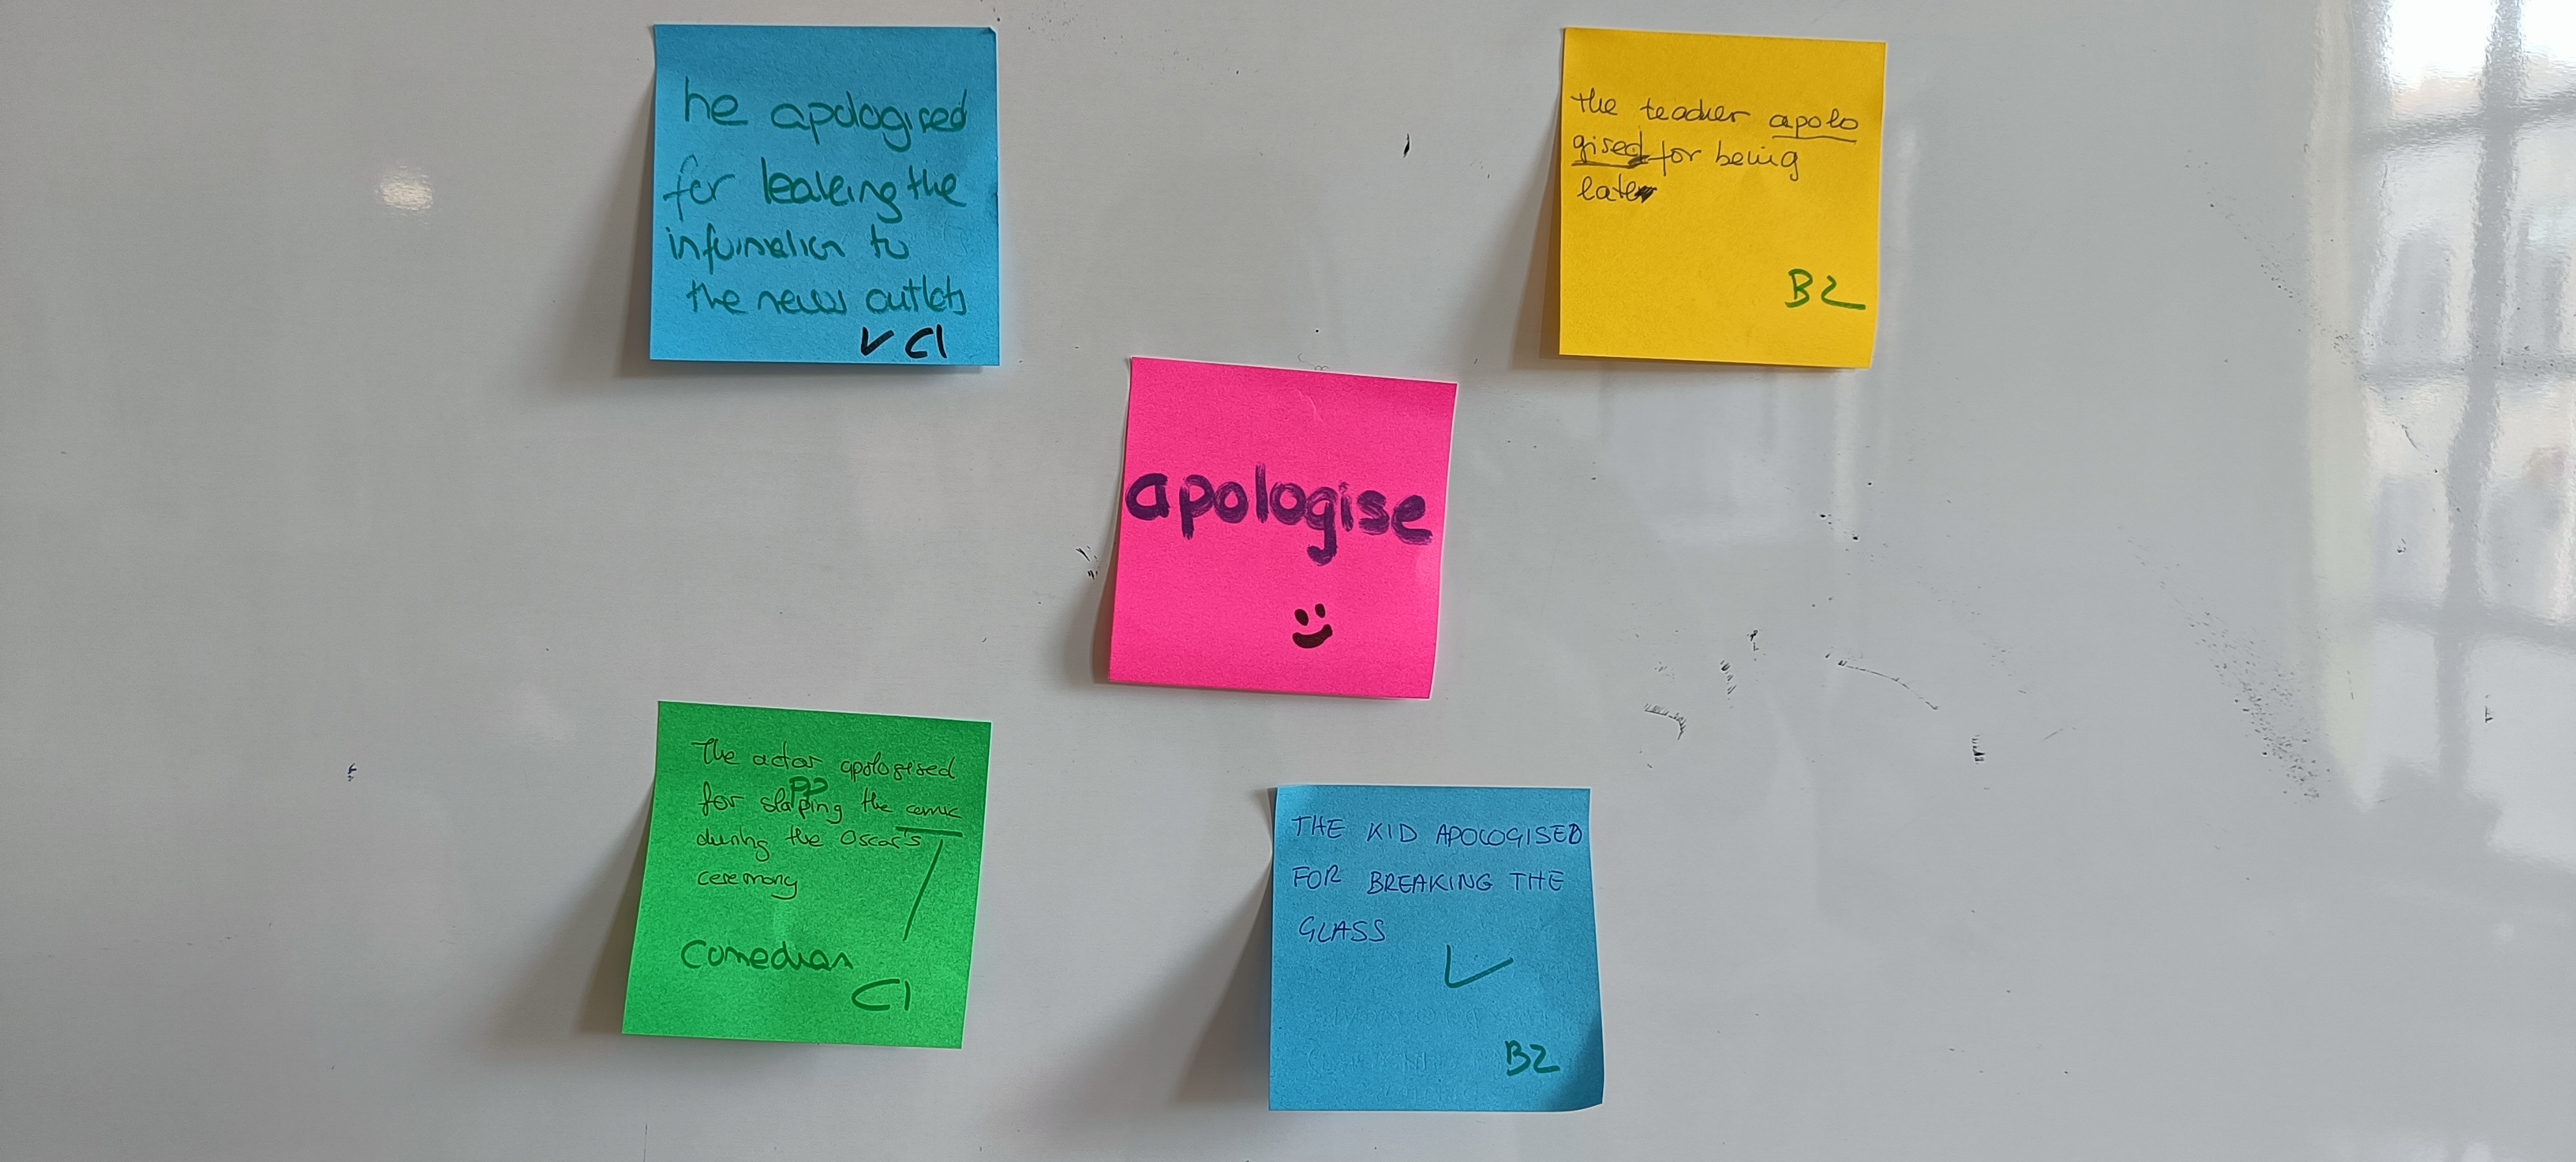
Put students in pairs now and ask them to stand up and do a gallery walk. They will stop at each “picture’ and in pairs write down a sentence containing the reporting verb. They should write the sentences on the post-it notes and put them next to the ‘picture’ it corresponds to. Encourage them to write only when they know exactly what they want to write. Otherwise, it would look very untidy. Also, tell them they need to write a sentence showing they are C1 students (you know how it goes if you don’t push them a tiny bit)
Pairs don’t have to walk clockwise; they can choose any ‘pictures’ on the walls in any order, but they must do all of them.
Step 3. Peer correction.
Once they have written their sentences, instruct students to move to the post-it containing their original reporting verb; the one in Step 1, the one they know the grammar for. Ask them to read the sentences next to their verb.
— If they are correct, they should put a tick
— If they are wrong, they should underline the mistake but not correct it
Step 4: Fixing mistakes
Ask students to stand up again, the infographic containing the grammar for those verbs in their hands, and again do a gallery walk. They should read all the sentences surrounding a “picture’. If their sentence happens to be one of those containing mistakes, they will have to correct it using the infographic as a reference.
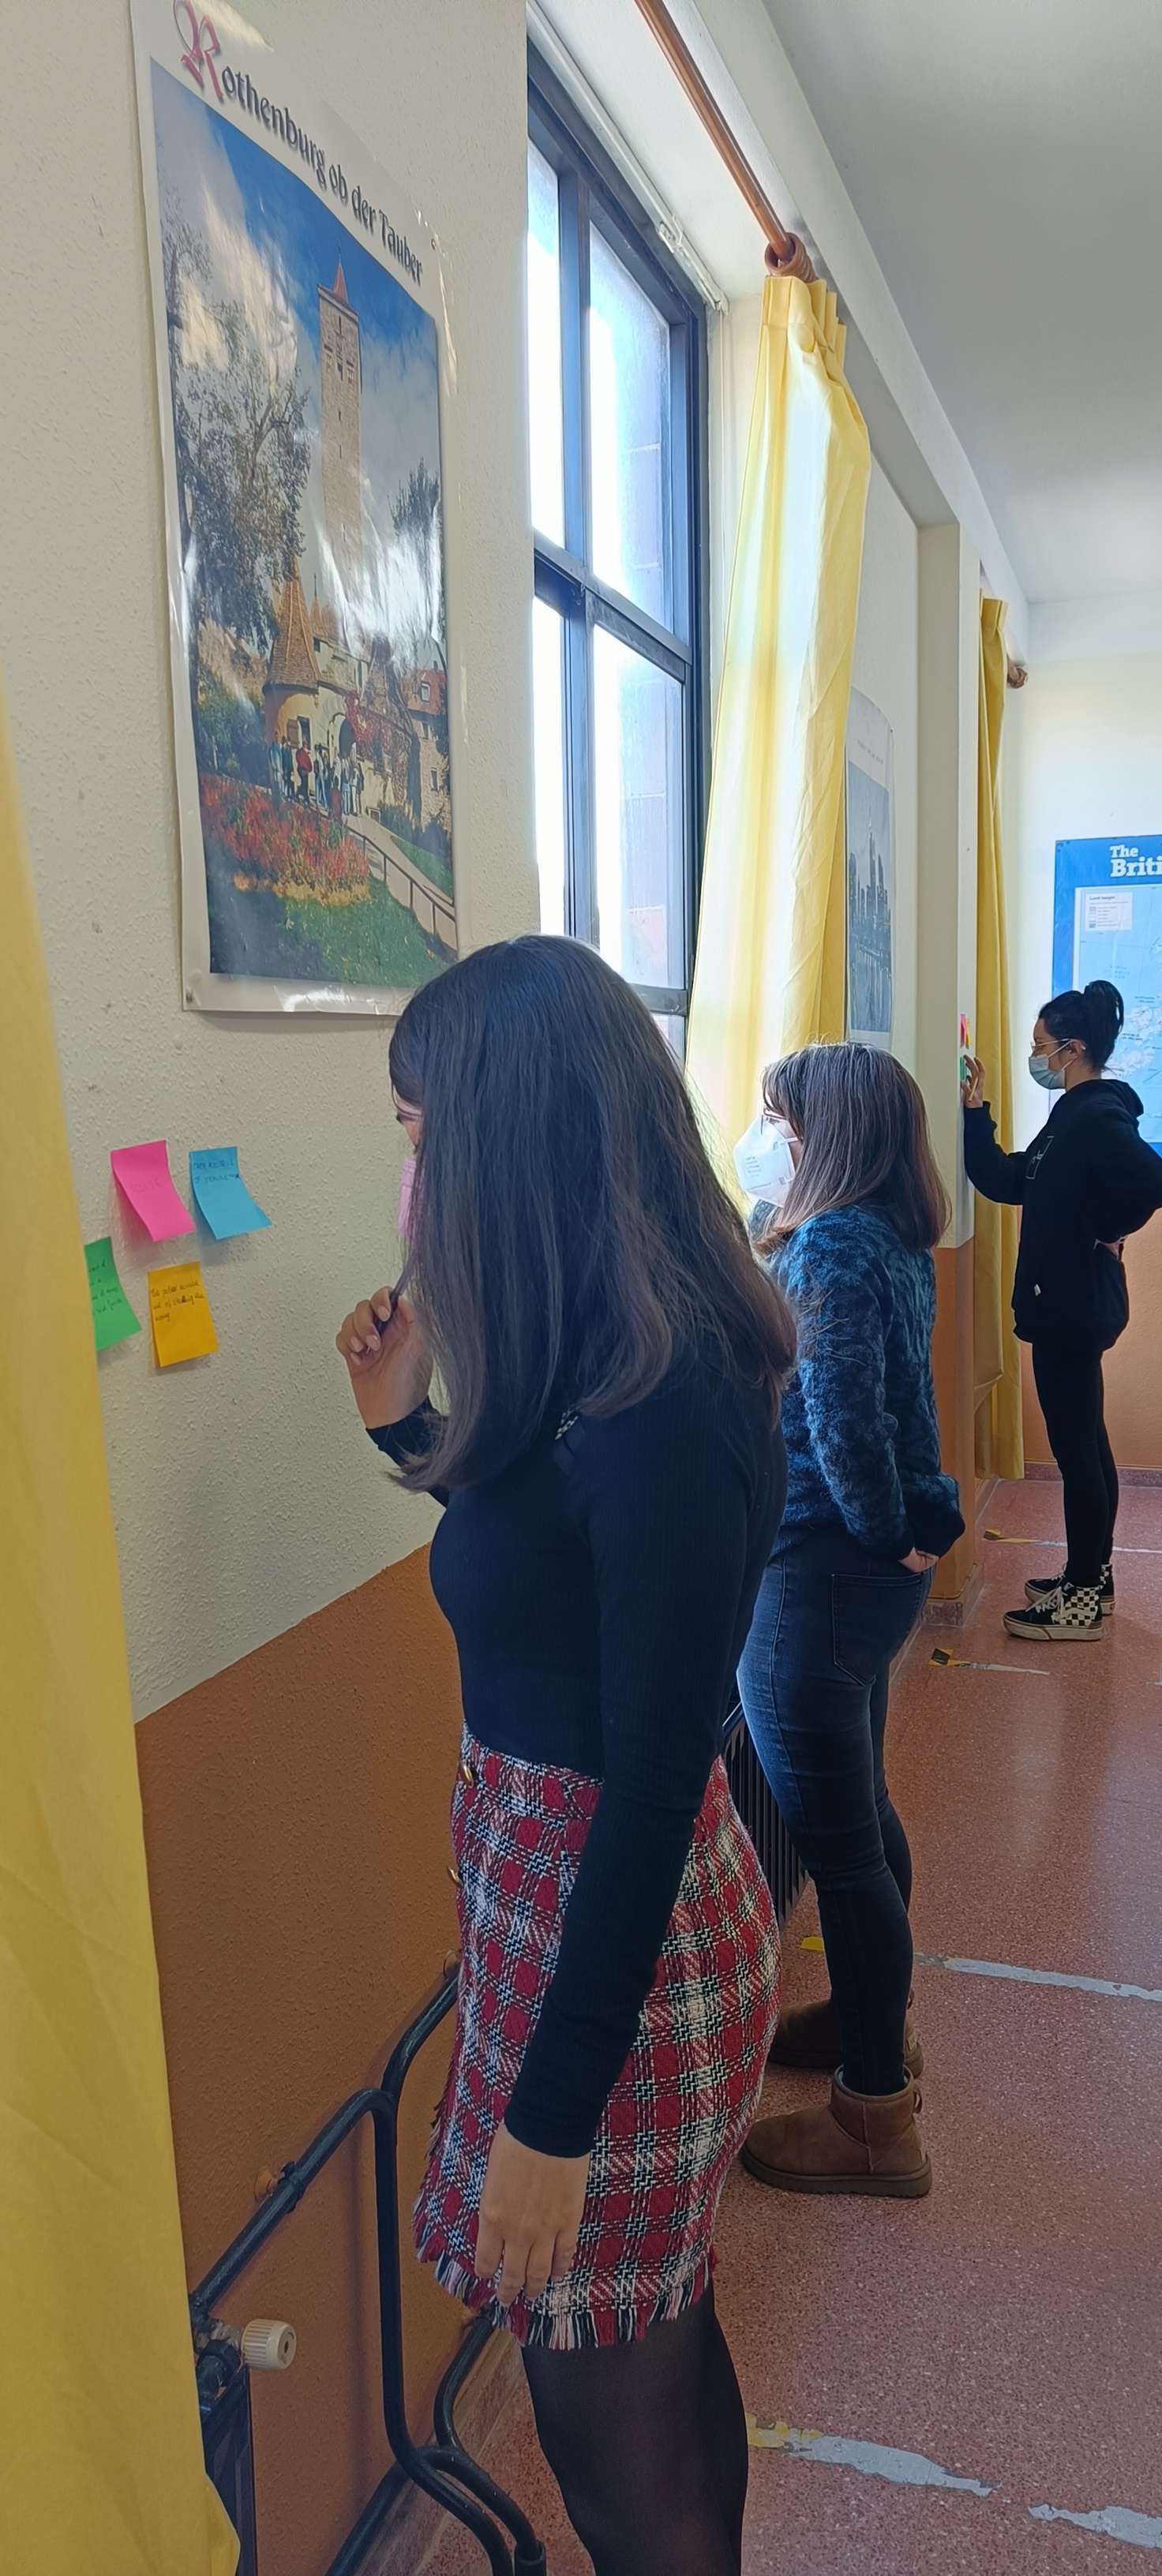
Step 5: My turn
Now, it is my turn to make sure, as a teacher, that all the sentences are correct. I have also added my opinion on whether the sentence is a C1-level sentence or a B2-level sentence to encourage them to try harder next time. 🙂
I hope you have enjoyed the activity.
