Monthly Archives: January 2021

Digital Gallery Walks to Boost Speaking Skills

At this time of the year, after students have received their first marks and we go back to normal lessons, I rack my brains trying to find an activity that will get them back into the mood of focusing on learning, and not so much on exams and their results.
I like to make sure I have a fun activity up my sleeve for these first days and one of my absolute favourites is Gallery Walks, in all its variations. I love asking my students to move around, change partners, and seeing their smiles when doing the exercise. I love the hustle and bustle of my classes when students are doing the gallery walk and talking at the top of their voices while commenting on a poster or complaining about how difficult it is to use one or other expression. I love their complaints; I love their smiles and their aha moments when they have managed to squeeze in a term I have suggested. I think I feel nostalgic.

Sadly, movement during lessons is not an option now due to the pandemic. But wait… “If the mountain won’t go to Mohammed, then Mohammed must come to the mountain”
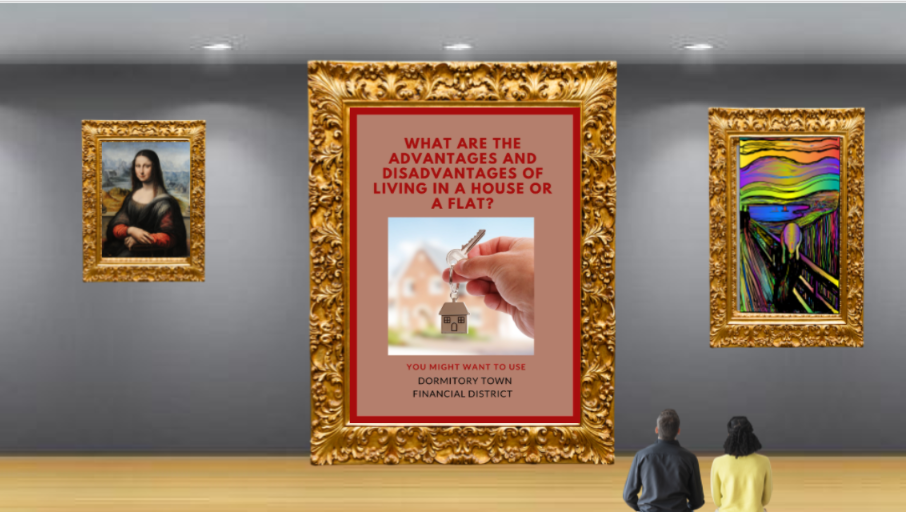
And this is what I have done, a digital Gallery Walk.  I have used Google slides to design a fake museum and I have shared the presentation (Present Mode) with my students.

Have I managed to pique your interest? Then, have a look at my presentation featuring a museum  here.

On a side note, if you don’t know how to share your Google slides in presentation mode, I have you covered. Have a look at this video (0:36). It is really very easy and for this activity, it makes a real difference.

PROCEDURE

In class- or break out rooms-, I have asked students to take out their mobile phones and shared the link for the presentation, using an URL shortener. In my case, bit.ly bit.ly/3oO4PfW

I have asked students to work in pairs or groups of three and instructed each group to start on a different slide. Students read the question on the poster and  I give them 1-2 minutes thinking time before they start talking within their groups. I have also included some lexical prompts to “force” them to use new vocabulary.

For example Group 1, slide 1; Group 2, slide 2; Group 3, slide 3 and Group 4, slide 4.

 After 5-7 minutes talking, I have asked groups to move to the next slide, ie, Group 1, slide 2; Group 2, slide 3 and so on.

You can get a copy of the Digital Gallery Walk here

You can follow me on Twitter and on Facebook. Enjoy teaching; enjoy learning!
 

Awesome Free Online Video and Image Editing Platform for Language Teachers

Who’s ready for a free online image, video and GIF editing platform?

I have been meaning to write about Kapwing for ages but there is always so much to share that I  kept putting it off. I don’t know why because quite simply, this is my all-time favourite free online multimedia editing suite.

What can you do on Kapwing? The answer would be:  What CAN’T you do on Kapwing?

Let me break it up for you:

VIDEO

Their flagship product is Studio, which an online free video editor: you can add video clips, images, gifs, text, filters, you can trim the video and add a progress bar…etc. Basically a video editor, but simple, online and free.

But what is awesome for us, language teachers, is :

1. The possibility to add subtitles and … ready for this?  You don’t have to add them manually, the app automatically writes them for you. This feature is still in BETA and it might not be a 100% accurate but you can always edit the text. Plus, it works with a number of languages, not only English.

More? Yes? Coming!

2. Once it has subtitled the video, you can ask it to translate the subtitles into again, several languages. How cool is this!!!! I have tried Spanish into English and it works just fine! Not 100% accurate but almost and remember, you can always edit it.

In this video tutorial, you will see how to do it. I have also unmuted the video and added music to it using Kapwing.

You can also

  • Edit a video from YouTube
  • Add Audio to video.
  • Remove the sound of a video.
  • Resize the video.
  • Convert video.
  • Remove the background from a video.
  • Create stop motion videos.
  • Reverse a video.
IMAGE

3. There are a few things you can do with an image but the most attractive one for us is the possibility of adding audio to an image.

You can also create collages mixing image, video and gifs. Maybe not very useful, but fun and visual.


More?  You can also create Memes and work with GIFS.

Although it is not necessary, you will get better results if you register. Remember it is free although it also has a paid version. One of the advantages of registering is that your videos won’t have the Kapwing watermark and this is an added bonus.

There are many great ways to enjoy your spare time. I know. Playing with technologies might not be one of them for you. But, if you happen to find yourself with some extra time, why don’t you give Kapwing a try? I think you will love it!

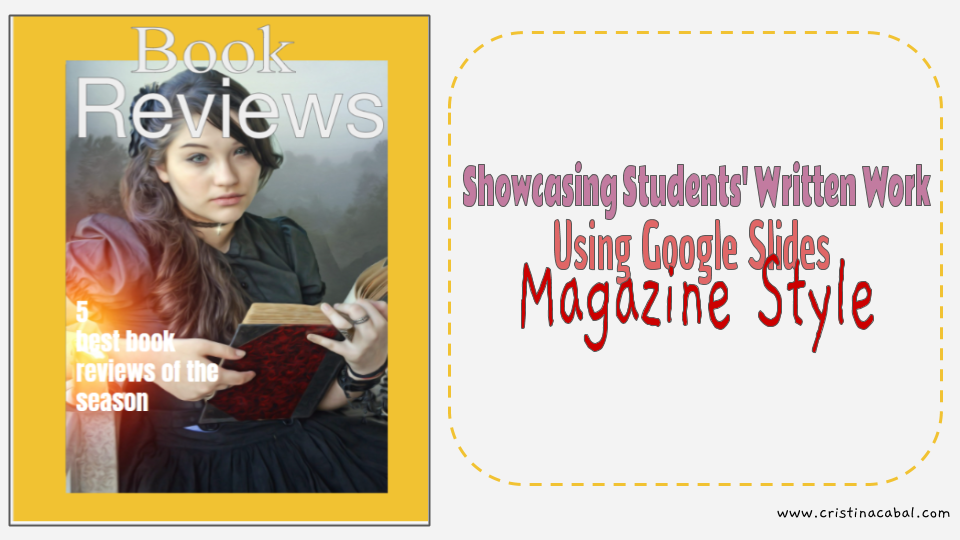
Showcasing Students’ Written Work Using Google Slides Magazine Style

Happy New Year to everyone! And here we are, back at the start of a new year. I am kicking off this one with a post about writing,  inspired by another post written by a fellow teacher from EOI Pontevedra, Paula Gómez. You can read her post here.

Have you ever entertained the idea of publishing students’ written work but were put off by the limitations imposed by free online publishing apps?  Not any more.

This post is about showcasing students’ written work using one of the greatest free collaborative apps: Google Slides.

How often, when you are marking essays think ” Gosh, this essay or this covering letter is soooo good! I only wish the rest of the class could have it as a model of good writing”   And then, you find yourself contemplating the idea of photocopying it and sharing it with the rest of the class.  But…what if I told you there is an easier way to do it? What if I told you you only need to have a free Google account to showcase your students’ written work in a beautiful way, for free and without any limitations? What if I told you that you can very easily change the dimensions in Google Slides to resemble a magazine?

You don’t believe me? Have a look at this Google slides-magazine style boasting some of my students’ book reviews here

Ready to make one? It is really very easy to set up. We are going to do it in 7 steps.  If you have already grasped the idea, you can stop reading now. If you need further guidance, I have recorded a video tutorial to walk you through the steps.

  • Step 1: setting up the slide
  • Step 2: creating the cover of the magazine
  • Step 3: creating the template
  • Step 4. Duplicating the slide
  • Step 5: sharing the magazine/editing permissions
  • Step 6: Sharing the magazine/present mode
  • Step7: downloading and printing the magazine

Before you watch the video, some highlights:

  1. Log in to your Google account and open a Google Slides presentation here https://docs.google.com/presentation/u/0/ and open a blank presentation
  2. The first step to making my magazine on Google Slides is changing the default dimensions. The slide needs to have the same dimensions as an ordinary page in case you want to print it. To do this go to File/ Page Set up/ Custom/ and choose: in cms 23×28; in inches 9×11
  3. Now we need to set up the two most important slides: the cover and the template the students will need to duplicate and fill in with their own content.
  • The cover: Amazing the results one can get inserting shapes, pictures and playing with different fonts. It is all about creating a beautiful inspiring cover.
  • The template: This is also an important part. Spend some time deciding what your magazine will look like and design the template students will duplicate and use to write their own content.

Eager for more? Watch this video tutorial and  show the world what your students can do