Monthly Archives: May 2020

How to use the Interactive WhiteBoard “Jamboard” for an Online Vocabulary Bingo

Interactive, engaging, effective and if possible, fun are the ingredients I want in every lesson. Even if it is online.

This low-tech activity is a marriage between any video conferencing platform and a whiteboard. t can be used as an end-of-term vocabulary revision or to revise the vocabulary of a single unit.

We are going to use two techs here:

  1. A video conference platform. As I have explained in previous posts, I am using the super-easy 8×8.vc video platform – I think they need to start paying me for all the free publicity- but any platform will do as long as it has a chatbox.
  2. A very easy to use interactive whiteboard: the famous Google whiteboard, JamBoard: easy, free and collaborative and….. with sticky notes. Yay!!!

Now that we have the perfect wedding, let’s start:

How to go about it:

Using the chat box in the video conference platform of your choice.

Step 1.  Ask students to type vocabulary they have learned in this unit (this course) into the chatbox. Allow several minutes for this step. Remind them to check their spelling before clicking the Send button.

Step 2.  Revise the meanings of the vocabulary they have written pointing out, at the same time, any spelling mistakes or typos they might have made.

Using the white interactive board Jamboard

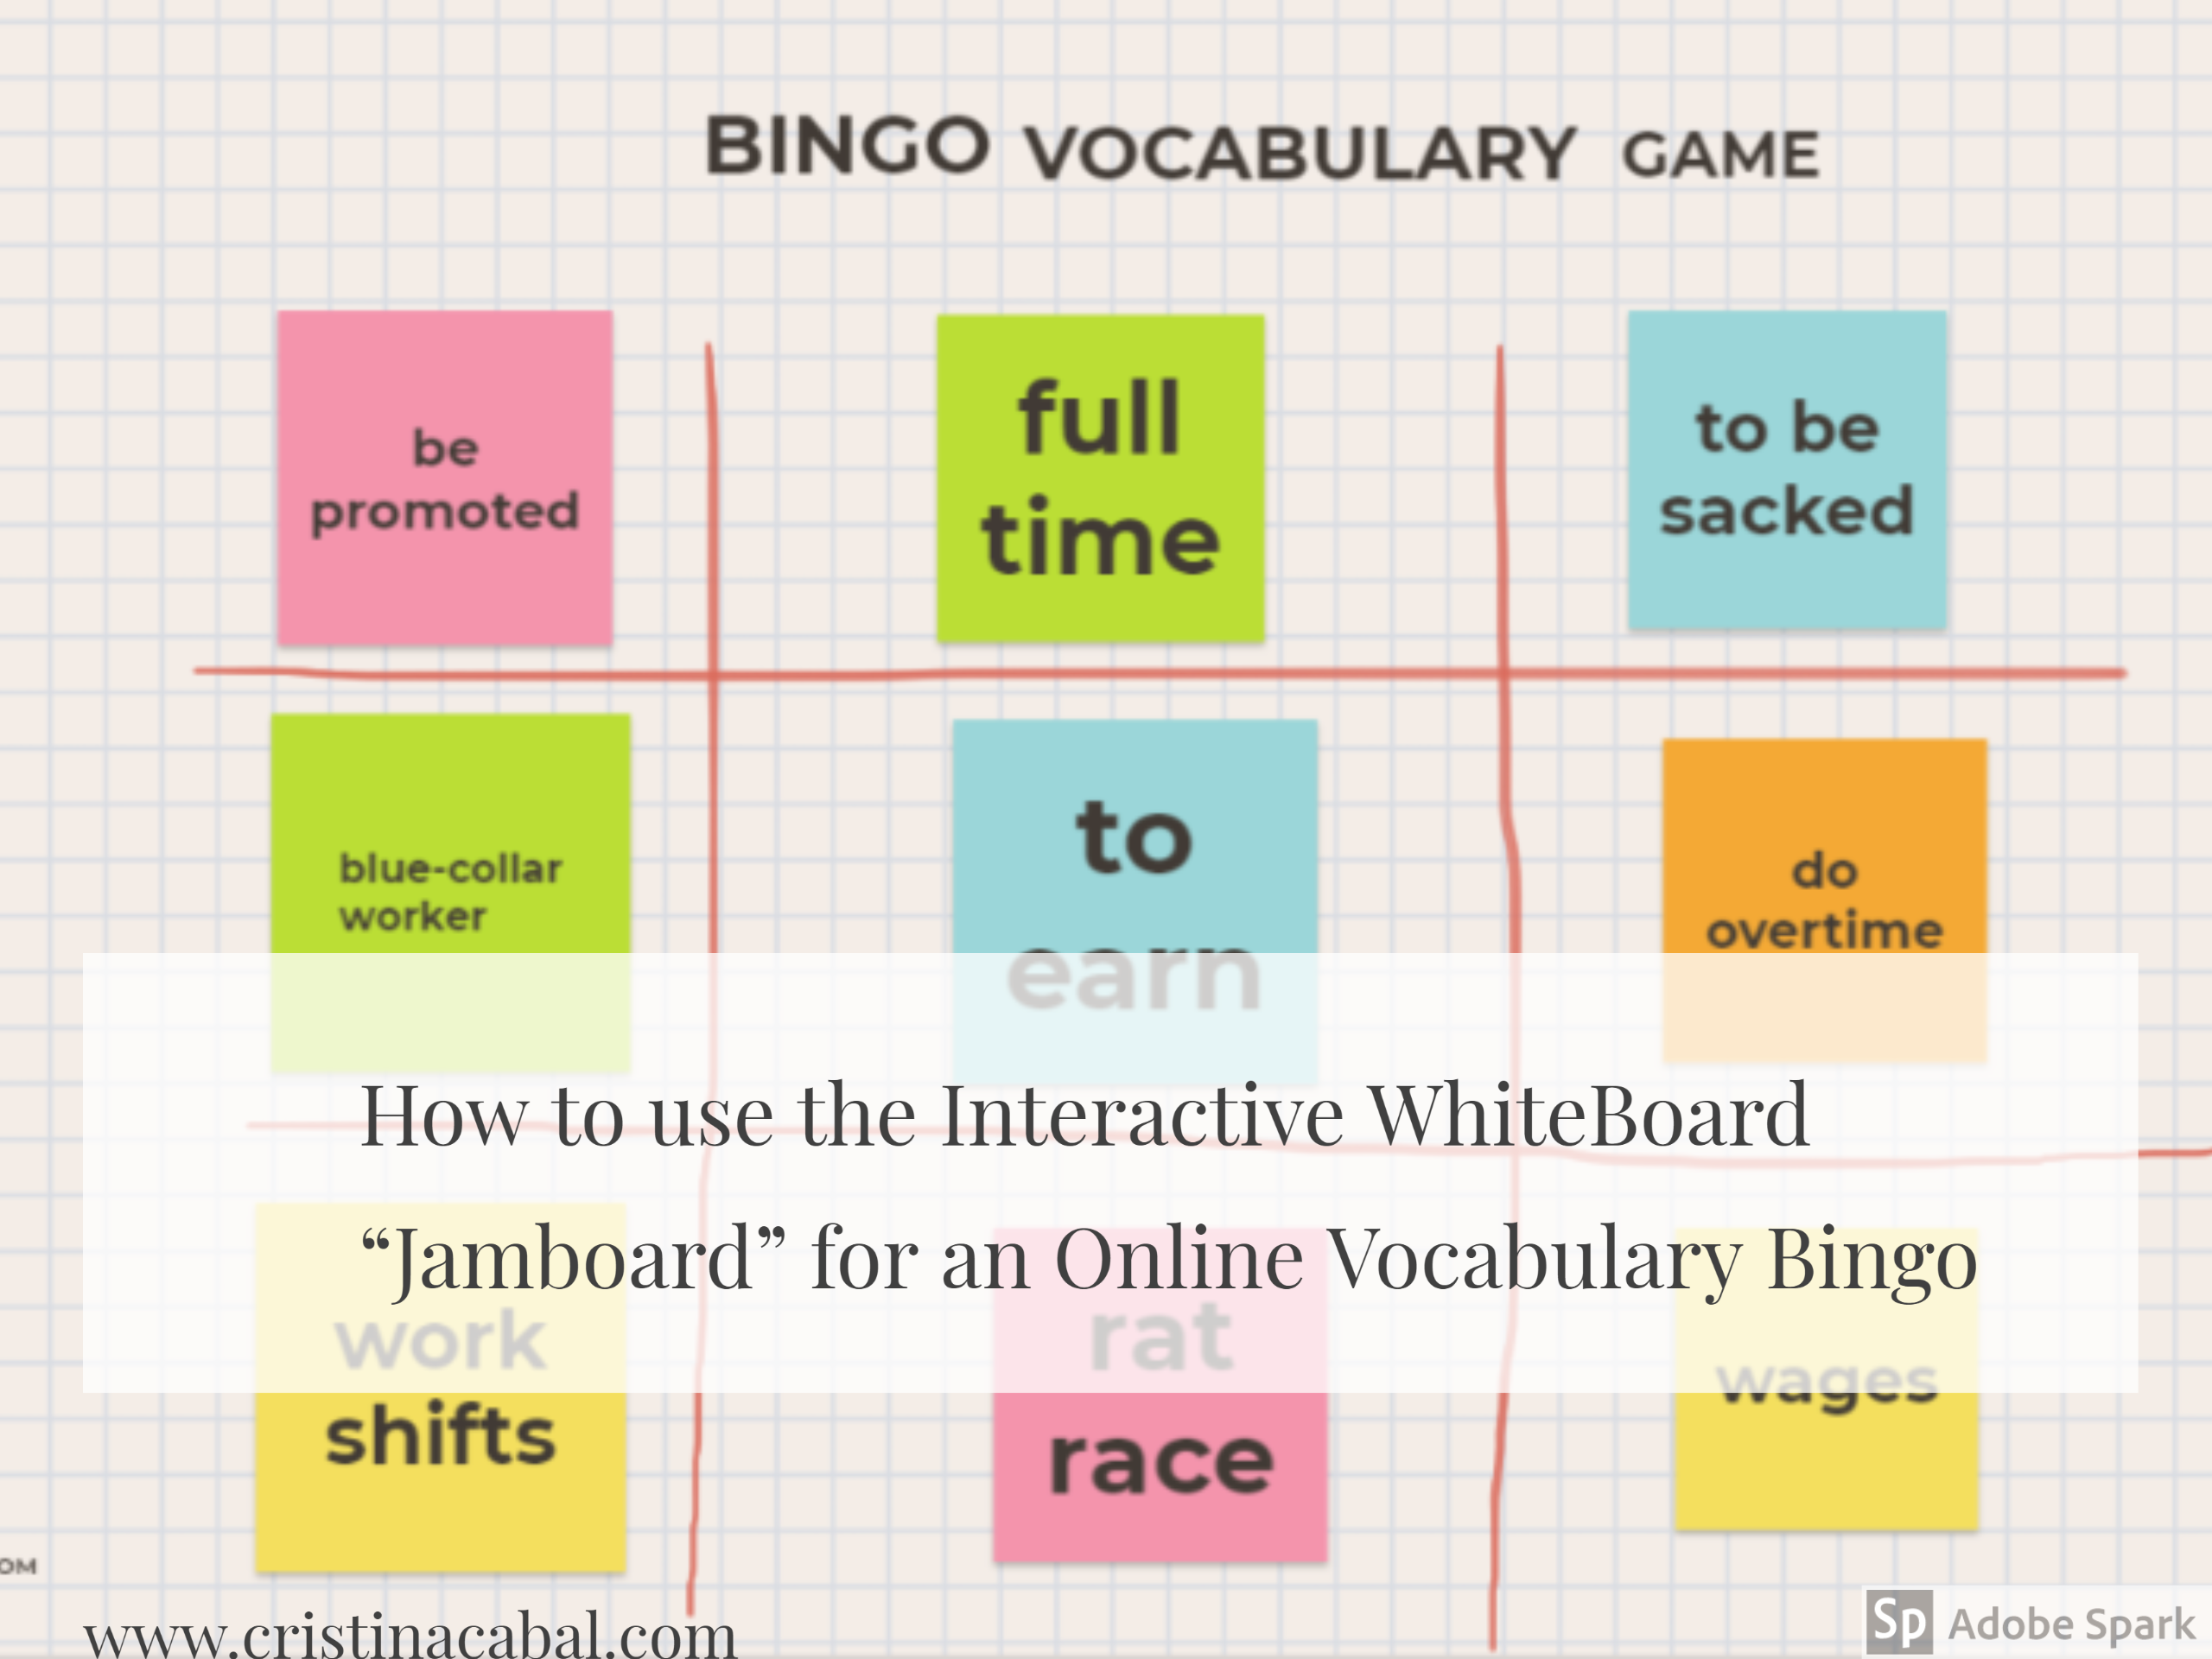
Tell students you are going to play a bingo game and to do this, they are going to use a very cool tool called Jamboard.

Tell them you are going to assign each of them a different frame(slide) containing a bingo card. They should write their name on the frame in the space provided and this frame will become only theirs. They will need to choose 9 words from the chatbox and write them in the bingo squares of their bingo card.

Have a look at my Bingo Jamboard and make a copy if you want to use it. The instructions for the students to play this bingo game are on the second frame. This is a gif to show you an easy option to mark off squares

Watch this easy tutorial explaining how to use Jamboard and how to set up a bingo card game. Hope you and your students enjoy the activity!!!

Giving Students a Fun Challenging Written Assignment

So there’s mediation written assignments, then there’s creative mediation written assignments and then, there’s ANIMATED mediation written assignments.

Naturally I am a huge supporter of anything that involves using digital tools, and this activity is packed with digital tools; not only on my end, to create and present the assignment to my students but also on their end, to animate and share their creative animated task.

Here’s what we’re working with:

  • I have used: Google slides, Genial.ly, the Google chrome extension Bitmoji
  • Students will have to use: Render Forest and then share their animate videos on a Padlet.

The activity is explained in the Genial.ly below.

Note: click on the arrows, on the bottom right corner of the Genial.ly, for a better experience. 🙂


Teaching Online? An Engaging Little Tool you and your Students are Gonna Love

Are you teaching remotely? You are gonna love this tool!!!!

Guess what. I have the most incredible job in the world. I love teaching. It might seem boring from the outside. Even some people might say it is repetitive; you know, always teaching the same things … but believe me when I tell you that if you are willing and committed to teaching, you can explore ways to make teaching always new for you. And this is what has kept me hooked to this job all my life. Having fun trying new things. Some work, some don’t. What I am going to share with you today, definitely works.

So, this morning I woke up well-rested and thinking about my next online lesson and racking my brains about how to make my next class memorable and effective for my students. And then, I had an aha moment and pictured a tool I had on my virtual ever-growing shelf named “Things to Try”.

The tool is called Classroom Q and below, you will get a sneak peek of what the tool can do. This is a recording of one of my classes doing different tasks. (00:10)

Why do I like it?

This tool has some ingredients that are my absolute favourites:

  • Simple
  • Free
  • Engaging
  • Interactive
  • and to top it all, students don’t have to register
What is ClassroomQ?

ClassroomQ was designed as a  virtual hand-raising tool that lets students ask questions and wait in a queue for their teacher’s assistance. But, I have not used it for this.

ClassroomQ has an online buzzer which can be used to play games or to turn a boring exercise into a game. However, the great thing about this tool is not its buzzer, it is its Box for Comments. This is where students can write whatever assignment you have given them. It allows a maximum of 200 characters/ about 35 words)

Imagine the possibilities: from very quick answers, like “what is the past of “take?” to more complex written assignments, like writing a small paragraph containing XXX

What gets students really engaged and motivated is the possibility to interact in real-time and the added challenge of being the first to answer correctly.

Instructions for the teacher
  • Go to https://classroomq/ and sign up.
  • You will be given a class code you will need to share with your students.
  • For more detailed instructions, watch these short video tutorials below
How have I used Classroom Q with my students?

Before the class: 

As we are revising Sports,  I created a hangman hiding vocabulary related to, obviously, sports. To get the chance to say a letter and guess the hidden word, I posed a question they needed to answer using ClassroomQ. I asked a mix of very short answers and some sentences to translate using the vocabulary in context. Classroom Q displays the answers of the first 5 fastest students. You can make room for another student to move up the queue by clicking on the name of one student and deleting them from the queue. They can also remove themselves from the queue by clicking their Cancel Button.

For more details, I have recorded these short video tutorials where I explain in detail how the tool works.

Part 1: The Teacher’s interface1:45)

Part 2: The student’s interface. (1:50)

Part 3: Viewing the students’ interactions (1:149

Don’t miss any posts! Follow me: