Monthly Archives: February 2020

Modern Taboo with a Twist

Is there anything students love more than a good game? The Taboo Game is an oldie but goodie and I have yet to find a student who does not like it.  Playing and learning? It’s always a win-win.

Playing games in class is something that I often do. Well, not this year. I have been on sick leave for 2 weeks and it is taking its toll on my lessons. I feel like I am always in a  hurry trying to make up for lost time. It might be working. I might be finally catching up with the syllabus but I am not having as much fun this year as in the previous ones. And this needs to stop. Right now.

So, to give my students a much-needed respite, we have revised the relative sentences using the Taboo game.

GUIDED PRACTICE: RELATIVE SENTENCES
  1. Before playing, I wrote the beginning of a sentence and asked students to provide the relative pronoun. This is the best time to correct potential mistakes.
  • It’s a person… WHO/THAT
  • It’s something … WHICH/THAT
  • It’s  a place … WHERE
  • It’s a time … WHEN

2. I wrote the word  DOG on the board and asked students to define it using the correct relative pronoun. (for ex, it is an animal that barks).

3. Then, I wrote TEACHER in capitals and under the word TEACHER, I wrote 4 taboo words they were not allowed to use in their description of the word. For example: teach, students, subjects, school. Their definition could be something like ” it is a person whose job involves using the board a lot and helping people learn  English or maths”.

Tip: if it’s a B1 class, I would use only 3 taboo words instead of the 4 you have in this game

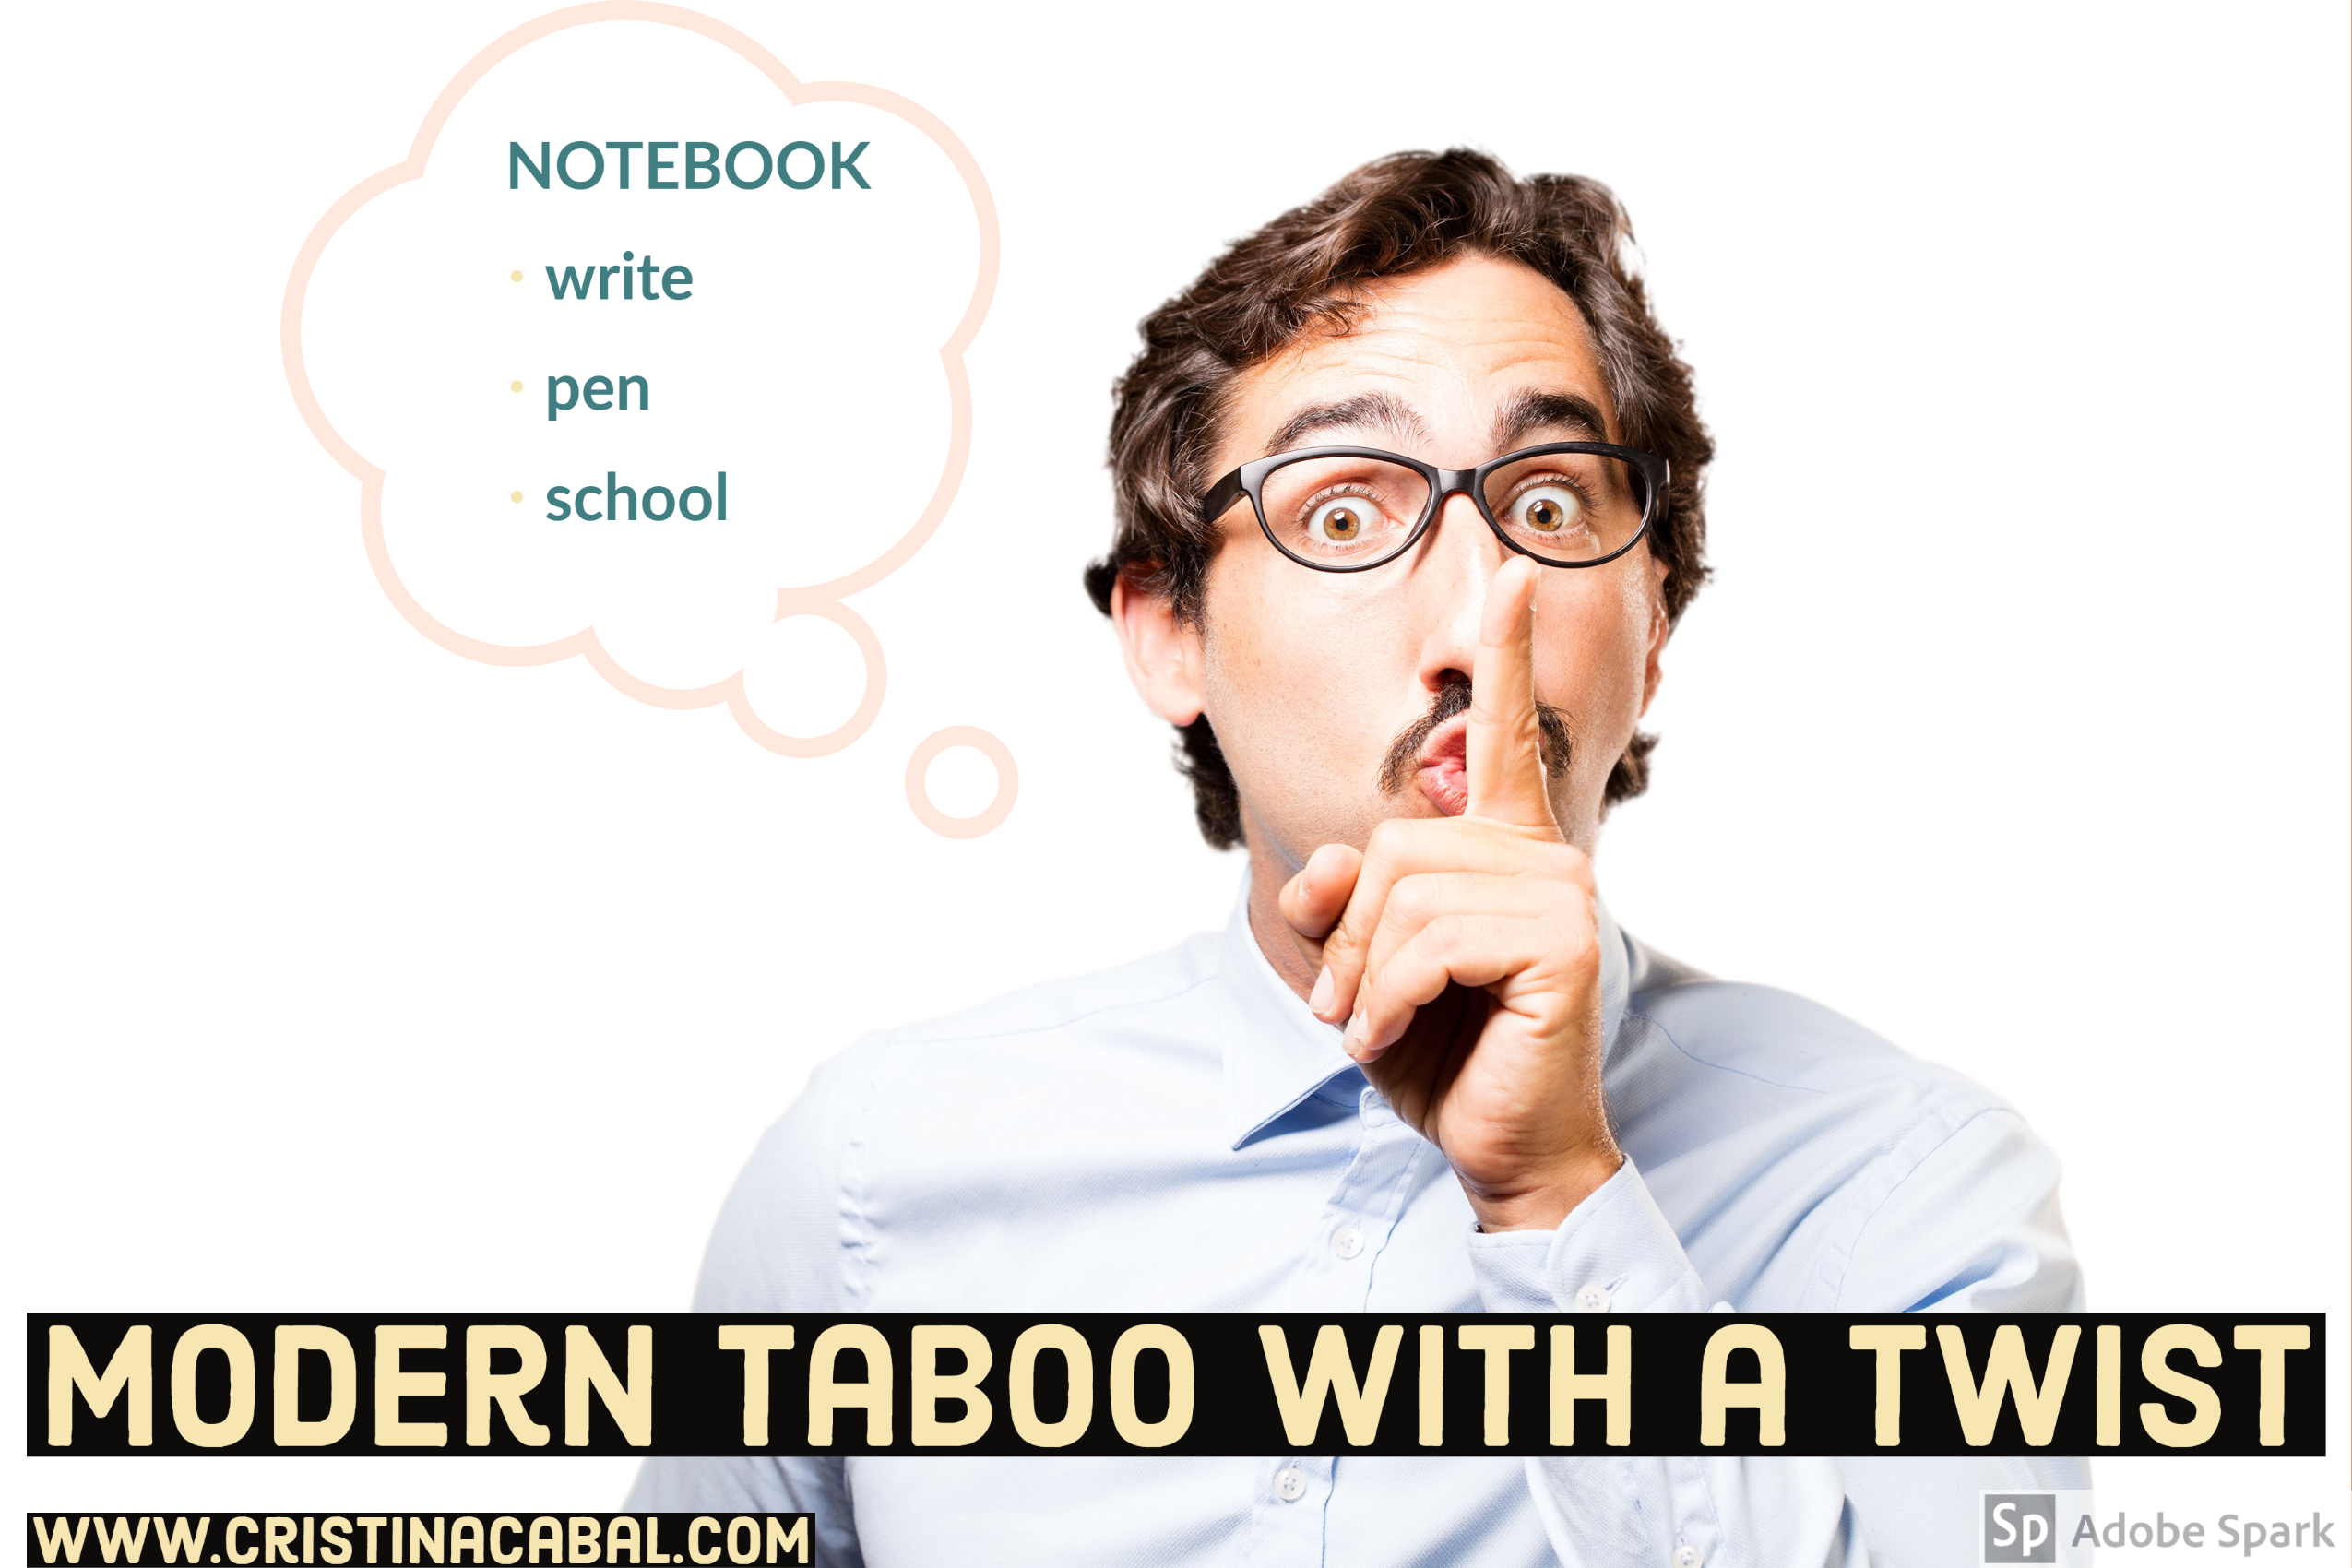
SEMI-GUIDED PRACTICE: MODERN TABOO

Once again, to create this game I have used the flexible multipurpose Spark Adobe ( honestly, I cannot go without it).

Procedure:

  1. Divide the class into two teams and ask a representative from each team to come to the front of the class and face away from the board. Decide which team is going to start.
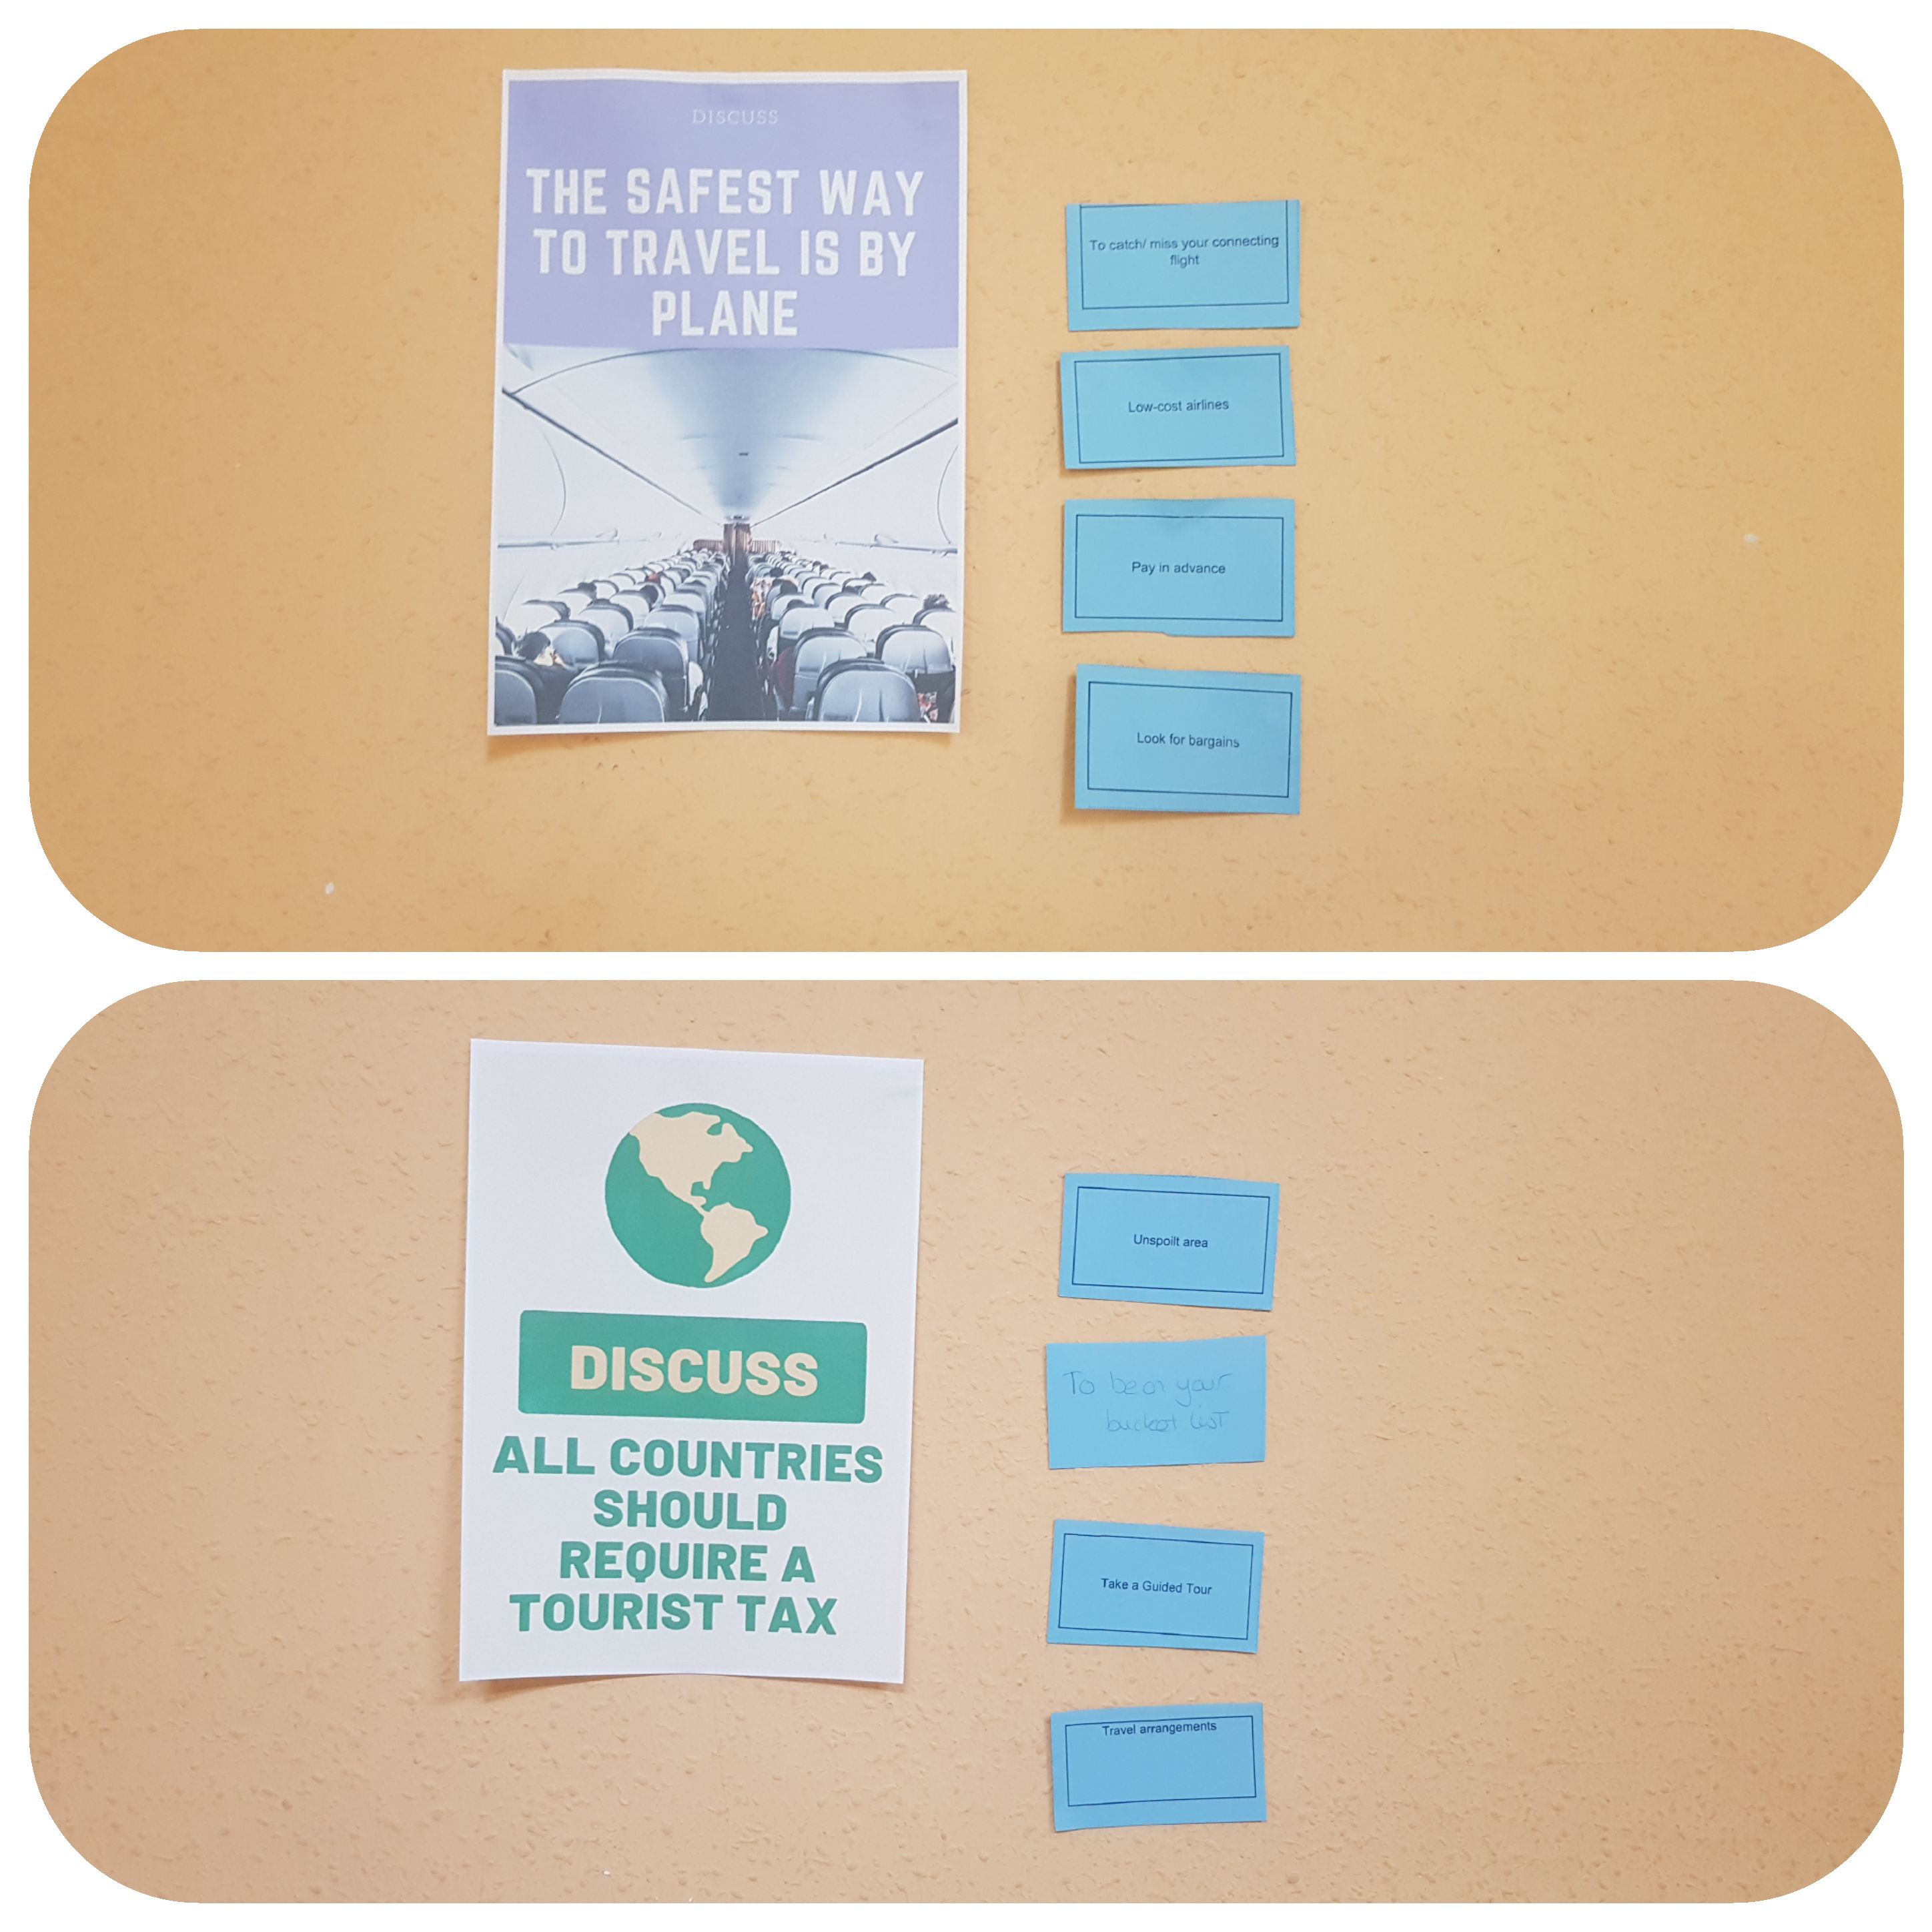
  2.  Player A faces their team A.  Display the presentation below. Team A describes the word at the top of the slide, without using any of the words below it (taboo words). If they use any of the taboo words, they will lose 1 point for their team and a new slide will be displayed. When Player A guesses a word, the team gets 1 point and a new slide is displayed.
  3. Team A continues to describe words for Player A for 1 minute. The game continues with teams and players taking it in turns to describe and guess words. The team with the highest score at the end of the game are the winners.

NOTE: Make sure you don’t use all the words on the presentation below. You will need at least 4 for a variation od the Taboo Game you can do at the end of the game to practise questions.

Taboo

FREE PRACTICE

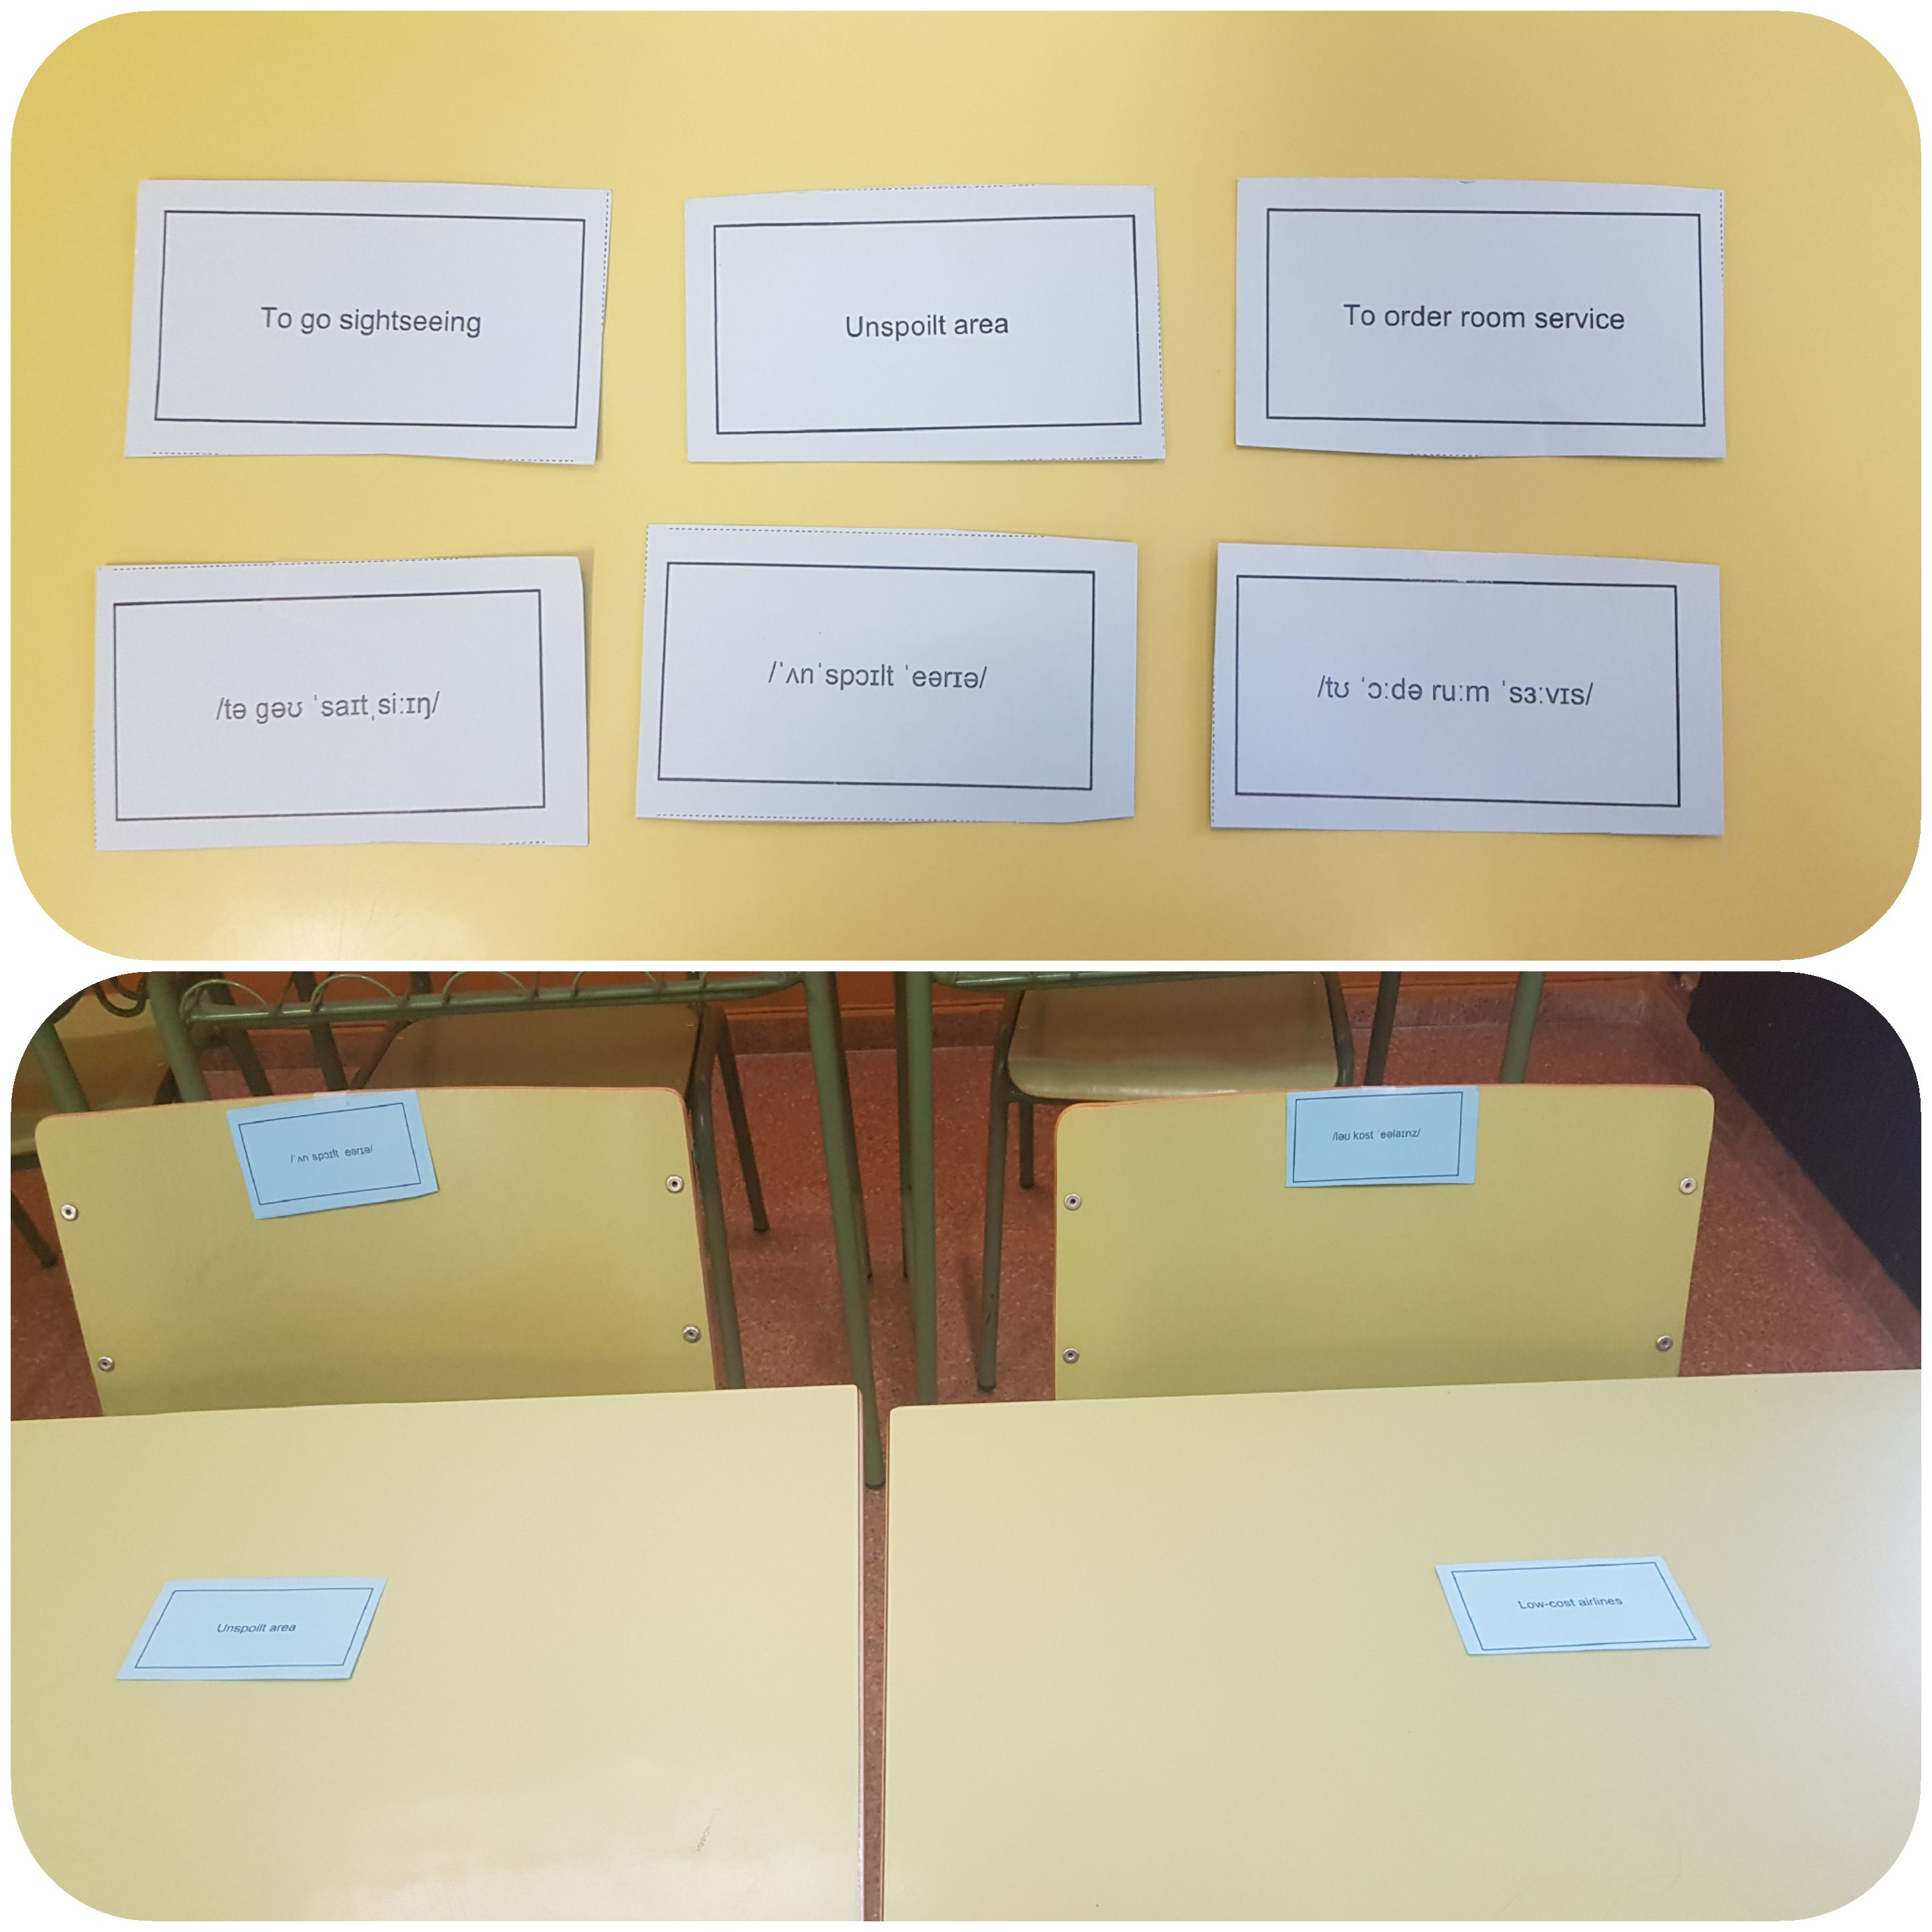
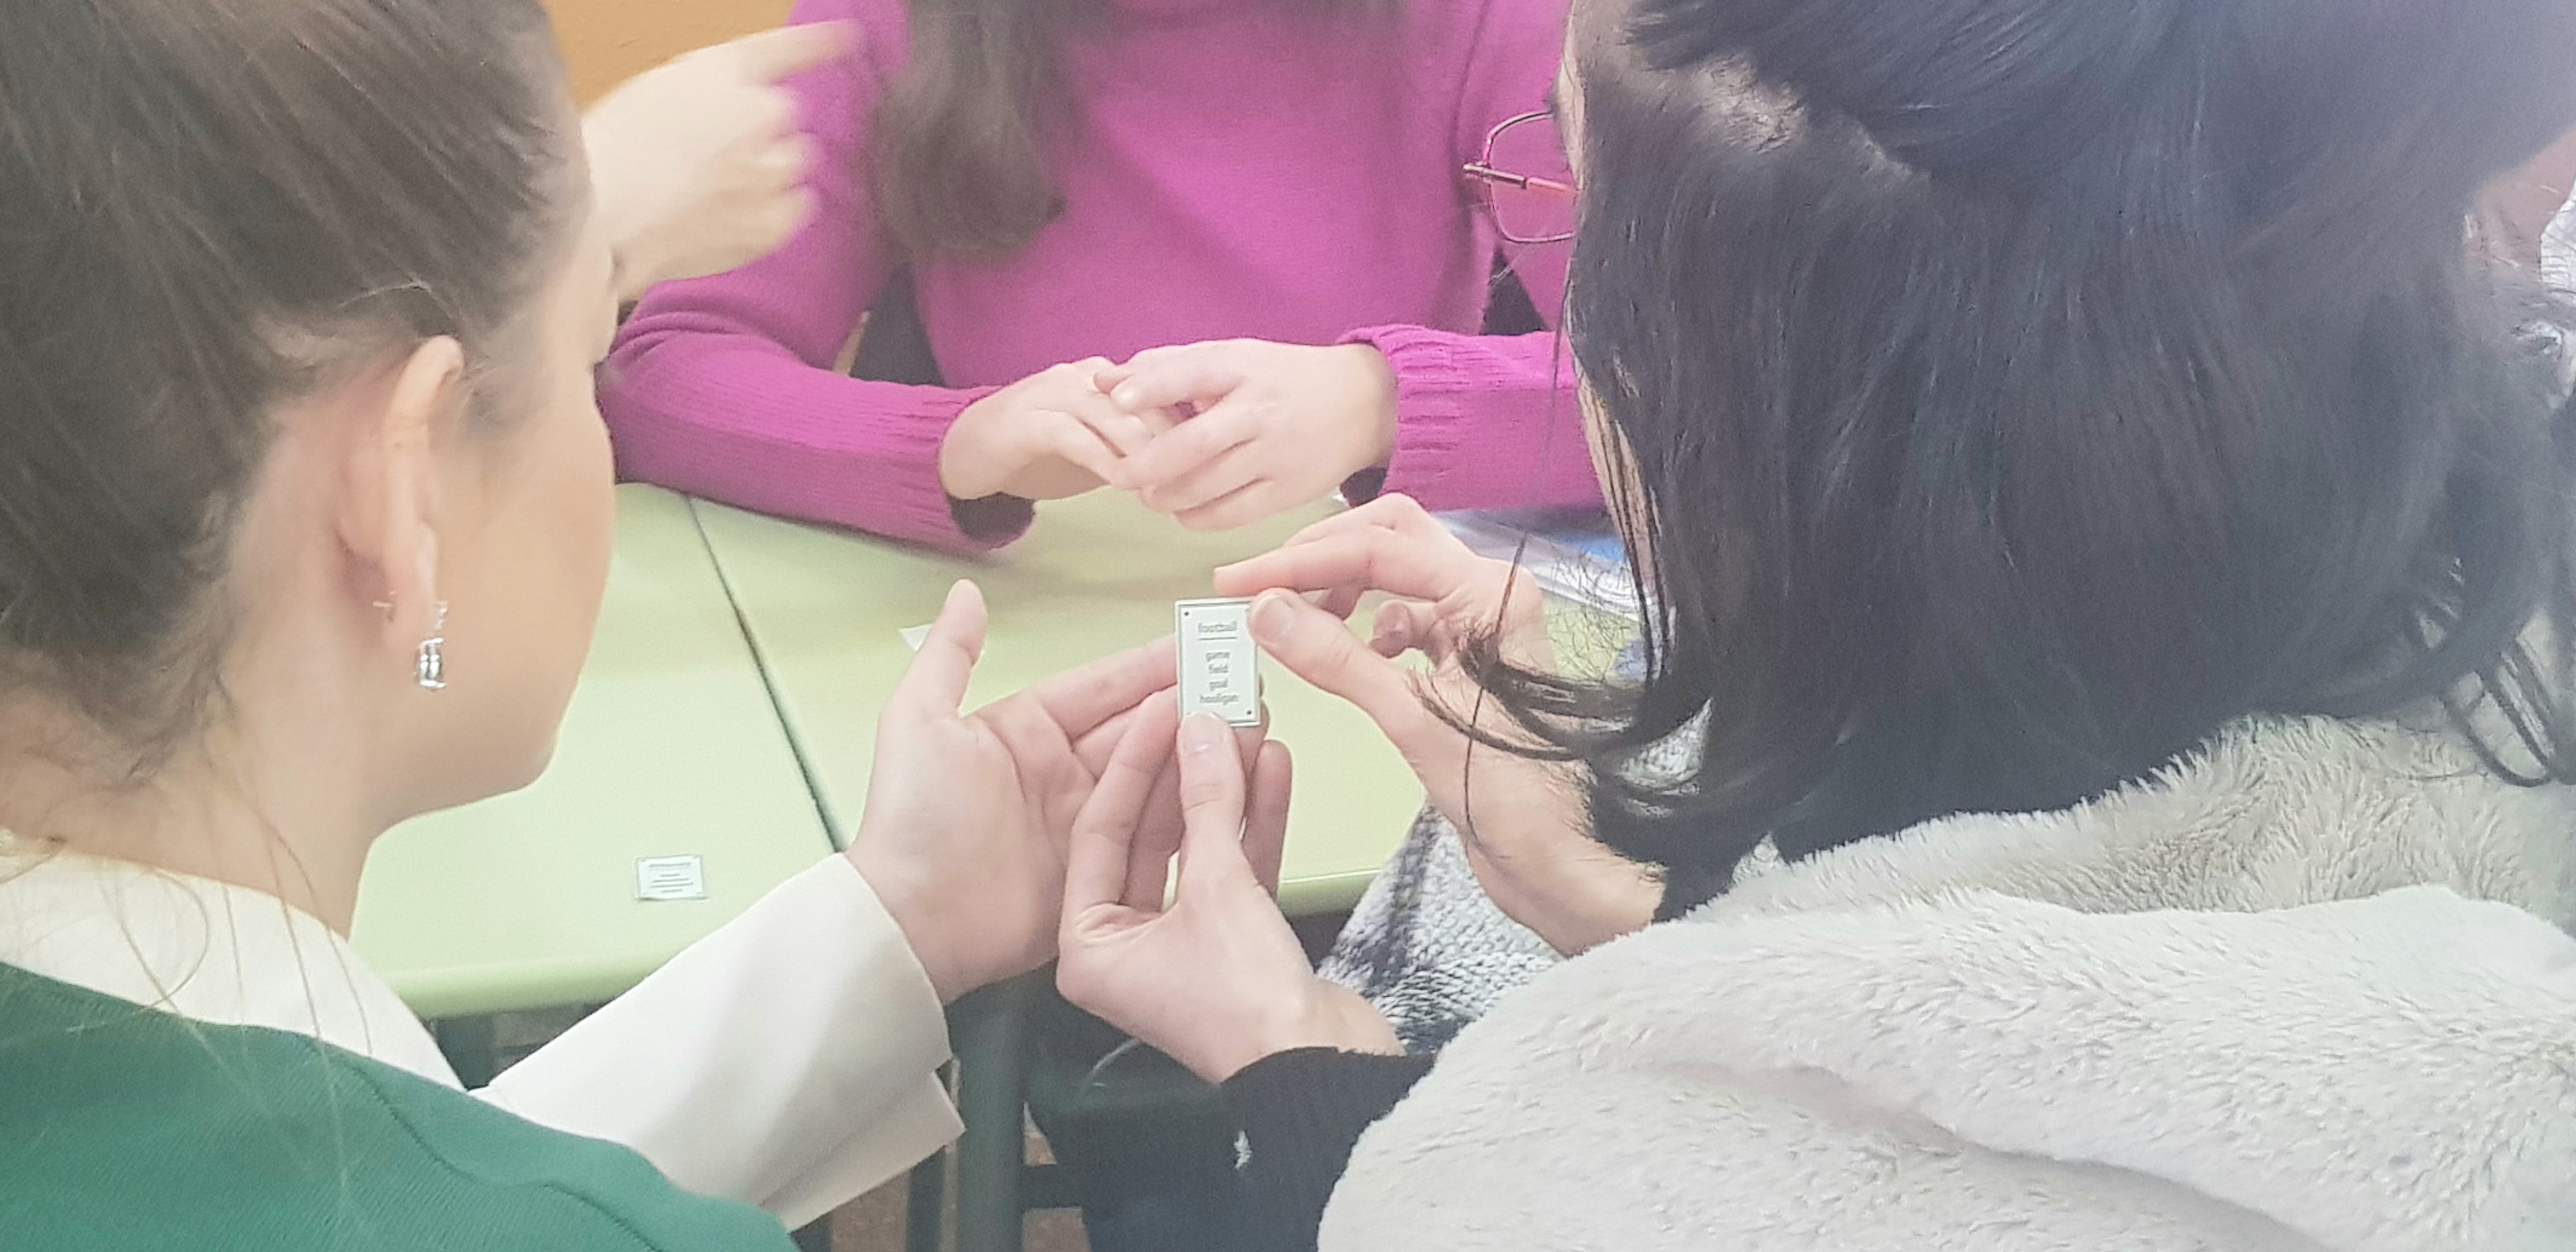
Once each team has had their turn, I have put them in groups of 4 and given them paper cards to continue playing. This time, Player A describes the word to their Team. One player from Team B is allowed to see the card to make sure none of the words on the card are used. You can get plenty of Taboo cards on IslCollective. Bear in mind, you will need to register to download content.

You can also download the traditional Taboo Cards here (B1-B2)  and here (A1-A2)

THE TWIST: ASKING THE RIGHT QUESTIONS

To wrap up the activity, ask a representative from Team A and Team B to come to the front of the class. Ask them to face their team and away from the board.  Display a word. The team will have to ask questions so that Student A guesses the word; again, they cannot use any of the Taboo words in their questions.

Remember our example?TEACHER? This could go like this…

Team A to Student A

  • Who helps you learn English?  Who is standing right next to you? Who writes your school report?

I hope you have enjoyed the activity! Have fun teaching, have fun learning!

8 Engaging ESL Activities for Teaching about Travelling

Engaging ideas and activities revolving about the topic of travelling coming right up!

These are some of the activities I have been doing with my upper-intermediate students. I thought I might share them with you, in case it saves you some time.

I have split the activities into two days as some of the activities in Day 2 require studying the vocabulary introduced in Day 1.

DAY 1

Activity 1: Tapping into students' previous knowledge with  Half a Crossword

As my students are upper-intermediate, it is not the first time they study this popular topic.  Therefore, to revise some of the words I thought they knew, I used the website Half a crossword. 

Activity 2: Introducing new vocabulary

Addicted to using technology in my class, as I have confessed time and again, I have used Genial.ly to create some flashcards.  The flashcards were initially used in class and then shared with them to encourage revision outside the walls of the classroom.

The flashcards contain common collocations related to travelling, but some words are missing. Before flipping the card, students try to guess the hidden word(s). The initial letters are provided to make guessing easier for them.

Note: click on the 3 dots to enlarge the presentation.


Activity 3:  Using their own pictures.

Think about it: how many pictures are stored on our mobile phones? What could engage students more than talking about what is real for them, about their own experiences, about their own trips?

Ask students to take out their mobile phones and ask them to choose their favourite picture from their last holiday. Allow some minutes for this part. Ask students to work in pairs or threes. Ask them to show the picture to their partners, talking about it and sharing the story behind the picture.  Encourage the use of the collocations in the exercise above.

DAY 2

Activity 4: Flexible seating using cards with common collocations and their pronunciation

This “flexible seating” strategy is quickly becoming one of my favourites to pair students with different partners. I explained the strategy here

For this exercise, I sellotaped to the back of the chairs of the classroom the phonetic transcription of the collocations studied in the flashcard activity. This way, I killed two birds with one stone, as the exercise helped me to revise the collocations and ensure they pronounced the words in the correct way.  To transcribe the collocations, I used a website I have been using for years. Check it out here.

Cards here

Activity 5: Speaking: conversation questions

Using a presentation with some conversation questions I created on Spark Adobe some years ago, I asked my students to discuss the questions trying to use the collocations studied in Activity 4.

Every two questions, I gathered all the cards containing the collocations, shuffled them and redistributed them. This meant, standing up and finding the matching card with the corresponding pronunciation and then, sitting on that chair and talking to a different student.

Off the Beaten Track

Activity 6: Speaking: Ethical Dilemmas

Groups of 4 students.  I displayed the first dilemma and asked students to pair up within the group and discuss for some minutes what they would do.  Then, I asked them to share their ideas in their groups and finally, we had a whole-class discussion.


Activity 7:  Gallery Walk with Posters and Vocabulary on Cards

I created some posters using Canva.com and put them on the walls of the classroom. To form groups, I numbered them off and asked all number 1s to form a group, all number 2s to form a group, …etc. This way, I made sure they worked with different students.

Before the class, I put the 5 posters up on the walls of the class. Next to the posters, I also put 3 or 4 cards containing common collocations from Activity 4.

I instructed the groups to choose a poster and discuss the question in the poster, trying to use the vocabulary in the cards.

I did not set a time for each poster, I gave them the freedom to discuss as much as they wanted, but encouraged them to do at least three posters. I dedicated 25 minutes to this activity.

Posters here

Activity 8:  Using Google Maps Street View for Virtual Travelling

Giving your class a touch of modernity can’t get any easier. Ask your students to pick a city—any city in the world is at your fingertips-, and ask them to give a short speech about that city.  Just open Google Maps, write the keywords in the search box, drag the Pegman and enjoy the virtual trip. For more details, click here

Virtual Travelling: An Innovative Easy-to-Set Speaking Project

Virtual travelling must be the next best thing to actually travelling. Arguably, of course.

Using technology in the class is a risk. There are a number of things that can go wrong, so why do teachers still dedicate time and effort to introducing tech in their classrooms?  Could it be because classes become more…

  • fun
  • effective
  • engaging
  • interesting

to name just a few perks?  And if this is not enough to convince you to give it a try, just ask yourself this simple question: can we honestly, in the XXIc, be teaching as we were taught when we were kids? I know taking risks is not at the top of your list, but the truth is that if we want to get different results, we need to start doing different things or at least doing things in a different way ( hope A. Einstein forgives me for tweaking his words a bit).  We need to step out of our comfort area and try new things. Believe me when I tell you, making the effort pays off. If I have managed to pique your curiosity, go on reading; if I haven’t, you may want to stop reading right now because what follows is an example of how easy it is to use technology in our classes.

  • Topic: travelling
  • Level: any
  • Skills: reading, speaking, using technology

The activity

Steps 1.  Deciding where to go
  • Students get into groups of three and decide on a place to virtually visit. Ask them to agree on a second option, just in case another group chooses the same place to visit.
Step 2: Explaining Google Maps Street View

In class, open Google Maps and explain how to use it. For example, in the search box, type Buckingham Palace and drag the little man (called Pegman) in the bottom right corner to the area that you want to explore. Unclick to drop Pegnam on a blue line, blue dot or orange dot on the map. To move around, hover your cursor in the direction that you want to go. Your cursor becomes an arrow that shows in which direction you’re moving. Students love it! ( see the video below for details (0:55)

Step 3: Working Collaboratively on a Google Document
  • Working collaboratively on a Google Doc, they decide three places to visit in that city/country. (see the how-to video below (1:20).

Step 4:  Researching and Writing
  • Students do some research on the Internet and write their speeches on the doc document.  Warn them not to copy/paste the information.
  • Once they have written their speeches, ask them to collaboratively polish their writing, correcting grammar mistakes or spelling errors.
  • Ask students to share the document with you and correct the most important mistakes.
Step 5: Virtual Travelling
  • Students take the stage and give their presentation to the rest of the class.
  • Tip: while one of the students is presenting, another member of the team can be operating on the computer

Travelling at our fingertips!!! Enjoy teaching, enjoy learning!

Dry Erase Boards to Help Fix Grammar and Spelling Mistakes from Essays

Happy February everyone! Finally January is over, and we can start dreaming with the spring.  And that reminds me that I need to start thinking about losing some weight. Well, every cloud has its silver lining! I know, I know, we are still in the thick of winter. One can only dream…

The second term is upon us and it’s now the time to give students the results of their tests. I am never super excited about it. While it’s nice to see how some students are making the most of the course and will pass with flying colours, some others aren’t that lucky and, believe me when I tell you that even after almost 3o years teaching, it still saddens me to see their disappointment. Some of them are smart enough to admit they have not studied enough but for some of them, it is not a question of how much effort they put into it.

And talking about exams, isn’t it true that students tend to always make the same mistakes? I am talking here about grammar and spelling mistakes. Now, how many of you have corrected the spelling of “writing” or a “people goes”. See? It shouldn’t be that difficult to correct if, when we teach what we know is bound to become a mistake, we teach, revise, reinforce and emphasize the correct form. If only it were that easy… I can hear you say!

Anyway, these are some of the most easy-to-fix mistakes my B2 students have made in their essays. Problem is that if I give them their exams with the mistakes underlined and corrected, they are going to say “oh yes, silly me, I know the grammar for this, teacher!” and after a brief glimpse at the mistake, they are just going to forget it. What? Over my dead body!

On the blog, there are a lot of games and strategies to help students analyze and fix their written mistakes. This is just a new one! Fun, but also hopefully, effective!

For this activity, I have used a template that won my heart as soon as I spotted it on Genial.ly and some dry erase boards, which you can easily substitute by a regular A4 sheet of paper. You can, but it is more fun if you use a dry board. Don’t know why, but it is. Trust me.

Dry Erase Boards to Help Fix Grammar and Spelling Mistakes from Essays

You need

  • Grammar and spelling mistakes  from students’ essays.
  • Dry Erase Boards and whiteboard markers  (alternatively regular A4 sheets of paper).

Note: click on the 3 dots to enlarge the presentation. Notice the Push here button  to advance through the slides.


Procedure:

  • Divide the class into teams of three and give each team a dry erase board and a whiteboard marker.  Tell teams to quickly come up with a creative name for its team. Write the names of the teams in a list on one side of the board.
  • Display the first mistake and give students 45 seconds to discuss the mistake and try to fix it. You can use a timer from www.online-stopwatch.com or from classroom screen.
  • When the time is up, a representative from each team needs to raise the board with their guess at correcting the mistake.
  • Ask them to comment and discuss the mistake as a whole class.
  • If it’s correct, they score 1 point.
  • The team with the most points at the end wins.

At the end of the exercise, students do the exercises again but this time orally. This retrieval practice is what is going to help students remember the correct structure or spelling.

The next day, I would suggest asking students to discuss in pairs the mistakes and their correction, to fix knowledge.

Fun and effective! Enjoy teaching!