Monthly Archives: May 2019

Fixing Fossilized Grammar and Spelling Errors in an Engaging Effective Way

End of the school year for me! And for you?

This is a post especially dedicated to all non-tech lovers! I am capping off this wonderful school year with an engaging yet effective activity for error correction. It may not be much when you read how to do it but trust me on this one, your students are going to love it!

If you follow me at all on my blog or on social media (facebook, twitter ), you will know that I am a huge fan of using technology in my classes. When I mean “huge”, I don’t mean that technology dominates my teaching practice. I use technology only when I think it’s going to contribute to effective learning. Otherwise, it’s time wasted.
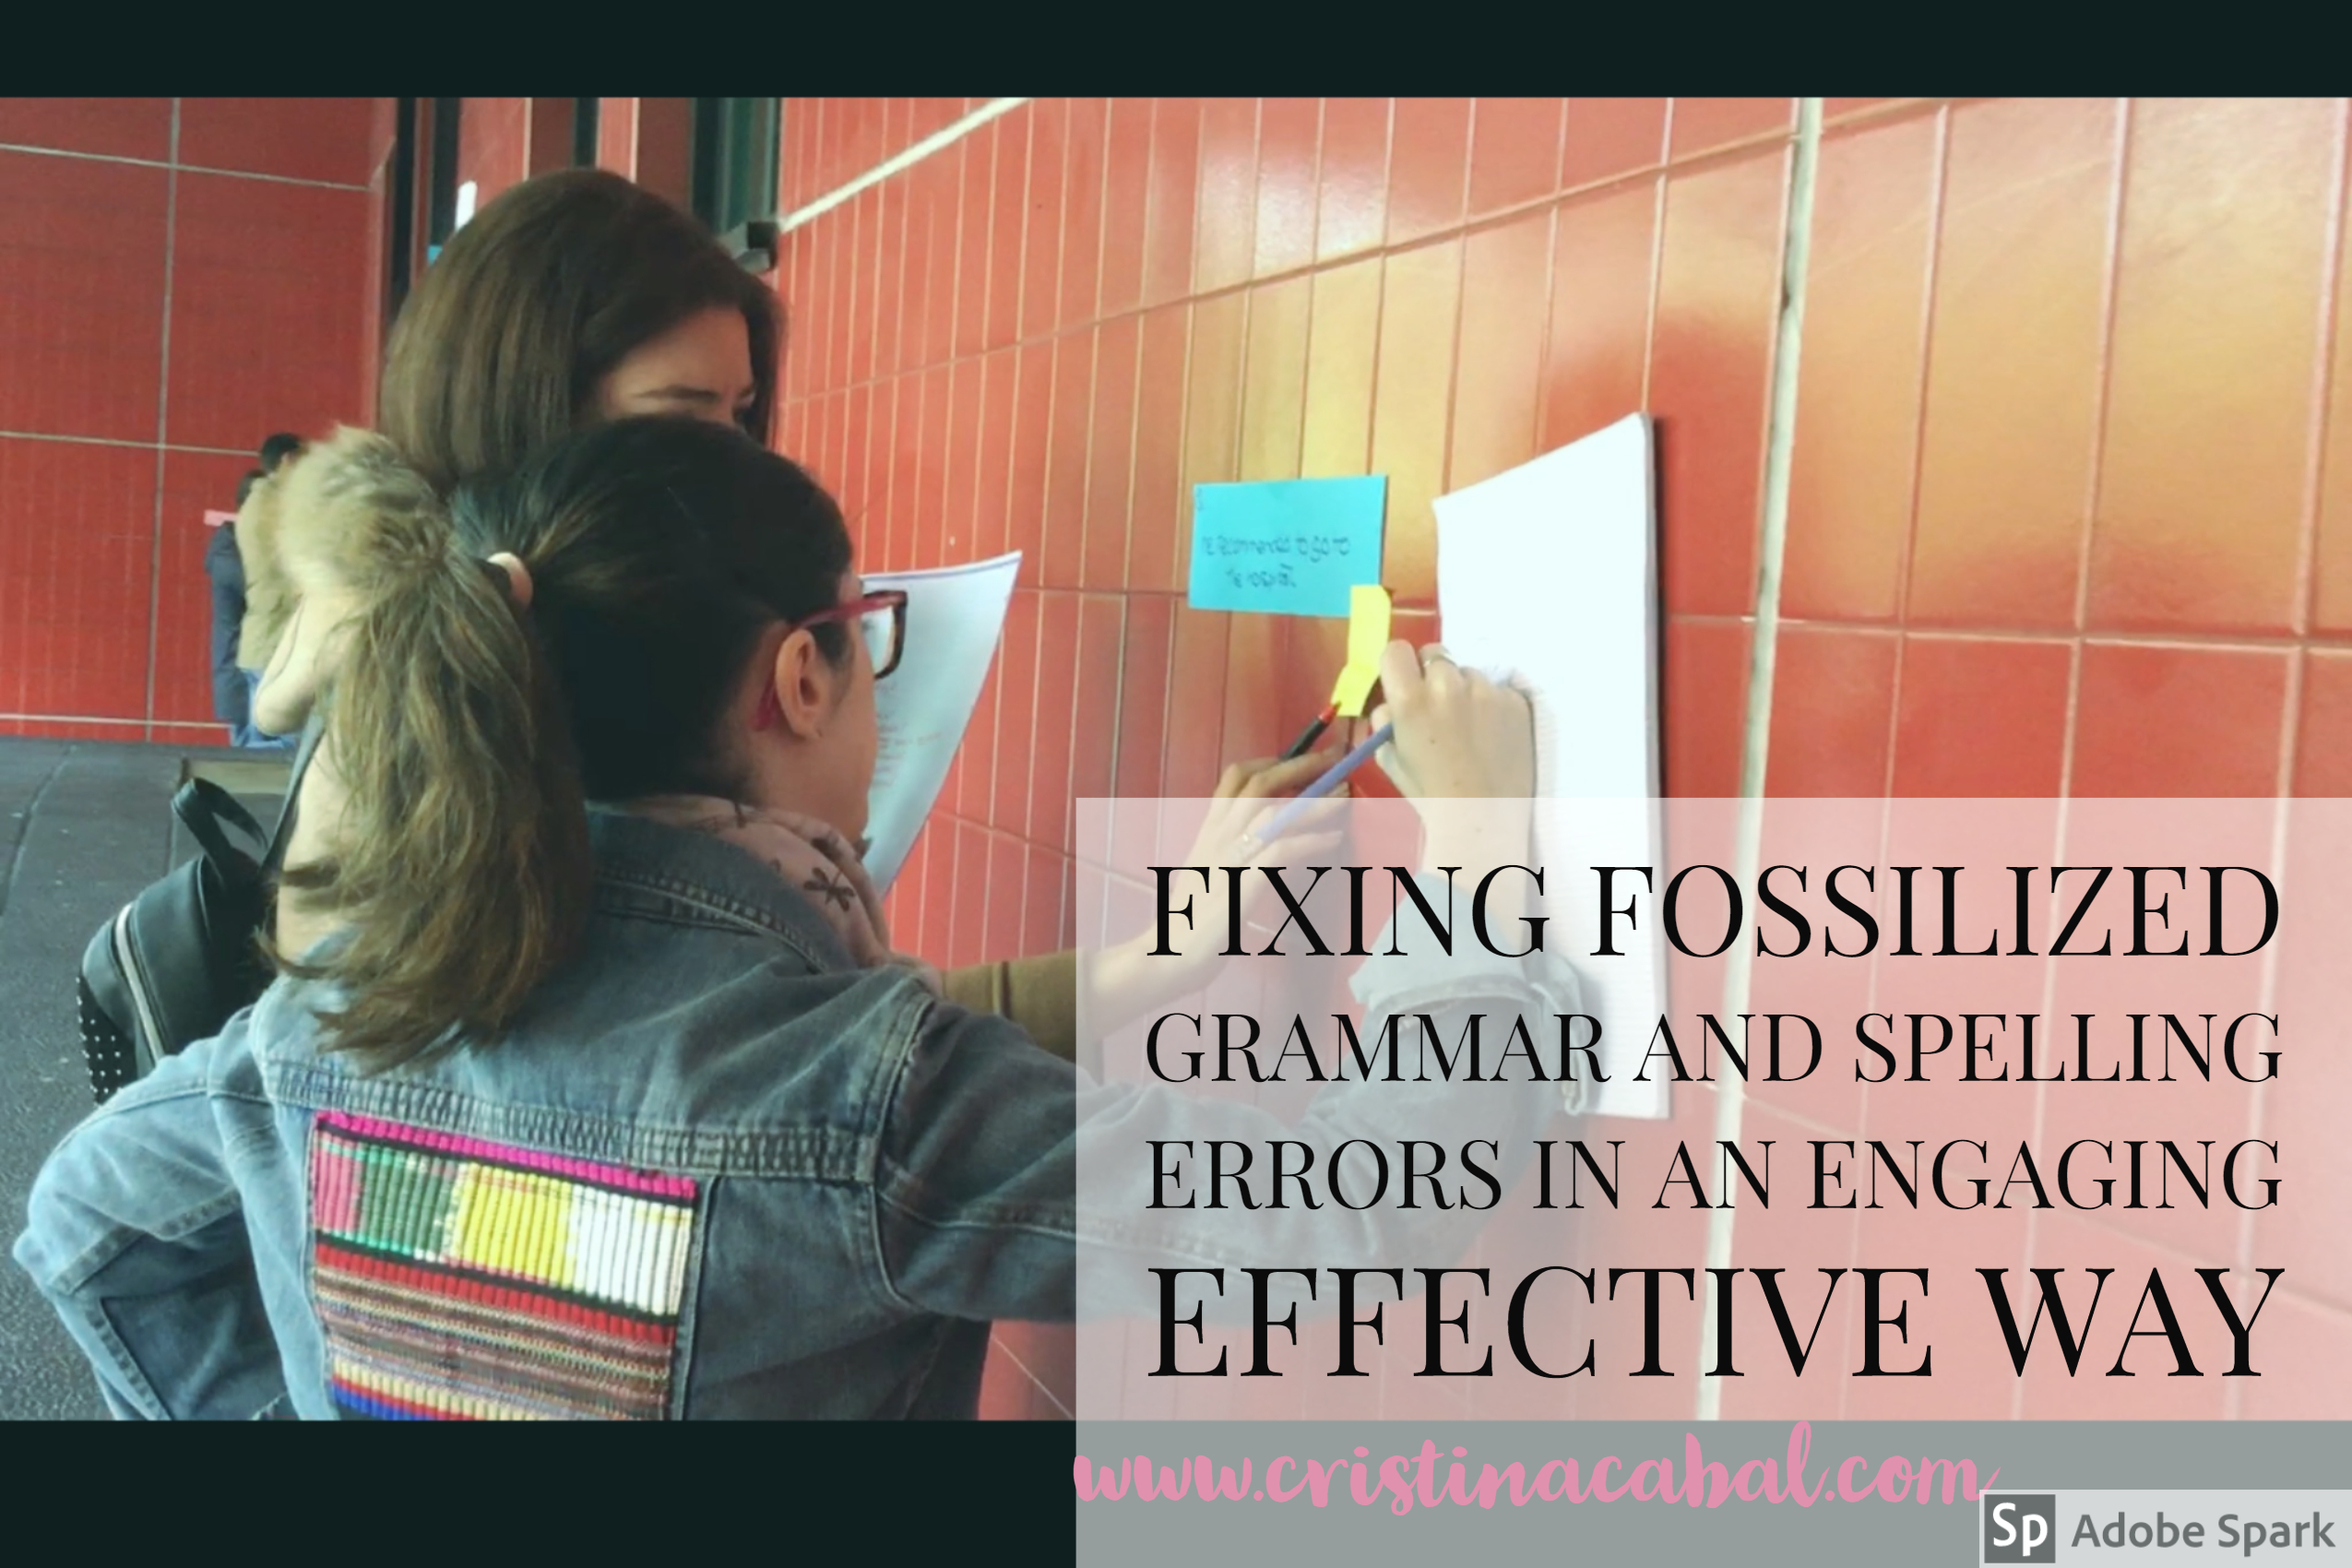
Slips of paper are hands-down my favourite teaching tool. Essentially, they are scraps of paper that I use and reuse constantly in various ways. In fact, my record is having used the same set of slips of paper six times for a single class. I am sure some of my students will remember this day. They certainly learned everything on them.

The activity I am sharing with you today is a  brand new one. I have to say I am happy with the result. It worked really well, it was effective, meaningful and engaging.

This time slips of paper have been used to fix fossilized grammar and spelling errors, but I firmly believe that the use of slips of paper as a teaching tool is a great addition to any lesson plan.

Note 1: “fossilization” refers the way in which some errors become a permanent feature of a language learner’s language

Note 2: at the end of the post, there is a video I’ve put together with some pics and clips I took from the activity. In case you want to see it. Just saying! 🙂

Materials:

  • slips of paper
  • sticky notes
  • sellotape or blue-tack
Before  the class

Yes. I am afraid there is some prep to do but it’s worth it.

  1. Correct their compositions and write down common or relevant errors: for this activity, I have used common spelling or grammar errors.
  2. Write them down on slips of paper.
  3. Write the correction on sticky notes or scraps of paper.
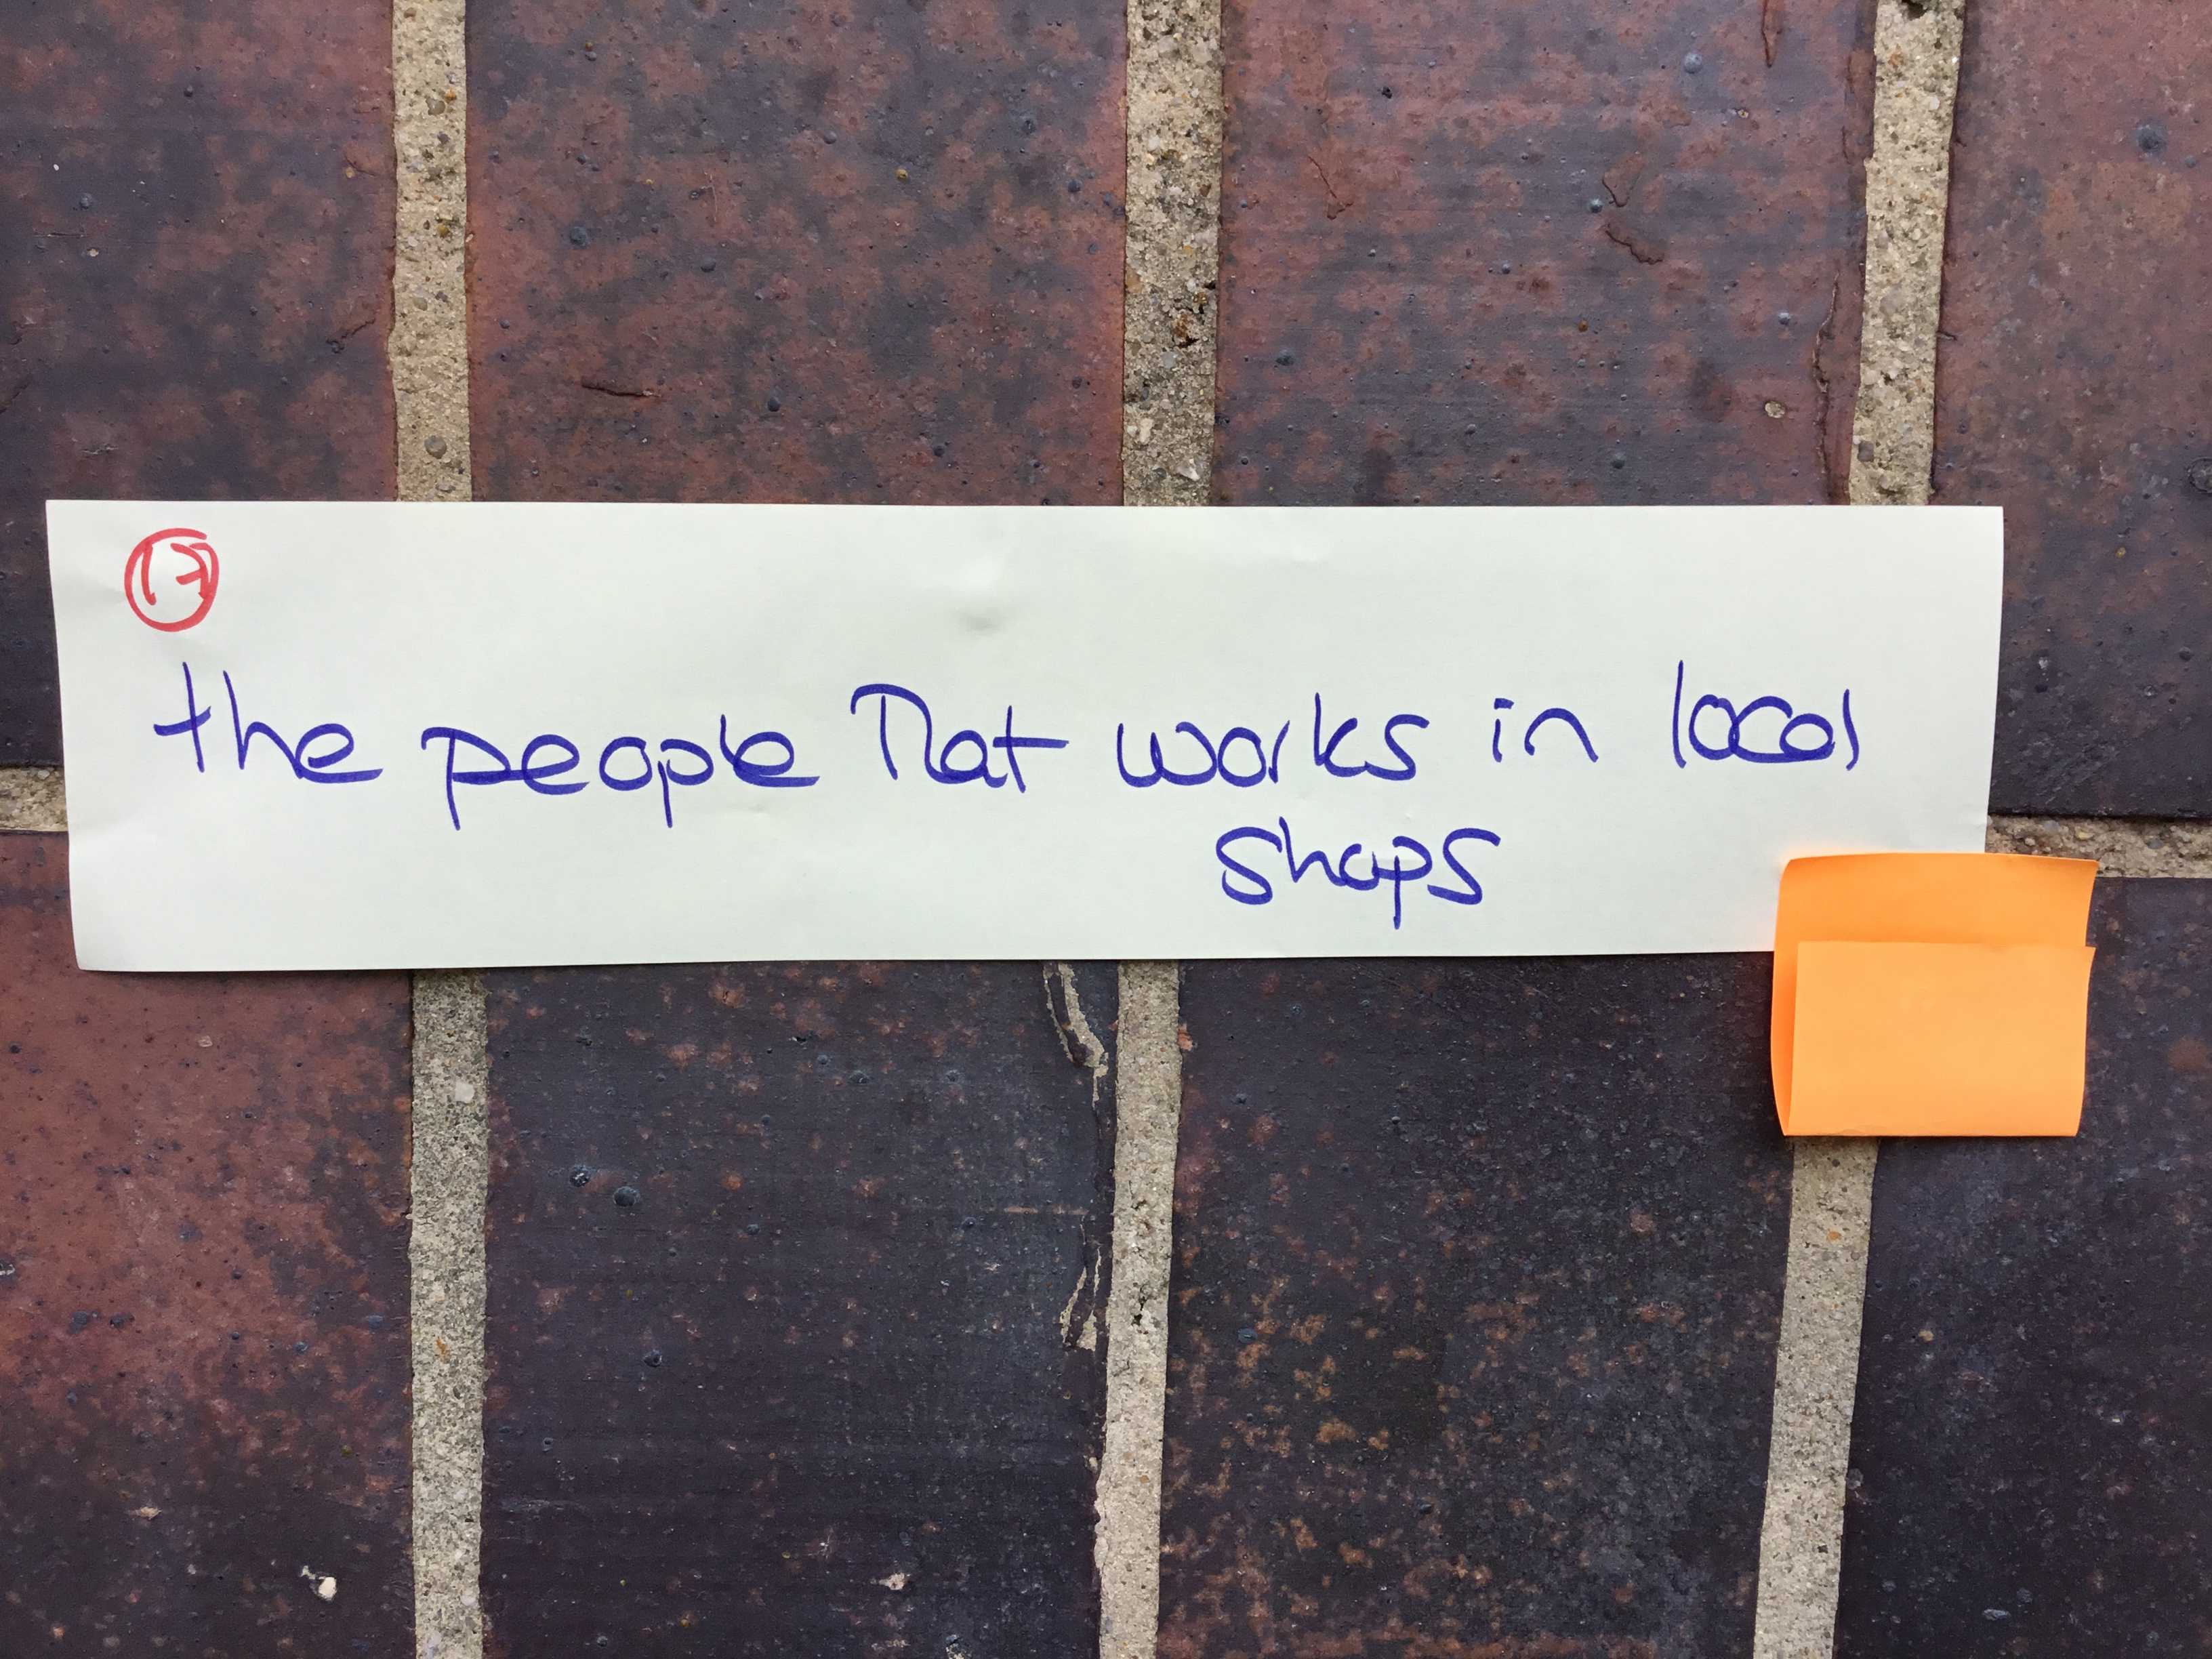
  4. Hang the slips of papers around the room. Identify each slip of paper with a number and write it down on the bottom right-hand corner.
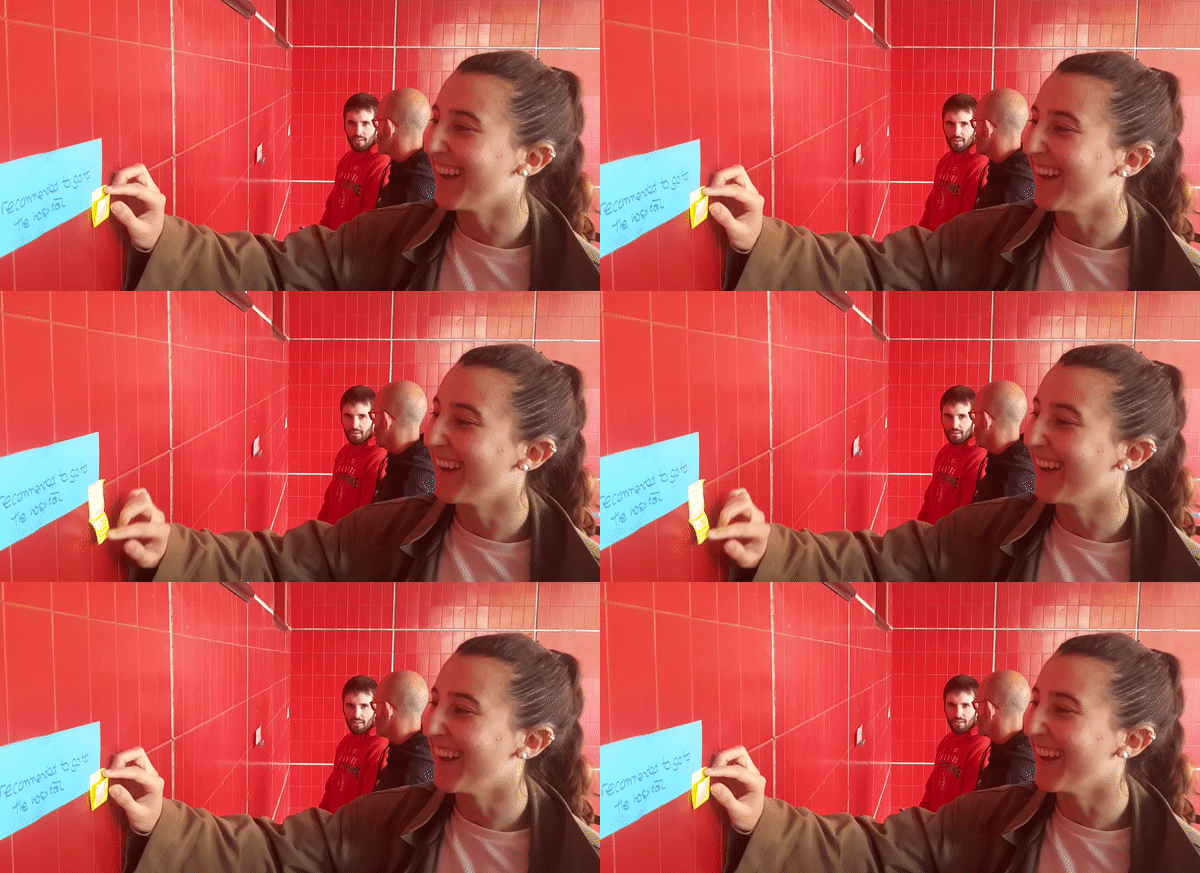
  5. For each slip of paper, and displayed next to it, is a sticky note containing the correction. The sticky note is folded in half so that the right answer cannot be seen unless unfolded.
How to go about it

Round 1

  • Ask students to take out a regular A4 piece of paper, write Round 1 at the top and number it- whatever X slips of paper you are using. Ask them to do the same on another piece of paper and but this time they should write Round 2.
  • Note: It is spring so if it is sunny, why not take them outside the building and hang the slips of paper on the walls of the building? In fact, this is what I did. If you also play some upbeat music while they are doing the exercise, they are going to love you.
  • Ask them to form pairs.
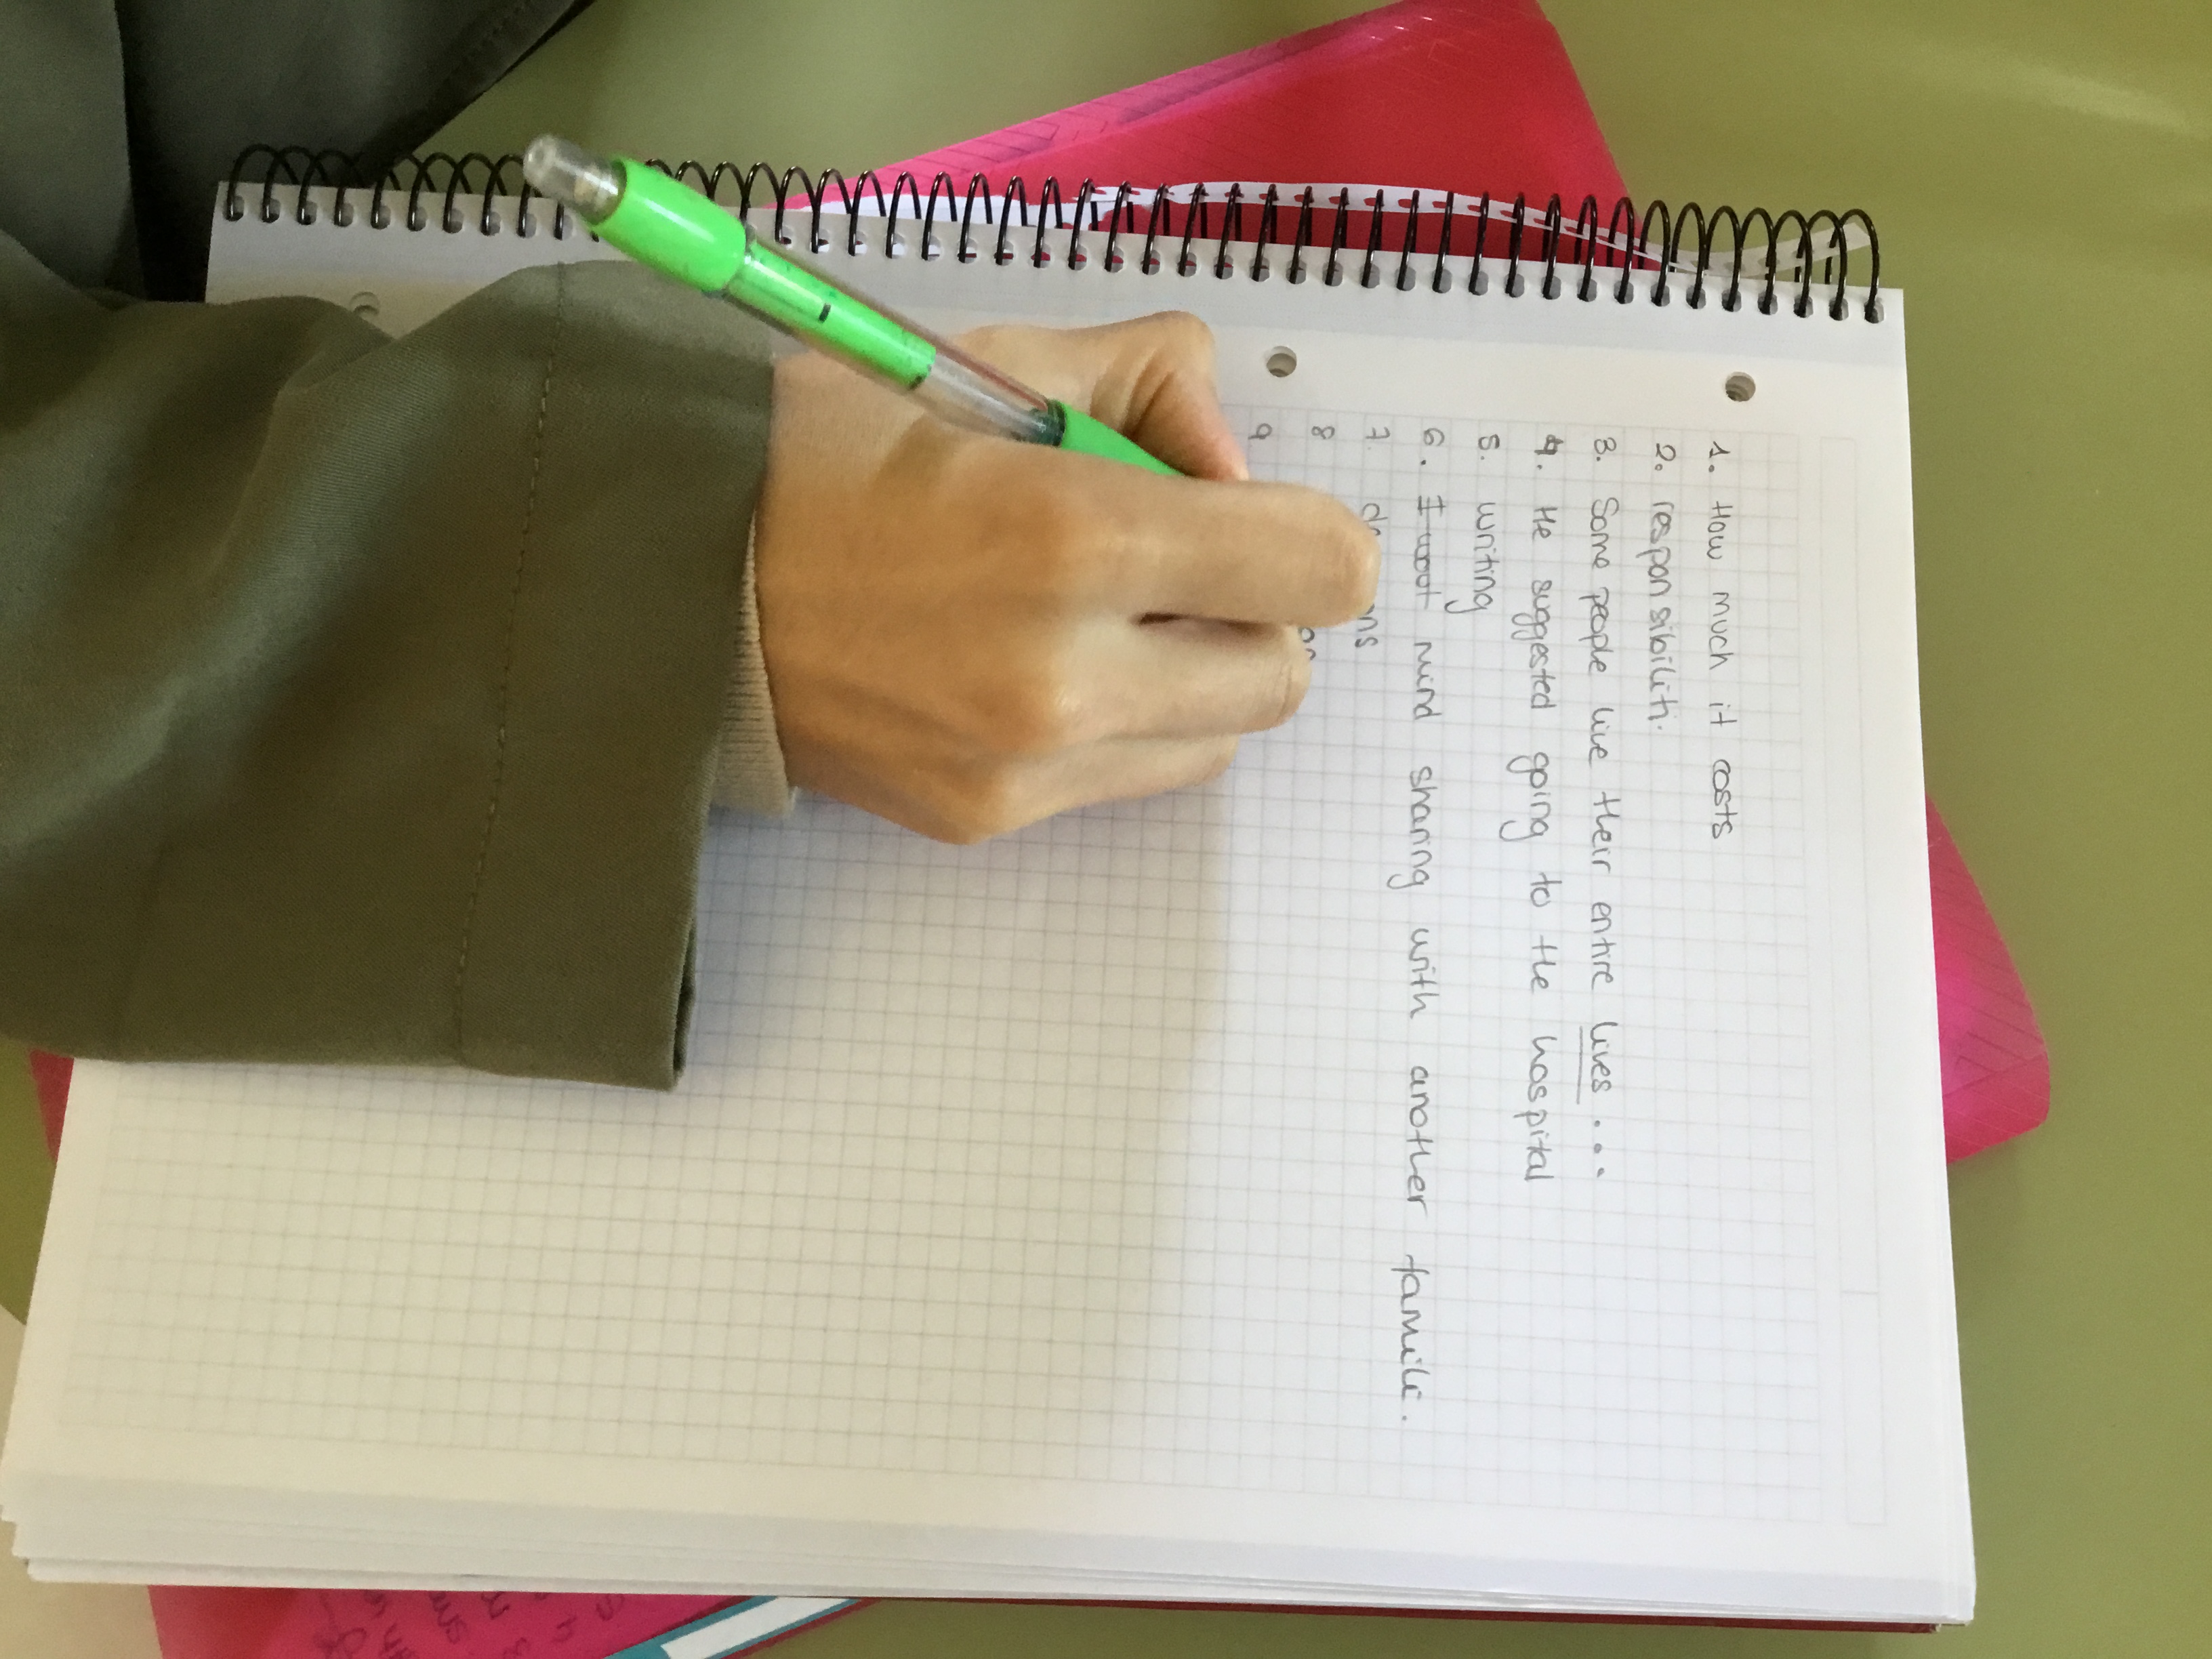
  • Ask them to walk around the class in their pairs, read the sentence, spot the error, discuss the way to correct it and then write their answers on the response sheet. If the number on the slip of paper is 3, they should write it next to number three on their response sheet.  Tell them it doesn’t matter where they start as they will end up doing all the cards.
  • Emphasize that they will need to speak English all the time and that they will both need to discuss how to correct the error- you want both of them to learn, not just one student-  then write down the answer and then, only then, unfold the sticky note with the corrected version.
  • I like to meander around the room and check to see if they are having difficulties with a specific error and try to help them figure out where the mistake is.
  • Once the activity is finished, I ask them to count up the number of mistakes they have been able to correct and write that number at the top of their paper.
Round 2.

We are working here with fossilized errors, ie, errors we have already corrected a thousand times but we haven’t been able to fix.  Reinforcement and consolidation are essential. So, let’s go for Round 2.

Group students: I asked students to form a line based on their birthdays (day/month). Once they formed the line, I ask them to work with the person on their right. (have a look at the video).

  • Explain that they are going to be competing against each other.  At the end of the activity, the winner is the student who has managed to correct the most mistakes.
  • Everything is the same as above, but this time they don’t discuss the error. Together and silently they read the error on the slip of paper, write the correction on their sheets of paper, compare their answers, unfold the sticky note and put a tick or a cross depending on whether they have been able to spot and correct the error. Hopefully, most students will have been able to fix all the errors.

Round 3

Yes. Again. Remember they are fossilized errors.

Follow-up: Ask students to sit down and ask them to write from memory all the mistakes they have been able to fix. Once they have finished, ask them to share them in pairs. Let’s hope that by writing them down from memory and talking about them in pairs …again, we will have helped them eliminate these fossilized errors from their oral and written production.
I love how slips of papers can turn into a simple and fun formative assessment tool that gets students out of their seats and learning, don’t you?

Have a look at the video now to have a clearer picture of the whole activity.

Don’t Make a Speech, Put On a Show or How to Make your Presentations Memorable

There are two quotes by Paul Arden that I like:

  1. “The more strikingly visual your presentation is, the more people will remember it. And more importantly, they will remember you.”
  2. “Don’t make a speech. Put on a show”

I am sure we have all been to a lecture where if not for the fact that we were sitting front row, we would have dozed off.  And probably the content was interesting but the presenter spent the whole talk reading straight from visually unappealing slides brimming with text. I  am not claiming to be an expert and probably  I might also be boring when presenting, but that is on me. Surely my slides cannot be blamed as I try to make them visually appealing, adding little text and lots of visuals, sometimes even memes and gifs.  I know I should be more professional, but that’s me!

Words are important, of course, and the content of a lecture essential but… can we just not make an effort and besides giving a remarkable lecture/speech dedicate some time to creating a beautiful engaging visual presentation?

There are many websites that almost do the work for you. There are interactive presentations such as the ones offered on Genial.ly, the very visual 3D templates offered by Emaze or the beautiful templates offered on Beautiful.ai

But, if you want to play safe and not rely on the internet connection spoiling your presentation you can always use a traditional PowerPoint presentation or the downloadable feature on Google Sides.   I don’t use PowerPoint any more. I used to. But I find Google slides does the same job as PowerPoints and it has more attractive features.

Anyway, this post is dedicated to my dearest son, Miguel,  who will have to present his final thesis to obtain his university degree in under one month.  Good luck, sweetheart! I hope you ace it!

Free PowerPoint Templates

Obviously, the first thing to do would be to choose a beautiful, simple but elegant PowerPoint template. I would go for a whitish background with little decoration but with lots of different slide options.  These are my favourites. All free.

  • Slides Carnival. I have been using this one for ages
  • Slidesmania another great site and probably my favourite.
  • Slidesgo a new find
  • Graphic Panda offers 78 free templates  (scroll down to see them categorized)
  • TinyPPT offers free 3D animated templates. Have a look at the amazing content you can create.


Free Images

There are lots of websites that offer royalty free images but I am just going to share here the ones I use. The first one is my favourite.

PNG Images

I am a huge fan of PNG images and use them very often in my presentations when I need portions of the image to be transparent. I find they are very elegant.

  • For images, I use: Freepng
  • For graphics,  I use pngtree.   You will have to register and it only allows to download 2 graphics a day. That’s the downside, but hey, it’s free.
  • For 3D image, use 3DBay https://clouddevs.com/3dbay/

Free icons

Need an icon? There are lots available for free.


Desk Rotation: A Great Activity to Activate Vocabulary from Different Topics

Jennifer Gonzalez from Cult of Pedagogy once wrote: “Just because you covered it, that doesn’t mean they learned it”. This seems to be true here in Spain, and overseas. We are all in the same boat, apparently and unfortunately.

This activity is super simple and it’s loaded with effective learning as students take an active role during the whole activity. Besides, it’s the kind of activity that I like as it gets students out of their seat and moving.

Ingredients:

Collaboration+ movement+ vocabulary+ speaking + grass skirts + fun= effective learning

Aim:

  • to revise and activate vocabulary related to different topics
  • to use this vocabulary in a speaking activity
  • to spice up learning

Before the class:

  • Arrange the room so that the tables form stations.
  • Decide on the topics you want to revise and write each of them on a  different slip of paper. Stick each slip of paper on a different table ( station). You can use with sellotape or blue-tack.
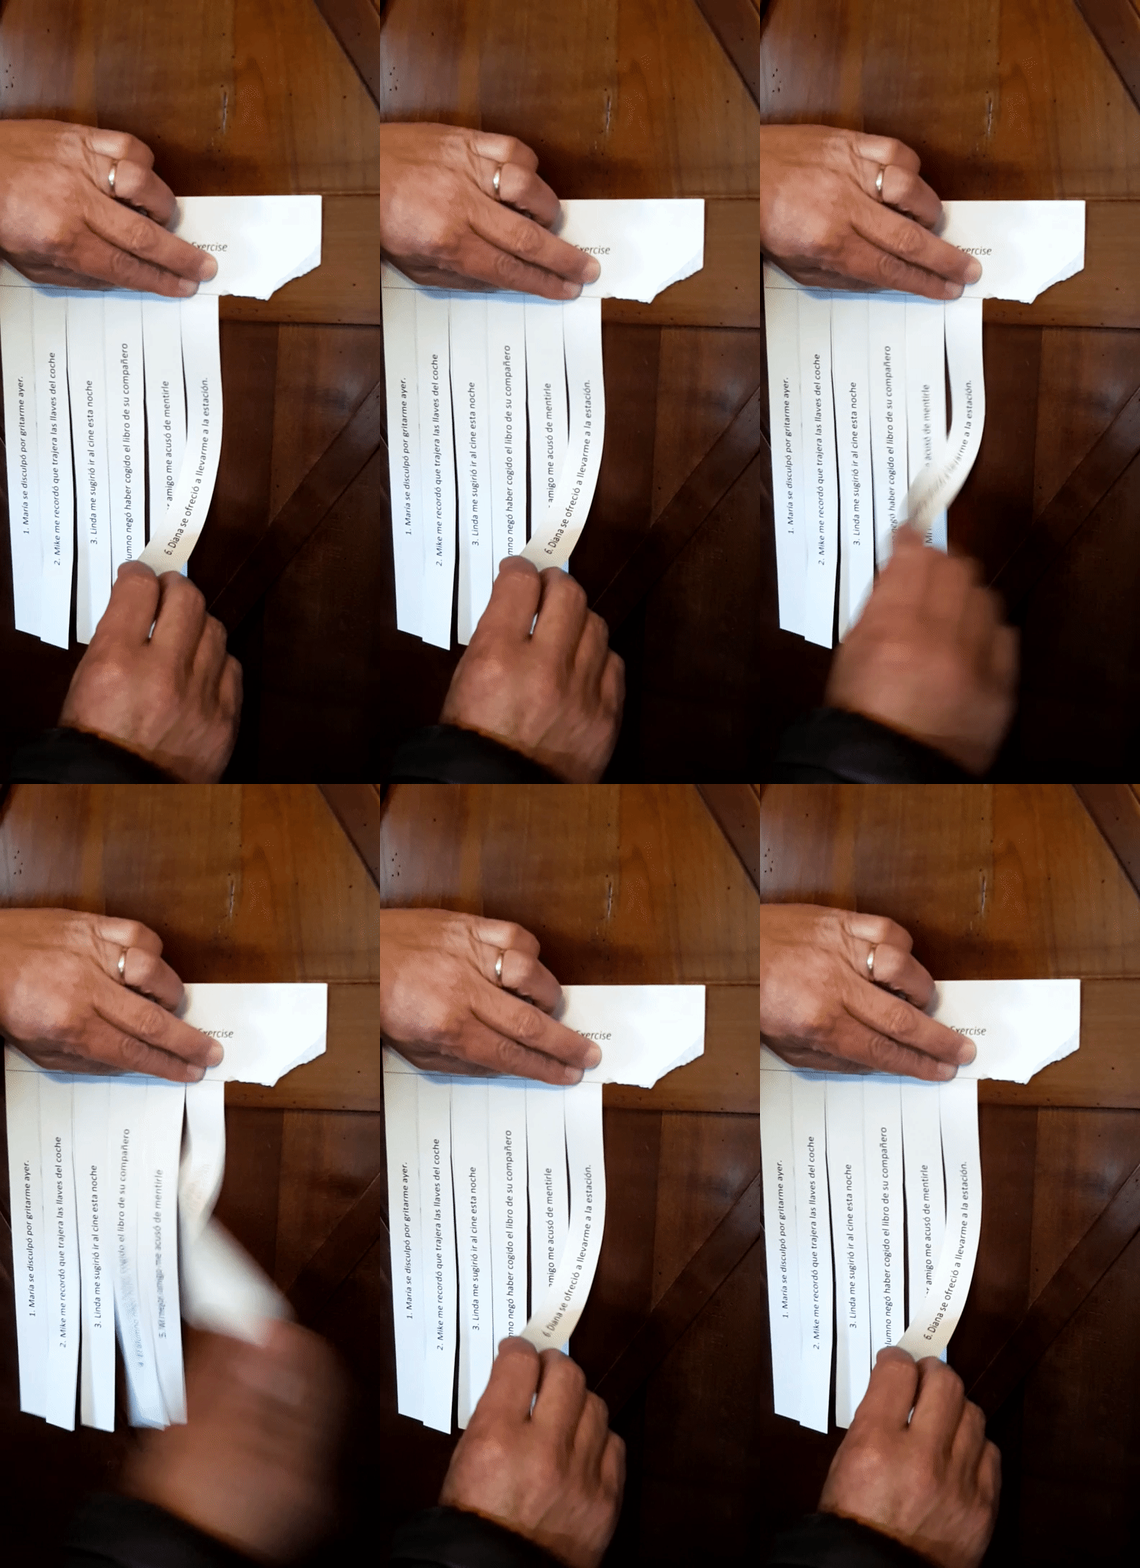
  • Using a grass skirt poster, write down an open question for each of the topics you want to revise. Here’s the template, kindly provided by Tekhnologic
  • Cut a line between words but don’t cut them all the way so that the slip of paper doesn’t detach.
  • You will need one poster per group. I print them in different colours for easy differentiation
Step 1. Working with Vocabulary
  • Divide the class into small groups as many as topics you want to revise. For example: if you want to revise: sports, education, environment, travelling and technology, you will need to form 5 groups.
  • Arrange the room so that the tables form stations.
  • Assign one topic per table/station.
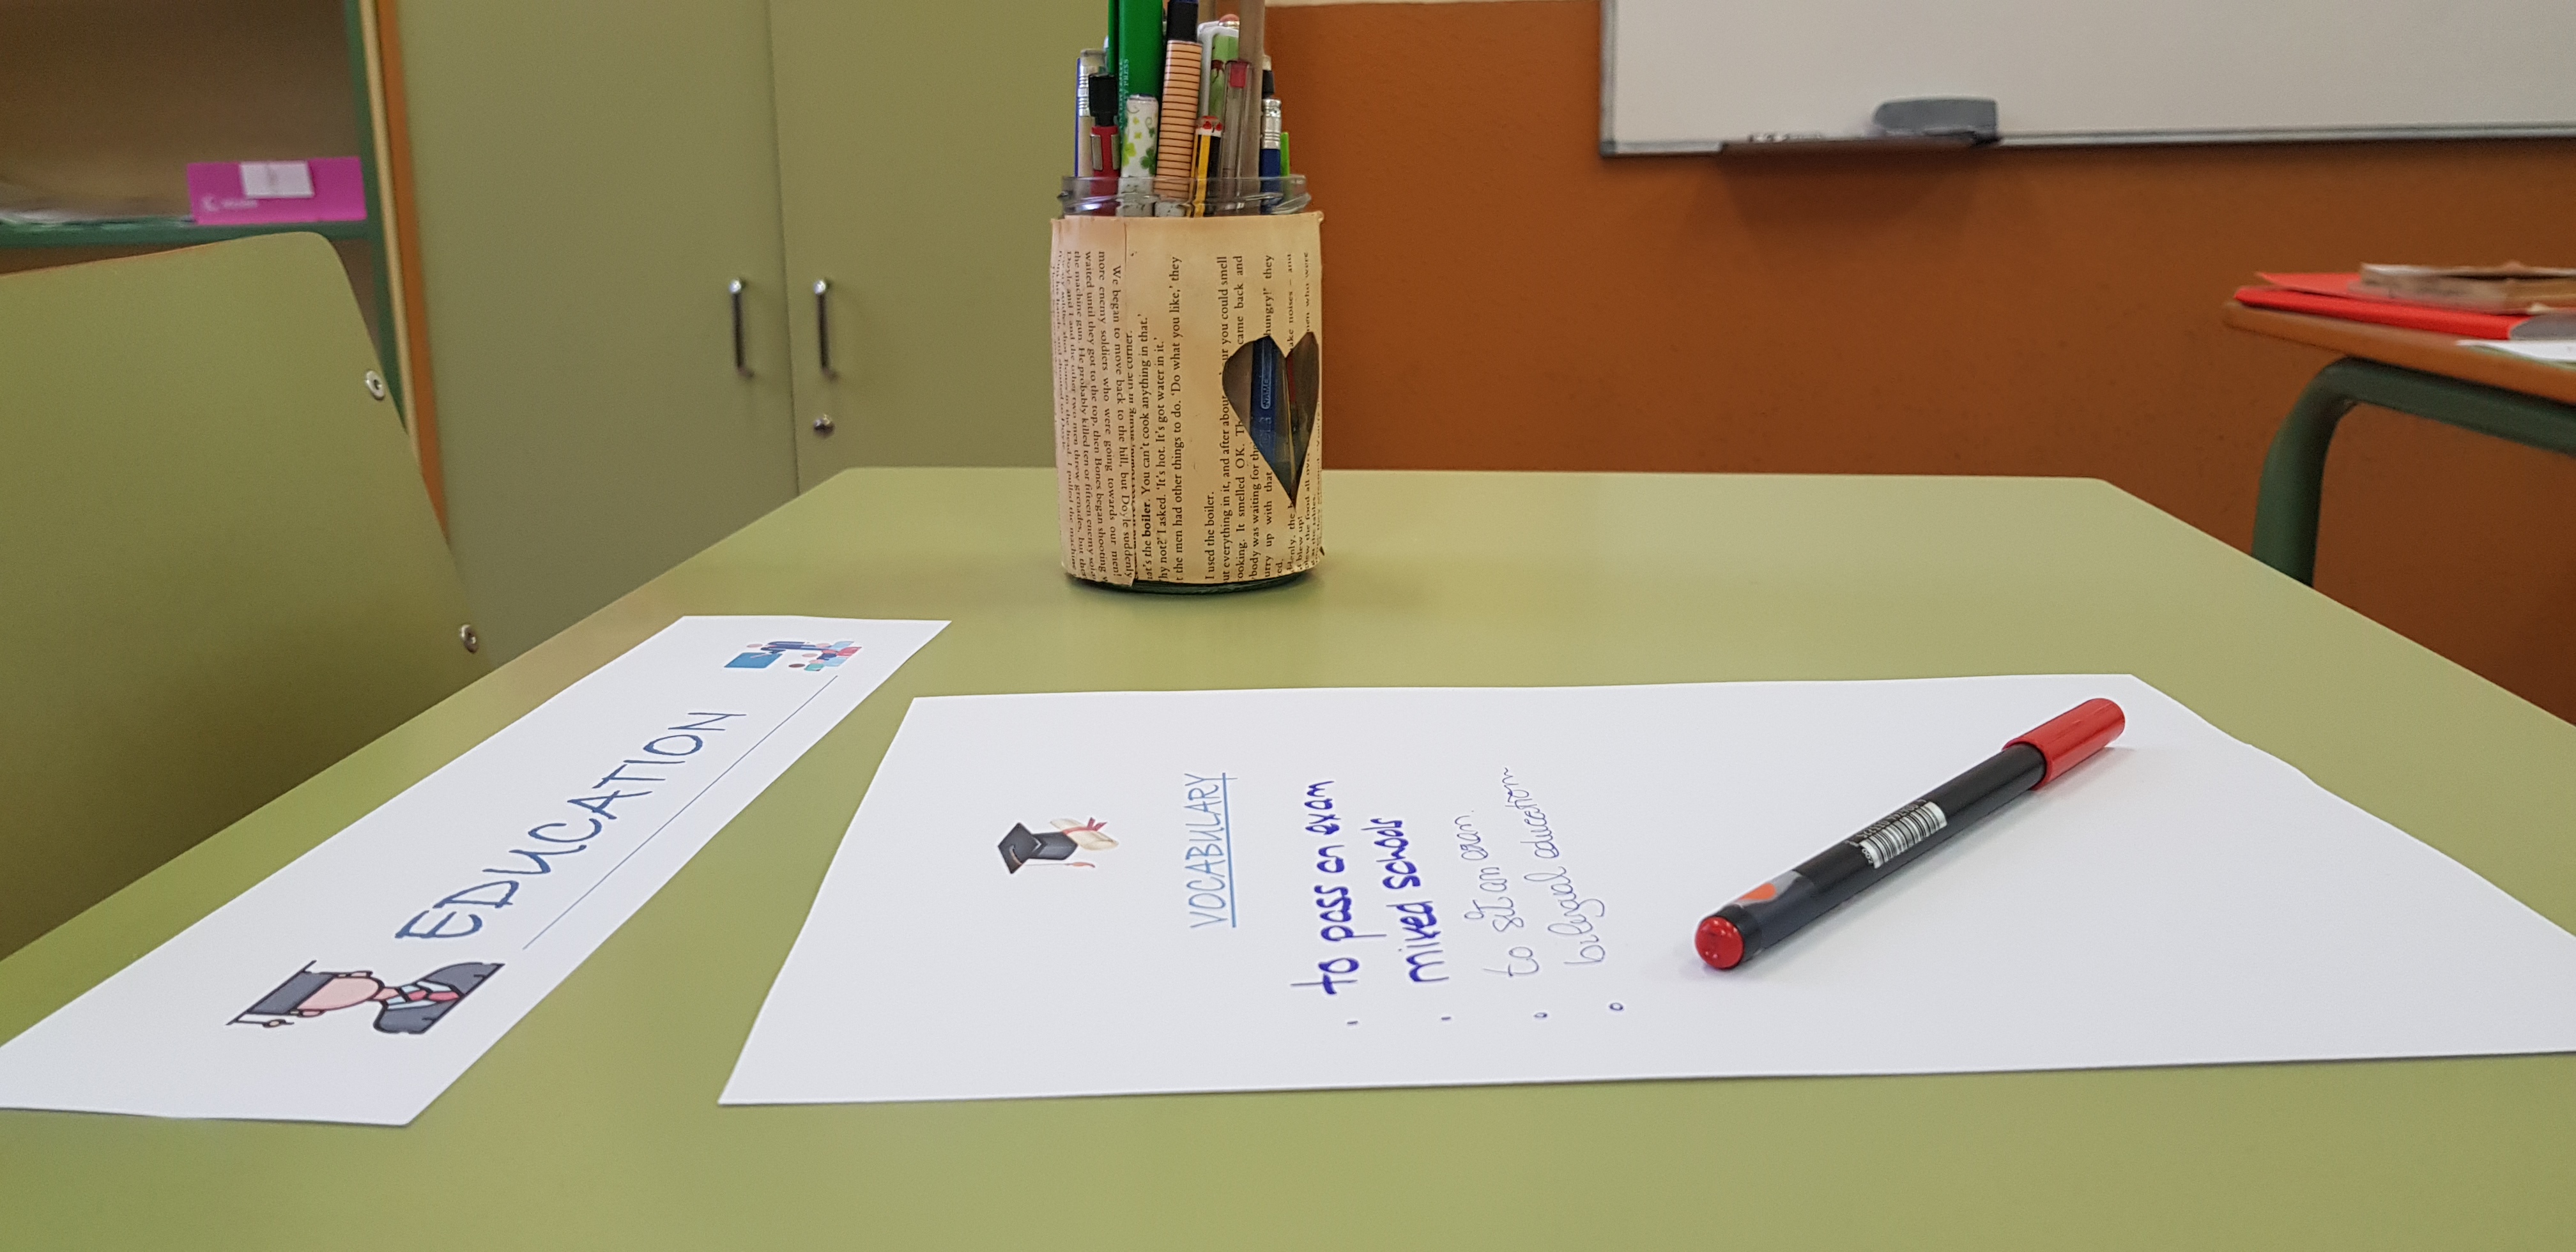
  • On the table, place a sheet of paper and write “Vocabulary” on it
  • Assign each group to each of the stations you have set up in the room.
  • Instruct them to write down on the sheet of paper provided vocabulary related to the topic and adequate to the level. If it’s a B2 level and the topic is Travelling, words such as “suitcase” or ” plane” would not be appropriate. Allow the 2″30′ for this part.
  • When the time is up, ask them to rotate to the next station.
  • Ask them to read the vocabulary other students have written so as not to have the same words and ask them to add new ones.
  • Continue until all the groups have covered all the stations.

USING THE VOCABULARY IN A SPEAKING ACTIVITY: GRASS SKIRTS. 

I know. Again. Grass skirts are quickly becoming my favourite non-tech tool.

  • Put the poster(s) on the walls of the class and assign a poster to each group.
  • As students rotate to the different stations, they tear off the corresponding question form their poster. They can only do it from their assigned poster.
  • Before they start talking, ask them to read through the list of related vocabulary they have all contributed to.
  • Give students about 3 or 4 minutes to discuss the question. Encourage the use of vocabulary.
  • Give each group a different coloured pen and ask them to put a tick next to the words they have used. Allow 1 minute for this part.
  • Ask them to rotate to the next station and repeat procedure.

How to Use your Phone as a Remote for Google Slides

Wouldn’t you like to be the cool teacher using your mobile as a remote to present your own slides? This is soooo easy that I don’t know why I haven’t tried it before.

Before acting cool, you will need to download two things. Don’t worry. They are free. I am the free app teacher, remember? Oh and… please bear in mind it’s only useful if you use Google Slides. I do. All the time.

  1. In your laptop: Download the Chrome Extension “Remote for Slides” here. Make sure you click Add to Chrome.
  2. In your mobile, download the free app Remote for slides.

Done? Now

  • Open your presentation on Google Slides
  • Click on the Present w/Remote

3. At the bottom, you will see Start Remote

  • Click and your Slide ID will be displayed. It will be on display for only 2 seconds. If you want to see it again, you will have to click the Show It icon next to it.
  • Open the first slide on Presentation mode
  • Done? Open the app on your mobile, enter the code and click on Connect
  • That’s it”! You will see two buttons. Next Slide and Previous Slide

See? Easy peasy! I told you so!

Quiz: Most Common Pronunciation Mistakes Heard in Class and How to Use this Quiz

I’m not going to lie to you and tell you this is one of those quick posts that you can throw together on a whim because it’s not. It has taken some time to gather all the data needed to create this quiz. Jotting down common mispronunciations is not something you do in a day. You need to be a patient person. You need to listen, correct the mistake and write it down again and again. And only when you see the mistake is repeated consistently, you decide it’s a common pronunciation mistake.

With all the papers that clutter my desk while teaching, it has also helped tremendously to have a large post-it note on my desk where I could easily and quickly store all these mistakes I have been hearing repeatedly in class.

HOW TO USE THIS QUIZ IN CLASS: GAME

I could easily tell my students to do this quiz at home as homework and I will probably do it. Too. However, so much time and effort have been used in creating this quiz that I cannot just give it to them and hope they do it. Some students might do it but… all of them?  I am not that naive. I need to make sure they all correct these common mispronunciations. I don’t want to hear them ever again.

Procedure:

Why a game and not just the quiz? because I firmly believe students learn better if they are engaged and having fun.  I also believe in reinforcing and consolidation. So after the first game-like quiz, there is always a follow-up of some kind.

  • Ideally, students will work in pairs.
  • Give each student a card with A written on one side and B written on the other side. For practical purposes, you can give them an index card or a scrap of paper and ask them to write a big A on one side and a big B on the other side.
  • Tell students they are going to do a pronunciation quiz containing some common pronunciation mistakes.  Each slide will feature a commonly mispronounced word and two possible answers. The first answer in the quiz will be considered ” A ” and the second answer will be “B”.
  • Tell students they will need to silently read the question and decide on the correct answer. Tell them that on the count of three, they will need to show their partner their option: A or B. Emphasize that they should both show their answer at the same time.
  • Choose the correct answer on the displayed quiz and drill pronunciation. Students keep score of the points they get. One point for each correct answer.

Follow -up:

  1. At the end of the class, do the exercise again. This time, students will work in pairs again but on the count of three, they will need to tell each other the correct answer.
  2. The next day, write some of the words on the board and check they know how to pronounce them.

And here’s the quiz. Please, notice that correct answers reflect standard British and American pronunciations backed up by  MacMillan and  Cambridge online dictionaries.

Up to a little challenge?

By the way, some years ago (October 2015)I created this other award-winning quiz on Most Common Pronunciation Mistakes Heard in Oral Exams. Just saying! 🙂