Category Archives: Funny Stuff

Flexible Seating Using Collocations

What could be the advantages of sitting always in the same place working with the same partner? Can you see any? I can’t.  The activity below has been designed to give students plenty of opportunities to work with different partners in an engaging way. It is very flexible and lots of fun.

But first of all, a small intro. It is my first post in a long, long time so please bear with me. 😉
 

It is October! 

If you are wondering, no, we haven’t started classes yet. I’ll be greeting my new students tomorrow, 7th October. I can’t wait! I already know my classes are full. 25 students and some more on a waiting list. I am a bit worried because my class is tiny. One of the smallest in the premises but hey! I am not sharing it with any other teachers. It’s just for me, so I am not complaining. However, I like to do activities where students get up from their seats and move around the class and that’s going to prove difficult in this smallish class. I guess I will just need to use the hall for some activities.

Isn’t it true that we spend most of our day at school or work sitting down? And after some time,  sitting down gets boring, doesn’t it? Well,  in this activity students will need to stand up, move around the class and then sit down several times. Just my kind of activity. Besides, it can be adapted flexibly and creatively in different contexts and situations.  At the end of the post, you can read some other ideas I have to teach or revise vocabulary using this classroom dynamics.

Aim

  • to revise very common collocations
  • to ask and give information about yourself
  • to provide opportunities to get to know everybody in the class
  • to provide a friendly environment where students do not feel uncomfortable making mistakes and can learn from each other.

Time: 30-40 minutes

Preparation:

  • The collocations. Prepare a set of common collocations. You will need one per student. I have 25 students, so I will need 25 collocations. For example: break the law or fail an exam. On a card, write break or fail; on another card write the law or an exam. The cards containing the second part of the collocation  (the law, an exam) should be sellotaped to the back of the chairs of the classroom, visible to all the students. I use different colours for easy differentiation. (see picture below)
  • NOTE: it is important that the collocations are unique, ie, that they can only match once. For example: if you have break //the law,   you cannot have twist //your arm; as break can also collocate with arm as in break//your arm. It is useful to keep a list of the collocations you are using for agility purposes.
  • The questions to discuss. Prepare a set of questions; in my case, and for this class,  of the type get-to-know-each-other questions. I have prepared 25 but you can easily just use half the questions and have students share and talk about the same card.
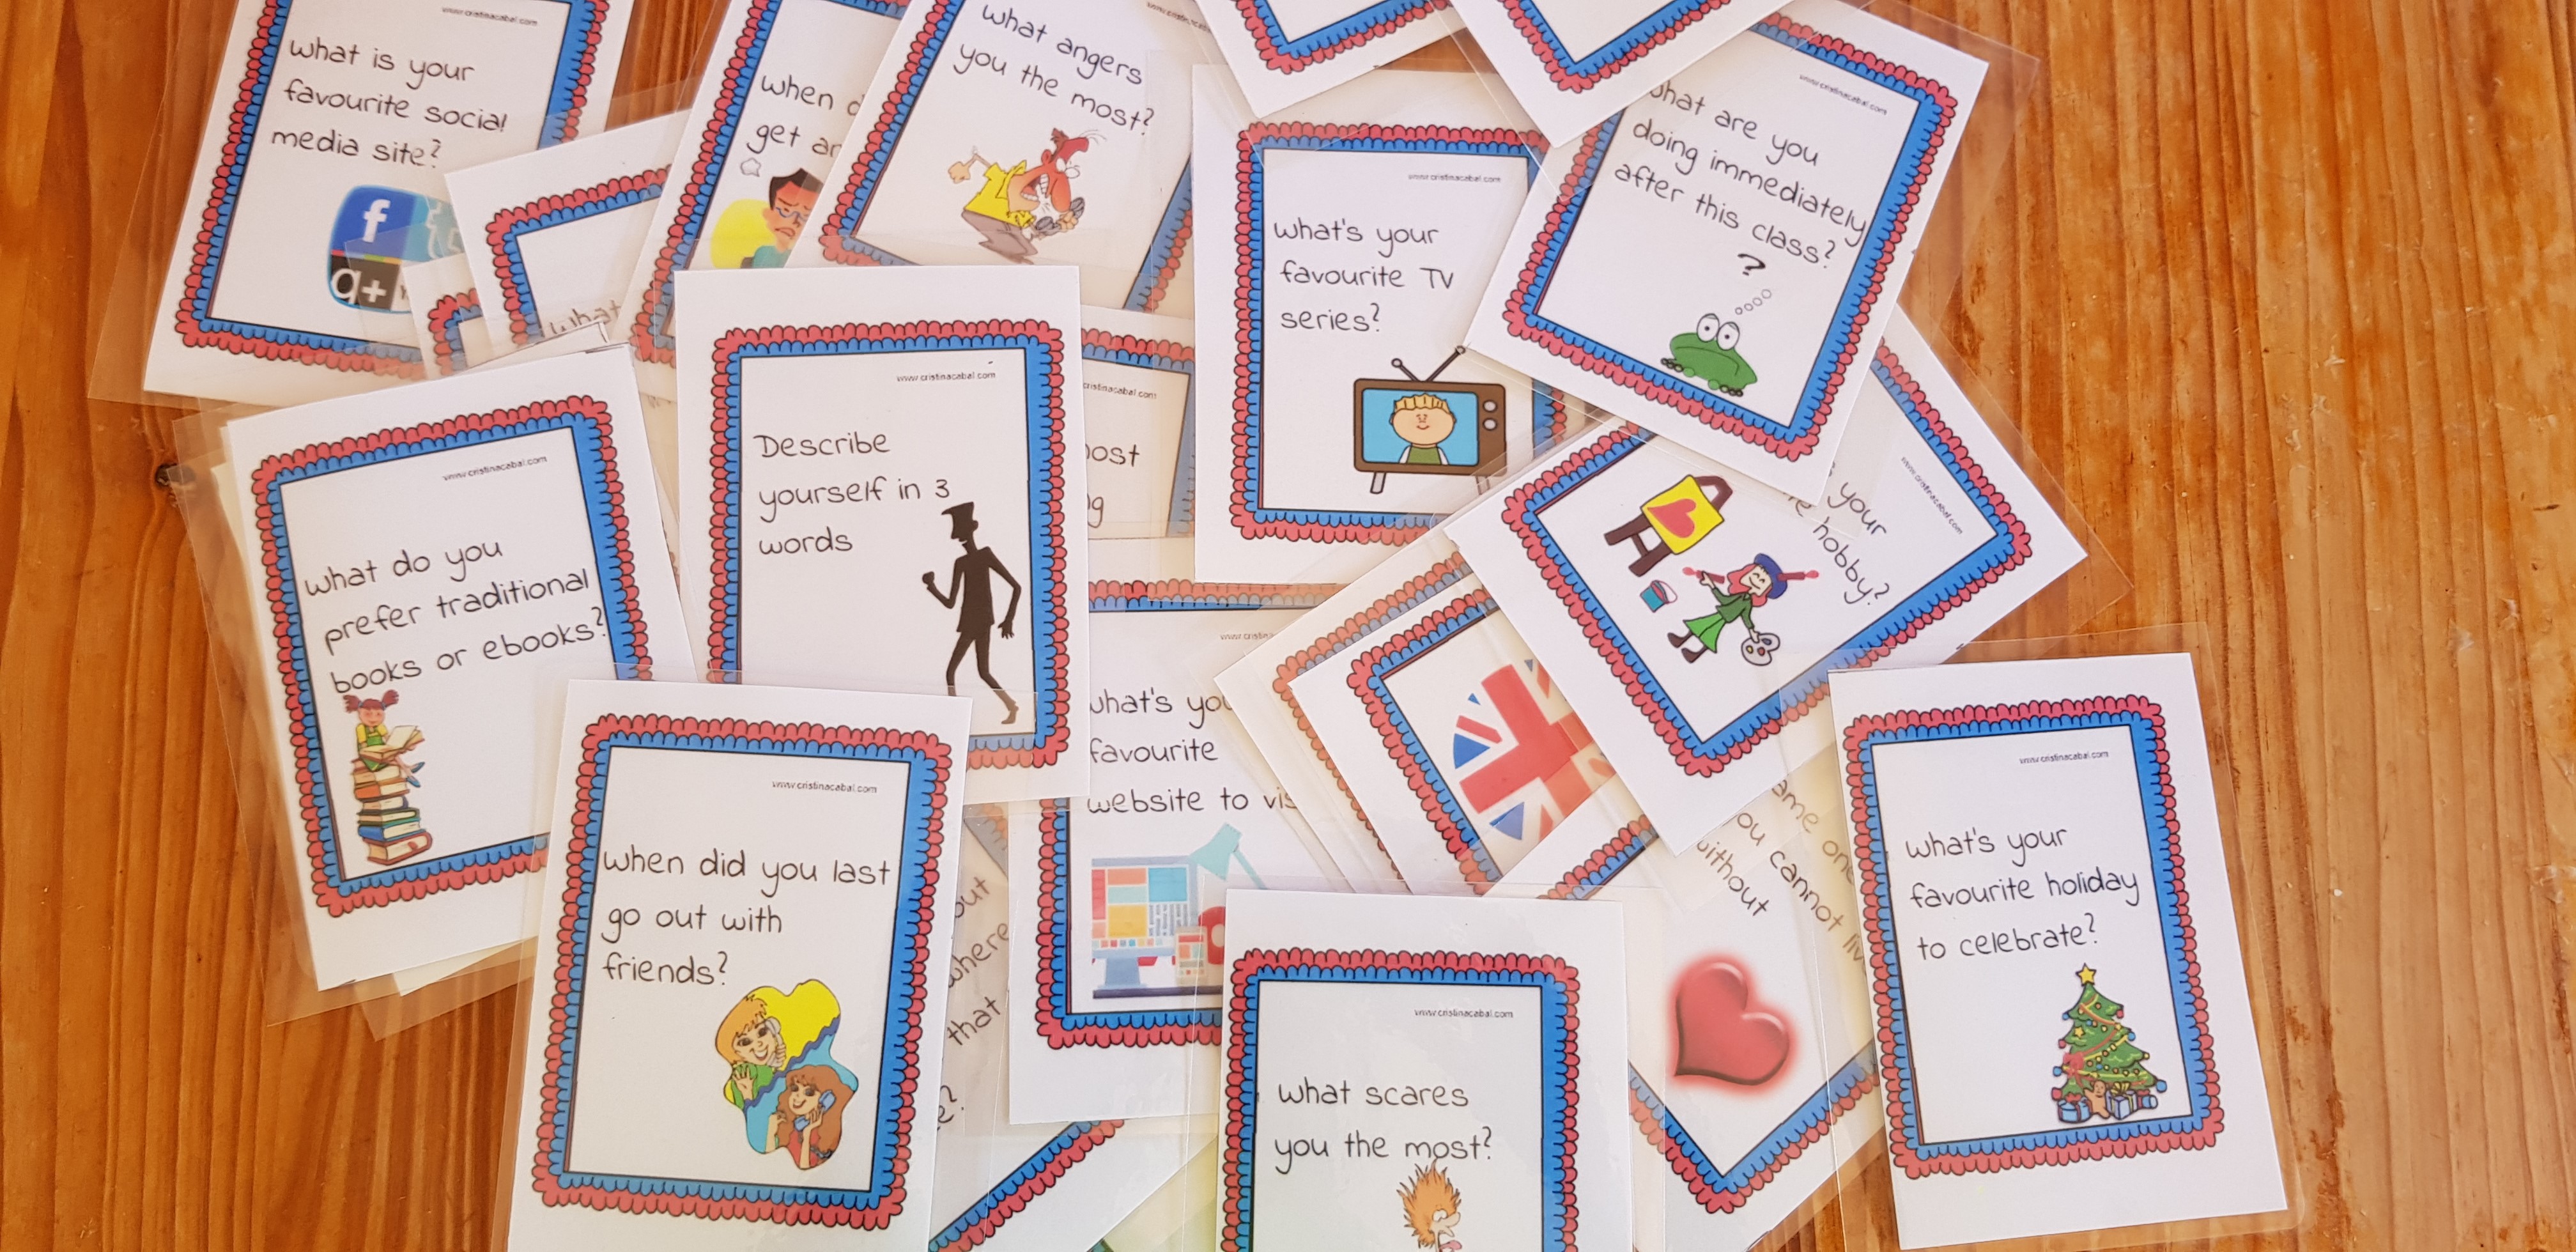
Downloadable Materials:

Procedure:

  • Greet students at the door and hand them a card containing the first part of the collocation.
  • Explain that they will have to find the second part by reading the cards taped on the chairs.
  • Once they have found the matching card on a chair, they should sit down on that same chair.
  • Quickly check that everybody has found the right collocation and if they haven’t, ask students to work out where the matching part is before you intervene. It is good to make mistakes. That’s very often how you learn.
  • Ask them to say their collocation aloud so that the class can also revise it.
  • Once they are in their right seats, hand them a card containing a get-to-know-you question. Encourage them to include their collocation in their conversations.
  •  Ask them to leave the cards containing the get-to-know-you questions on the table. They can remain there for the next students.
  • Allow 6-7 minutes’ conversation and then collect the cards containing the first part of the collocation. (in the picture below, the pink ones)
  • Shuffle them, hand them out to different students and repeat procedure so that students get the chance to sit in another place and talk to a different student.
  • This second time, when students say their collocations aloud, ask them to pause for a second to give the class the chance to provide the second part of the collocation. This way, we reinforce without effort.
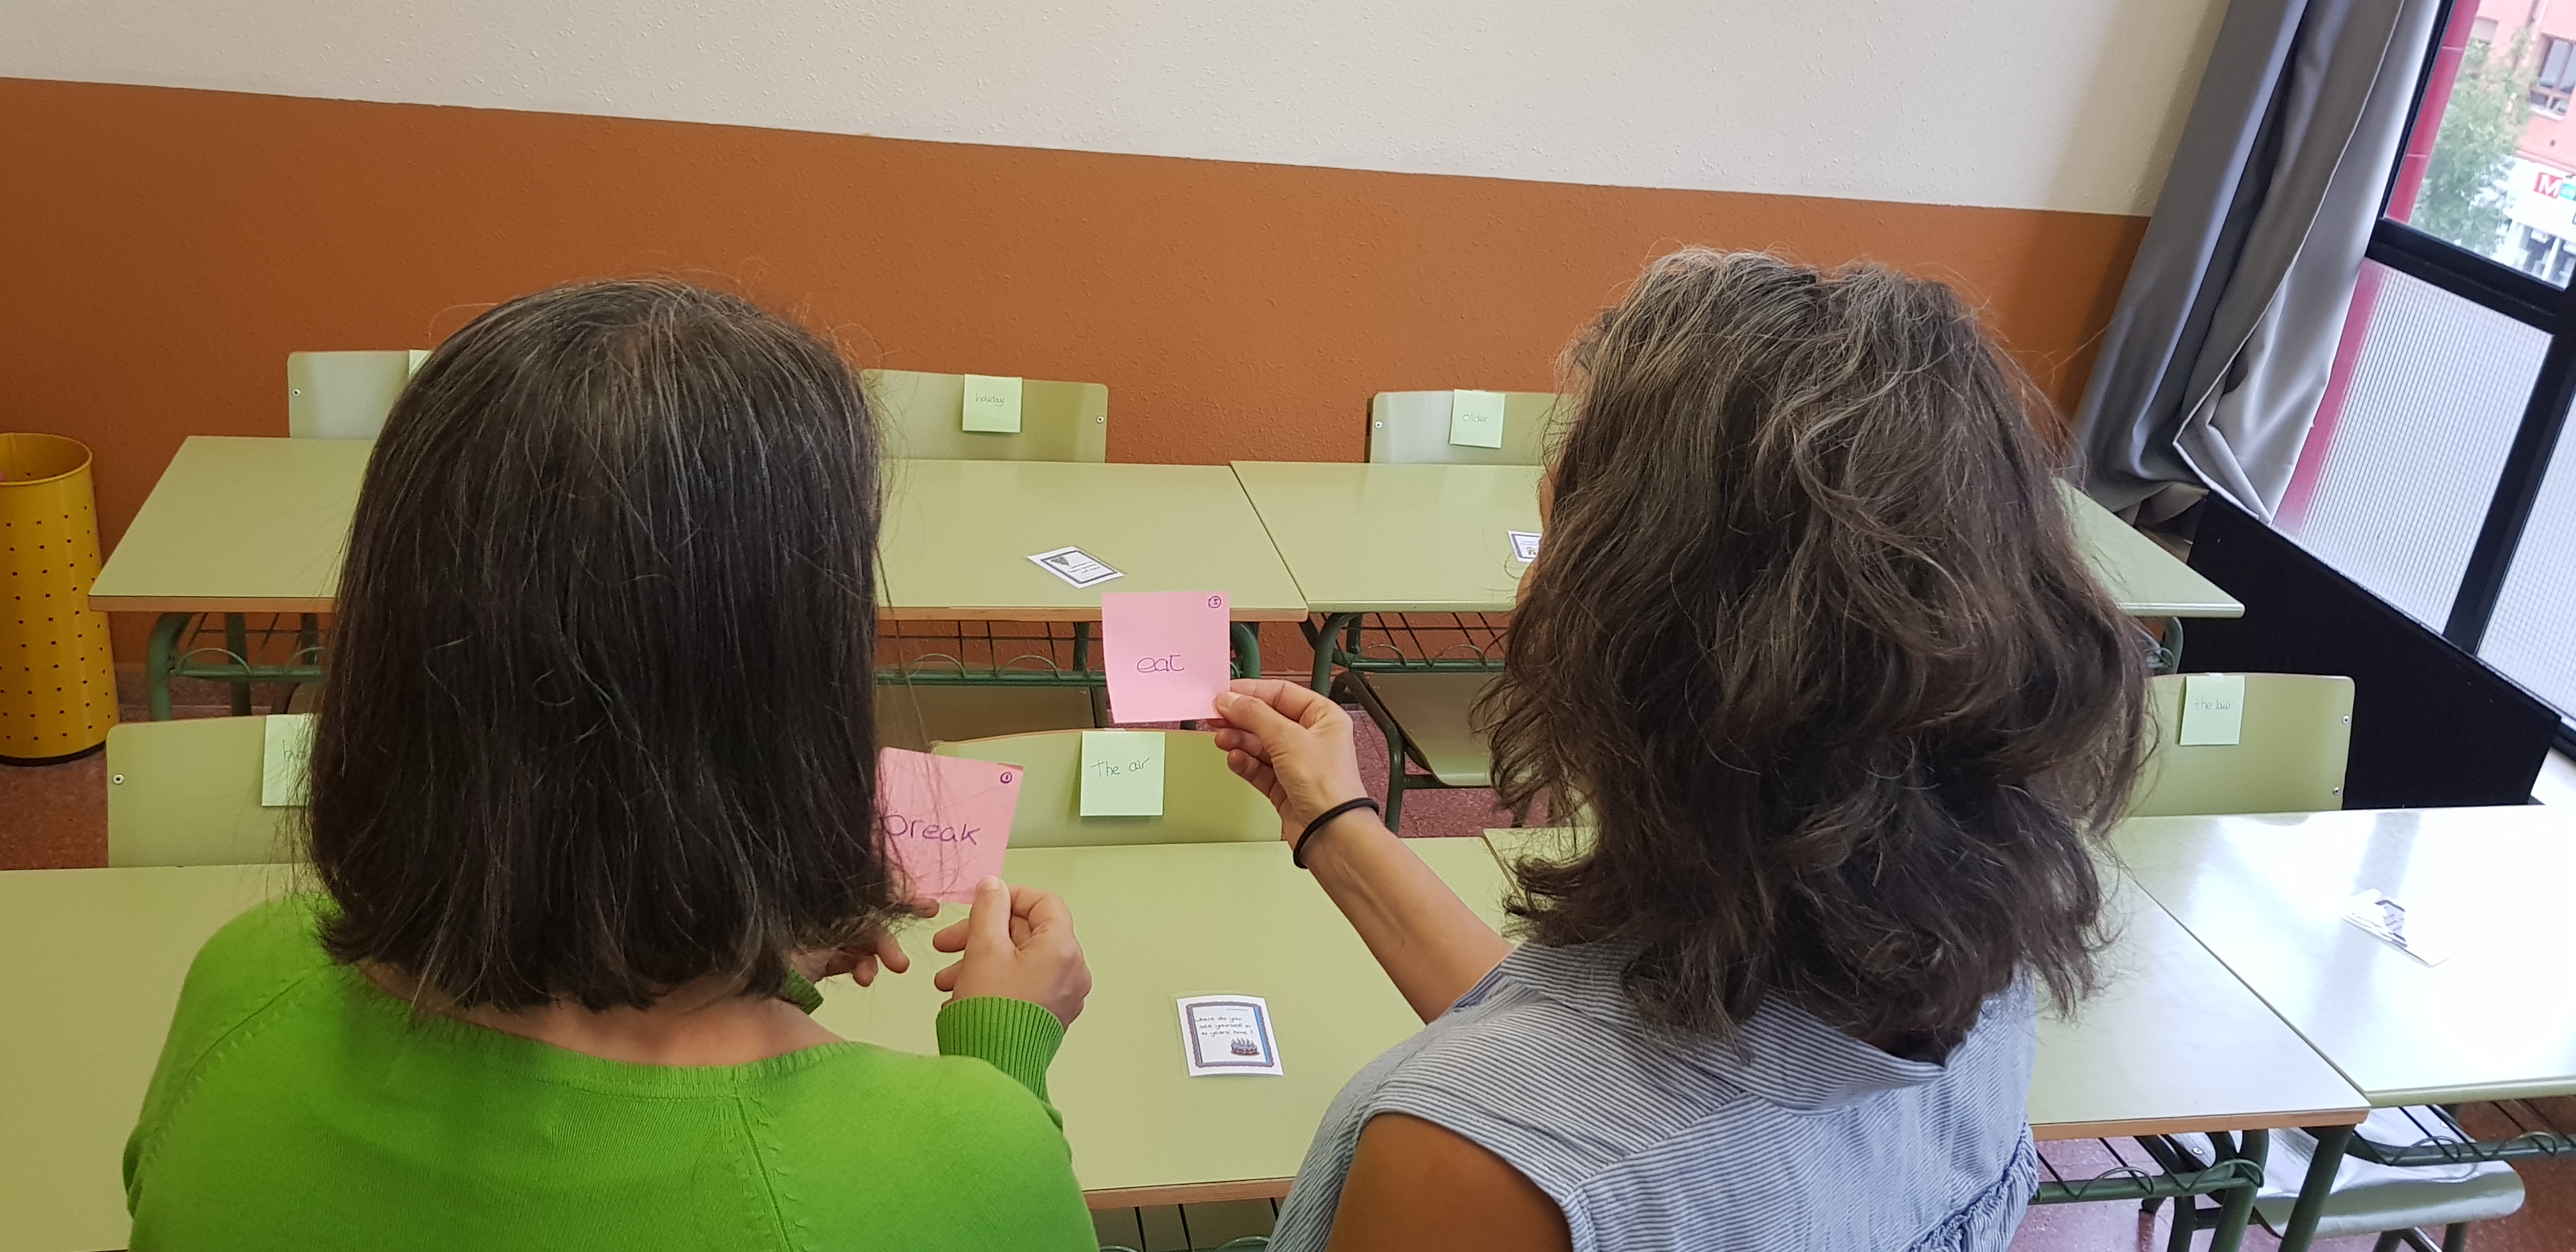
TIPS:

  •  I did the activity 4 times. The first time students found it harder to find the right collocation than the second time; the third and fourth time, they were incredibly quick.
  • I asked students to focus on their cards and read them carefully. Sometimes, the key to finding the right collocation resides in an article or a preposition.
  • The first and second time, and always before the speaking activity, I asked students to read their collocations aloud so that everybody got familiar with them. The third time, I asked them to try to remember their collocation without looking at the back of the chair. The fourth time,  I asked students to read aloud just the first part and then pause, giving the class the opportunity to provide the matching collocation. Revising, reinforcing and consolidating. That’s what we are aiming for.
  • At the end of the activity, I asked students to write down all the collocations they could remember and wrote them on the board to correct spelling mistakes. I gave a sweet to the student who remembered the most collocations  🙂

VARIATIONS

  •  Working with the vocabulary of a certain topic; on the chairs sellotape the cards containing the term and give students the cards containing the definition. For example, if  I am teaching Education: on one card professor  (taped on the chair) and on the other card a senior teacher at a university or college; and on the table a question such as: What was your favourite subject at school?
  • Working with phrasal verbs: term//definition
  • Working with compound nouns: first half// second half. For example: sitting// room
  • Working with phonemic transcriptions; on one card the phonemic transcription; on the chair the card with the matching word  /si:n/ seen
  • Working with functional language; on one card the function in the form of a question and on the chair,  a card with a possible answer. The follow-up task might be to continue the dialogue.

I don’t know. So many possibilities. The limit is your imagination.
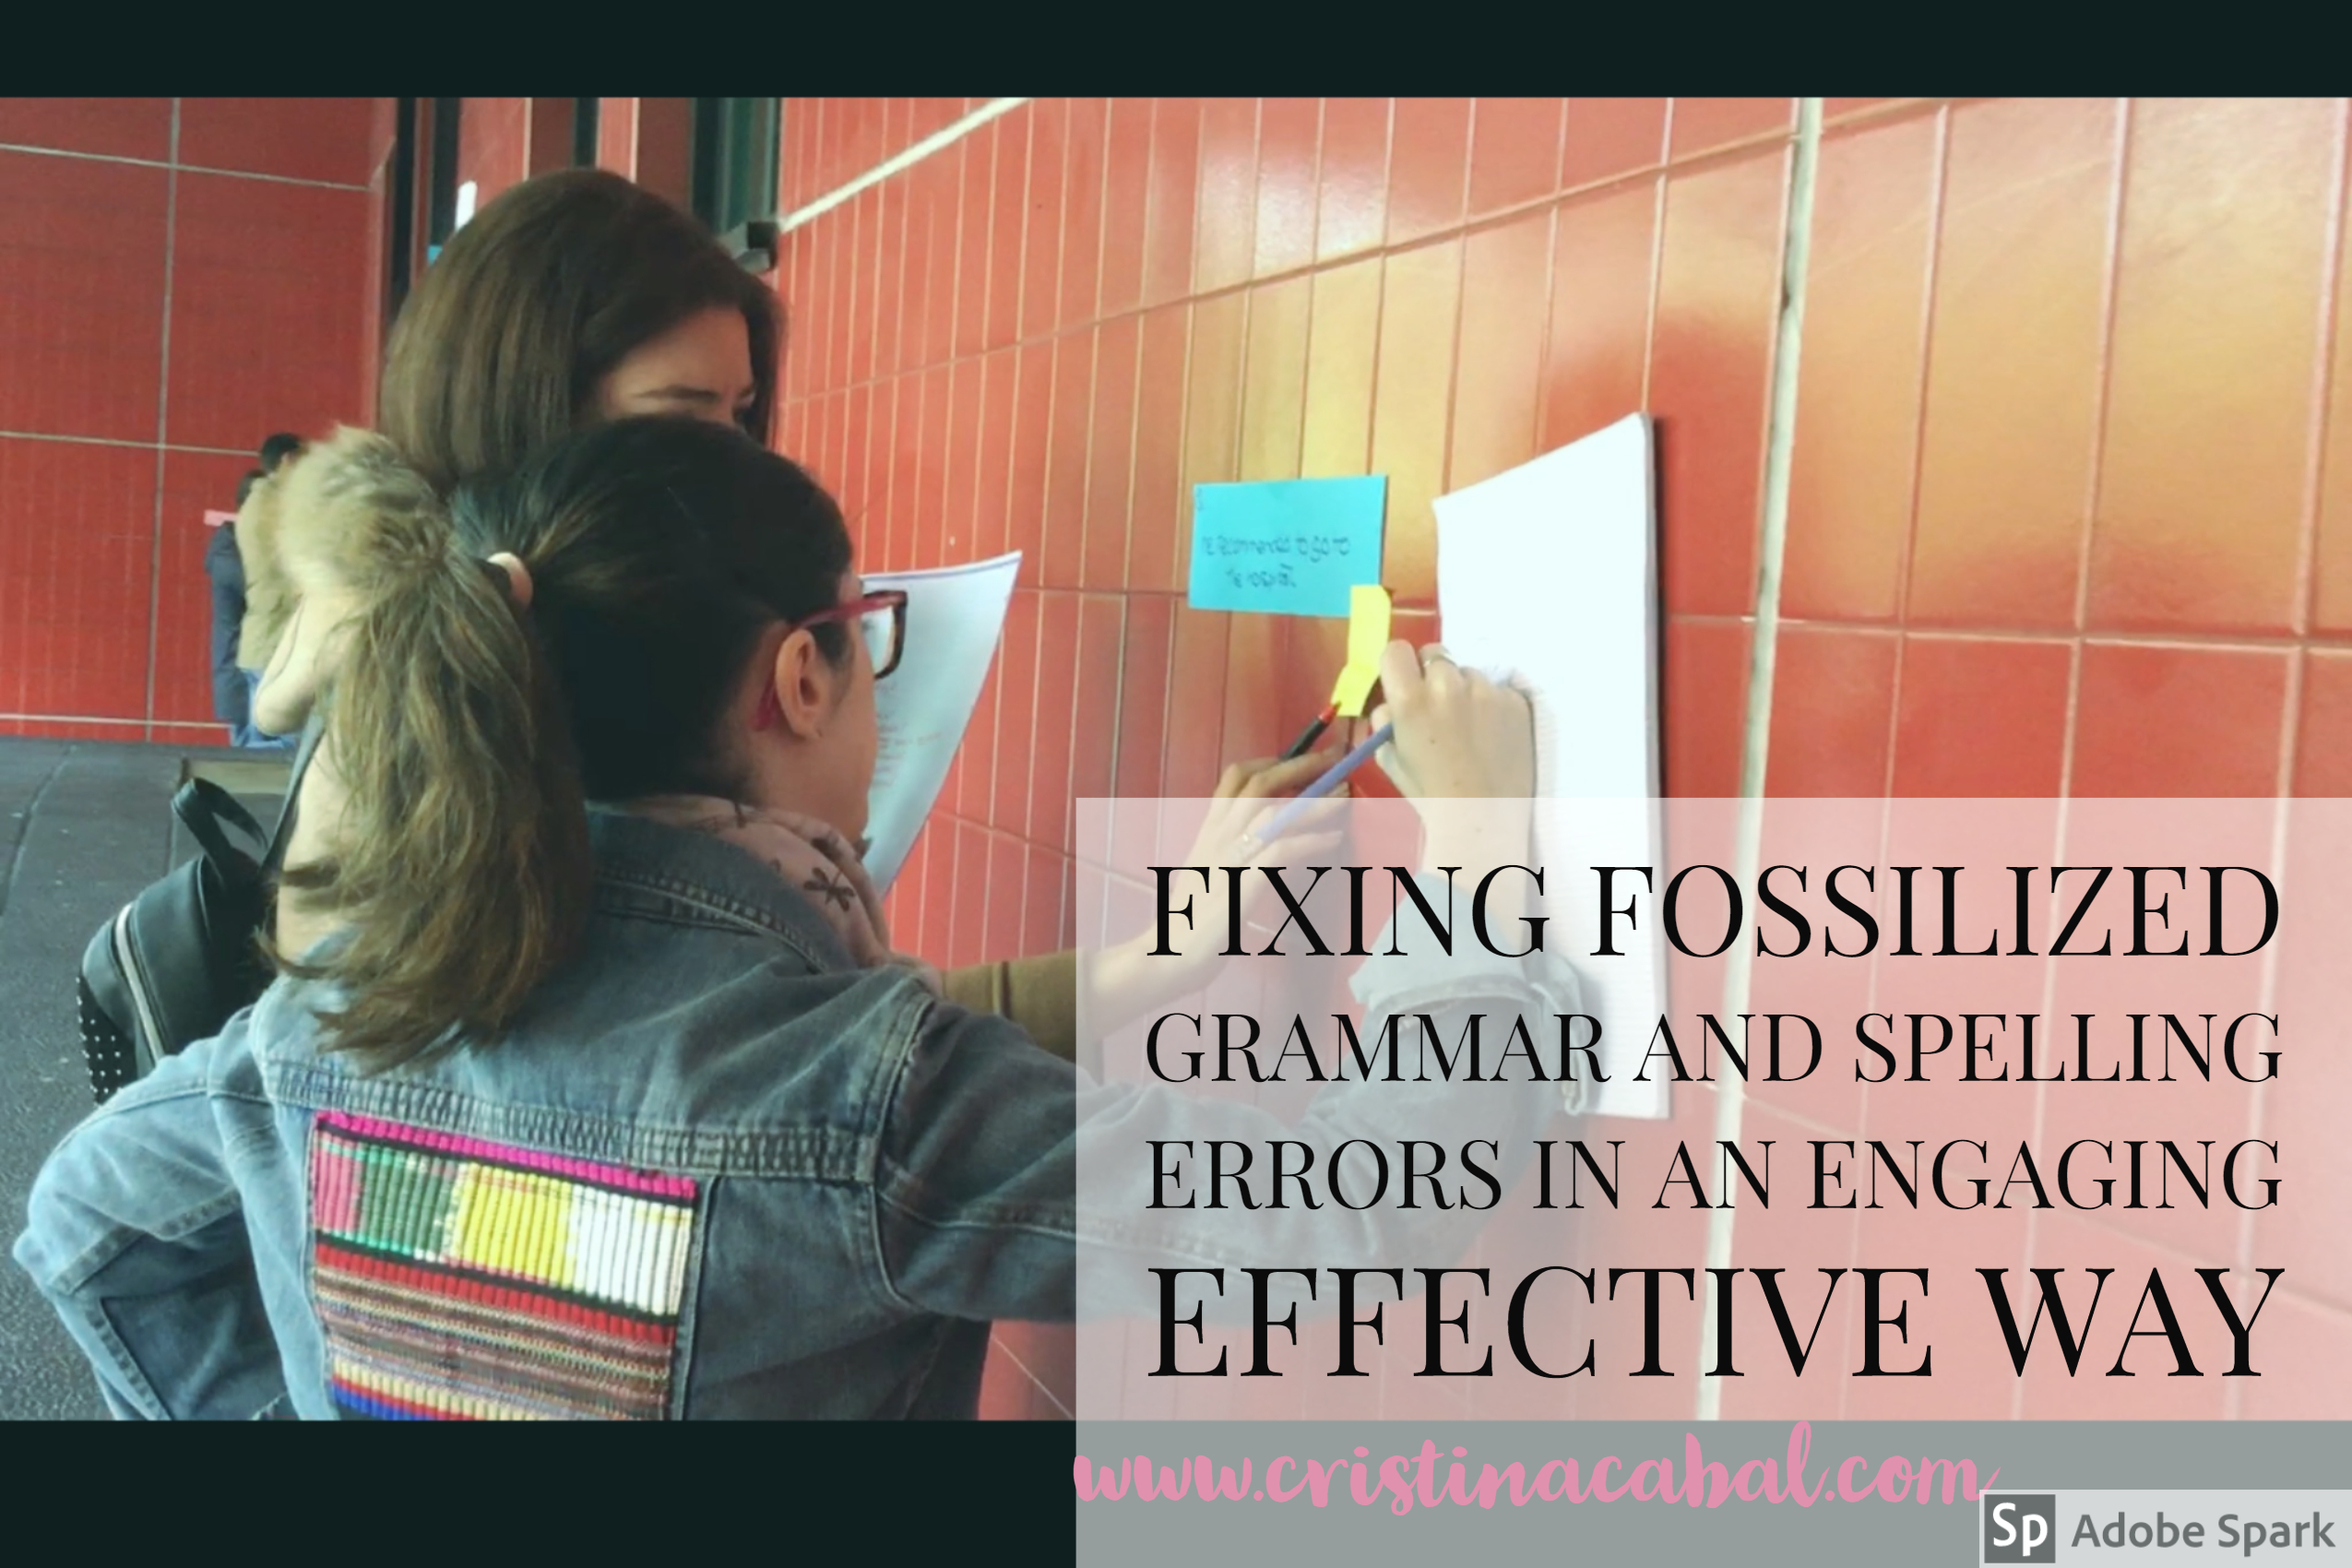
 

Fixing Fossilized Grammar and Spelling Errors in an Engaging Effective Way

End of the school year for me! And for you?

This is a post especially dedicated to all non-tech lovers! I am capping off this wonderful school year with an engaging yet effective activity for error correction. It may not be much when you read how to do it but trust me on this one, your students are going to love it!

If you follow me at all on my blog or on social media (facebook, twitter ), you will know that I am a huge fan of using technology in my classes. When I mean “huge”, I don’t mean that technology dominates my teaching practice. I use technology only when I think it’s going to contribute to effective learning. Otherwise, it’s time wasted.

Slips of paper are hands-down my favourite teaching tool. Essentially, they are scraps of paper that I use and reuse constantly in various ways. In fact, my record is having used the same set of slips of paper six times for a single class. I am sure some of my students will remember this day. They certainly learned everything on them.

The activity I am sharing with you today is a  brand new one. I have to say I am happy with the result. It worked really well, it was effective, meaningful and engaging.

This time slips of paper have been used to fix fossilized grammar and spelling errors, but I firmly believe that the use of slips of paper as a teaching tool is a great addition to any lesson plan.

Note 1: “fossilization” refers the way in which some errors become a permanent feature of a language learner’s language

Note 2: at the end of the post, there is a video I’ve put together with some pics and clips I took from the activity. In case you want to see it. Just saying! 🙂

Materials:

  • slips of paper
  • sticky notes
  • sellotape or blue-tack
Before  the class

Yes. I am afraid there is some prep to do but it’s worth it.

  1. Correct their compositions and write down common or relevant errors: for this activity, I have used common spelling or grammar errors.
  2. Write them down on slips of paper.
  3. Write the correction on sticky notes or scraps of paper.
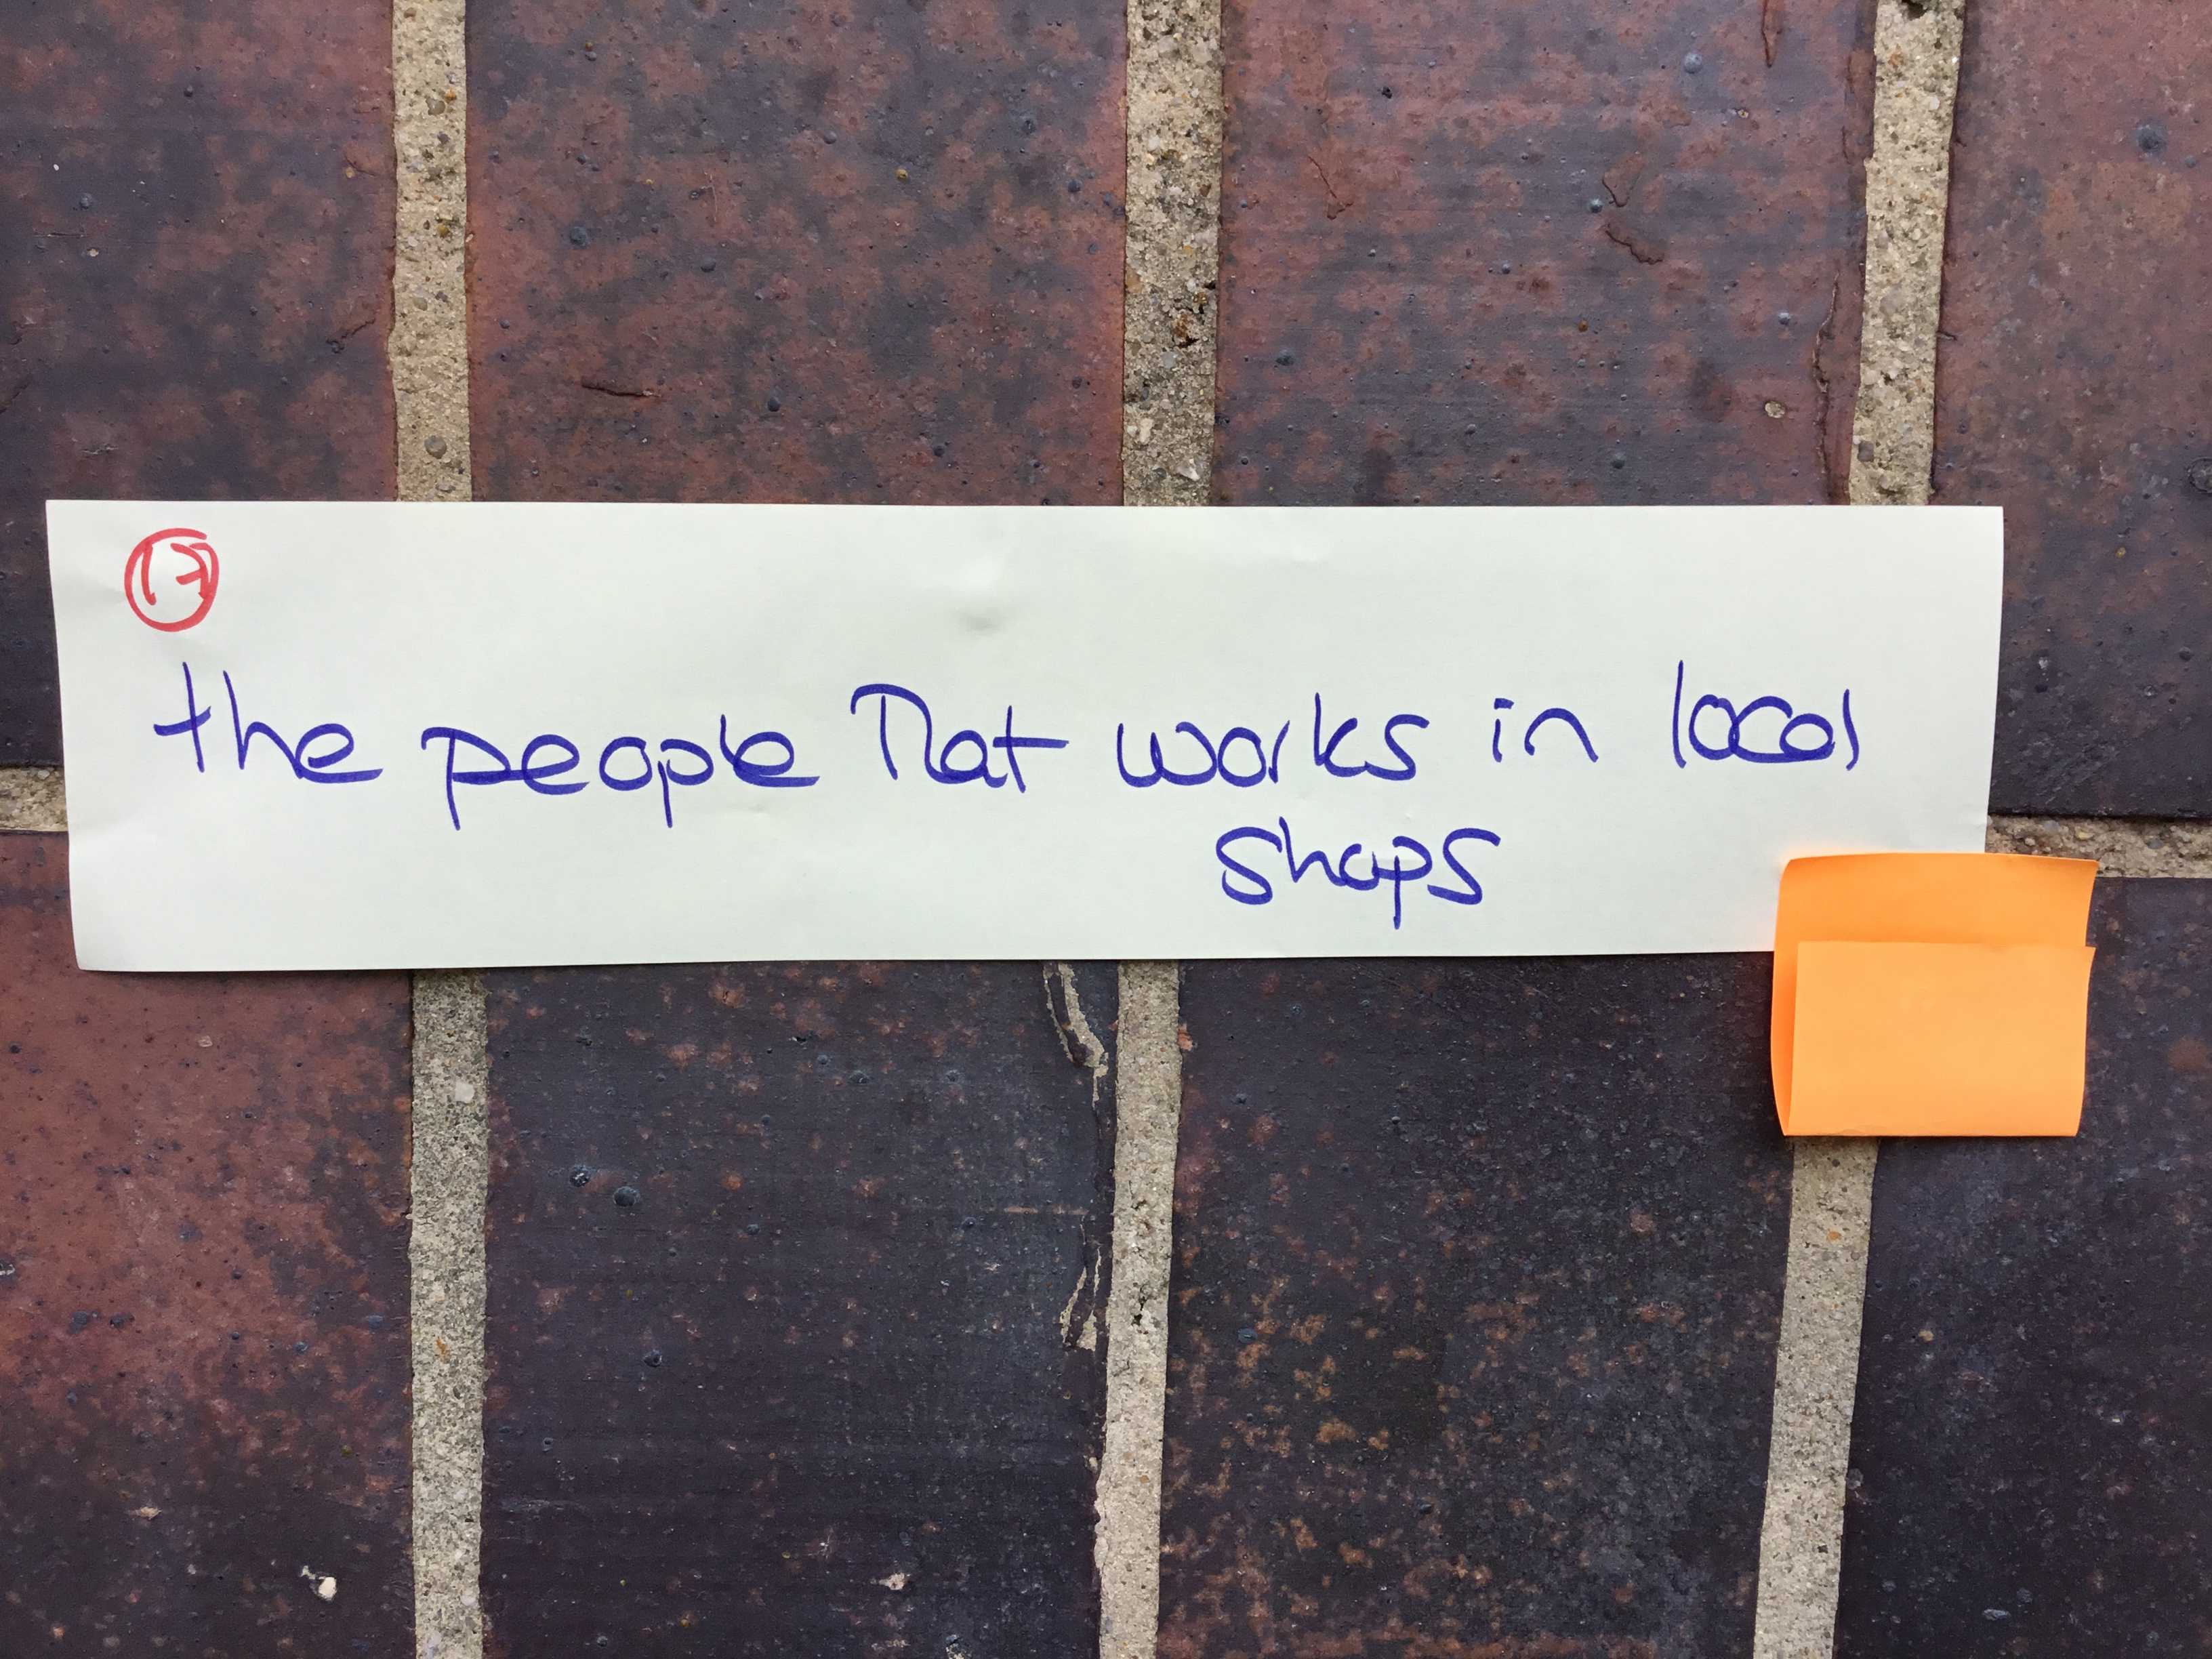
  4. Hang the slips of papers around the room. Identify each slip of paper with a number and write it down on the bottom right-hand corner.
  5. For each slip of paper, and displayed next to it, is a sticky note containing the correction. The sticky note is folded in half so that the right answer cannot be seen unless unfolded.

How to go about it

Round 1

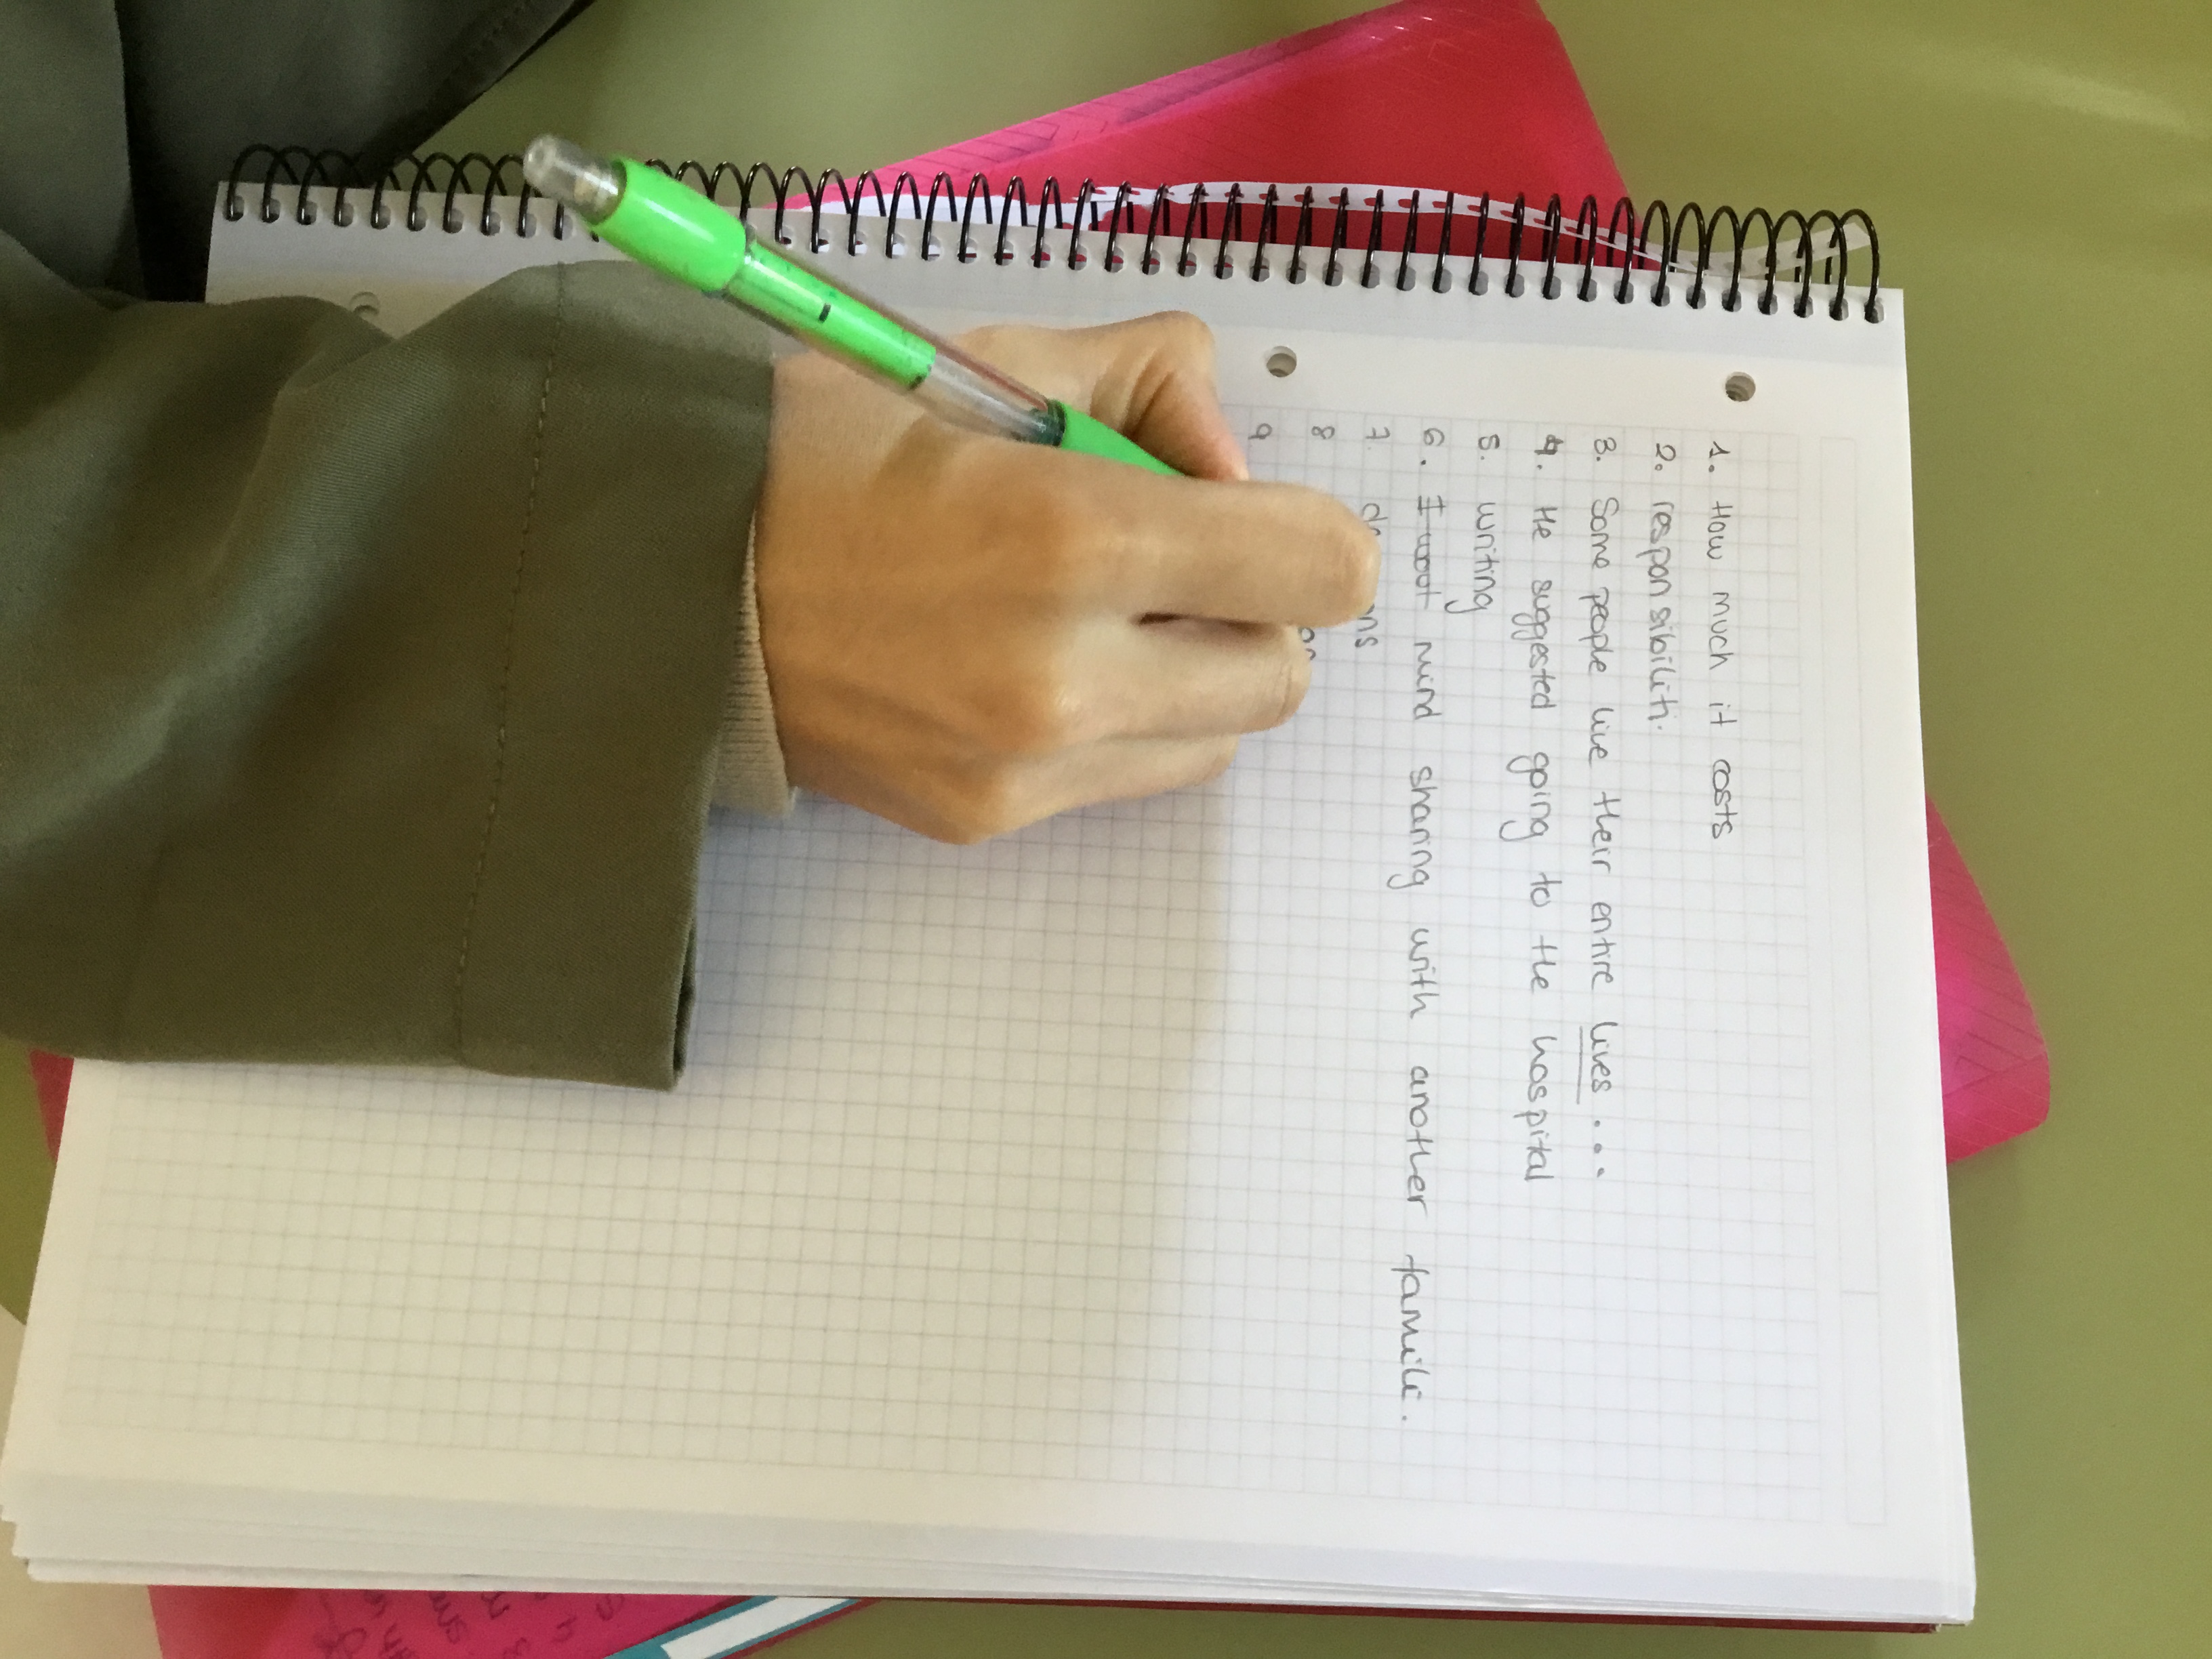
  • Ask students to take out a regular A4 piece of paper, write Round 1 at the top and number it- whatever X slips of paper you are using. Ask them to do the same on another piece of paper and but this time they should write Round 2.
  • Note: It is spring so if it is sunny, why not take them outside the building and hang the slips of paper on the walls of the building? In fact, this is what I did. If you also play some upbeat music while they are doing the exercise, they are going to love you.
  • Ask them to form pairs.
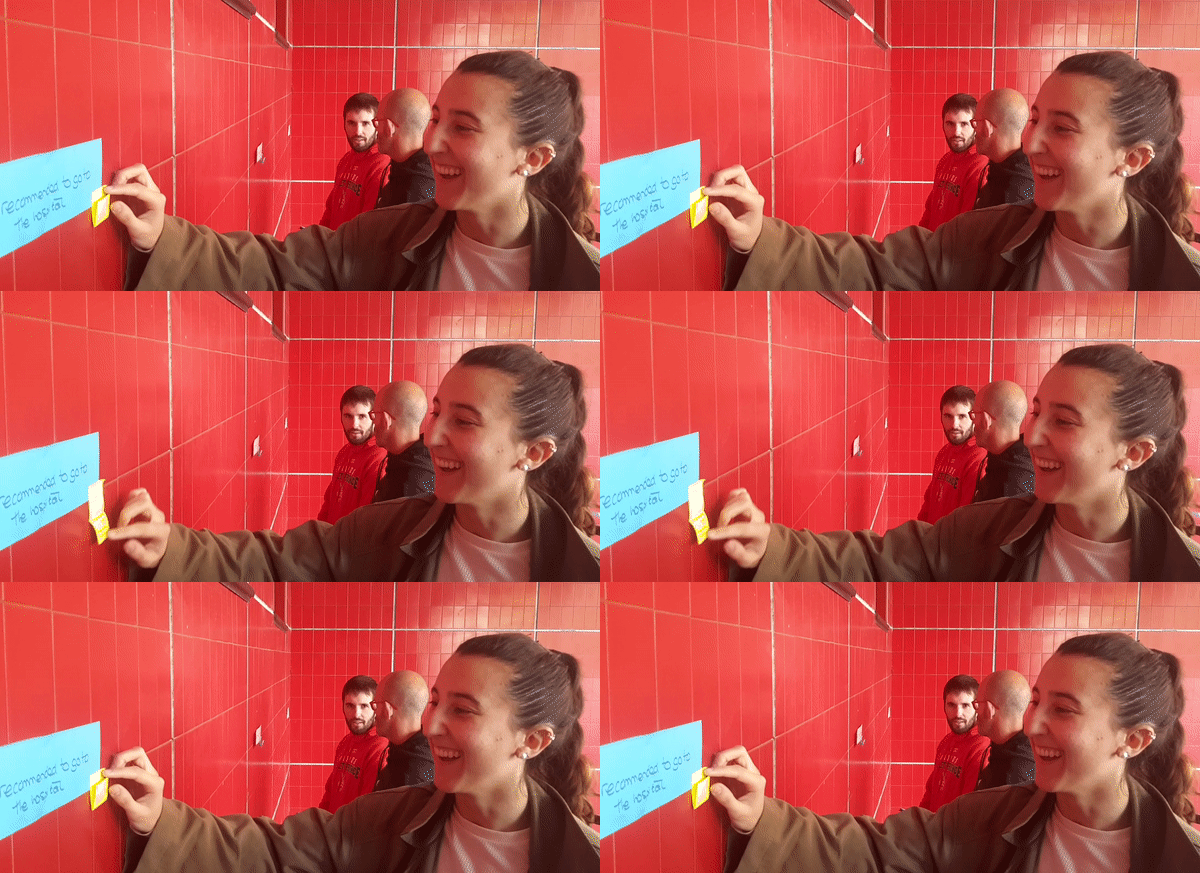
  • Ask them to walk around the class in their pairs, read the sentence, spot the error, discuss the way to correct it and then write their answers on the response sheet. If the number on the slip of paper is 3, they should write it next to number three on their response sheet.  Tell them it doesn’t matter where they start as they will end up doing all the cards.
  • Emphasize that they will need to speak English all the time and that they will both need to discuss how to correct the error- you want both of them to learn, not just one student-  then write down the answer and then, only then, unfold the sticky note with the corrected version.
  • I like to meander around the room and check to see if they are having difficulties with a specific error and try to help them figure out where the mistake is.
  • Once the activity is finished, I ask them to count up the number of mistakes they have been able to correct and write that number at the top of their paper.

Round 2.

We are working here with fossilized errors, ie, errors we have already corrected a thousand times but we haven’t been able to fix.  Reinforcement and consolidation are essential. So, let’s go for Round 2.

Group students: I asked students to form a line based on their birthdays (day/month). Once they formed the line, I ask them to work with the person on their right. (have a look at the video).

  • Explain that they are going to be competing against each other.  At the end of the activity, the winner is the student who has managed to correct the most mistakes.
  • Everything is the same as above, but this time they don’t discuss the error. Together and silently they read the error on the slip of paper, write the correction on their sheets of paper, compare their answers, unfold the sticky note and put a tick or a cross depending on whether they have been able to spot and correct the error. Hopefully, most students will have been able to fix all the errors.

Round 3

Yes. Again. Remember they are fossilized errors.

Follow-up: Ask students to sit down and ask them to write from memory all the mistakes they have been able to fix. Once they have finished, ask them to share them in pairs. Let’s hope that by writing them down from memory and talking about them in pairs …again, we will have helped them eliminate these fossilized errors from their oral and written production.

I love how slips of papers can turn into a simple and fun formative assessment tool that gets students out of their seats and learning, don’t you?

Have a look at the video now to have a clearer picture of the whole activity.

A Speaking Activity: Just a Minute Musical Chairs

Do you want enthusiastic students? Then, be enthusiastic yourself!

It is just amazing where you can get inspiration for your next class activity. Inspiration is capricious and might strike you while showering, running or watching YouTube videos.

To be perfectly honest, I do most of my thinking while I am driving to work. That’s probably the only time when I am not multitasking and can concentrate on only one thing: driving. And that is a far cry from the morning madness of preparing classes while at the same time thinking about the need to check the stew- that is almost always eaten with a lingering burning taste- or the shopping I need to do or the laundry I need to wash. While driving, I just drive. And think.

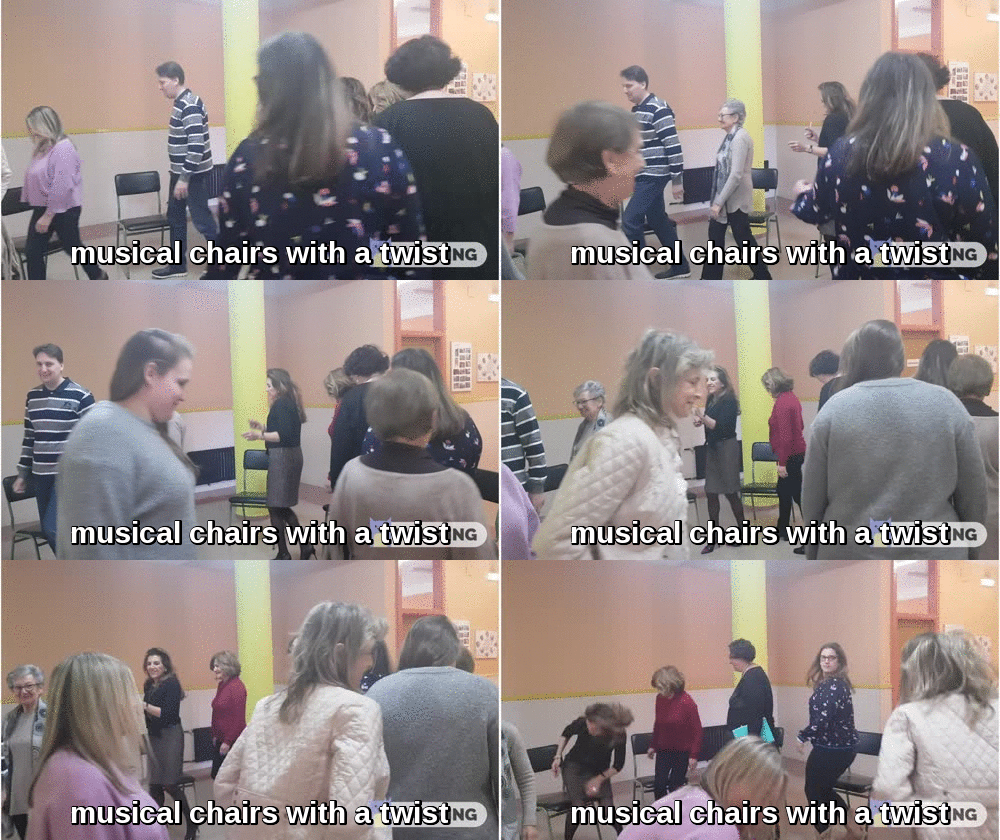
So, this activity sprang to mind while I was driving. As it is always the same road and I go on auto-pilot ( I am sure some of you can relate), I remembered a video I saw on Twitter of a workshop in an EOI in Madrid where teachers were playing what I think was, musical chairs. And it got me thinking.

Could I try it with my students? I teach adults and some of them are on the wrong side of 70. Will it work? It worked!

Before the game starts
  • Arrange the chairs in a circle. There should be one chair less than the number of students.
  • Write cards with some topics to write about. Alternatively, you can give each student a card and ask them to write a conversation question.
  • Without telling students, divide the class into two teams and write down on a piece of paper the members of each team. Don’t tell students which team they belong to. This will ensure that they won’t play tricks and save seats for a member of their team.
  • You’ll need some music. I have used my mobile phone to play”La Isla Bonita”

This game needs some rearranging of the class furniture. You will need to push the tables to the walls and form a big circle with the chairs. As my class is smallish, I use the hall just outside my class for this kind of activities. If the weather is nice, you can also take your students outside. I am sure they will be delighted.

Procedure
  1. Arrange the chairs in a circle. If you have 15 students, there should be 14 chairs.
  2. Tell students you have secretly formed two teams but they will not know the members of their team until the end of the game.
  3. You will need music and a timer.

Two options to play this game

Option 1.

  1. Ask students to stand inside the circle. Tell them that you’ll play some music and they will need to walk close to the chairs forming a circle.  When the music stops they should try to sit down on any available chair. As there is one chair less, one student will remain standing.
  2. Offer the student left standing the set of cards with the topic to talk about face down and ask him to choose one card.
  3. He will have to speak about the topic for 1 minute but if he pauses or hesitates, he will lose 1 point for his team. If he accomplishes the task, he will score 1 point for his team. You’ll have to keep track of the points awarded or taken off as until the end of the game no one knows which team they belong to.
  4. Repeat procedure as many times as you like. I have done it 6 times.

Option 2.

Everything is more or less the same but there is no music in this option.

1.The student standing in the middle need to say something along the lines of…

  • Move if you have a brother or a sister
  • Move if you have ever failed an exam
  • Move if you have ever lied to a friend

2. Again, the students left standing will choose a card and talk about the topic for one minute. The rules for Option 1 apply in Option 2.

Who wins?

Keep track of the number of points each team gets. The team with the most points at the end of the game wins! Reveal the names of the students in each team, add up the points and announce the winner.

What is my role as a teacher?

I am afraid I cannot just enjoy the game. I am teaching here and they are learning. So, while the student is making the speech, I am jotting down pronunciation slips and important grammar mistakes. When the exercise is finished, on the board I give them feedback as a whole class.

It is very easy for the teacher to overlook this part but for me, it’s essential my students understand that playing a game in class is only another way to learn.

Just remember, if you want enthusiastic students, be enthusiastic yourself! There is no other way!

Human Tac Toe to Revise Vocabulary

Shall I say Happy Christmas? When is the right time to start saying happy Christmas? Anyway,  I love that we are right in the hustle and bustle of the season. Everybody seems to be in a good mood and this is the perfect time to try a game I have been looking forward to doing with my students.

I know I post about games quite a bit, but I really believe students learn better when they are having fun.  Mark the word “learn” because playing without learning is a waste of time in my class. So, my students already know that after the game, there is going to be revising and reinforcing.


If you have been kind enough to be reading this blog for a time, you probably know I love Ellen DeGeneres’s games and I am always looking for a way to adjust them to my own context of teaching.

This is Ellen’s interpretation of the game  Tic Tac Toe (more info here). She calls it Hunk Tac Toe and you’ll just have to watch the video below to understand why she called it Hunk Tac Toe 🙂

After watching her more appealing version, you’ll read my own version. More humble and less visually appealing, but hey, we are trying to learn English here, aren’t we?


I have designed two variations of the game. One is funnier than the other. The funnier one requires more preparation but trust me when I say it pays off.

Preparation for both versions:

1. You will need to prepare a set of questions to revise the target vocabulary.

Ask simple questions of the type:

  • What do you call the person who…?
  • What’s the opposite of…?
  • Fill in the gap in this sentence….
  • How do you pronounce…?
  • How do you spell…?

2. In both versions, you’ll need to choose two students (student O and student X ) to play the game. Place a table at the front of the class and ask the two contestants to stand behind it facing the class. Students take turns marking the spaces in the 3×3 grid. The player who succeeds in placing three of their marks in a horizontal, vertical, or diagonal row wins the game.

 Funnier version:

Preparation: print nine Xs and nine Os. You can download them here

Procedure:

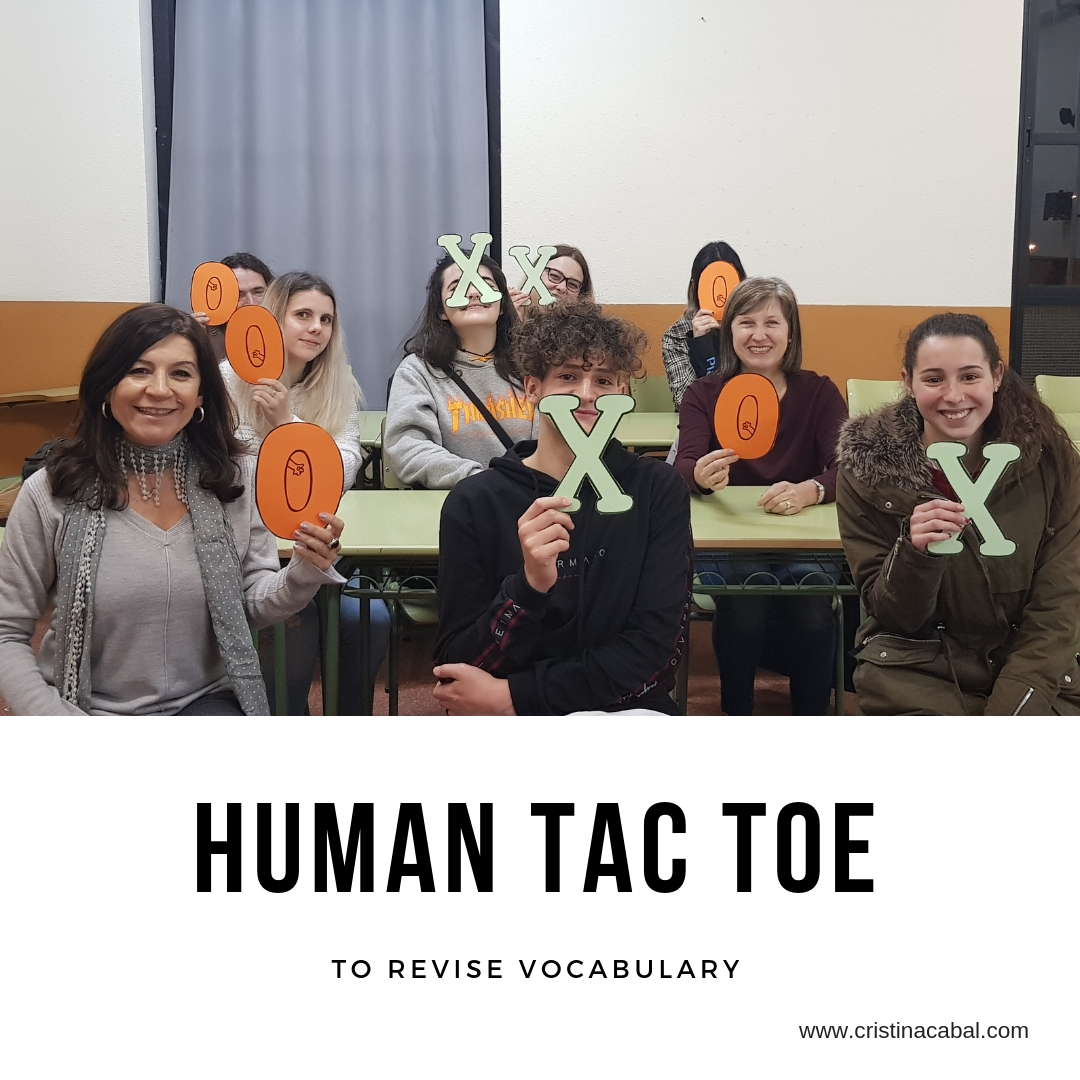
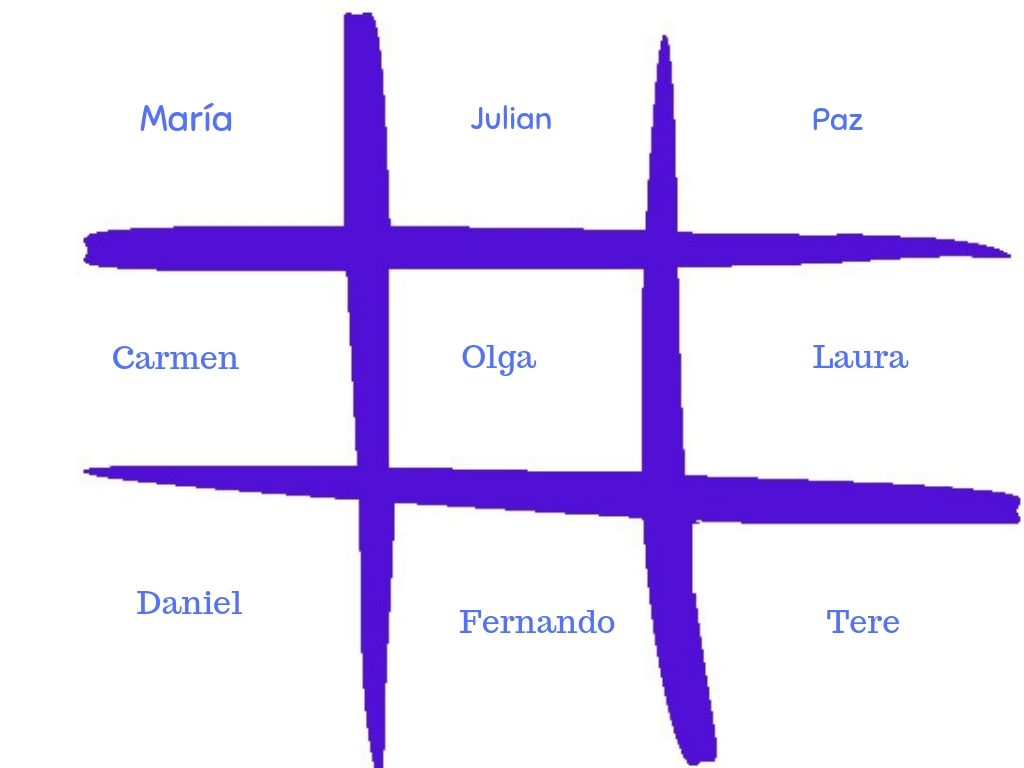
  • Ask 9 students to sit forming three rows of three students each forming a 3×3 human grid. (see the pic above)
  • Give each of these students an X and an O
  • Toss a coin to decide who starts playing. Let’s say Student X starts playing.
  • Student X chooses a student in the grid. Let’s say, Ana.
  • Ask Ana a question from the ones you have previously prepared. If she answers correctly, she will hold the X, if she doesn’t answer correctly, then no letter will be displayed.
  • Now it’s Student O’s turn to choose another student. Again, if he answers correctly he will display the O letter if not, no letter will be displayed
  • The winner will be the student who succeeds in placing three of their marks in a horizontal, vertical, or diagonal row.


Less funny version, but also fun.

  • Choose the two students who are going to play the game.
  • On the board draw a 3×3 grid and fill it with students’ names (see picture above)
  • Toss a coin to decide who starts the game.
  • Student X or O chooses a student from the grid.
  • Follow the same procedure as above.

Tip: I have played the game twice. The first time I used the less funny version and then I went for the funnier one. The combination worked just awesome!

Enjoy teaching! Enjoy learning!

Please, Come In! 3 Activities to Start Off the Course on the Right Foot

Ahh almost October! How are we here already?

I can’t even wrap my head around the idea that this is going to be my 27th year teaching English. Time, please stand still! OMG, It makes me cringe to even think about it! Ugh. But, here we are.This is life.

I know, I know. Most of you have already started classes in late August or early  September, but here in the EOI in Asturias, we dedicate the whole month of September to assessing written and oral exams. Nothing to envy here, trust me!

Anyway, a new school year, new students, a fresh start, a clean slate. I feel like in these 27 years I have tried all the different get-to-know-you activities that have been used all around the world, so this year I’m going to recycle and tweak some of my favourite activities,  changing the context to fit the mood.

So, the plan for the first day is the one below. An interactive game to revise grammar and vocabulary from the previous year (lots of fun, but also lots of learning) and not one, but 2 highly engaging speaking activities that can be considered, if you wish, get-to-know-each-other activities but that can be easily adapted to any context.

Activity 1. A Kahoot to revise

We will start the course playing a Kahoot to revise some of the content studied in the previous course. Always fun and to be honest, I am going to be recycling the one I did last year. That’s one of the things I like about technology, it’s paperless, recyclable and “findable”( meaning, easy to find,  yes, I know, I have just invented the word)

If you ask students to play in pairs or in threes, you’ll just need a device for each group. I like playing Kahoots in groups. It enhances learning as students will need to discuss the right answer and it’s more engaging and therefore much more fun.

This is the link in case you want to use my Kahoot. Here


Activity 2.  Welcome post-it notes

(I know! It looks home-made, but this is because it is)

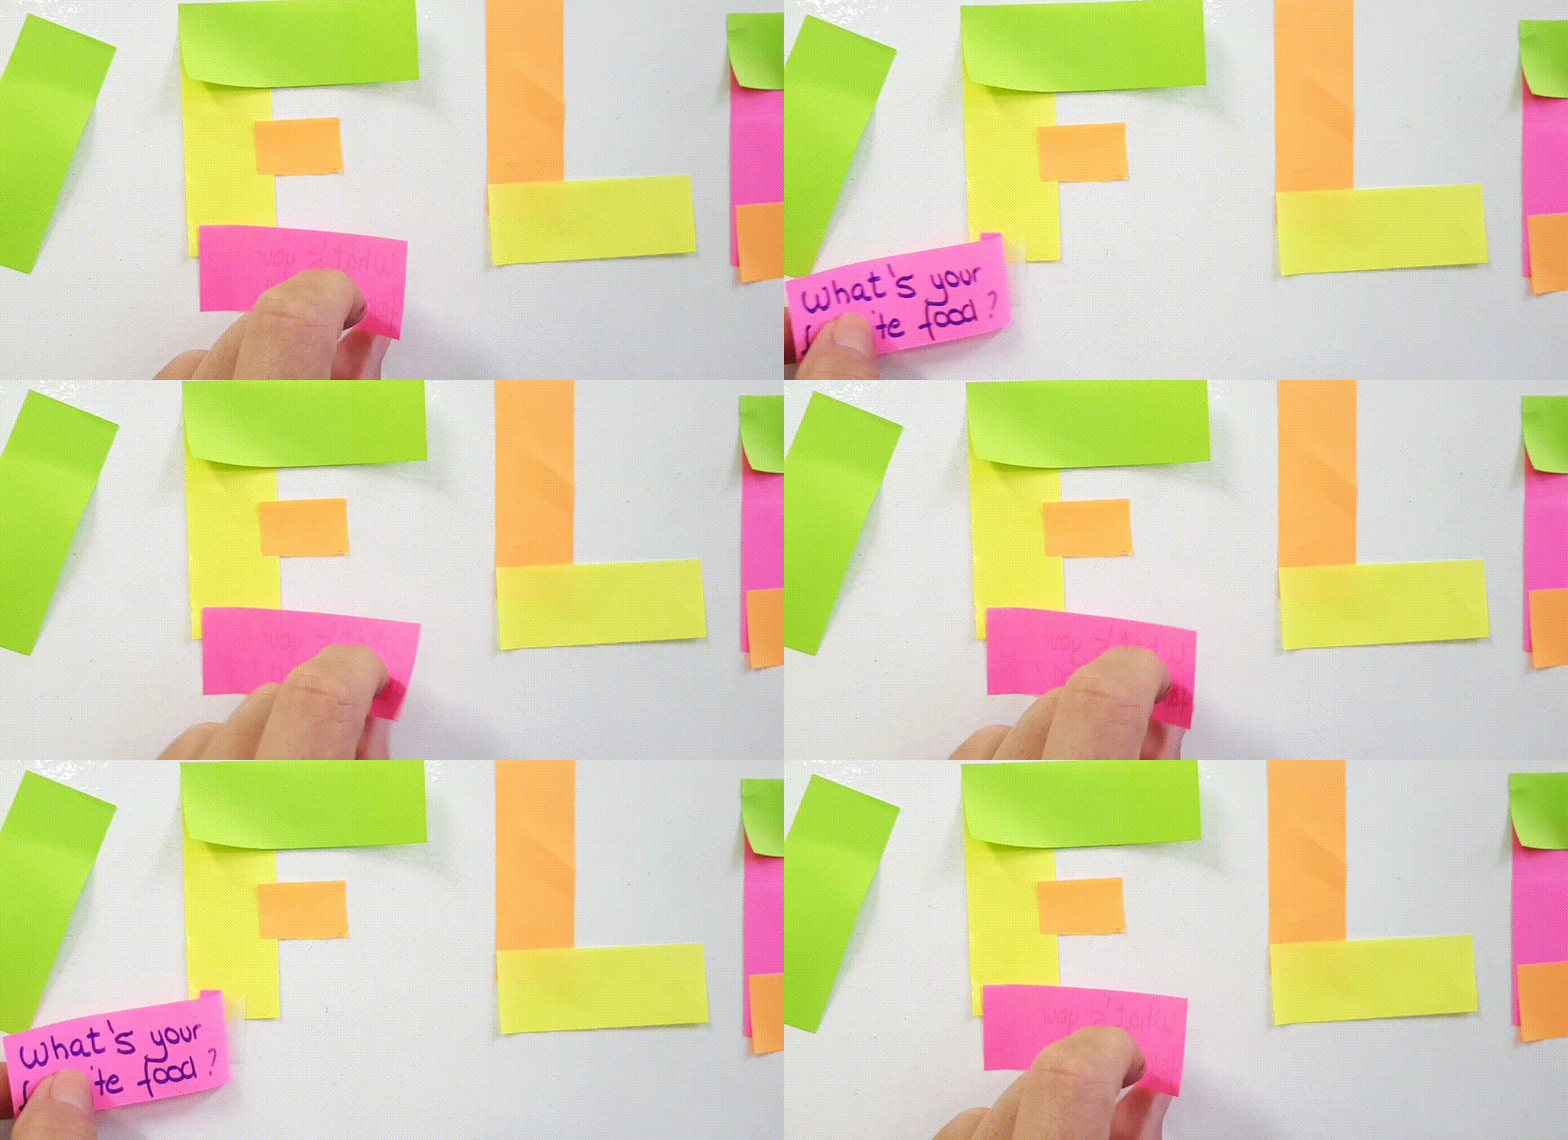
  • On one wall of the class, I have displayed the word “Welcome” formed using Post-it notes, as in the picture.
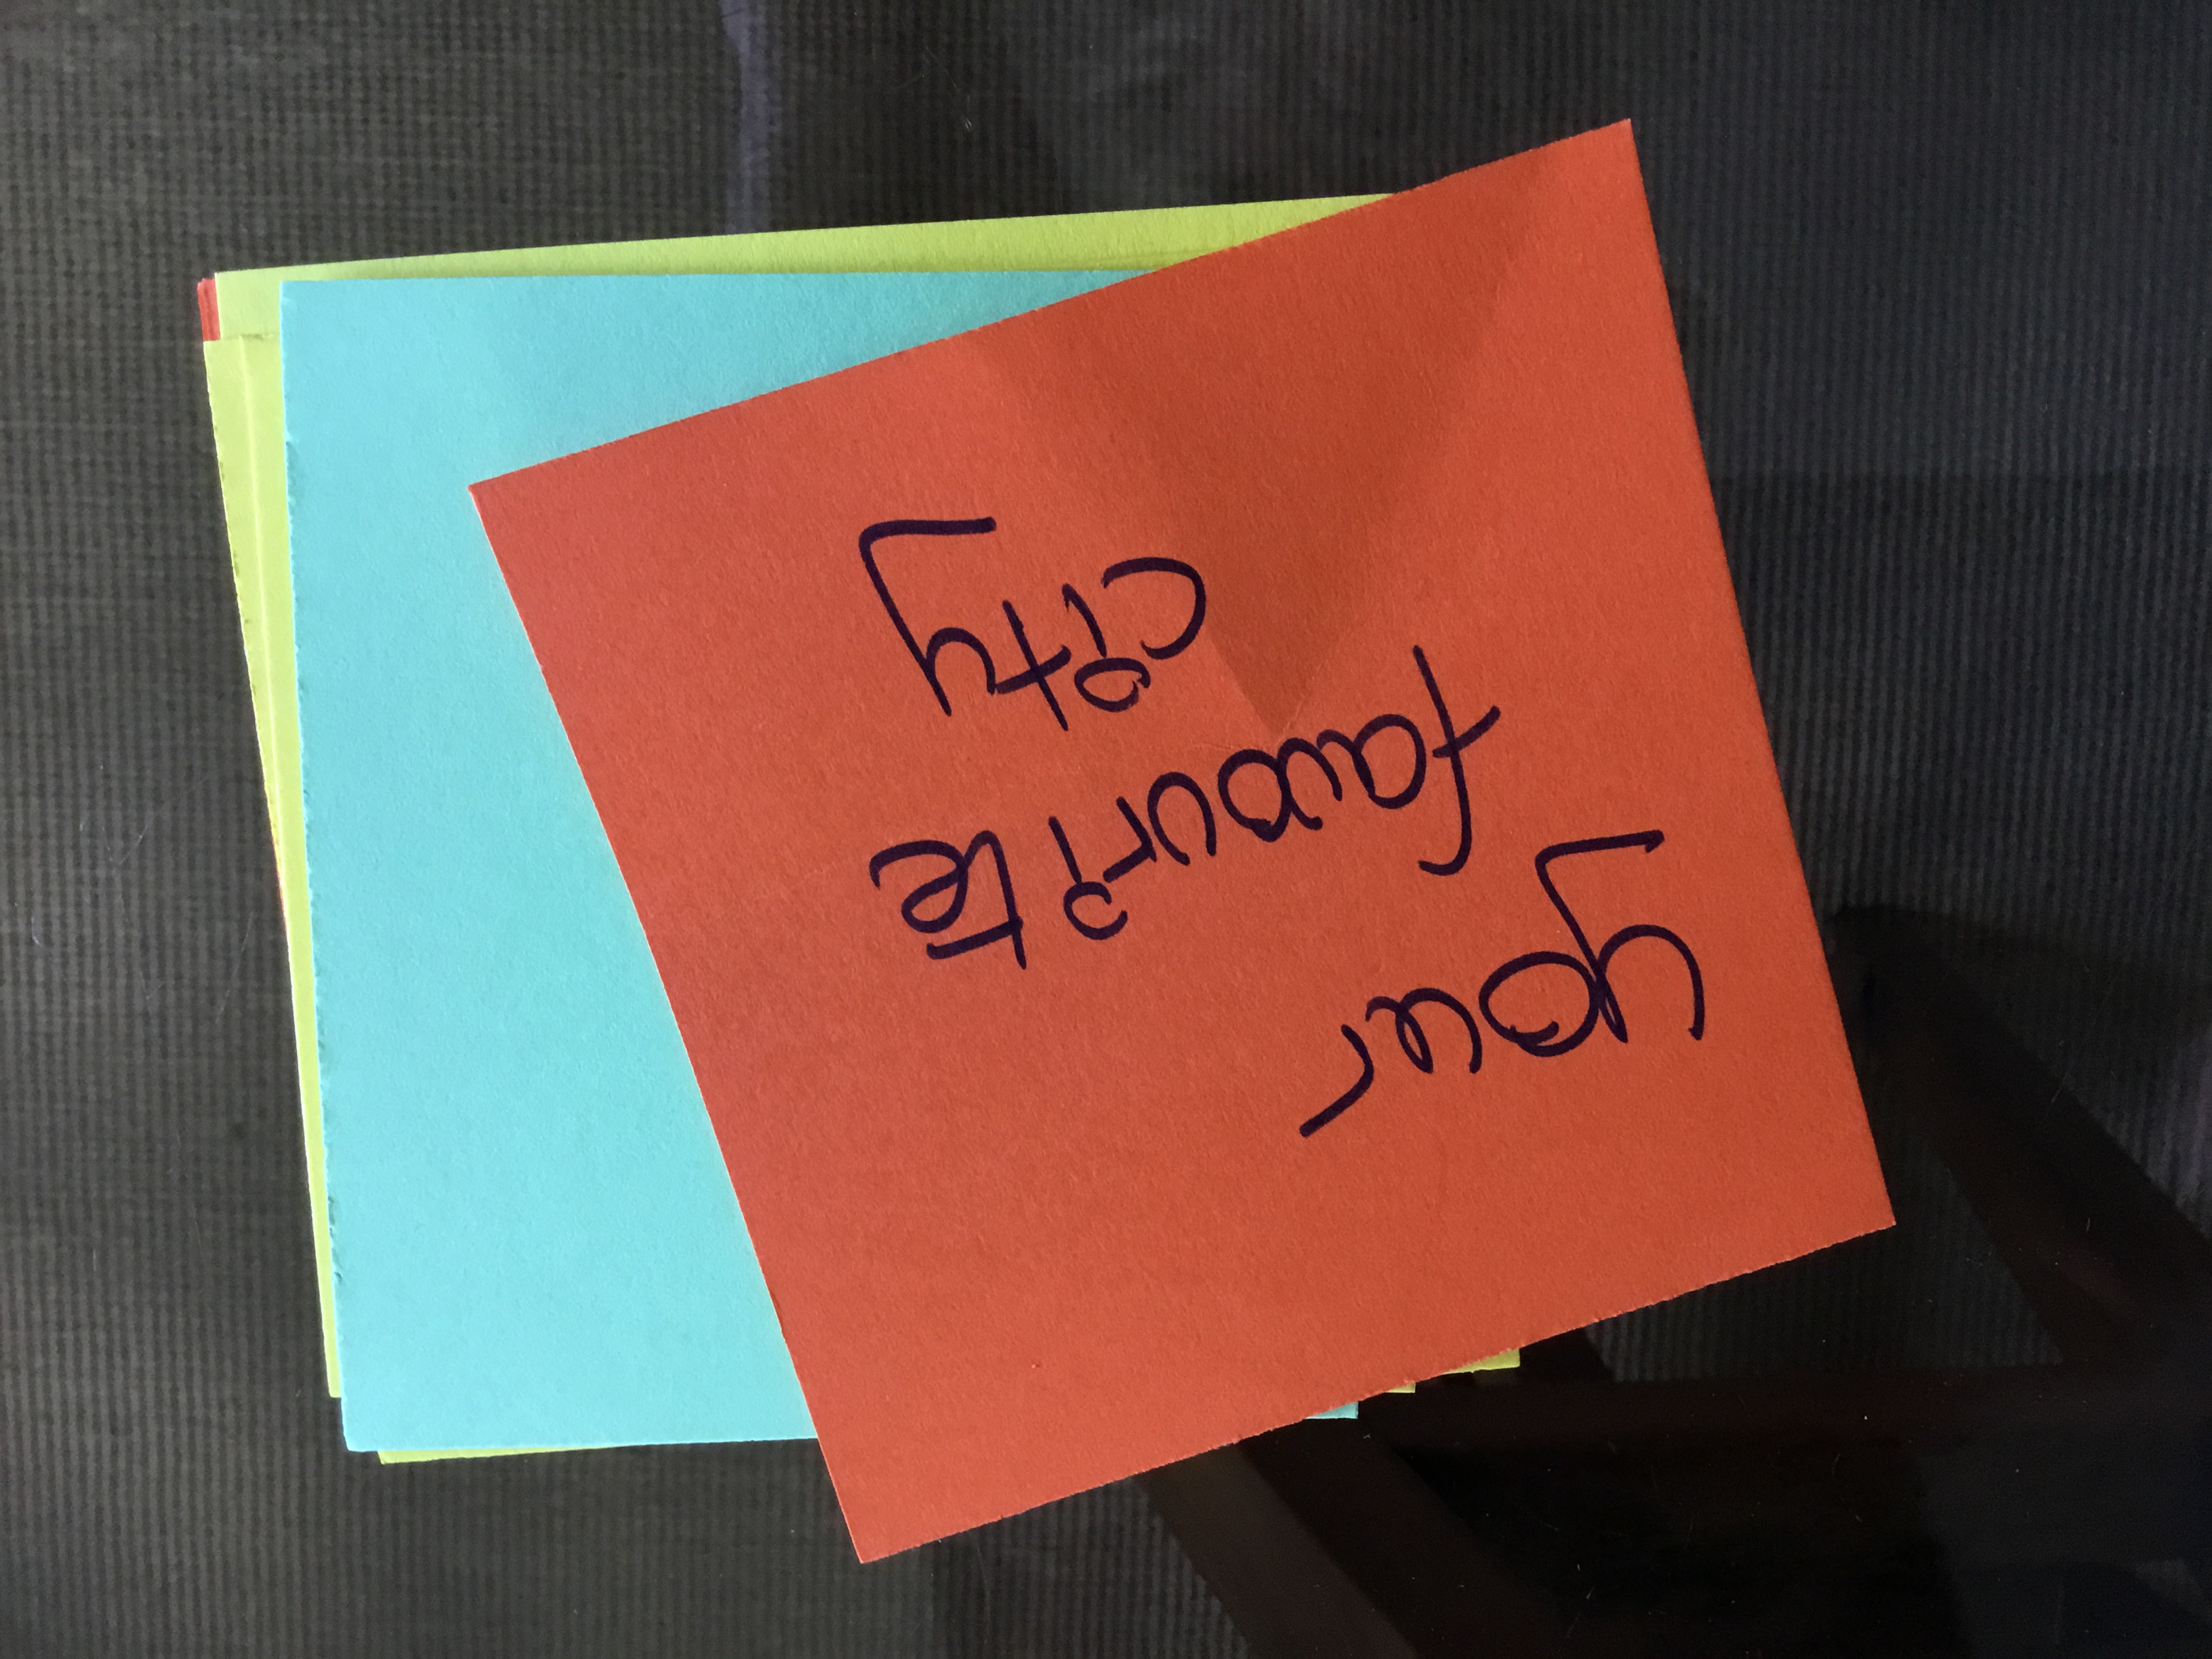
  • On the back of each post-it note, I have written a question that will help students and teachers get to know each other.
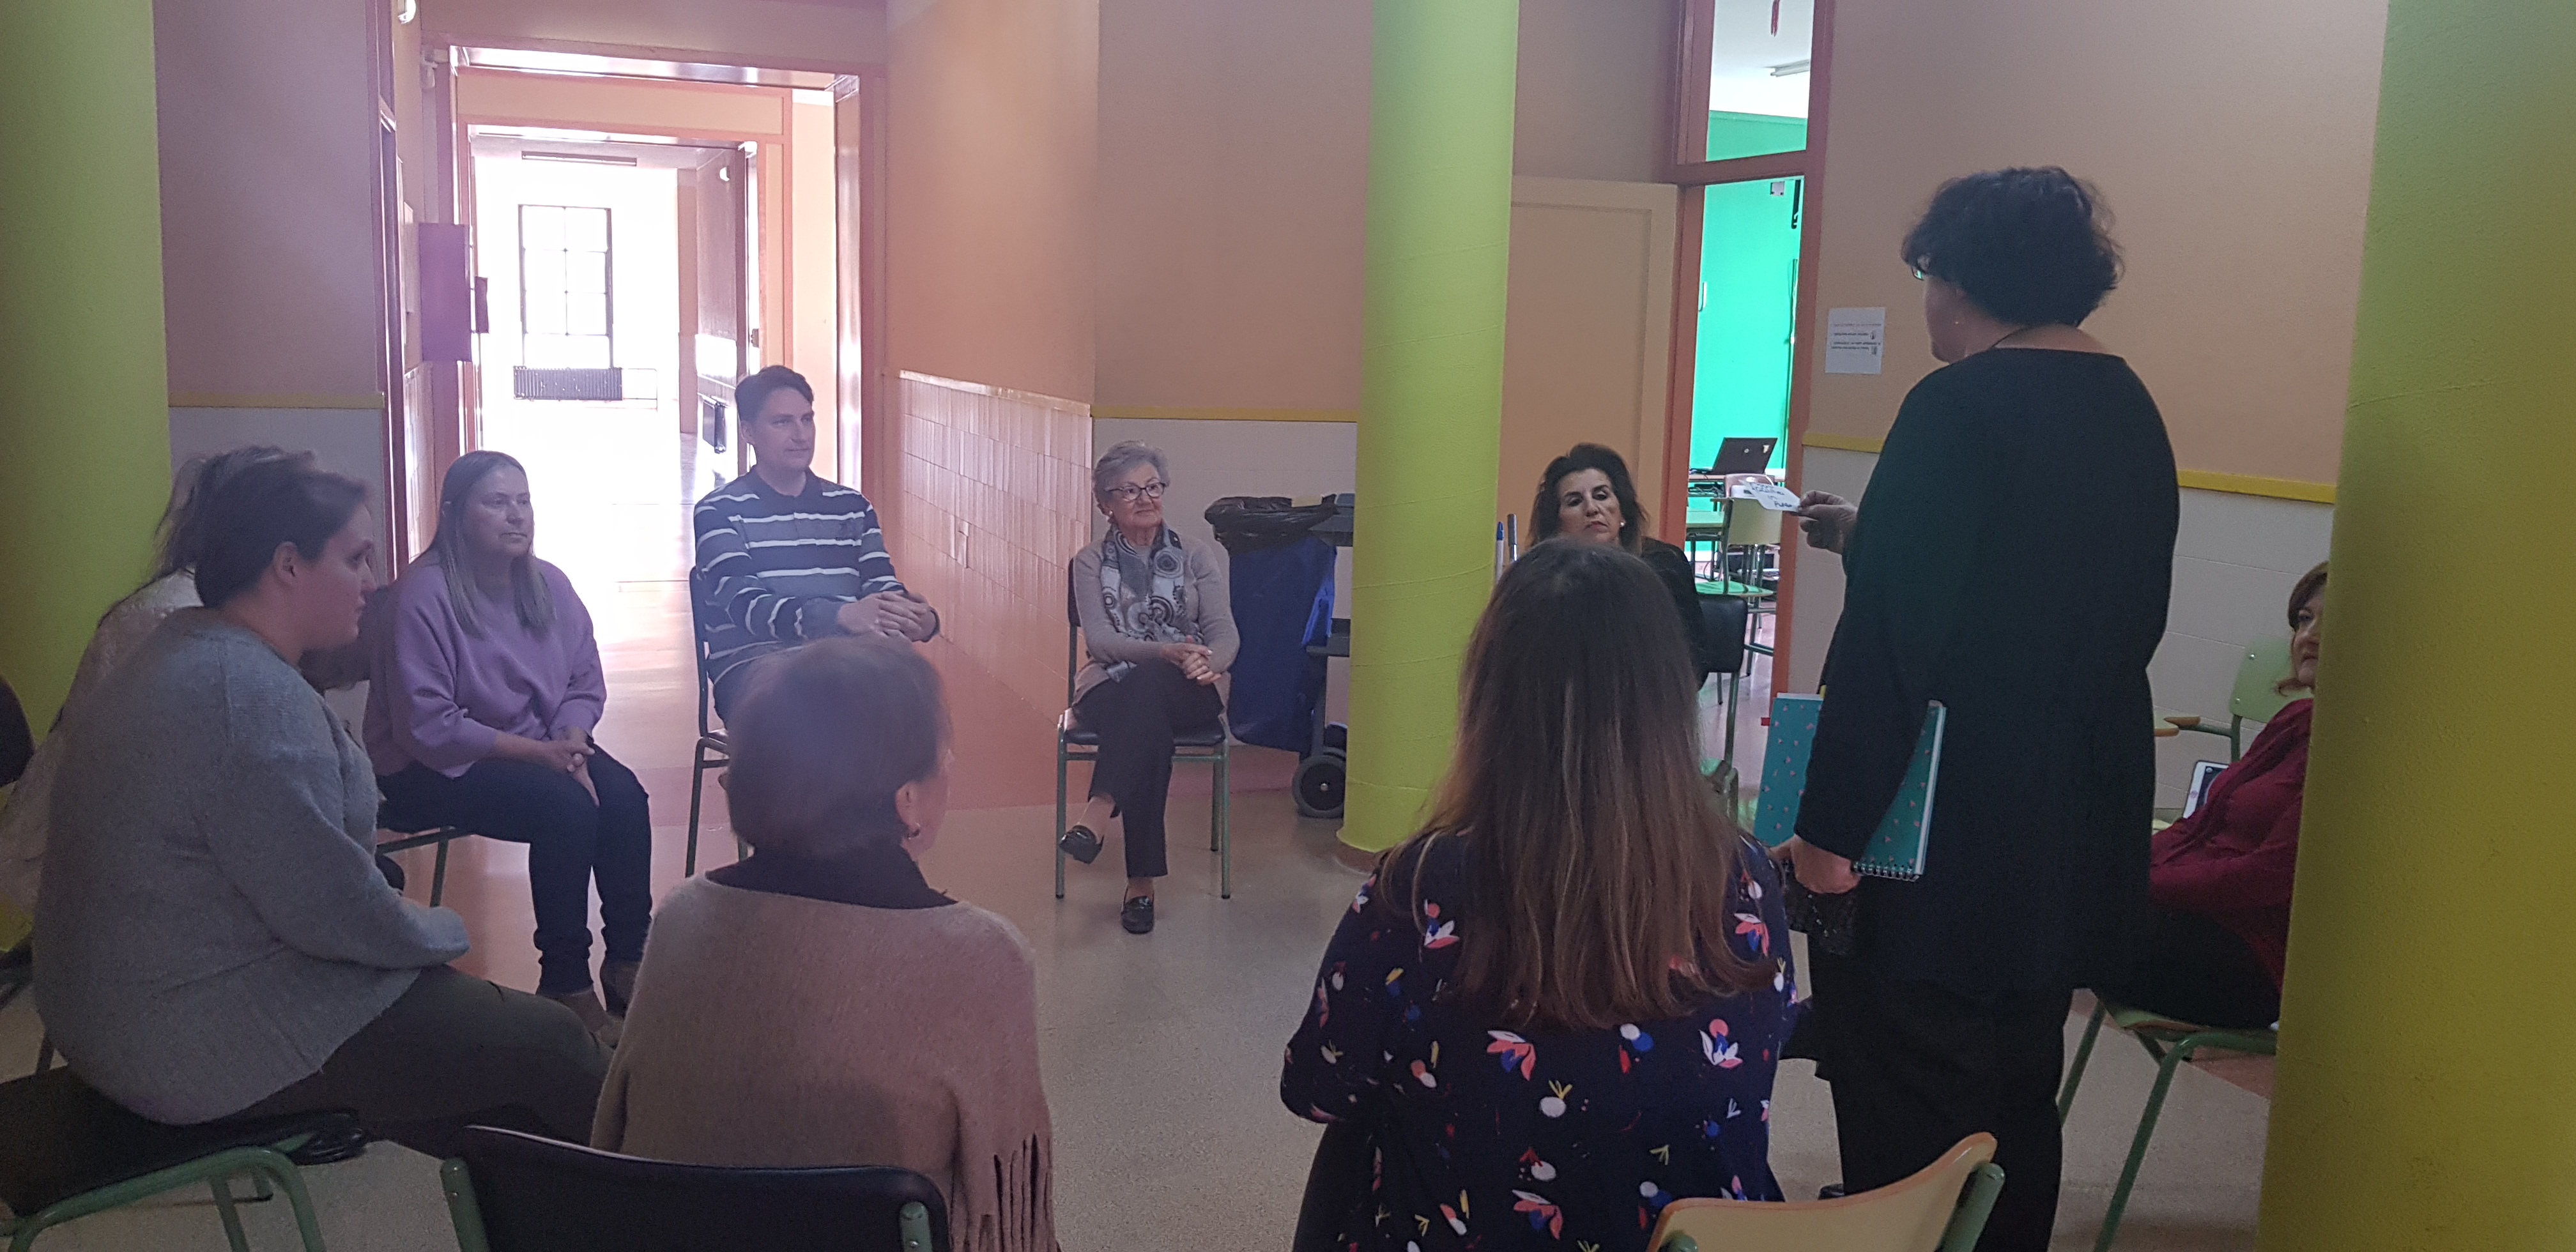
  • I have asked students to stand up and pick a post-it note containing a question.
  • I have asked students to remain standing, pair up with another student and ask each other the questions on their post-it notes.
  • I have allowed them about 4 minutes to ask and answer their questions before asking them to find a new partner.
  • I have also participated in this mingle activity. After all, I also want them to know me and it gives me a good chance to assess their English.
  • Please, refrain from overcorrecting or even correcting. It’s their first day.

Can’t think of questions to ask? This site has you covered. bit.ly/2zqxcJP

Idea for the post inspired by Post-it.com

Activity 3. Yes, I have, I have never

This activity is just so much fun.  What do we need? We need slips of paper, as many as students in the class. I normally fold a regular sheet of paper in half, lengthwise, and get two slips of paper.

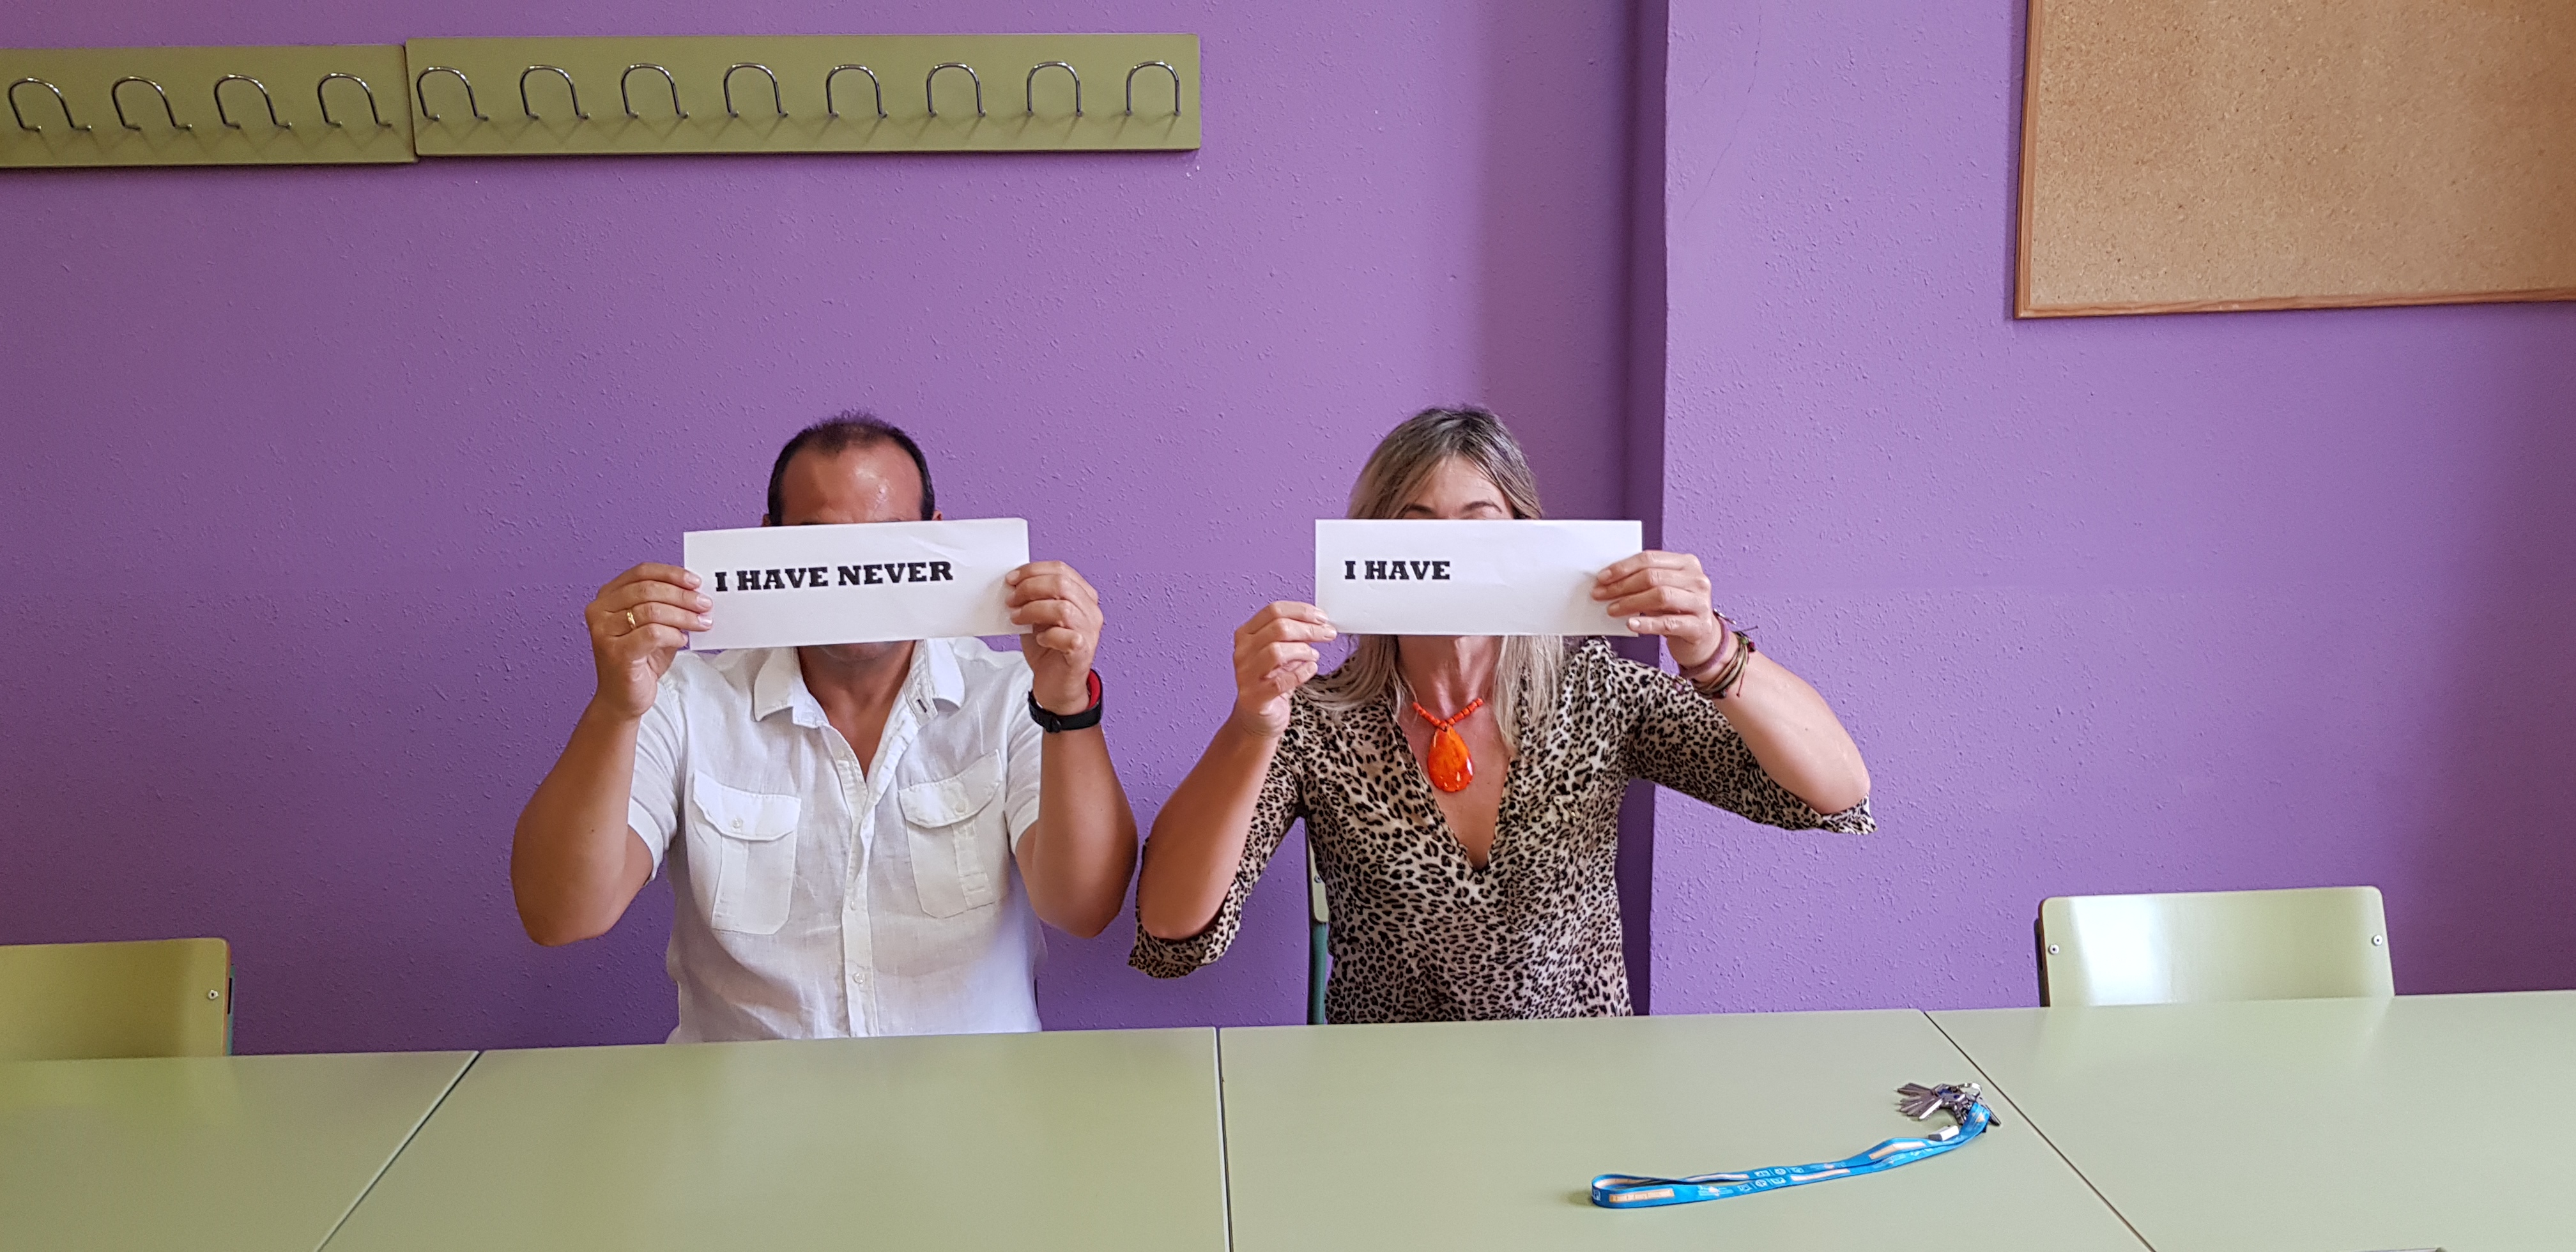
  • I ask students to write on one side I HAVE and, on the other side, I HAVE NEVER. Ask them to write the words big enough to see from a distance.
  • Tell students you are going to ask them questions and they should display their slip of paper with their answer to the question.

For example. Imagine that I ask  Have you ever failed an English exam?

In the picture below, you can see Julio, the German teacher, and me exemplifying the possible answers (sorry, as I said, classes have not started yet and I had to bribe a colleague).

  • Choose one or two students to elaborate on their answer and then ask another question and repeat procedure.
  • To add to the fun, and because it’s also important that students get to know you,  you should also have a slip of paper and once or twice give some details about you.

Note: Make sure you ask randomly I have and I have never answers, otherwise some students might never display the I have option.

Possible questions:

  • Have you ever been on TV?
  • Have you ever won a contest a received a prize?
  • Have you ever been stuck in a lift?
  • Have you ever got in trouble at school?
  • have you ever helped someone who was in danger?

Get more questions here and here  

Hope you have liked my first post! If you do not want to miss any of my posts, you might  want to follow Blog de Cristina on Facebook and on Twitter.

Great to be back!!! I’ve missed you!