Category Archives: Grammar and Exercises

A Word on Grammar: Relative Adverbs: Where, When and Why. use and Omission

I have to say that I have an incredibly complicated relationship with grammar. I don’t like it and that’s my problem. I wouldn’t go as far as Michel de Montaigne and say “The greater part of the world’s troubles are due to questions of grammar”, that’s probably going too far but, for me,  “Grammar is a piano I play by ear” as Joan Didion said,.

Obviously, this is something that, as a teacher, I cannot share with my students.

So, in order to make teaching grammar more palatable, I am forever trying to present it in a more appealing way. Not only to my students, but also to me.

Embedded below is a more visual explanation of the use and omission of the relative adverbs: where, when and why.

I have used one of my fav free tools, PlayBuzz, which is not specifically designed to be used as a teaching tool but it really has a lot of potential for language teaching.


Introducing Reported Speech Statements,Questions and Orders in a Different Way

This week’s post was not supposed to be a grammar post, it just so happened to turn out like that. Come to think of it, I have been teaching lots of grammar lately so I shouldn’t be surprised if my brain is filled with ideas for grammar teaching.

If I want my classes to be different from the ones I had when I was studying English at school (teacher-centred and book-centred), I cannot introduce all those digital tools I’m so keen on using and then go and spoil it all by asking students to read straight from a photocopy when it comes to grammar. I’m not saying it’s the wrong way to go about it, I’m just saying it’s not the way I teach or the way I’d like to be taught.

Admittedly, grammar is grammar, but can we make it a bit more appealing to our students?

Reported speech is probably one of my favourite grammar points and this is how I have introduced reported speech statements, questions and orders in my classes this week.


INTRODUCING STATEMENTS.

To introduce statements I often use quotes from famous people. The presentation you’ll see below is one I often use as my students, for the most part, are adults. But if you’re teaching teenagers, you can easily change the people in the slides and use celebrities they can relate to.

So the idea is to play the presentation, read the quote and then ask: “What did Marilyn say?” Guide students through the changes in reported speech and then show the second slide where the reported sentence is displayed.


INTRODUCING QUESTIONS.

I’ve been introducing reported speech questions in this way all my teaching career. The reason? Students collaborate from minute one and this is something I treasure.
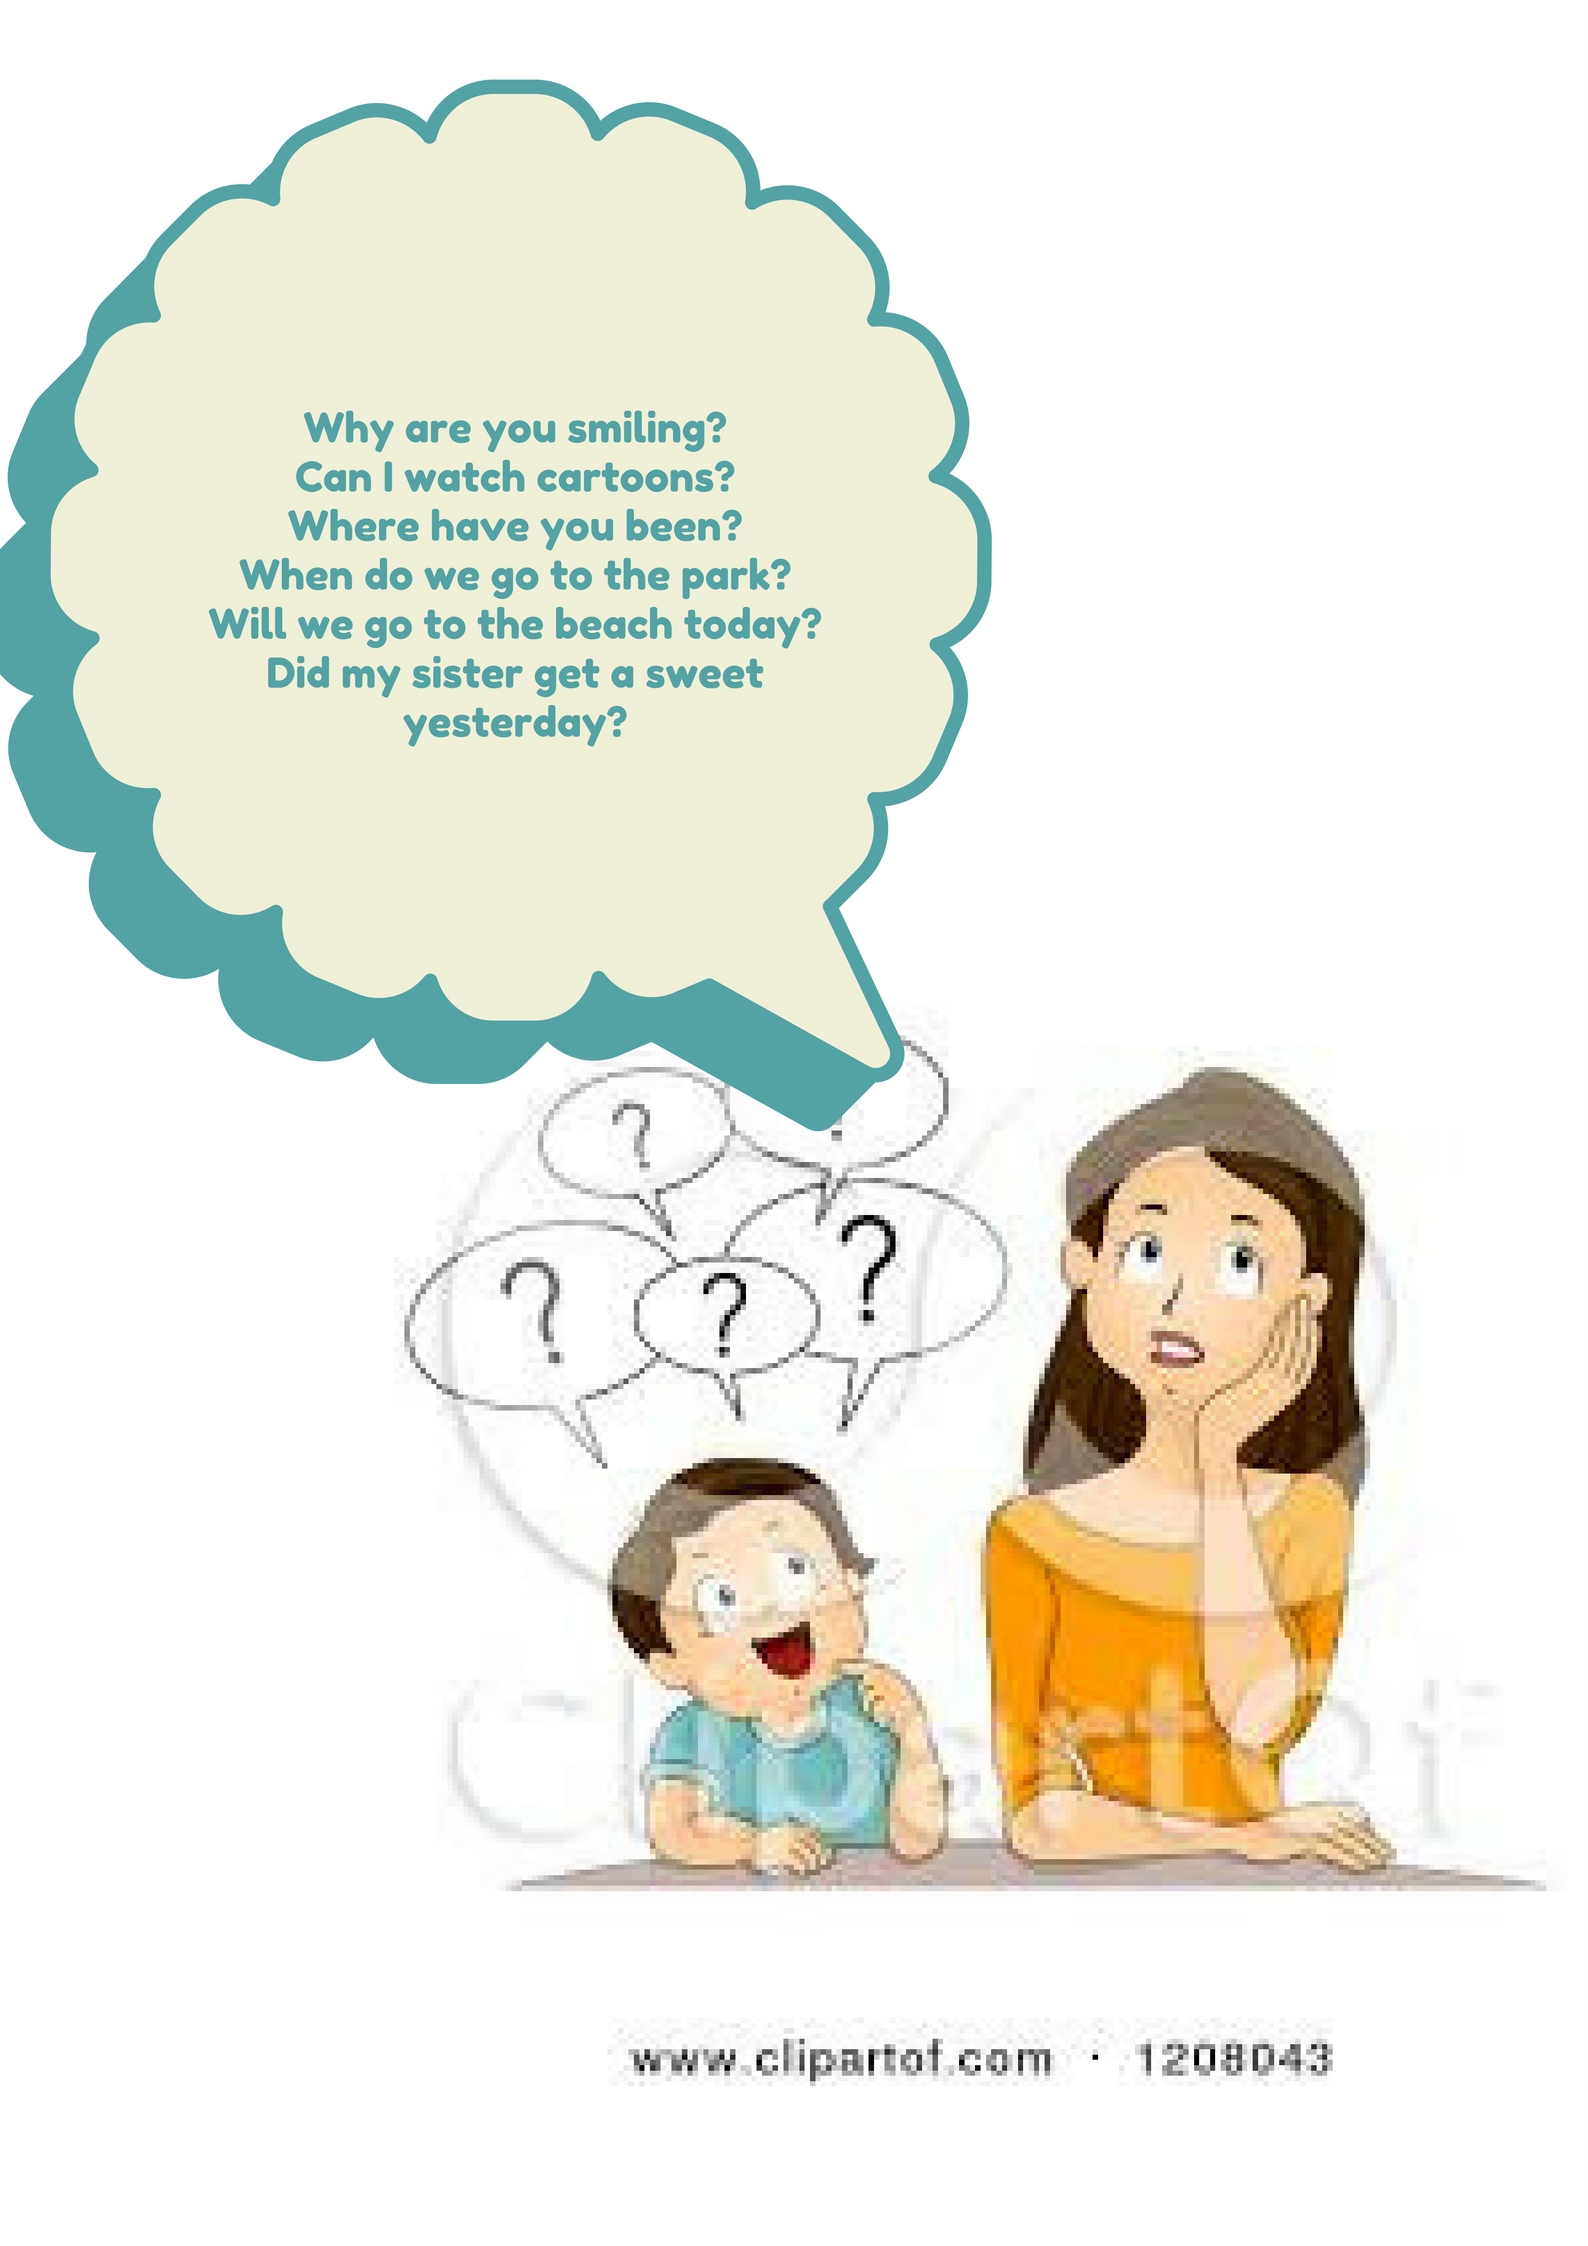
I tell the students my son Daniel is 4 years old and he’s always asking questions. With all the drama I can muster I tell them that yesterday I got home really tired and wanted to rest a bit but my son Daniel had other plans for me and could not stop asking questions.

I draw on the board a boy and I call him Daniel and a woman and I call her Cristina- my name. I draw a big bubble next to Daniel and I ask students to guess what sort of questions he might have asked me. As they provide the questions I write them inside the speech bubble making sure there is a variety of wh- and yes/no questions and a variety of tenses. Once the questions have been written, I go on telling them that when my husband got home I was lying on the sofa with an ice pack on my forehead and looking dead tired  -remember drama is important- and when he enquired why I was so tired I told him all about my day and how I couldn’t rest because Daniel had asked all those questions.

  • He asked me why I was smiling
  • He wanted to know if he could watch cartoons.

INTRODUCING REQUESTS AND ORDERS.

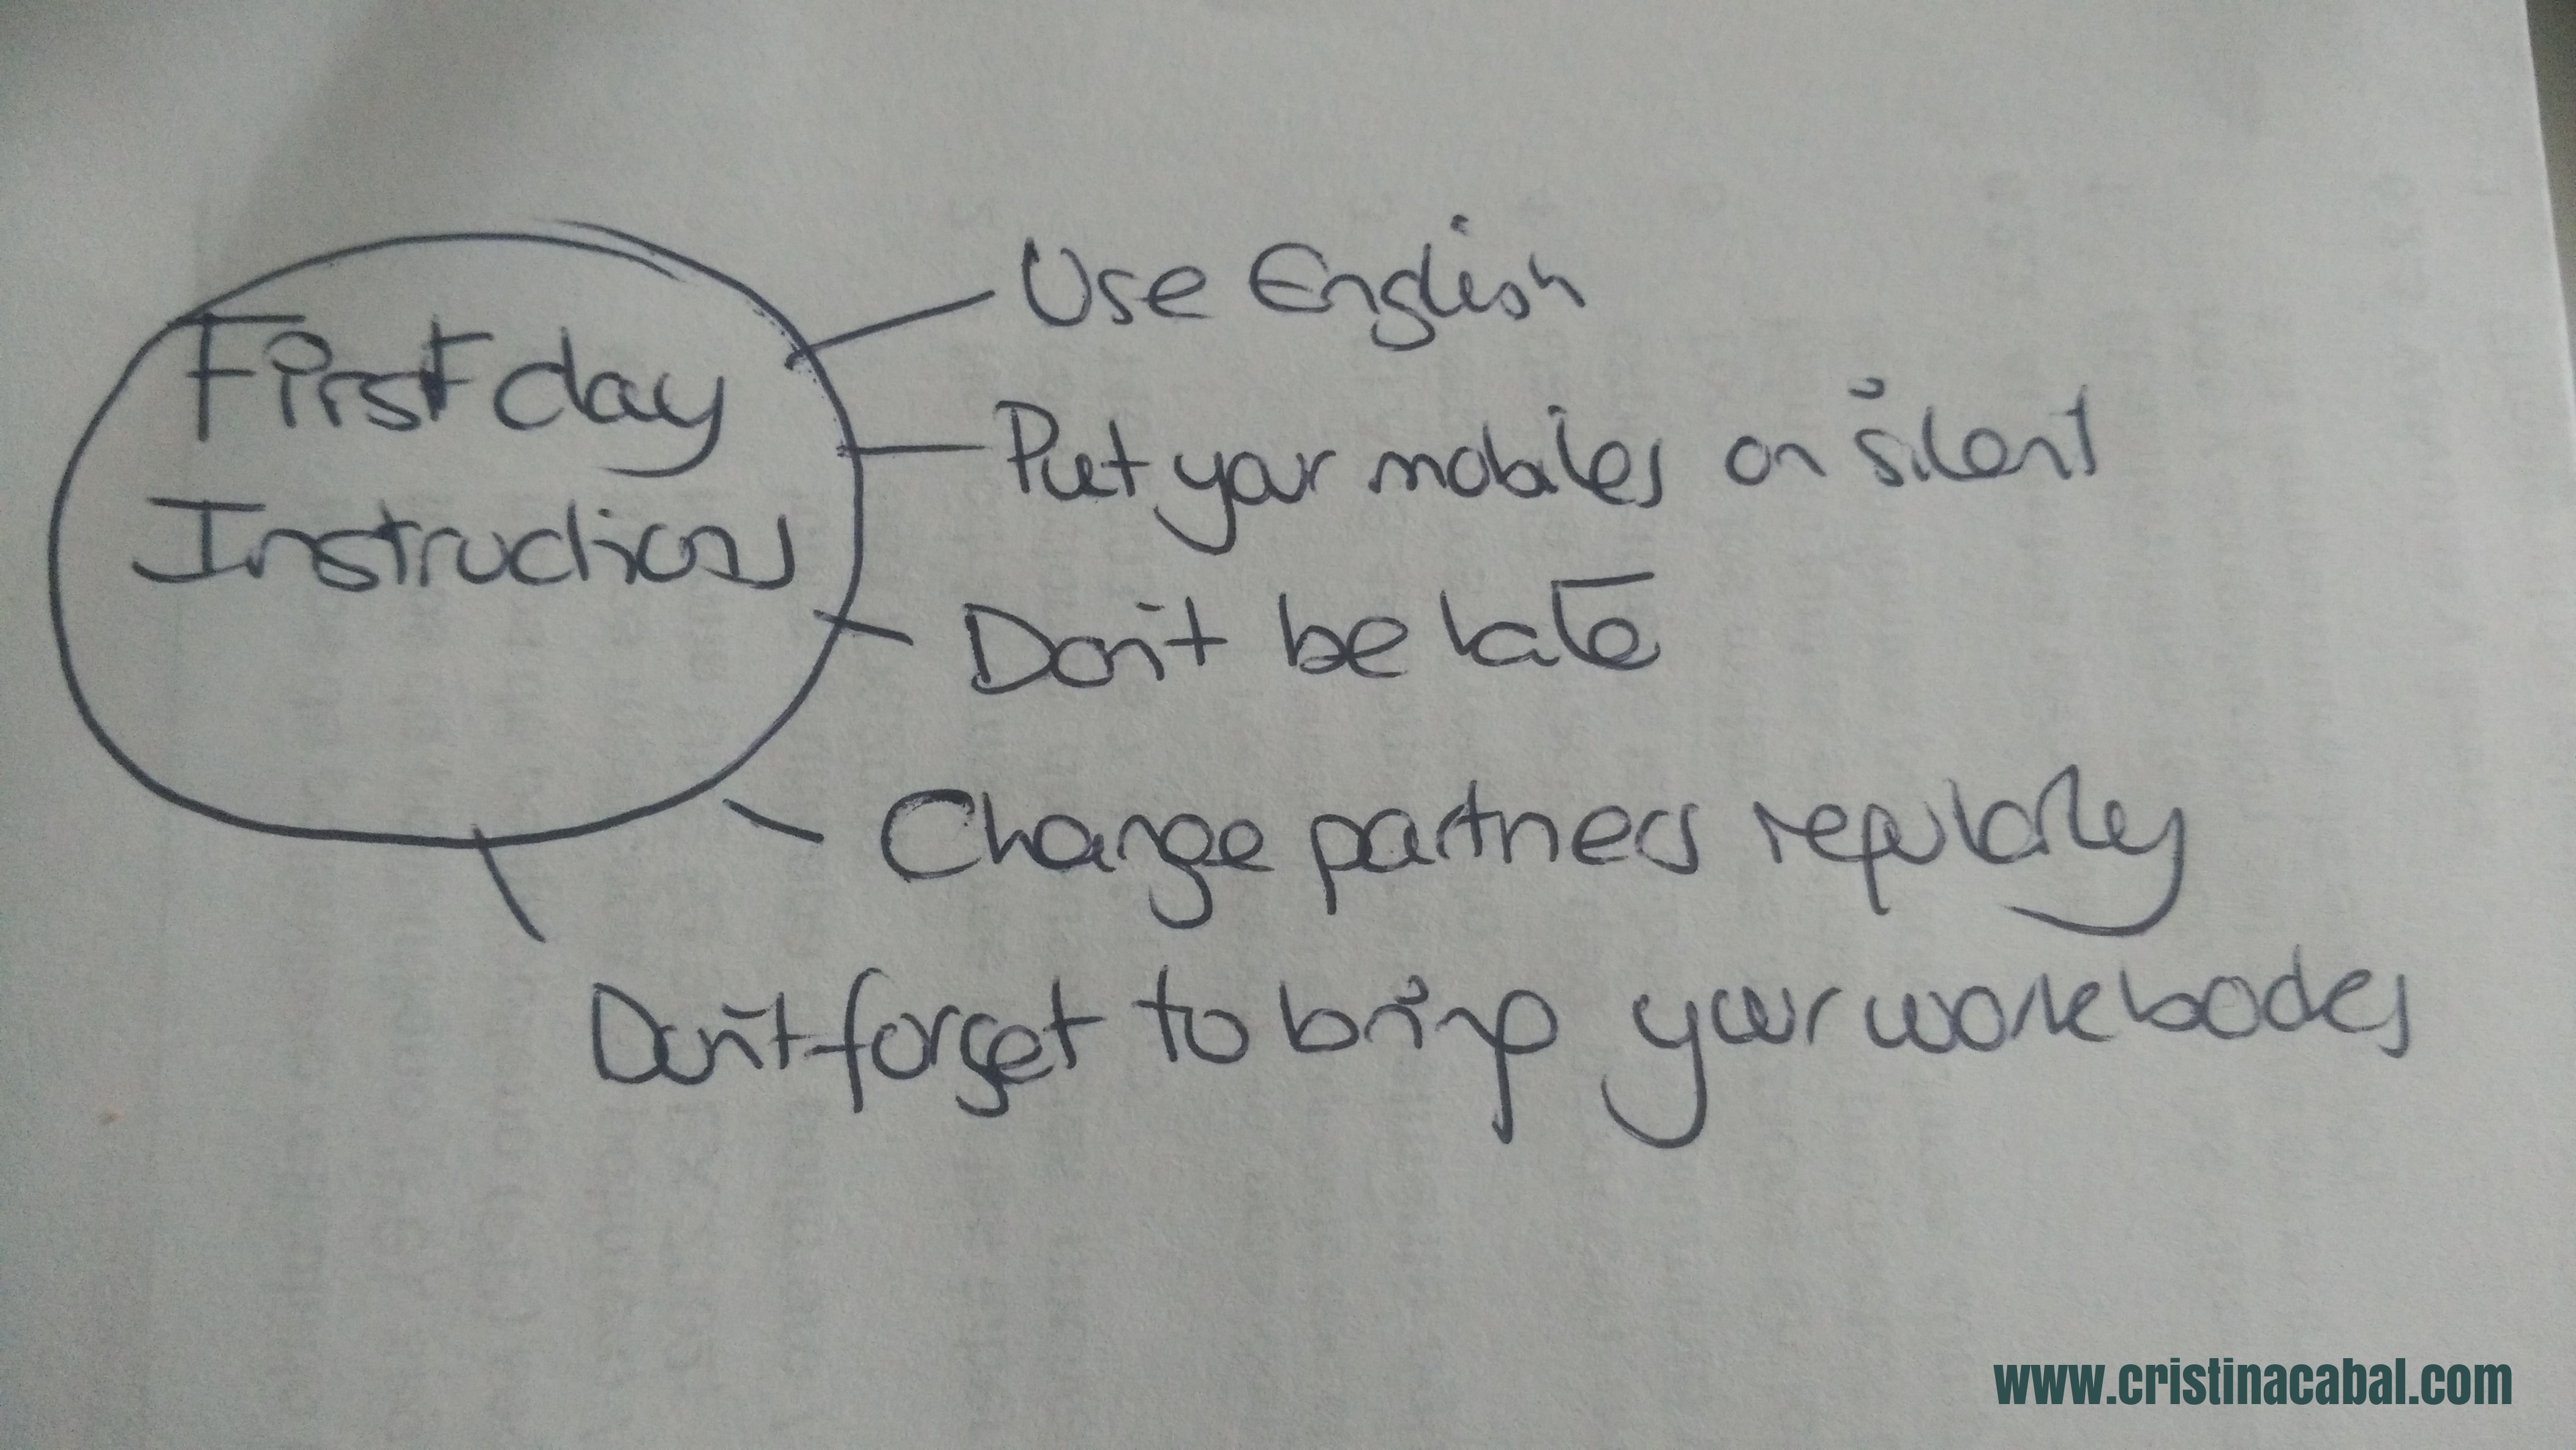
To introduce request and orders I write inside a circle on the board

First day instructions

and ask students to try to remember some of the instructions I gave them on the very first day in class.  Encourage them to tell you the exact words I used. They will probably say:

  • Use English
  • Put your mobiles on silent mode
  • Don’t be late.
  • Change partners regularly.
  • Don’t forget to bring your workbook

Write them on the board and choose a student who couldn’t attend that first day.

Tell students they now need to inform this student of the instructions I gave this very first day.

  • The teacher told us to use English in class
  • Cristina told us not to forget to bring our workbook

Hope it’s helpful! You might also be interested in this other post

Some nice activities to practise Reported Speech

Blog de Cristina is also on Facebook. Join us!

The Article in English: Explanation, Exercises and a Challenging Quiz

Although the use of the article in English seems a priori an easy subject to teach, the truth is that some students struggle with the use and omission of it.

What can you find in this post?

  • Intermediate level:
  1. Animated video with some rules on the use and omission of the articles “the, a/an”
  2. Some links to exercises from around the web to consolidate knowledge.
  • Advanced Level:
  1. An engaging quiz with feedback notes featuring some difficult cases related to the use and omission of articles.


Grammar. Watch the presentation. Pause it as often as necessary to understand and assimilate the rules.

Exercises: Links to interactive exercises  from around the web to consolidate knowledge.


The quiz


Teaching Both, Neither and Either with List.ly

Several times I have been on the verge of almost writing a post exclusively to share with you this beautiful presentation tool without any reference whatsoever to English teaching.

But I didn’t. I don’t know why, but I’m glad I didn’t.

Normally posts about tools and apps you can use in the classroom go unnoticed, unless you’re clearly into incorporating technology into your classes.

So, next week I’ll be teaching the grammar for both, neither and either and I thought it would be nice to use this tool to present and teach these pronouns as, among other things, List.ly helps you build beautiful presentations, add text and links.

Now, if you’re not interested in incorporating List.ly into your classes, you can skip all about List.ly below and go straight for the grammar. 🙂 although I hope you don’t.


About List.ly


What is List.ly?

Basically it’s a tool for creating and curating lists. With List.ly you can

  • Curate content
  • Create original post content
  • Get feedback from your students

Other features

  • You can add items with or without links, photos, text, video, audio…etc
  • Also, it’s a highly collaborative tool. Students can participate:

-by voting individual lists items up or down

-by adding to the lists

-by writing comments

  • It’s free ( you can create 3 free lists) and you can easily share it and embed it on your blog.
  • You can choose from 6 formats: list, gallery, magazine, slideshow, minimal and badge.
  • You can make it private. You can obtain the link and share it privately.
  • You can moderate the list to approve any comments or contributions to the list.
  • You can decide the order in your list: curated order (great for collaborative storytelling), crowdrank (great for voting), alphabetical or newest.
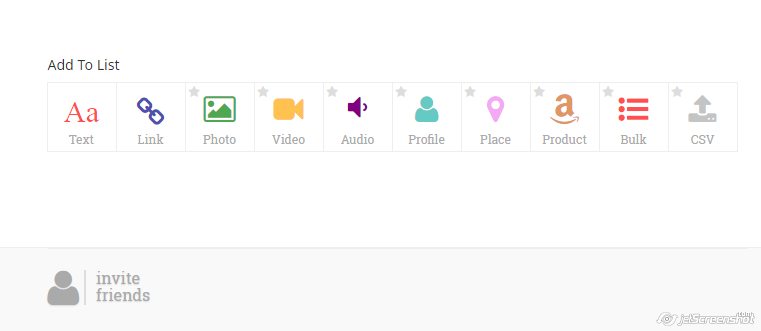
  • Below you can see some of the things you can add to your list

 Tutorial: here

   How can I use it in the classroom?

Given that you can allow students to collaborate, there are endless possibilities. To mention just a few:

  • Create a list of tips. For example: for scoring high in the oral exam and have students vote the most helpful.
  • Choose a topic, for ex. stereotypes and let students add their own ideas to the list.
  • Create a list linking to specific content they need to see or study: videos, grammar exercises, topic-related lessons, …etc.
  • As you can also upload audio, give them a topic for discussion and ask them to add to the discussion by uploading a recording with their own view on the issue.
  • Create beautiful presentations with links to extra content.
  • Writing contest: share their writing and ask students to vote on the best.
  • Start a list with the songs they would like to work with, ask them to add their favourites and then vote on the best.
  • Collaborative Speaking activity: brainstorming of ideas.

Any other ideas?


 Using BOTH, NEITHER AND EITHER


  1. Traditional? Pdf with exercises here. 
  2.   A bit less traditional? Down here!

I have embedded the presentation using two formats:

  • slideshow format
  •  List format

An Engaging Activity to Work with Modals in the Past

Dear readers,

Let me start thanking you for all your comments, likes and shares on my posts. That’s really encouraging!

In today’s post I want to share with you an activity I did with my B2 students that worked really well. It’s the kind of activity that I like because it includes movement and it encourages interaction between students. The focus is on grammar but, at the same time this activity gets them out of their seats and moving. They  will need to interact with other classmates and use English to discuss English grammar while having fun at the same time. So, what else could one wish for?

Aim: The focus of this lesson is on students integrating grammar, speaking and writing using modals of certainty and possibility in the past.

Level: B2 (upper intermediate)

Time: 20-30 minutes

Materials: post-it notes and pictures to display (see mine here)

Although this is an activity to reinforce learning and the grammar should have been explained beforehand, it might be a good idea to revise orally or on the board the targeted grammar.

Warming-up

Remind students of the use of the structure modal+have+past participle to make suppositions about actions that did or did not take place in the past.

Explain that for this activity they will be working with the modal “must” to speculate about the past and with the modals could/may/ might in the past to discuss different possibilities. Drill pronunciation of must/might…+have+past participle

  • Must have been | ‘ mʌstəv ‘biːn |
  • might have gone | ‘maɪtəv ‘ɡɒn |

The Task

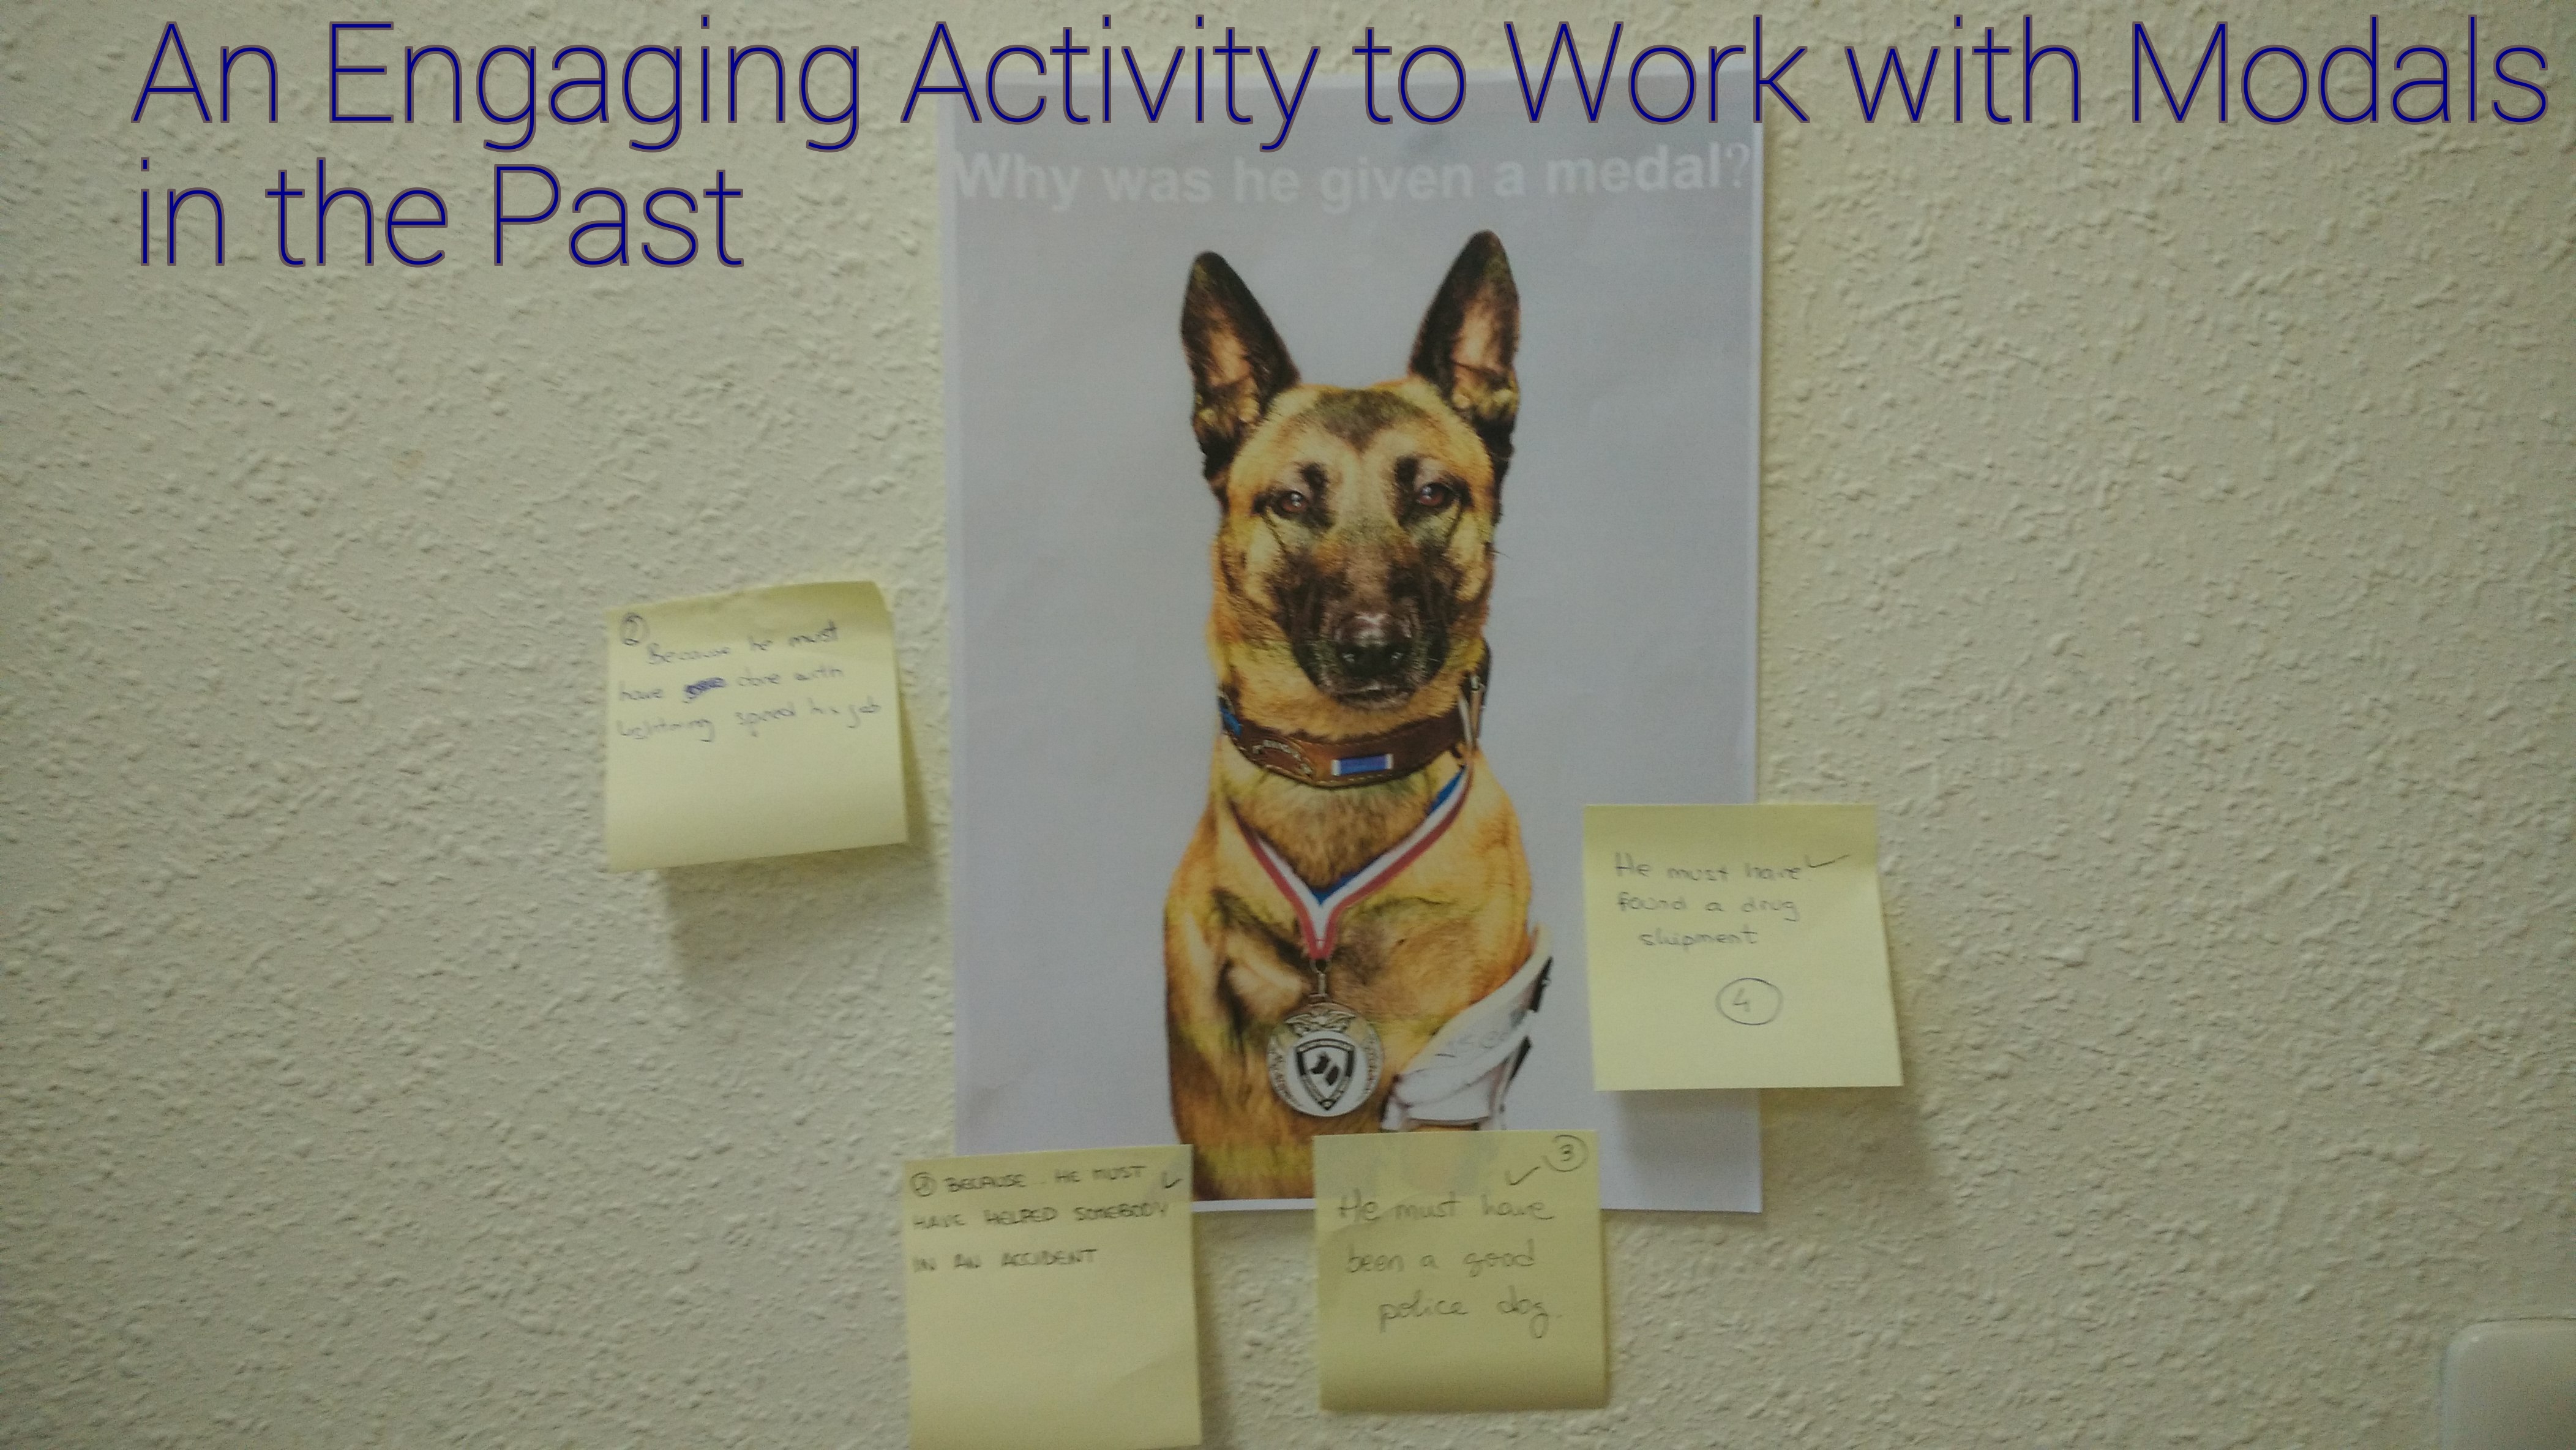
On the walls of the class display the pictures you want to use. See the ones I used here. Ask students to try to guess the answers to the questions in the pictures and then, write them down on the post-it notes provided using the modal must in the past to speculate about what must have happened. Tell them that on the back of each picture you have written the answer to the question. They’ll win one point if their answer is the same as the one written on the back of the picture.

Procedure

  • On the walls of the class display the pictures you want to use.
  • Ask students to work in threes.
  • Give each group a different number and some post-it notes. You will need to give them as many post-it notes as pictures on the walls. They will need a post-it note for each picture.
  • Now, ask students to stand up and have a look at the different pictures.
  • In their groups they will have to discuss the different possibilities using the structure may/might/could +have+ past participle.
  • Then when they reach an agreement, they will need to write their suggestion on the post-it note using the modal “must” in the past. Ask students to write their assigned number on the post-it note. Ex. He must have saved someone or he must have discovered a bomb
  • Ask students to sit down. Take the first picture and turn it around. Read the sentence explaining the picture. Read the post-it notes to see which group guessed correctly. Award them one point. Needless to say, the winner is the group that gets more points.

Thanks for reading!