Ohhh yes… that sentence. That sentence.
The teacher recommended me to study more.
Hands up if your inner grammar siren starts screaming! Yep. Same here!
Here’s the thing: “recommend” does NOT work like the verbs “tell” or “ask.”
So… “recommend + person + to + verb” = nope.
This little verb is a classic troublemaker for learners, especially because it looks friendly but hides some sneaky grammar rules underneath. And you know that correcting it once, twice, or even ten times doesn’t always do the trick, right? So the question is: how do we fix it so it sticks?
In this post, we’re going to try to fix this common mistake using traditional, tried-and-true methods combined with a tad of AI-powered magic.

Lead-in: The “Expert” Warm-up and Inferring Grammar
Write the verb ‘recommend’ on the board. Tell the class you have a problem and need their advice. Explain that you will listen to their recommendations ( using the verb “recommend”, of course!) ; however, unless the sentence is grammatically correct, you will remain silent or say ‘not quite right.’ you will respond with ‘Thank you very much’ ,only when the verb is used properly.
On the board, write only the sentences with the correct grammar and then, let students infer the grammar.
Some problems you might have
- I feel completely overwhelmed with my workload this week.
- I have a very important job interview tomorrow, but I am extremely nervous.
- I need to book a holiday for my family, but we are on a very tight budget
- I keep forgetting where I put my car keys every morning.
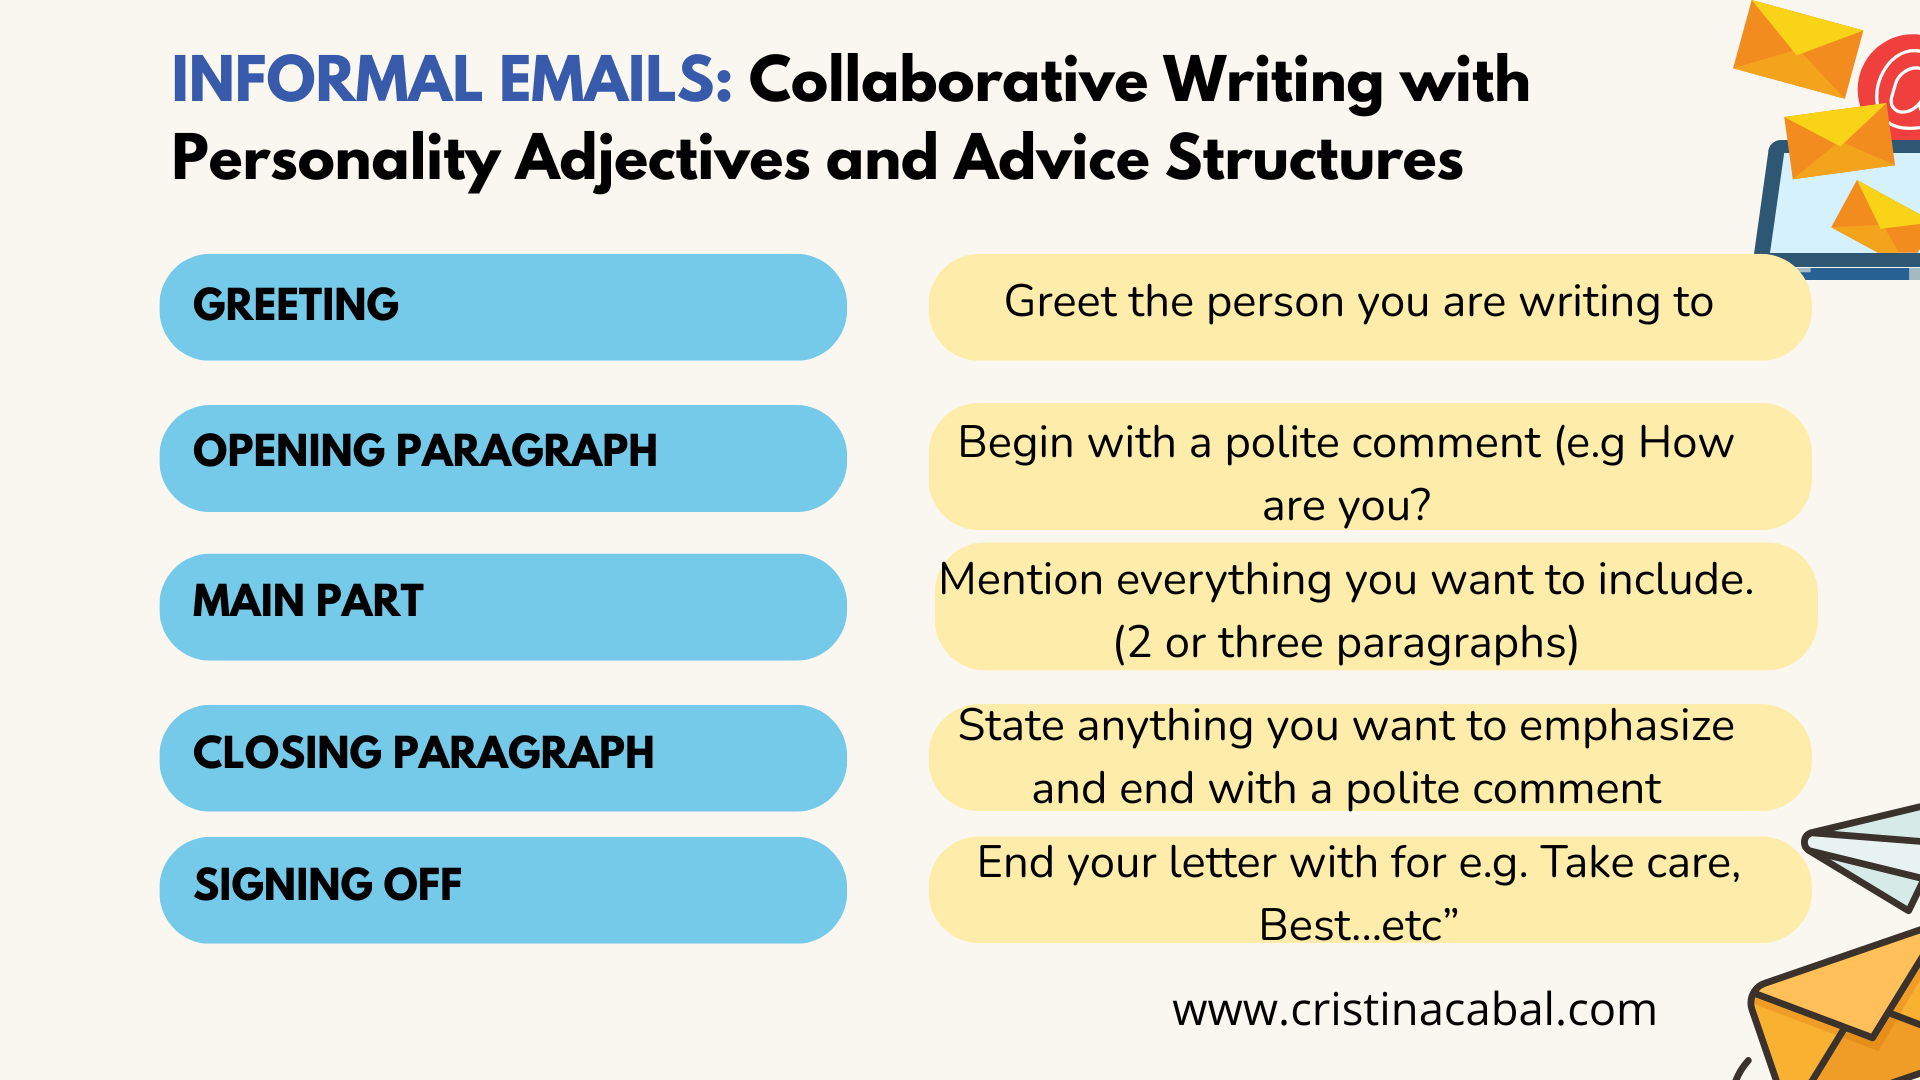
The Grammar: Display or photocopy the infographic
Apart from being beautiful, this infographic is simple and helps students see the grammar more clearly. Ask students to write or give their own examples using the different structures.

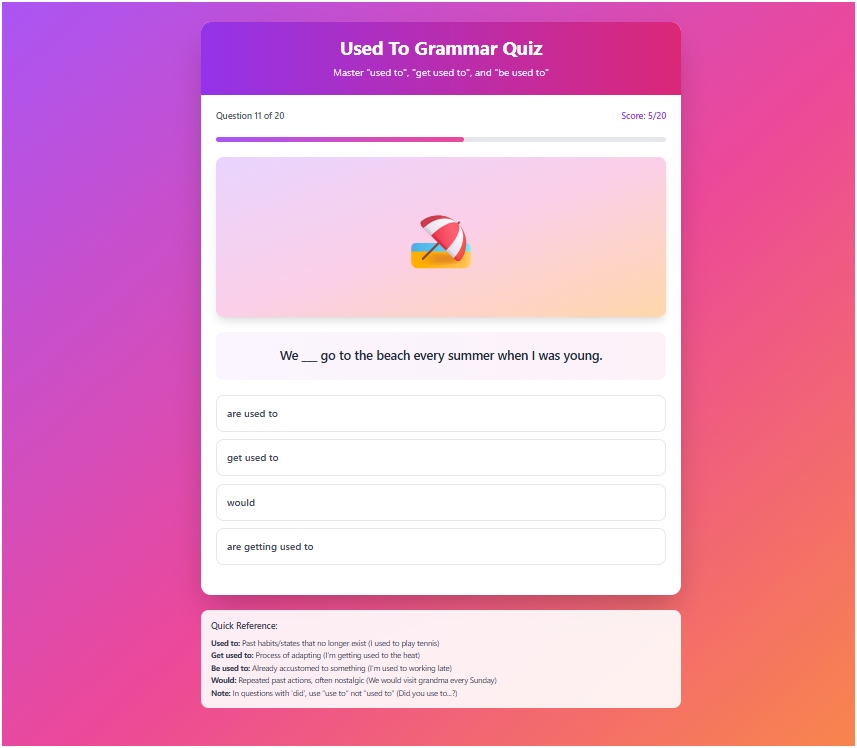
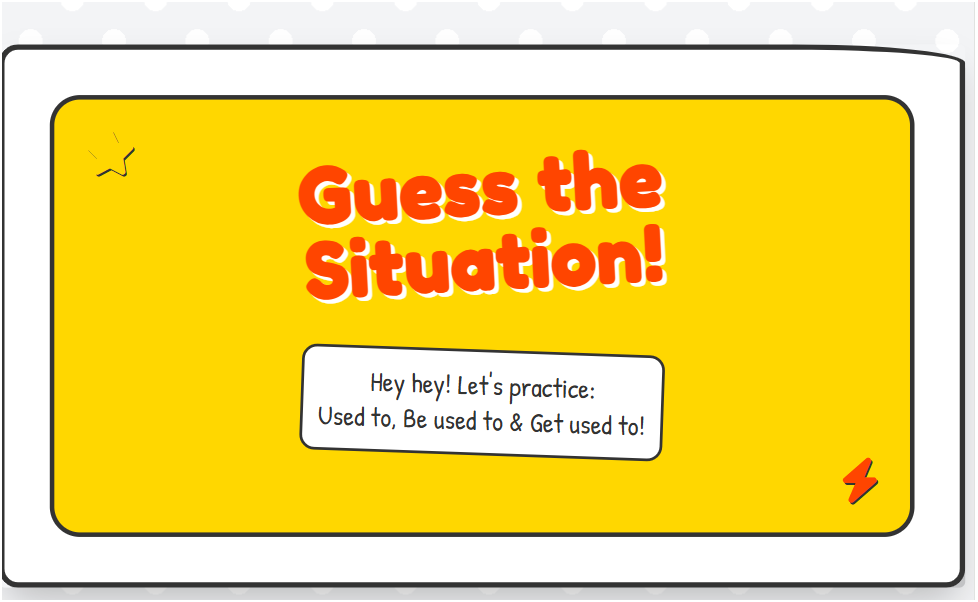
Controlled Practice: Digital Sorter (AI Generated)
Display this interactive activity and have the students tell you whether the sentences are correct or incorrect. This is a good opportunity to reinforce grammar.
Individual work: Students at their own pace.
The traditional photocopy. Just because we have AI now doesn’t mean you have get rid of things that work. And doing exercises to reflect and consolidate the grammar works; so here it is. Created with AI? Yes! Why not!
Download the PDF here
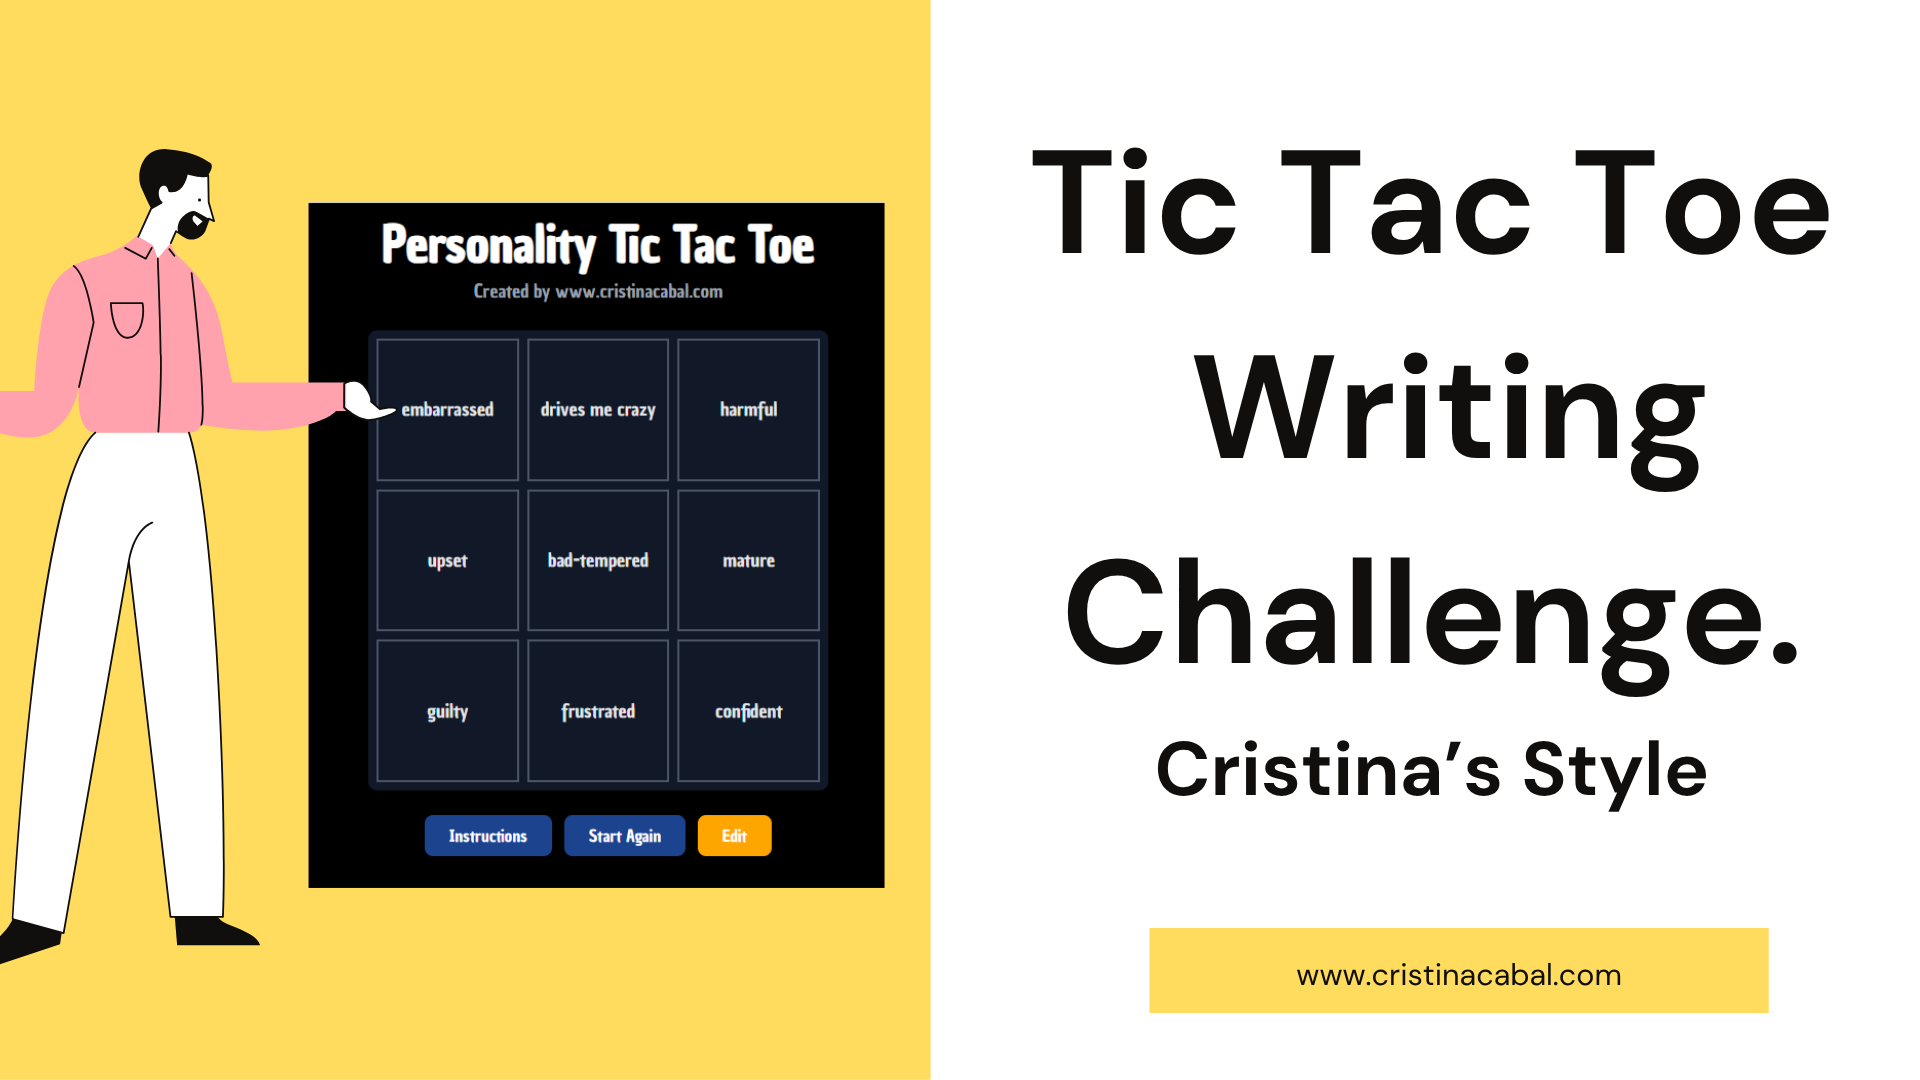
Flying Solo: Let’s move
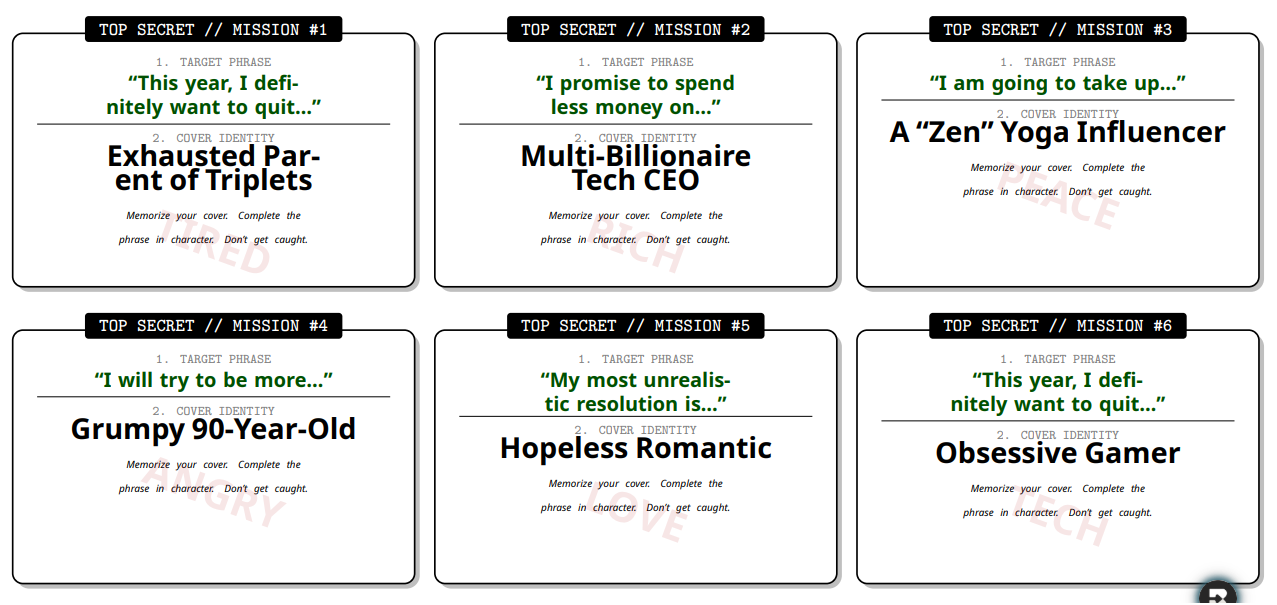
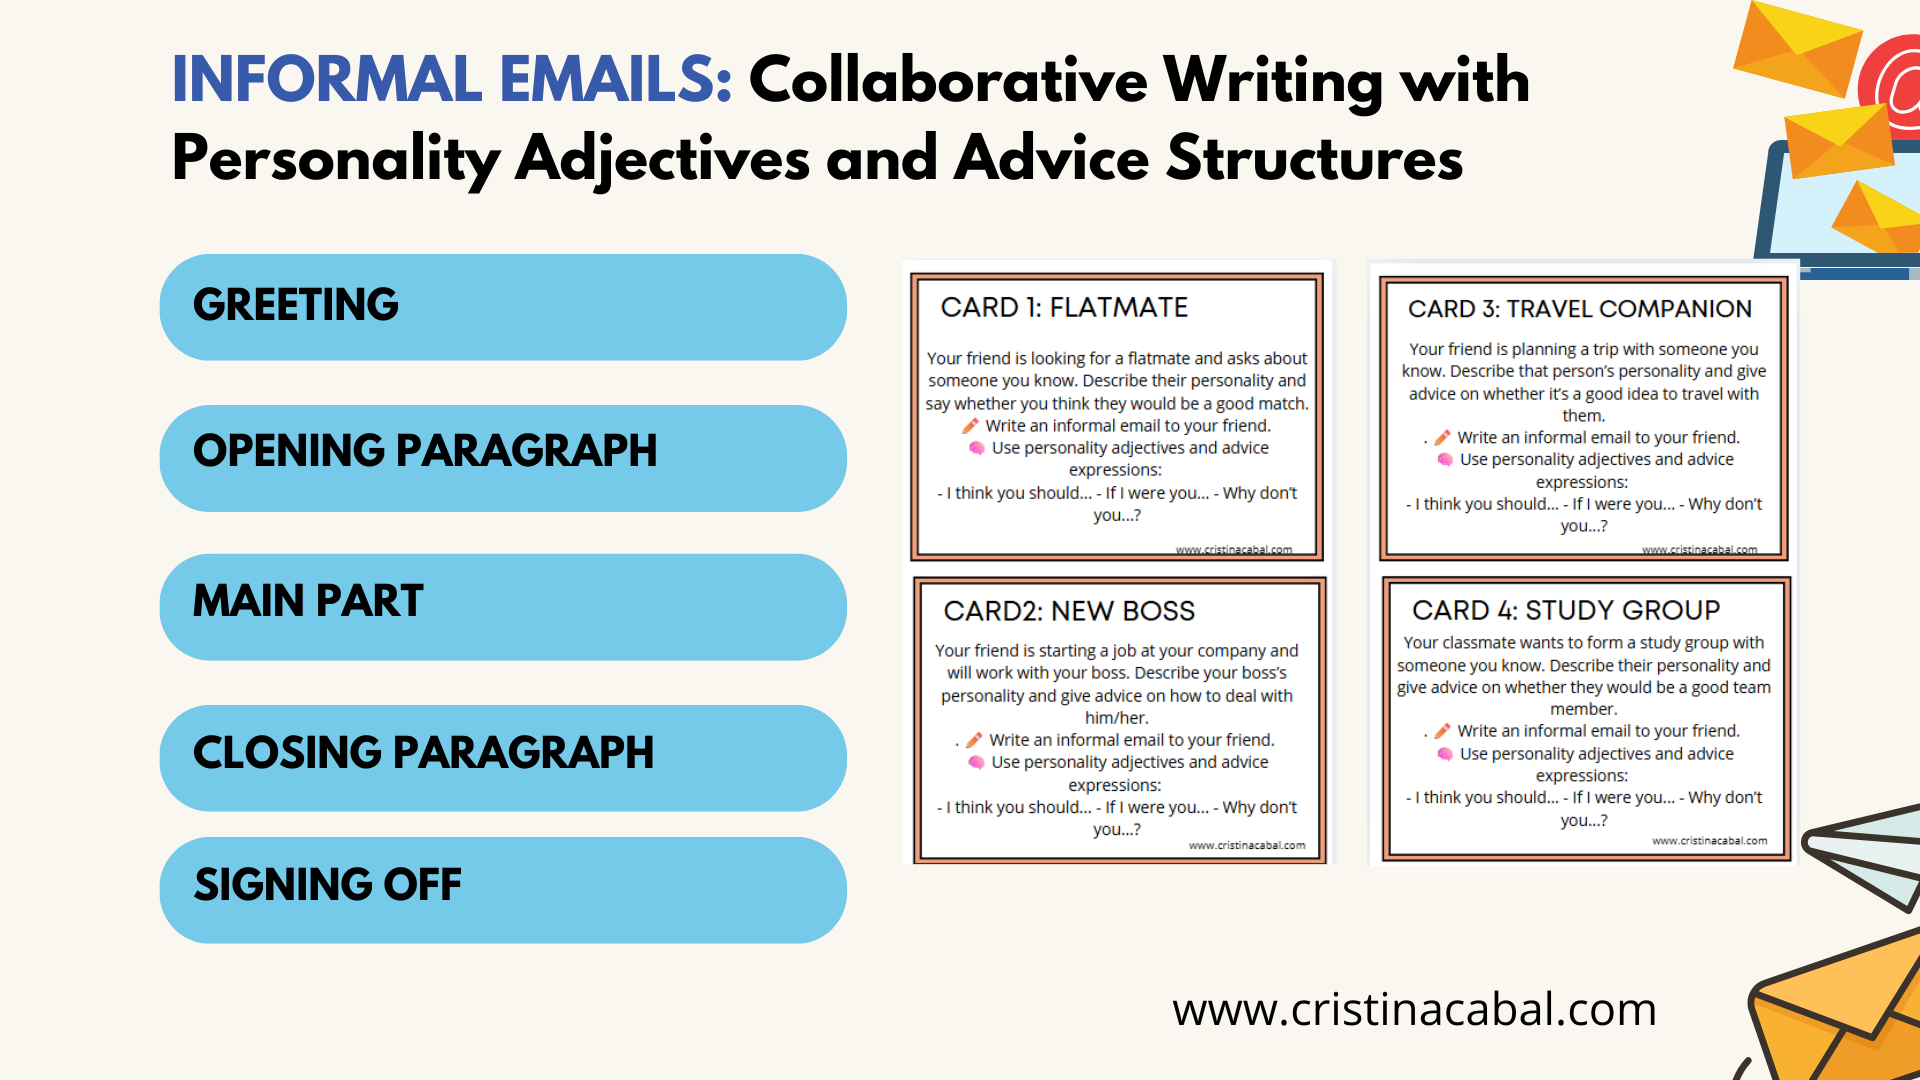
Cards PDF
Oh yes!!! After so much sitting, students are begging me to give them an activity where they move and mingle with other students. So, let’s wrap up this lesson with a nice inetractive activity.
Divide the class into two groups:
- Recommendation Seekers (students with a problem or dilemma)
- Recommendation Givers ( students who offer recommendations)
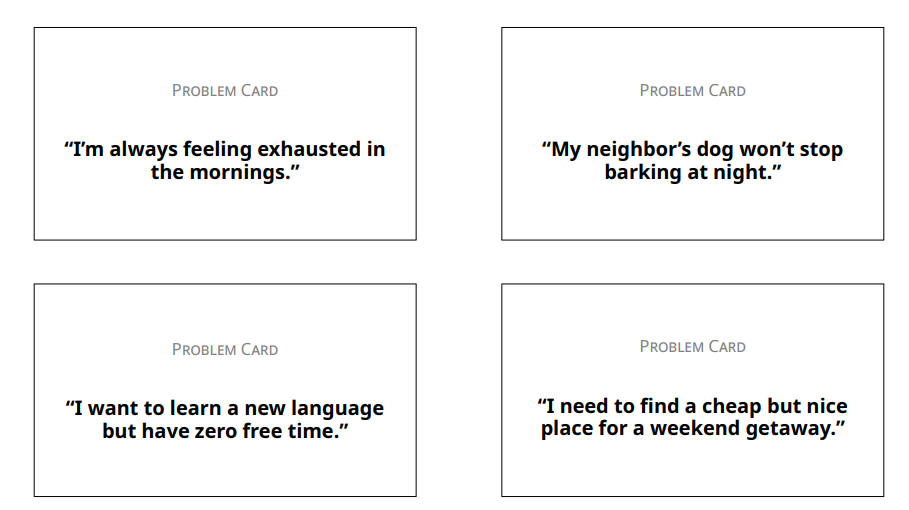
The Recommendation Seekers receive: A card with a problem or dilemma
(They can also invent their own — creativity welcome!) and a small piece of paper with the words “THANK YOU” written on it (This will be used later!)
Arrange the classroom so both groups sit facing each other in two lines and using a speed chatting format:
- Each pair talks for 2 minutes
- The Recommendation Giver must offer a recommendation using the verb recommend and paying close attention to correct grammar.
- When the bell rings, Recommendation Givers move one seat to the right
Students repeat the process until each Recommendation Seeker has spoken to 5 different people.
After all conversations, each Recommendation Seeker chooses the best recommendation they received and give their “THANK YOU” card to that student. The student with more Thank You cards is named “The Recommendation Guru” and receives a big round of applause.
Now, students change roles.